Grafting plants is a time-honored horticultural technique that allows gardeners and growers to combine the best traits of two different plants into one. Whether you’re growing fruit trees, cultivating roses, or experimenting with ornamental shrubs, grafting offers a way to improve vigor, enhance disease resistance, and even create dwarf varieties for small-space gardening.
The process involves joining a scion (a young shoot or bud from one plant) to the rootstock of another. Once healed, the result is a stronger, more resilient plant that produces better flowers or fruit. Grafting is especially popular in apple orchards, rose nurseries, and tomato cultivation, where specific qualities like taste, bloom size, or disease resistance are desired.
From ancient civilizations to modern nurseries, grafting plants has proven itself a powerful tool in horticulture—and learning how to graft can elevate your gardening success in exciting ways.
Table of Contents
Key Terms — Scion vs. Rootstock & Compatibility Basics
Before you start grafting plants, it’s essential to understand two foundational terms: scion and rootstock. These are the two plant parts that are physically joined during the grafting process—and their compatibility determines whether your graft will succeed or fail.
What is a Scion?
The scion is the upper part of the plant that will grow above the graft. It’s usually chosen for its desirable qualities—like fruit flavor, flower color, disease resistance, or overall productivity. In apples, for example, the scion is often a named variety like ‘Honeycrisp’ or ‘Fuji’.
What is a Rootstock?
The rootstock forms the lower portion of the plant and includes the root system. It’s selected for characteristics like drought tolerance, disease resistance, or growth control (such as dwarfing traits). A strong, healthy rootstock provides the foundation for the grafted plant to thrive.
Why Compatibility Matters
Not all plants can be successfully grafted together. Even if two plants look similar, their internal structures may be incompatible. As a general rule:
- Grafts are most successful within the same species (e.g., apple to apple).
- Grafts may work across species within the same genus (e.g., pear to quince).
- Grafts rarely work across genera (e.g., plum to peach may fail even though both are in the Prunus genus).
When the vascular tissues of the scion and rootstock line up correctly and are genetically compatible, they can fuse into a single, functional plant. This fusion usually begins within 1–2 weeks after grafting and is referred to as the healing period.
Understanding these basics lays the groundwork for grafting success—helping you choose the right combinations and avoid common mistakes.
When to Graft — Season & Timing for Hardwood vs. Budding
The timing of when you’re grafting plants plays a huge role in the success of the graft. Just like planting seeds at the right time, grafting must align with the plant’s growth cycle to encourage a strong, healthy union.
Dormant Season for Hardwood Grafting
Hardwood grafting is typically done in late winter to early spring, while the rootstock is still dormant but just before buds begin to swell. This timing is ideal because:
- The plant is not actively growing, reducing sap flow that could interfere with healing.
- The scion can be stored dormant and still align with the rootstock’s timeline.
- The warming soil and longer days following the graft stimulate growth and help the graft “take.”
This approach is best for whip-and-tongue, cleft, and bark grafts commonly used on fruit trees and shrubs.
Active Season for Budding Grafts
Budding techniques, like T-budding or chip budding, are performed during the late summer months, usually mid to late July through early September, depending on your growing zone. During this time:
- The bark is “slipping,” meaning it peels easily from the wood—a crucial detail for inserting the bud.
- The plant is actively growing, so sap flow supports quicker healing and bud development.
- Buds inserted late in the season will stay dormant over winter and begin growing the following spring.
Choosing the proper season ensures your graft gets the best start—and reduces the chances of failure due to poor healing or environmental stress.
Tools & Materials — Knives, Pruners, Wraps, Sealants, Sanitation
To successfully begin grafting plants, having the right tools and keeping them clean is just as important as timing and technique. Each tool plays a specific role in ensuring clean cuts, strong graft unions, and disease prevention.
Essential Grafting Tools
- Grafting Knife
A razor-sharp knife is essential for making clean, precise cuts on both scion and rootstock. Specialized grafting knives often have a straight blade on one end and a budding blade on the other. - Hand Pruners
Use bypass-style pruners to remove branches cleanly. Avoid anvil pruners—they crush stems and can damage plant tissue. - Grafting Tape or Buddy Tape
This stretchable tape holds the graft union tightly together while allowing for some flexibility. It also helps retain moisture around the graft. - Rubber Bands or Grafting Clips
These help keep scions firmly attached to rootstocks, especially in methods like cleft or approach grafts where pressure is key. - Parafilm or Wax Sealant
Used to seal the graft and prevent it from drying out. Parafilm stretches easily and biodegrades naturally. Wax is another option for sealing exposed surfaces.
Sanitation Matters
Dirty tools can spread fungi, bacteria, and viruses, ruining your graft and possibly harming the entire plant. Always:
- Disinfect tools with isopropyl alcohol or a bleach solution between each plant.
- Wash your hands or wear clean gloves when handling scion wood and rootstocks.
- Keep your work area clean and organized to avoid cross-contamination.
Using the proper equipment and maintaining hygiene not only improves grafting success rates—it also keeps your plants healthy and thriving in the long run.
Grafting Methods

Different grafting methods are used depending on the plant species, time of year, and desired outcome. Each technique involves a unique way of joining the scion and rootstock, and choosing the right one can improve your success significantly.
Whip-and-Tongue Graft
Best for: Hardwood plants like apples, pears, and ornamentals
Season: Late winter to early spring
This method involves matching both scion and rootstock with identical diagonal cuts, each with a small “tongue” sliced into the cut surface. The tongues interlock, increasing contact and stability.
Pros:
- Strong physical union
- Heals quickly due to large cambium contact
- Ideal for stems of equal diameter
Cleft Graft
Best for: Thicker rootstocks or rejuvenating old trees
Season: Late winter to early spring
The rootstock is cut straight across, then split vertically. One or two wedge-shaped scions are inserted into the cleft, ensuring their cambium aligns with the rootstock’s.
Pros:
- Useful for older or thicker trunks
- Allows multiple varieties on a single rootstock
- Works well with uneven-sized scions
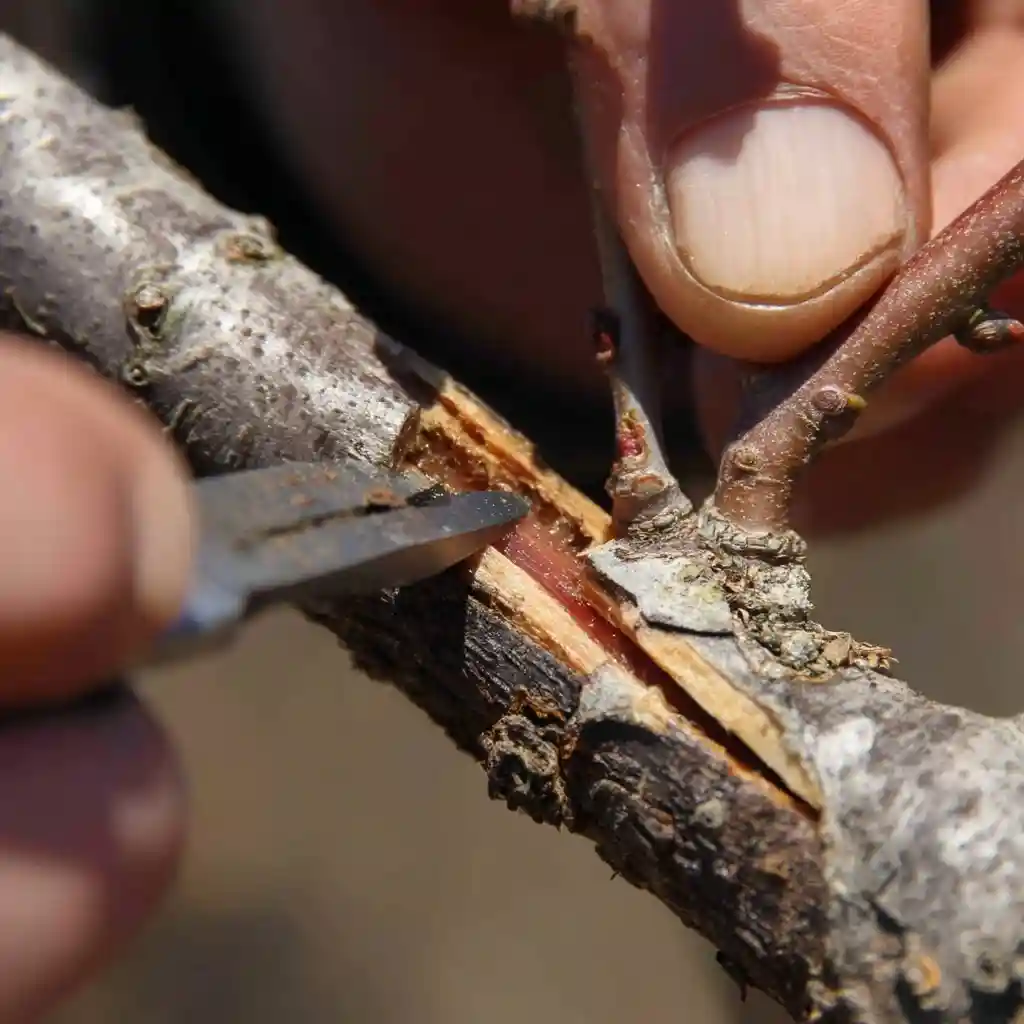
Bark (Rind) Graft
Best for: Large-diameter rootstocks
Season: Early spring when bark is slipping
A vertical slit is made in the bark, and a scion is slid between the bark and wood. This method is great for top-working trees with significant trunk size.
Pros:
- Ideal for mature trees
- Quick and simple once bark separates easily
- Multiple scions can be added
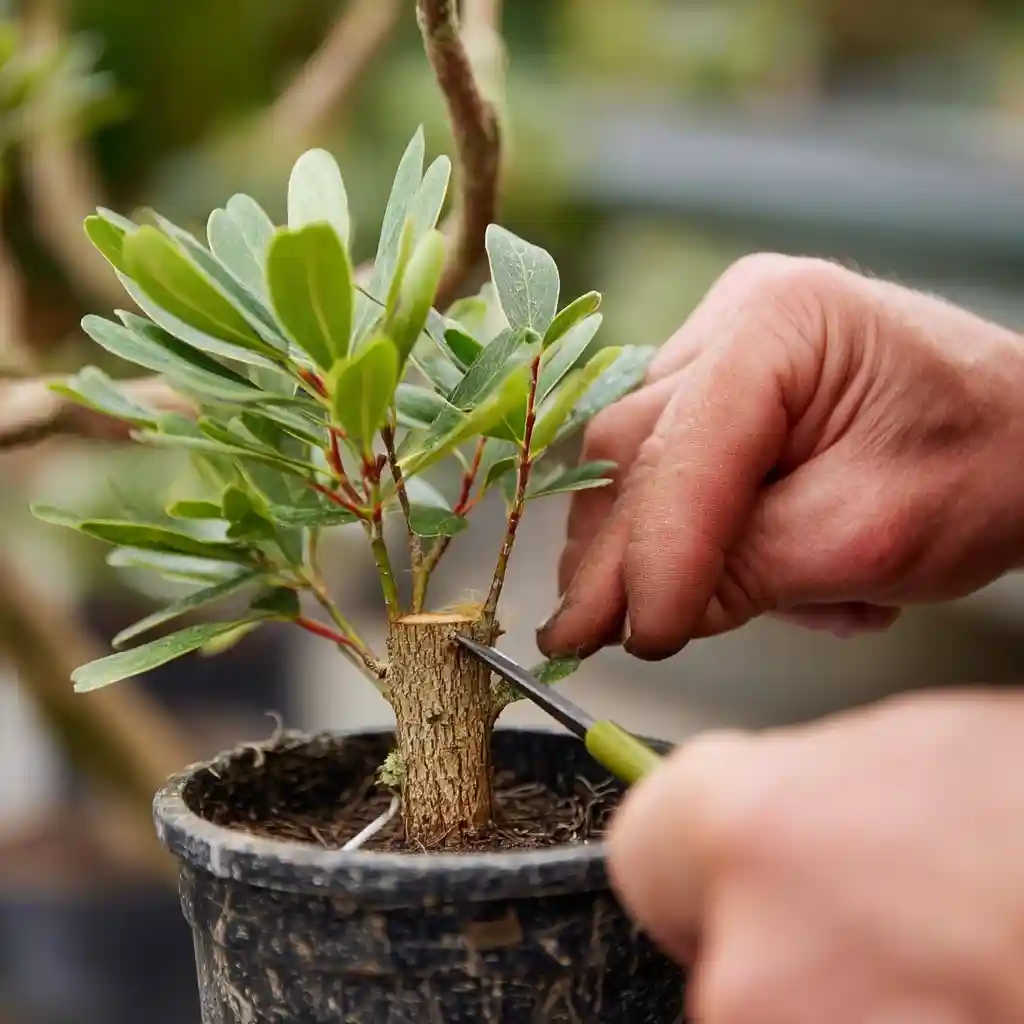
Side-Veneer Graft
Best for: Evergreens, conifers, and small ornamentals
Season: Late winter through spring
A shallow slice is made into the rootstock’s side, and the scion is shaped to match and inserted. It’s often used in nurseries to propagate ornamentals and conifer species.
Pros:
- Compact and discreet
- Works well with limited scion wood
- Minimally invasive to rootstock
Approach Graft
Best for: Difficult or rare plants; when success is critical
Season: Spring or early summer
In this method, both plants remain rooted. A cut is made into both stems, and the wounds are bound together. Once the graft heals, the top of the rootstock and bottom of the scion are removed.
Pros:
- High success rate
- Minimal stress on both plants
- Useful for indoor or rare specimens
Budding Techniques (T-bud & Chip Bud)
Best for: Fruit trees, roses, and vegetables like tomatoes
Season: Late summer (when bark slips easily)
Instead of a whole scion, a single bud is inserted into the rootstock.
- T-budding: A “T” cut is made in the bark; the bud is slipped underneath.
- Chip budding: A small chip is removed from both scion and rootstock, then aligned and secured.
Pros:
- High success rates
- Less material required
- Heals quickly and forms strong unions
Each grafting technique has its strengths. Choose the one that fits your plant type, season, and experience level—and you’ll be well on your way to grafting success.
Step-by-Step Example — Whip-and-Tongue Graft

The whip-and-tongue graft is a go-to method when grafting plants with stems of similar size—especially young fruit trees like apples and pears. It forms a strong, secure union thanks to the interlocking cuts, which allow excellent cambium contact for rapid healing.
Follow these steps for a successful graft:
Step 1: Choose Healthy Stock and Scion
- Scion: Select a young, dormant shoot (about ¼ inch thick) with 2–3 buds.
- Rootstock: Should be roughly the same diameter, healthy, and well-established.
Make sure both are from compatible species and freshly pruned for cleanliness.
Step 2: Make the Whip Cut
- Using a grafting knife, make a diagonal cut about 1–1.5 inches long on both the scion and rootstock.
- Cuts should be clean and smooth. These will form the “whip” portion of the graft.
Step 3: Add the Tongue Cut
- On each diagonal face, make a second vertical slit (the “tongue”) about ⅓ of the way down from the top of the cut.
- This tongue allows the scion and rootstock to lock together, providing stability and surface area for cambium contact.
Step 4: Join the Pieces
- Slide the two pieces together so the tongues interlock.
- Make sure the cambium layers align—even if the diameters differ slightly, line up one side perfectly.
Step 5: Secure the Graft
- Wrap the union tightly with grafting tape, rubber bands, or buddy tape.
- Seal all exposed areas with parafilm or grafting wax to prevent moisture loss and infection.
Step 6: Label and Monitor
- Tag your graft with the scion variety and date.
- Place the plant in a shaded, protected area and monitor daily for signs of drying or swelling.
- Do not remove the wrapping until the graft has taken—usually in 2–4 weeks.
This technique requires a steady hand, but with practice, it becomes second nature. The strong mechanical hold of the whip-and-tongue method also means your graft is less likely to shift or fail due to wind or minor handling.
Aftercare — Tying, Sealing, Callusing, Staking, Shading, Watering
Once you’ve completed the graft, your job isn’t over. Proper aftercare is essential to help grafting plants heal quickly and grow into strong, productive specimens. Here’s what to focus on in the days and weeks following grafting.
Tying and Sealing
- Make sure the graft is still tightly bound. If you used rubber bands or grafting tape, check periodically for slippage or gaps.
- Reapply or reinforce wrapping if the weather becomes especially dry or windy.
- Seal any exposed cuts with grafting wax or parafilm to prevent desiccation and pathogen entry.
Callusing (Healing)
- The graft union needs a warm, moist environment to form a callus—the tissue that fuses the scion and rootstock.
- Ideal temperatures for callusing are between 65°F and 75°F (18°C–24°C).
- Avoid overly wet or cold conditions during this period. Too much moisture can cause rot; too little slows healing.
Staking and Support
- Use plant stakes or soft ties to support taller grafts or delicate unions, especially if your graft sits higher up on the plant.
- Wind can cause micro-movements that prevent the graft from bonding well. Keeping it stable improves success.
Shading and Protection
- New grafts are sensitive to sunburn and temperature swings.
- Use a shade cloth, tree wrap, or even a paper bag (with air holes) over the graft to block intense sunlight.
- Protect young grafts from heavy rain, frost, and pests like squirrels or birds.
Watering
- Keep the rootstock consistently moist but not soggy.
- Avoid letting the plant dry out, especially during the callusing period. On the flip side, saturated soil can lead to root rot, which stresses the entire plant.
Monitoring Growth
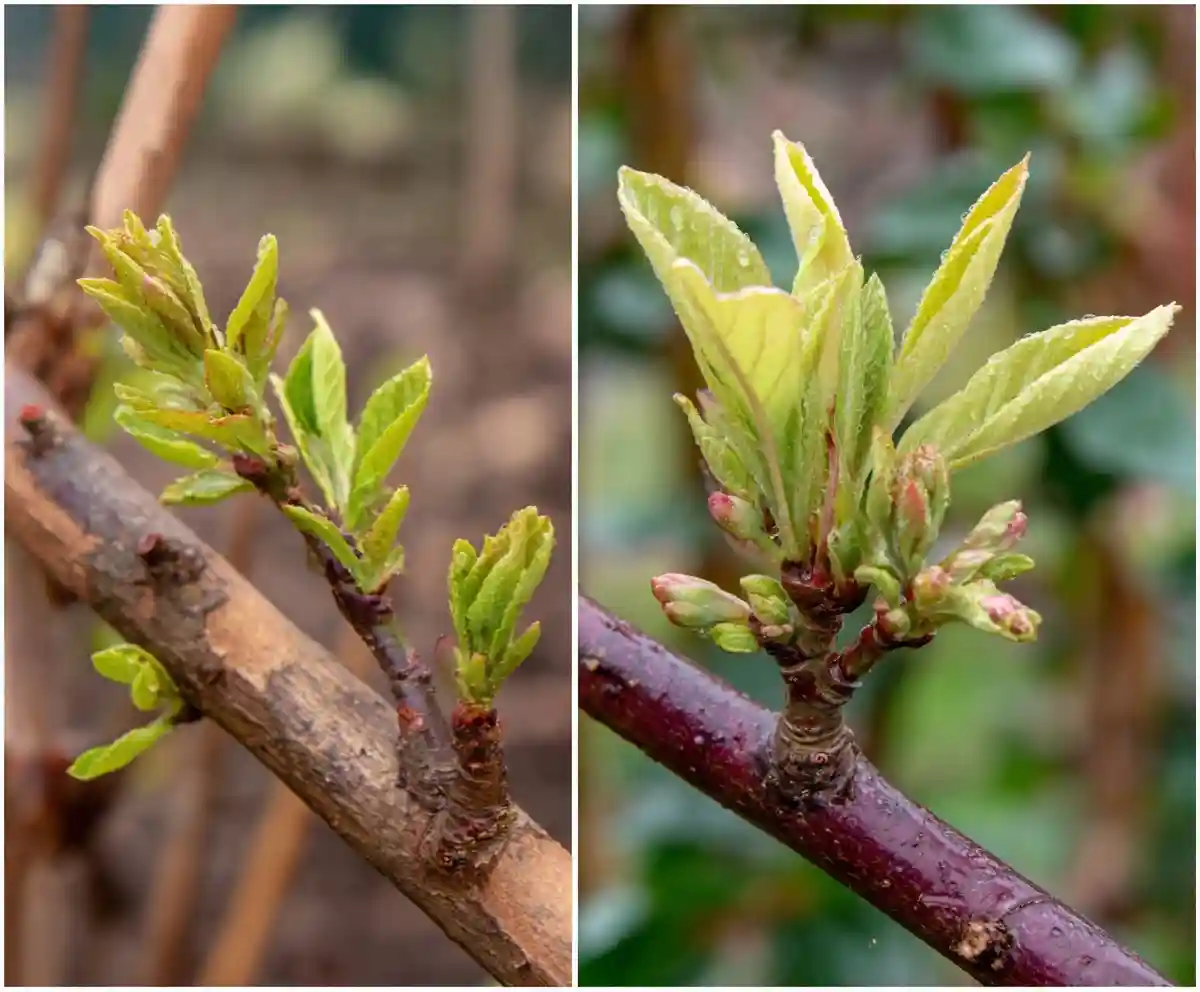
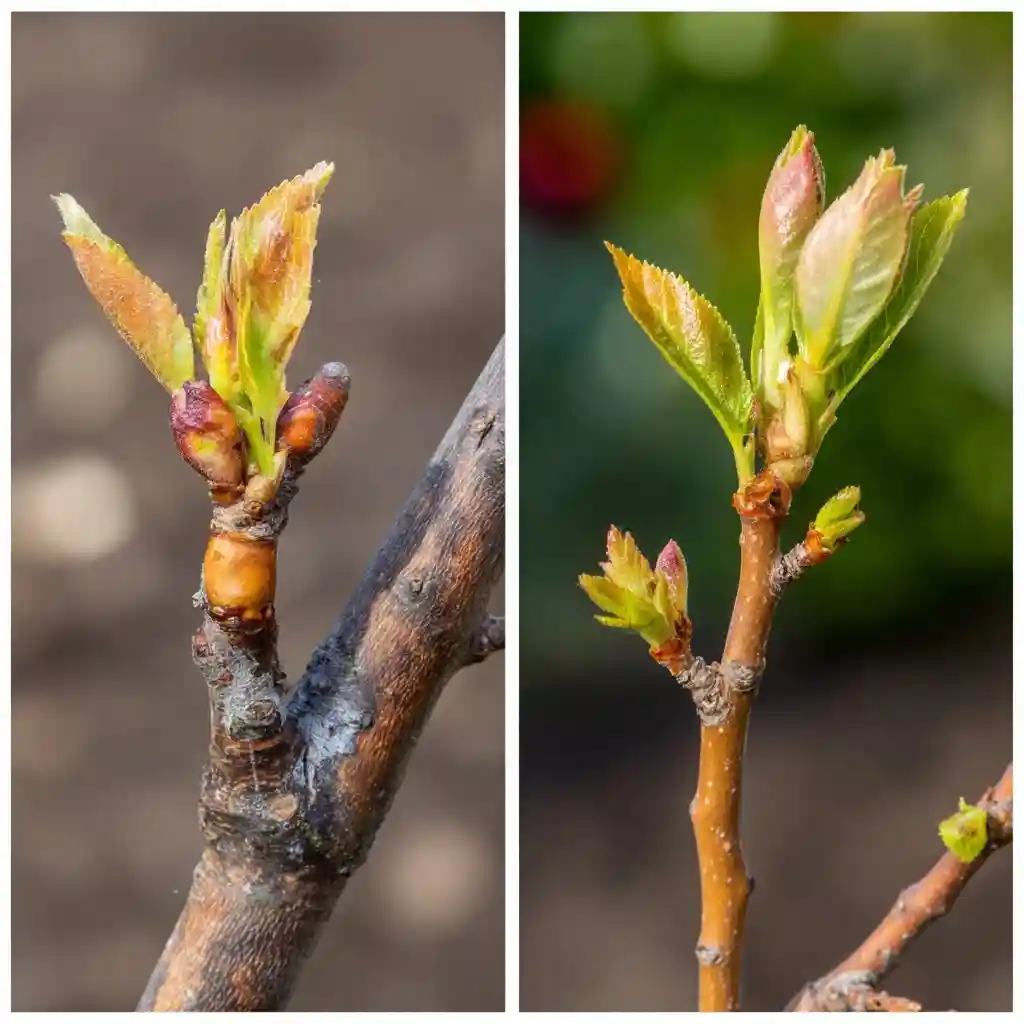
- After a few weeks, the scion should begin to bud or leaf out.
- Once vigorous growth is visible, you can gradually remove the wrapping, taking care not to disturb the union.
- Remove suckers or side shoots that emerge from below the graft—they can steal energy away from the developing scion.
Troubleshooting & Common Failures
Even with good technique and timing, not every graft will succeed. Understanding what can go wrong helps you troubleshoot problems early and improve your success rate in future grafts.
1. Graft Didn’t Take
Symptoms:
- Scion looks dry or shriveled
- No new growth after 3–4 weeks
- The graft union remains loose or discolored
Possible Causes:
- Poor cambium alignment
- Scion was not fresh or had dried out
- Graft dried out due to inadequate sealing or low humidity
- Rootstock was too weak or water-stressed
Solution:
- Always align at least one side of the cambium
- Use only freshly cut, healthy scion wood
- Keep grafts sealed and moist during healing
- Ensure the rootstock is hydrated before grafting
2. Incompatibility Between Scion and Rootstock
Symptoms:
- Graft initially takes but later fails
- Weak growth or sudden wilting after several weeks
- Poor union formation
Possible Causes:
- Scion and rootstock are genetically incompatible
- Tried grafting across genera or distantly related species
Solution:
- Research compatibility ahead of time
- Stick to grafting within the same species or closely related species
- Try known successful pairings (e.g., apple on apple rootstock, or peach on plum with care)
3. Infection or Disease at Graft Union
Symptoms:
- Soft, mushy graft site
- Mold or fungal growth
- Unpleasant odor at the wound
Possible Causes:
- Unclean tools or hands
- Graft not properly sealed
- Overwatering and poor airflow
Solution:
- Disinfect tools between every cut
- Use parafilm or wax to completely seal cuts
- Ensure air circulation and avoid heavy watering immediately after grafting
4. Environmental Stress
Symptoms:
- Scion wilts on hot days
- Sunburn on graft union
- Graft fails to heal properly
Possible Causes:
- Too much direct sunlight
- Temperature swings
- Lack of support in windy conditions
Solution:
- Shade the graft union for 2–3 weeks
- Use mulch to stabilize soil temperature
- Stake taller grafts or wrap unions for protection
5. Suckers or Competing Shoots
Symptoms:
- Strong shoots emerging from below the graft
- Scion grows slowly or not at all
Possible Causes:
- Energy diverted to rootstock growth
- Delayed removal of suckers or side shoots
Solution:
- Regularly remove any shoots below the graft point
- Focus energy into the scion for stronger top growth
Safety & Hygiene Tips
Handling sharp tools and delicate plant tissue requires care and cleanliness. Practicing proper hygiene prevents infections at the graft site, while safety precautions keep you injury-free.
Tool Safety
- Keep blades sharp — Dull tools are more dangerous than sharp ones. A clean slice is safer and more effective.
- Cut away from your body — Always direct grafting knife cuts away from your fingers, hands, or legs.
- Use a grafting bench or clamp — When possible, secure the rootstock or scion to a stable surface for safer cutting.
- Protective gloves — Lightweight cut-resistant gloves can help prevent accidents without sacrificing dexterity.
Sanitation Guidelines
- Sterilize tools between each plant
Use a cloth soaked in isopropyl alcohol or a 1:10 bleach-water solution. This minimizes the spread of fungal spores, viruses, and bacteria. - Clean your hands and work area
Wash your hands or wear clean gloves. Disinfect surfaces and cutting boards if you’re grafting indoors or in a workshop. - Use clean scion and rootstock
Only use material from disease-free, healthy plants. Avoid any that look wilted, spotted, or insect-damaged.
Safe Storage & Disposal
- Label sharp tools clearly and store them out of reach of children or pets.
- Dispose of cuttings properly to prevent contamination or the spread of pests.
- Seal unused scion wood in moist paper towels and store in the fridge if not grafting immediately.
FAQs / Quick Tips
Q: How long does it take for a graft to “take”?
A: Most grafts will show signs of success within 1 to 3 weeks, depending on the method and environmental conditions. Budding grafts may stay dormant until the following season.
Q: Can I graft a fruit tree to any other tree?
A: No. Compatibility is key. Stick to plants within the same species or genus for the best chance of success. For example, you can graft an apple to another apple or sometimes a pear, but not to a cherry tree.
Q: How do I know if a graft has failed?
A: If the scion turns brown, shrivels, or detaches easily after a few weeks, the graft likely failed. You can try again with fresh materials and closer attention to alignment and sealing.
Q: Is grafting only for professionals?
A: Not at all! With a few simple tools and the right instructions, home gardeners can graft successfully. Starting with techniques like whip-and-tongue or chip budding is a great way to learn.
Q: Can I graft vegetables?
A: Yes! Grafting is commonly used for tomatoes, eggplants, cucumbers, and even melons to improve disease resistance and yield. These are typically done using tube grafting or cleft grafting techniques.
Conclusion
Grafting plants is more than just a gardening technique — it’s a way to blend science, tradition, and creativity. Whether you’re enhancing fruit yield, saving a beloved heirloom variety, or experimenting with ornamental combinations, grafting gives you the power to shape plant growth in extraordinary ways.
By understanding the importance of compatibility, choosing the right grafting method, and following through with careful aftercare, even beginner gardeners can experience success. With each graft, you’re not just joining plants — you’re cultivating knowledge, patience, and a deeper connection to your garden.
So sharpen your grafting knife, prep your scion wood, and give it a try — your future harvests will thank you.


