Mosaic stepping stones can transform your garden into a vibrant, enchanting space that reflects your unique style. Whether you’re a seasoned gardener or a DIY enthusiast, these colorful pathways add a touch of artistry while guiding guests through your garden. For more ways to enhance your landscape, explore our landscaping with large rocks guide or get creative with DIY yard decor. Let’s dive into mosaic ideas that will inspire your next garden project.
Table of Contents
1. Mosaic Stepping Stones
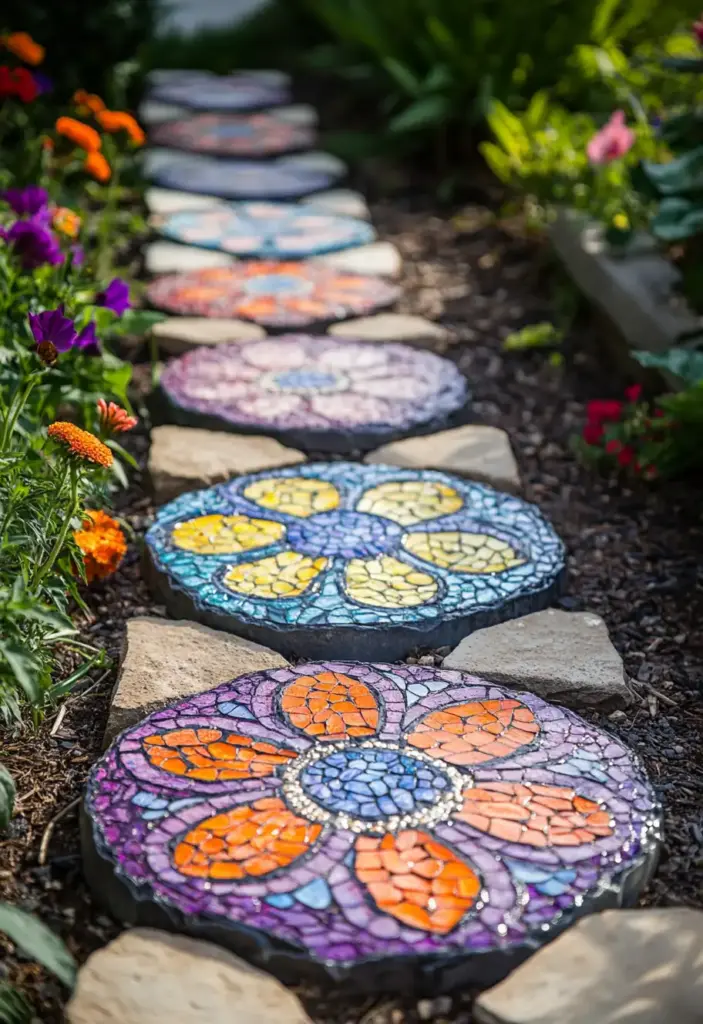
Mosaic stepping stones are a delightful way to enhance the charm of your garden while adding a touch of personality and creativity. Imagine walking along a path of vibrant, handcrafted stones that catch the sunlight and sparkle with every step. These decorative pathways not only guide visitors through your garden but also become a unique expression of your artistic flair.
Creating your own mosaic stepping stones is a fun and rewarding DIY project that allows you to showcase your style. Start by selecting a sturdy stepping stone mold, available at most garden centers or online. Then, gather outdoor-safe adhesive, colorful mosaic tiles, and your imagination to craft designs that reflect your personality—whether it’s floral patterns, geometric shapes, or nature-inspired motifs.
Begin by mixing the adhesive according to the instructions, then pour it into the mold. Arrange your mosaic pieces on top in the design of your choice, pressing them gently into place. Once the adhesive has set, carefully remove your stepping stone from the mold and let it dry completely. To protect your creation from the elements, apply a weather-resistant sealant that keeps colors vibrant and prevents damage from rain and sun.
For added inspiration, visit local art stores or browse online galleries to explore different color palettes and styles. Don’t forget to wear gardening gloves to keep your hands clean during the process. With a little creativity and patience, your mosaic stepping stones will become both functional and artistic features that transform your garden path into a journey of beauty and wonder.
2. Mosaic Garden Tables
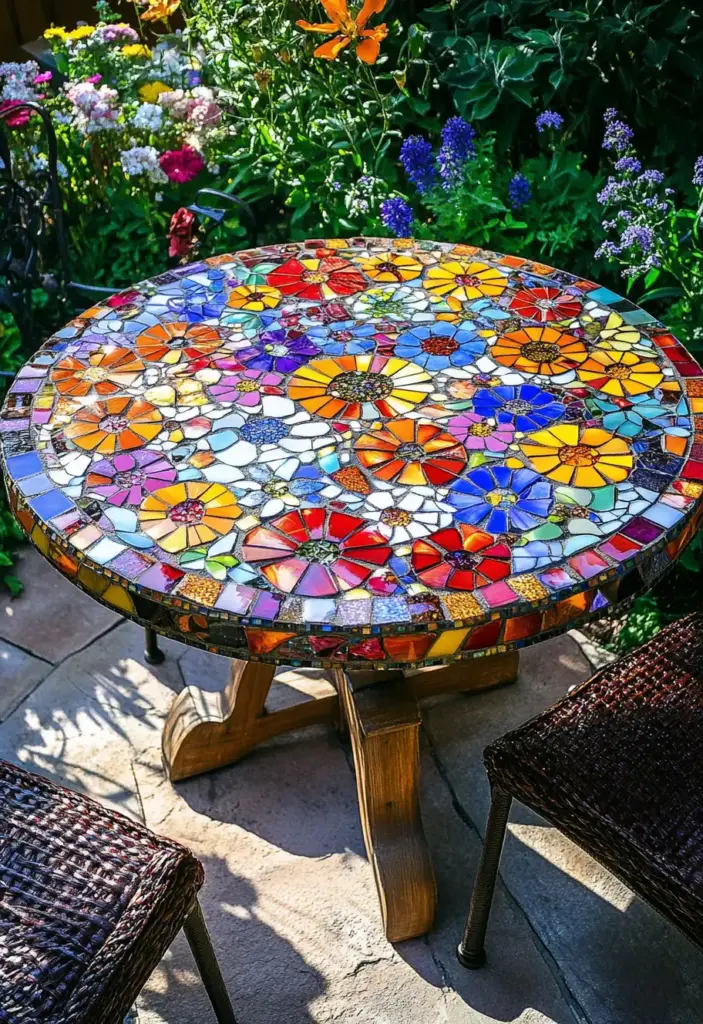
A mosaic garden table can be the stunning centerpiece of your outdoor dining experience, seamlessly blending art and functionality. Imagine sipping your morning coffee or hosting an afternoon tea surrounded by the vibrant colors and intricate designs of your very own creation. These tables not only provide a practical space for gatherings but also add a touch of elegance and personality to your garden.
To create a mosaic garden table, start with a sturdy table base that can withstand outdoor conditions—metal, wrought iron, or treated wood are great options. Next, gather your mosaic materials: colorful tiles, glass pieces, or even broken china can all add unique texture and charm to your design. Choose an outdoor-safe adhesive to ensure your mosaic pieces stay securely in place, even in changing weather.
Sketch out your design on the table surface, allowing your creativity to flow. Whether you prefer bold abstract patterns, floral motifs, or nature-inspired scenes, let your personality shine through. Once the adhesive is dry, fill in the gaps with grout, then wipe away any excess. Finish your table with a high-quality outdoor sealant to protect your masterpiece from the elements.
A mosaic garden table isn’t just a piece of furniture—it’s a conversation starter and a reflection of your artistic spirit. Surround it with cozy outdoor cushions and inviting chairs to create a welcoming space where guests can relax and admire your handiwork. Let your mosaic garden table be the heart of your outdoor oasis.
3. Mosaic Birdbaths
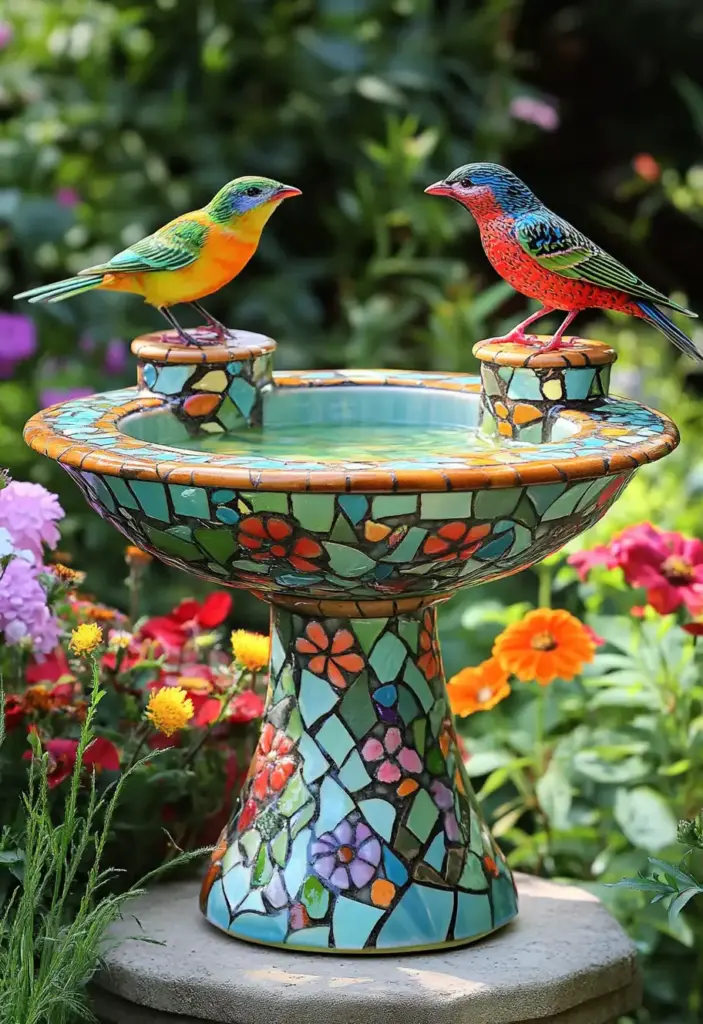
Mosaic birdbaths are a beautiful way to invite feathered friends into your garden while adding a touch of artistic flair. Picture a vibrant basin adorned with colorful tiles that shimmer in the sunlight, creating a charming focal point that delights both birds and garden visitors alike. Mosaic birdbaths not only serve a practical purpose but also become stunning garden features that enhance your outdoor sanctuary.
To craft your own mosaic birdbath, start with a durable base—concrete, ceramic, or a pre-made birdbath bowl all work well. Choose a selection of weather-resistant mosaic tiles in colors and patterns that complement your garden’s palette. An outdoor-safe adhesive will ensure your pieces stay in place and endure the elements.
Begin by sketching your design or laying out your tiles in a dry run to find the perfect arrangement. Apply the adhesive, press each tile gently into place, and let it set according to the instructions. Fill the spaces between the tiles with grout, wiping away any excess with a damp sponge. Once dry, seal the entire surface with a protective outdoor sealant to keep your mosaic vibrant and weatherproof.
Position your mosaic birdbath in a quiet corner of your garden, preferably near shrubs or trees where birds can perch safely. Regular maintenance is key—clean the basin often and refill with fresh water to create a welcoming spot for birds. For extra allure, plant native flowers around your birdbath and add a nearby bird feeder to attract a variety of species. A mosaic birdbath not only beautifies your garden but also nurtures a thriving ecosystem.
4. Mosaic Wall Art
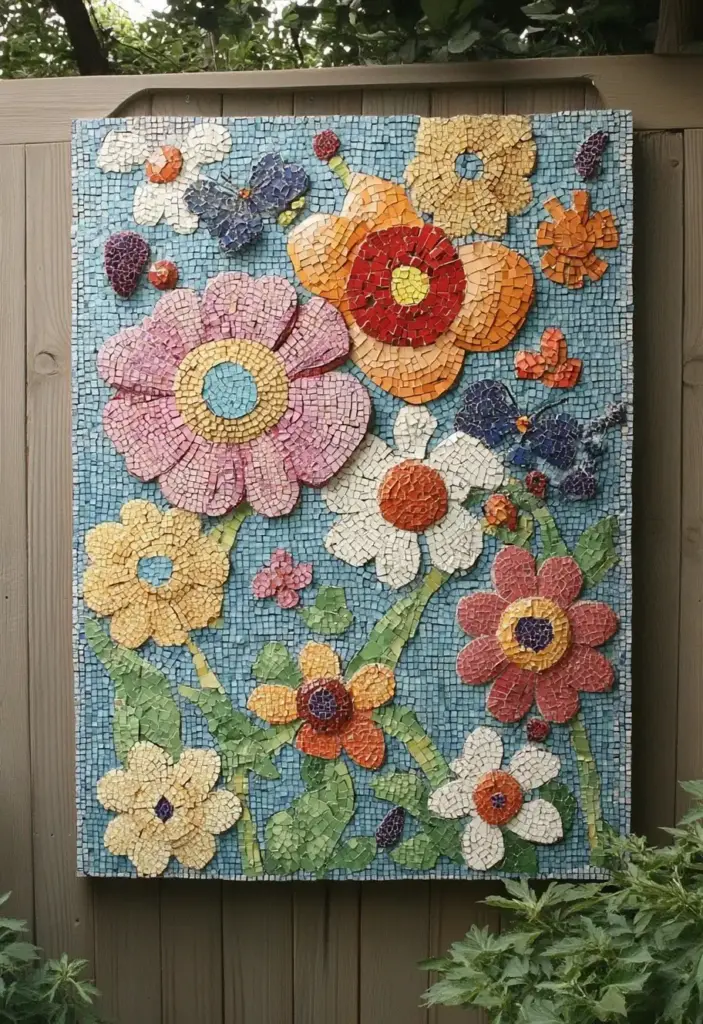
Mosaic wall art is a fantastic way to transform a plain garden wall or fence into a vibrant masterpiece that captures attention and sparks conversation. Imagine a splash of color that adds depth and personality to your outdoor space, turning even the most ordinary surface into an artistic focal point. Mosaic wall art allows you to express your creativity and infuse your garden with a unique sense of style.
To create your own mosaic wall art, start by choosing a suitable surface—brick, concrete, or even wood panels can work well. Prepare the wall by cleaning it thoroughly and applying a base coat of outdoor primer to ensure the adhesive bonds properly. Then, gather your mosaic materials: colorful tiles, glass pieces, or even repurposed ceramics can all bring your design to life.
Sketch your design directly onto the wall, or use a stencil to map out your pattern. Apply a weather-resistant adhesive and begin placing your mosaic pieces, pressing them firmly into place. Once your design is complete, fill in the gaps with grout, wiping away any excess with a damp sponge. Finish by sealing your creation with a reliable outdoor sealant to protect it from rain and sun.
Enhance the impact of your mosaic wall art by adding garden lighting to illuminate it at night, creating a magical ambiance perfect for evening gatherings. Regularly check for loose or damaged tiles and make repairs as needed to keep your artwork looking fresh. Mosaic wall art is more than decoration—it’s a reflection of your imagination and a testament to the creativity that makes your garden truly yours.
5. Mosaic Pathways
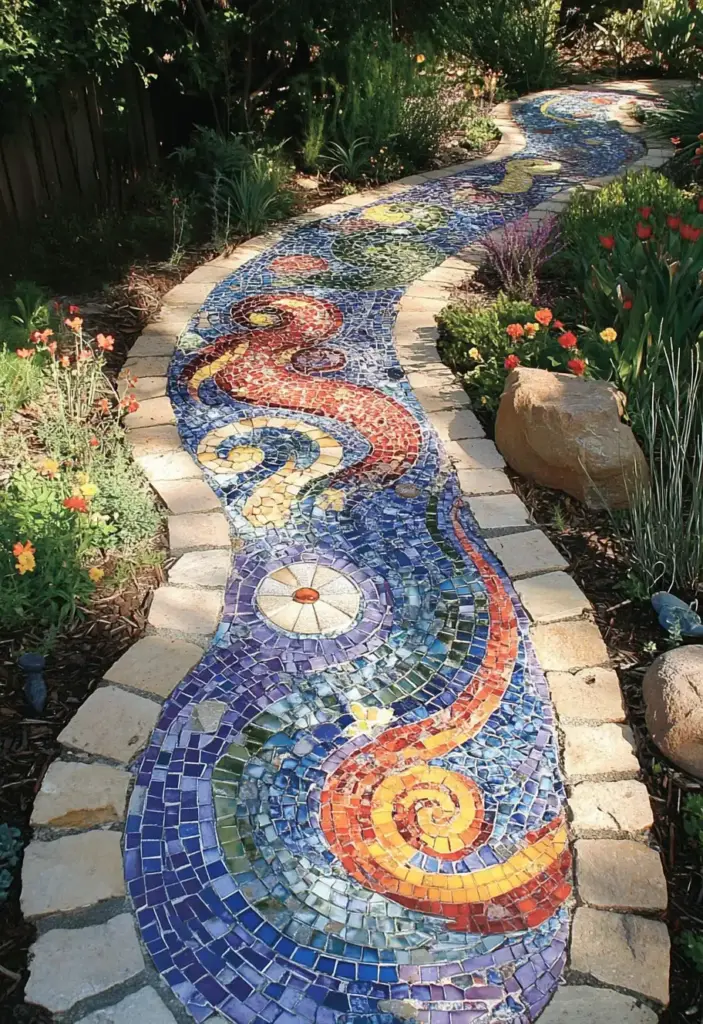
Mosaic pathways are a stunning way to guide visitors through your garden while adding artistic flair to every step. Imagine a colorful trail that meanders through your outdoor space, transforming a simple walkway into a captivating experience. These pathways not only enhance the beauty of your garden but also connect different areas in a seamless, visually pleasing way.
To create a mosaic pathway, begin with a solid foundation such as concrete, sand, or compacted gravel to ensure stability. Next, gather your mosaic materials—tiles, stones, glass pieces, or even repurposed ceramics—all of which can add unique charm to your design. Choose an outdoor-safe adhesive to secure your mosaic pieces, ensuring they withstand the elements and daily foot traffic.
Before you start laying your design, plan the layout by sketching it out or arranging the tiles on the ground to experiment with patterns and colors. Whether you prefer geometric shapes, nature-inspired motifs, or even whimsical designs, let your creativity shine through. Once you’re happy with the arrangement, apply the adhesive and set each piece in place, pressing firmly to secure it.
After the adhesive dries, fill the gaps with grout, wiping away excess with a damp sponge. Finish by sealing your pathway with a weatherproof sealant to keep it looking vibrant and protected from the elements. Regular maintenance—cleaning and checking for any loose pieces—will keep your mosaic pathway in top shape for years to come.
Mosaic pathways invite exploration and transform your garden into an artistic retreat that’s as functional as it is beautiful. Let each step reveal a piece of your story and creativity.
6. Mosaic Planters
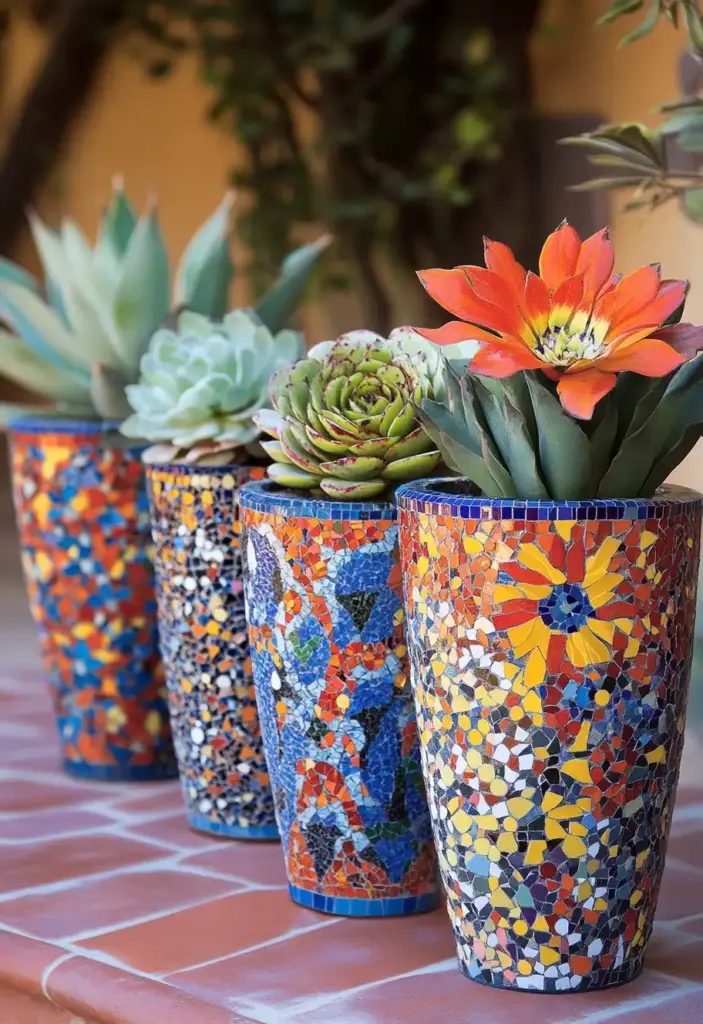
Mosaic planters are a delightful way to showcase your favorite plants while adding a burst of color and creativity to your garden. These eye-catching containers can transform even the simplest flowers or herbs into a stunning display that reflects your personal style and artistic vision. Whether you’re revamping old pots or crafting new ones from scratch, mosaic planters bring a playful, dynamic touch to any outdoor space.
To start, choose sturdy planter pots made of materials like terracotta, ceramic, or concrete that can withstand the outdoor elements. Clean the surface thoroughly to remove any dirt or residue, ensuring the adhesive will bond properly. Then, gather your mosaic materials: vibrant tiles, glass pieces, or even broken dishes can all add unique texture and charm to your design.
Apply an outdoor-safe adhesive to the planter and begin placing your mosaic pieces in a pattern that inspires you—floral, geometric, or completely abstract, the choice is yours. Once your design is complete, fill the gaps with grout and gently wipe away any excess with a damp sponge. After the grout has set, seal your planter with a weather-resistant sealant to keep the colors bright and protect it from moisture.
Arrange your mosaic planters throughout your garden to create lively focal points that draw the eye and spark conversation. Vary the shapes and sizes of the planters for a dynamic, layered look, and consider seasonal plantings to keep your display fresh year-round. Regular cleaning and maintenance will help your mosaic planters stay vibrant and beautiful, ensuring they continue to delight for years to come.
7. Mosaic Fire Pits

A mosaic fire pit adds warmth, charm, and artistic flair to your garden, transforming it into a cozy gathering spot that’s perfect for relaxing evenings with family and friends. Picture vibrant tiles reflecting the glow of a crackling fire, creating a stunning centerpiece that enhances both the ambiance and visual appeal of your outdoor space.
To create your own mosaic fire pit, start with a sturdy base—this can be a pre-made fire pit ring or a custom-built structure using fireproof bricks or concrete. Choose materials that can withstand high heat, as well as an outdoor-safe adhesive designed for mosaic work. Gather your tiles, glass pieces, or ceramics in colors that complement your garden’s theme or add a pop of contrast for extra drama.
Begin by applying the adhesive to small sections of the fire pit, pressing each mosaic piece firmly into place. Work in manageable areas to ensure the adhesive doesn’t dry before you’re finished. Once the entire design is complete, fill the gaps with grout and clean off any excess with a damp sponge. After it dries, seal your mosaic with a high-heat-resistant outdoor sealant to protect your artwork from the elements and the heat of the fire.
Surround your mosaic fire pit with comfortable seating—think plush outdoor cushions and maybe even a few cozy blankets—to create an inviting space for guests to gather. Regular maintenance, including cleaning and checking for loose tiles, will keep your fire pit looking vibrant and safe. With your mosaic fire pit complete, your garden becomes the ultimate outdoor retreat, perfect for storytelling, roasting marshmallows, or simply enjoying the night sky.
8. Mosaic Garden Borders
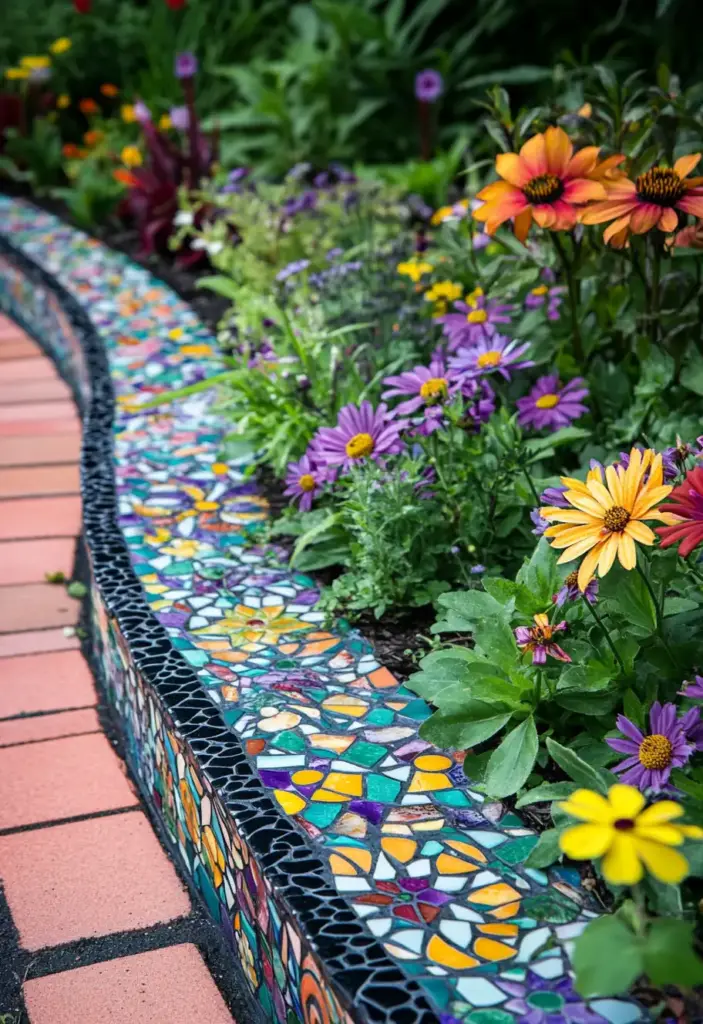
Mosaic garden borders are a charming way to define spaces in your garden while adding a pop of artistic flair. These colorful accents can outline flower beds, vegetable patches, or pathways, bringing a sense of structure and beauty that ties your entire garden together. Imagine the vibrant colors catching the light, creating a playful contrast against the greenery—a simple yet striking transformation.
To start, decide where you’d like to install your mosaic border—whether it’s along a garden bed, a winding path, or a special feature in your landscape. Prepare the area by leveling the ground and ensuring the surface is clean and stable. You can use bricks, concrete, or even pre-made edging materials as the base for your mosaic design.
Next, gather your mosaic tiles, stones, or recycled materials that inspire your design. An outdoor-safe adhesive will secure your mosaic pieces and keep them weather-resistant. Arrange your pieces along the border, pressing them into the adhesive one by one. Once the design is in place, fill the gaps with grout and wipe away the excess with a damp sponge.
For added durability, apply a weatherproof sealant to protect your creation from rain, sun, and wear. Mosaic garden borders not only enhance the aesthetic appeal of your garden but also add a touch of personality and whimsy that reflects your artistic side. They’re a fantastic way to unify your garden’s design and guide visitors through your outdoor sanctuary.
Regularly inspect your borders for any loose or damaged tiles, replacing them as needed to keep your design fresh and intact. With mosaic garden borders, every inch of your garden becomes an opportunity to celebrate your creativity.
9. Mosaic Water Features
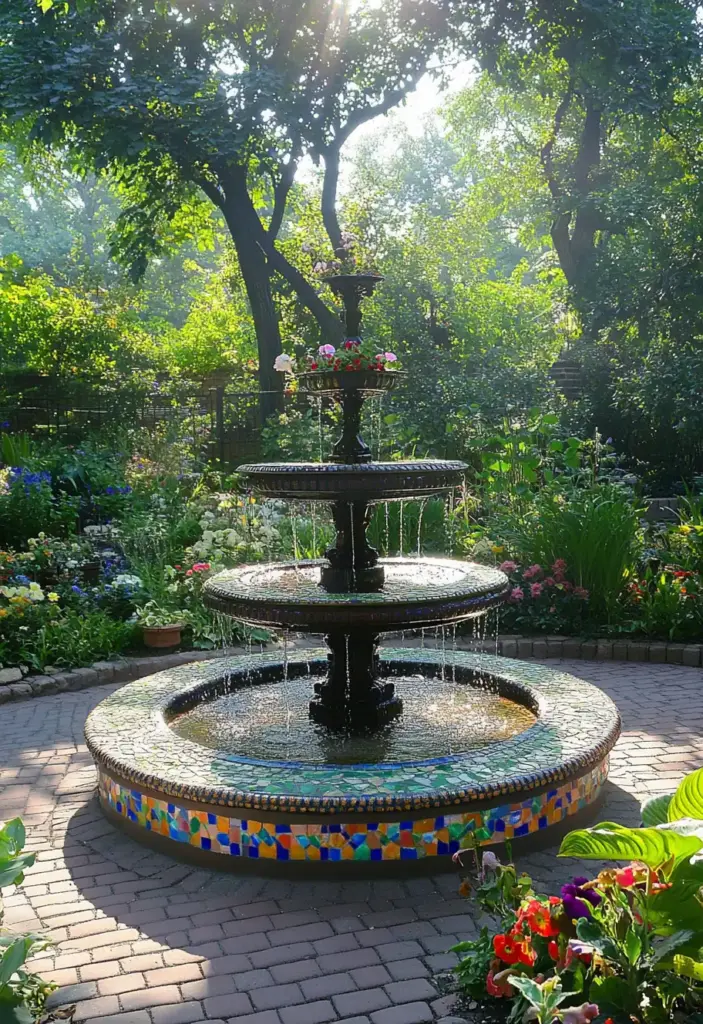
A mosaic water feature is a captivating way to bring movement, sound, and artistic beauty into your garden. The soothing sound of flowing water, combined with the vibrant sparkle of mosaic tiles, creates a serene oasis that draws both people and wildlife alike. Whether it’s a small fountain, a birdbath, or a custom water wall, a mosaic water feature becomes an enchanting focal point that enhances the ambiance of your outdoor space.
To begin, choose the type of water feature that best fits your garden’s design and available space. A simple birdbath or a small fountain is perfect for cozy gardens, while a larger pond or cascading water wall makes a dramatic statement. Select a base that is sturdy and water-safe—concrete or pre-made water features work beautifully.
Gather your mosaic materials—tiles, glass pieces, or colorful stones—and plan your design. An outdoor-safe adhesive ensures your mosaic pieces stay in place, even when exposed to constant moisture. Sketch your design first, then carefully apply the adhesive and press each piece into place, working in small sections to maintain control and precision.
Once the adhesive has set, fill the gaps with grout and wipe away any excess. Allow it to dry fully before applying a waterproof sealant that protects your artwork and keeps the colors vibrant. To enhance the natural look, surround your mosaic water feature with plants and flowers that attract pollinators and wildlife. Regular cleaning and maintenance will keep the water clear and your mosaic shining for years to come.
A mosaic water feature not only beautifies your garden but also creates a peaceful atmosphere that invites you to relax, reflect, and appreciate the artistry that transforms your outdoor space into a true sanctuary.
10. Mosaic Garden Sculptures
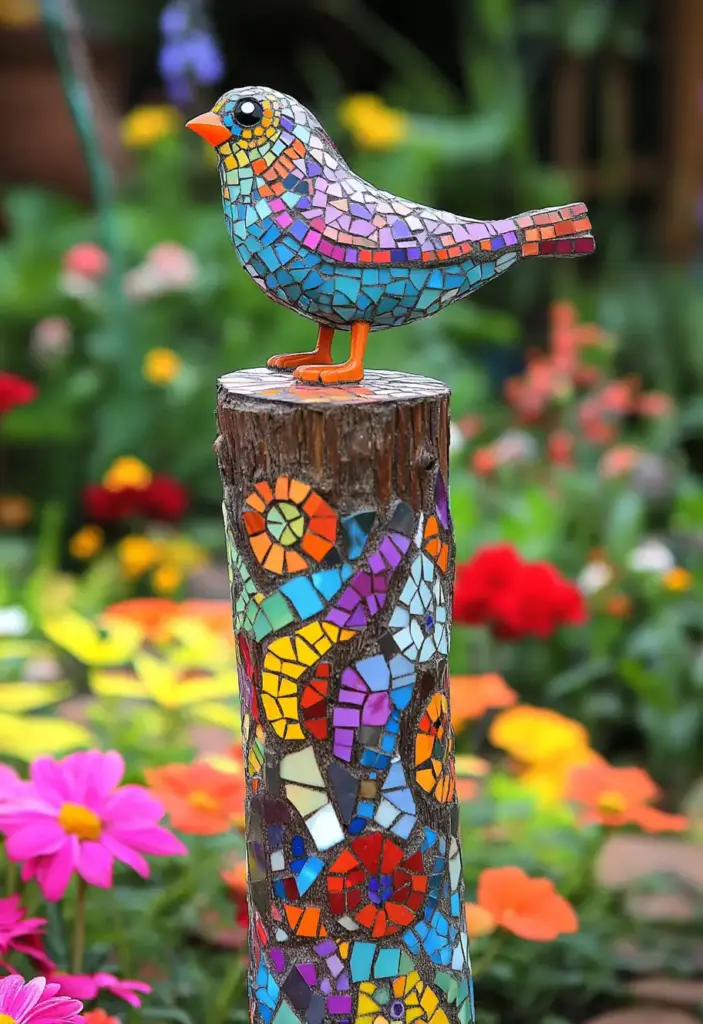
Mosaic garden sculptures are a remarkable way to infuse your outdoor space with creativity, personality, and a touch of whimsy. These eye-catching pieces can range from abstract shapes to animal figures, each telling a unique story that adds depth and interest to your garden. Imagine a mosaic owl perched among the flowers, or a vibrant abstract pillar that stands tall as a testament to your artistic vision.
To create your own mosaic sculpture, begin by selecting a sturdy base. Concrete, metal frames, or pre-formed sculptures are excellent choices, offering the durability needed to withstand the outdoor elements. Clean the surface thoroughly to ensure the adhesive bonds well.
Next, gather your mosaic materials—colorful tiles, glass, or even broken ceramics—choosing colors and shapes that complement your garden’s overall design. Apply an outdoor-safe adhesive to small sections of the sculpture at a time, pressing each piece of mosaic gently but firmly into place. Take your time to create patterns that reflect your creativity and imagination.
Once your design is complete, fill the gaps with grout, wiping away any excess with a damp sponge. After the grout has dried, apply a weather-resistant sealant to protect your sculpture from rain and sun. Position your masterpiece in a spot where it can be admired from multiple angles, enhancing the visual impact and drawing the eye into your garden’s design.
Mosaic garden sculptures are more than just decorations—they’re statements of your artistic expression and a way to make your garden truly one-of-a-kind. Regular maintenance, including cleaning and checking for any loose pieces, will keep your sculpture vibrant and beautiful for years to come. Let your creativity run wild, and watch your garden come alive with the magic of mosaic art.
Conclusion
Mosaic stepping stones and features add unique artistry to any garden, transforming ordinary areas into vibrant sanctuaries. For even more inspiration, check out our guides on front yard landscaping and rustic rock landscaping. Start small or go big—your garden’s beauty is limited only by your imagination!
FAQ
How do I make mosaic stepping stones durable enough for the outdoors?
Use weather-resistant materials like outdoor-safe adhesive and sealants. Apply a protective coating to keep colors vibrant and prevent damage from rain and sun.
Can I use broken ceramics for my mosaic projects?
Absolutely! Broken ceramics, glass, and even repurposed tiles can add unique textures and colors to your mosaic creations.
How do I maintain my mosaic features?
Regular cleaning and checking for loose tiles are key. Use a damp sponge and mild soap to keep them looking fresh, and reseal them periodically for added protection.



I just love what you have posted here your Creations are fabulous! Could you please recommend the correct products to use for outdoor mosaic. I live in colorado. We have high heat in the summer and freezing in the winter. I would probably bring pieces inside in the winter. But I’m unsure what adhesive, sealant, grout, to use. Could you recommend?
Thank you thank you,
Sue