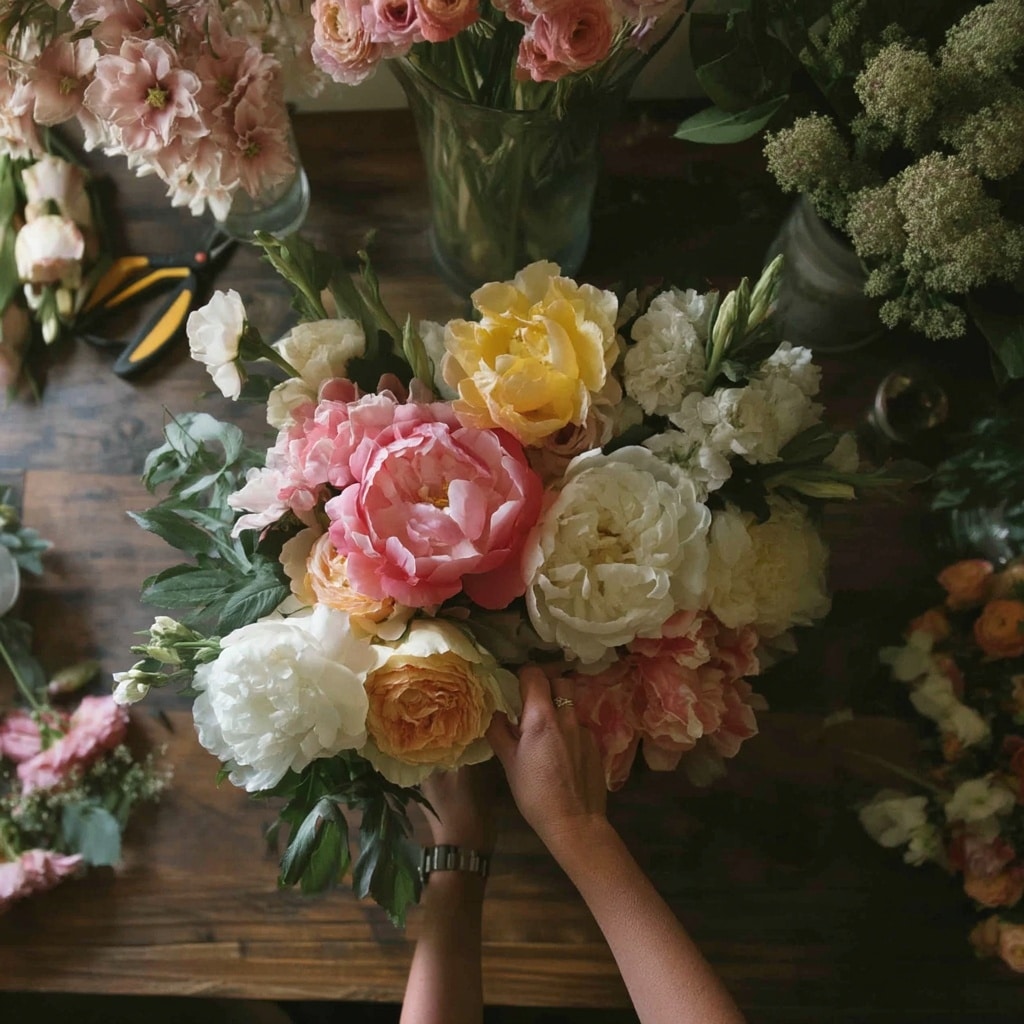
Flower arrangements aren’t just beautiful—they’re a creative expression of nature and personal style. Whether you’re preparing a centerpiece for a dinner party or simply adding color to your kitchen counter, knowing how to make flower arrangements at home can turn an ordinary bunch of blooms into a stunning visual display. While tossing flowers into a vase might work in a pinch, with just a few basic techniques, anyone can design arrangements that look polished and professional.
In this guide, you’ll learn eight simple, expert-approved steps to create elegant floral designs that last longer, look balanced, and bring joy to your everyday spaces. From choosing the right blooms and vases to layering greenery and filler flowers, each step is easy to follow—perfect for both beginners and seasoned garden lovers.
Table of Contents
Step 1: Choose a Flower Arrangement Design
Before picking up a single bloom, take a moment to plan the overall look of your flower arrangement. Start by choosing a color palette that suits the mood or space you’re designing for. Monochromatic combinations—like all whites or shades of pink—can feel elegant and cohesive. On the other hand, using complementary colors (like purple and yellow, or blue and orange) creates bold, eye-catching contrast.
But don’t overthink it. Some of the most charming flower arrangements come from simply selecting what’s fresh, seasonal, or available in your garden. Flowers with different textures, heights, and bloom sizes often work beautifully together—even without a strict color scheme.
💡 Pro Tip: Keep an open mind while shopping. Let the flowers inspire you rather than sticking to a rigid plan. This keeps the process fun and allows for more natural creativity.
Step 2: Cut and Prepare Flowers
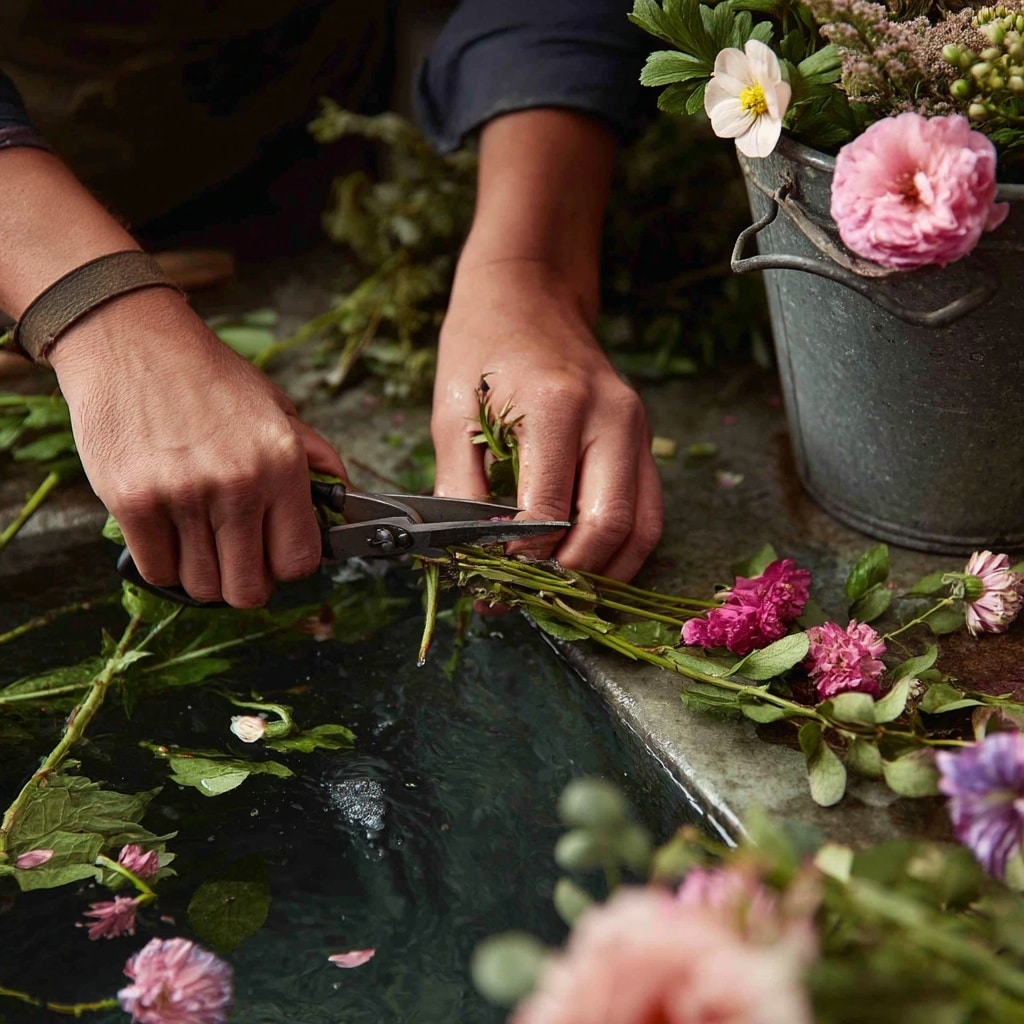
Once you’ve gathered your flowers, resist the urge to start arranging immediately. Proper preparation is the secret to long-lasting flower arrangements. Begin by gently removing any extra leaves, thorns, or wilted petals from the stems. If there are small buds on the same stem as a full bloom, trim those off so the larger flower gets all the energy and attention.
Next, cut each stem at a 45-degree angle using clean, sharp scissors or floral clippers. This angled cut allows the stem to absorb more water. Immediately place the trimmed stems in a bucket or temporary vase filled with fresh water and a packet of flower food (most store-bought bouquets come with one).
💡 Quick Tip: Let the flowers hydrate for at least an hour before arranging. This helps them perk up and stay vibrant longer.
Step 3: Choose a Vessel
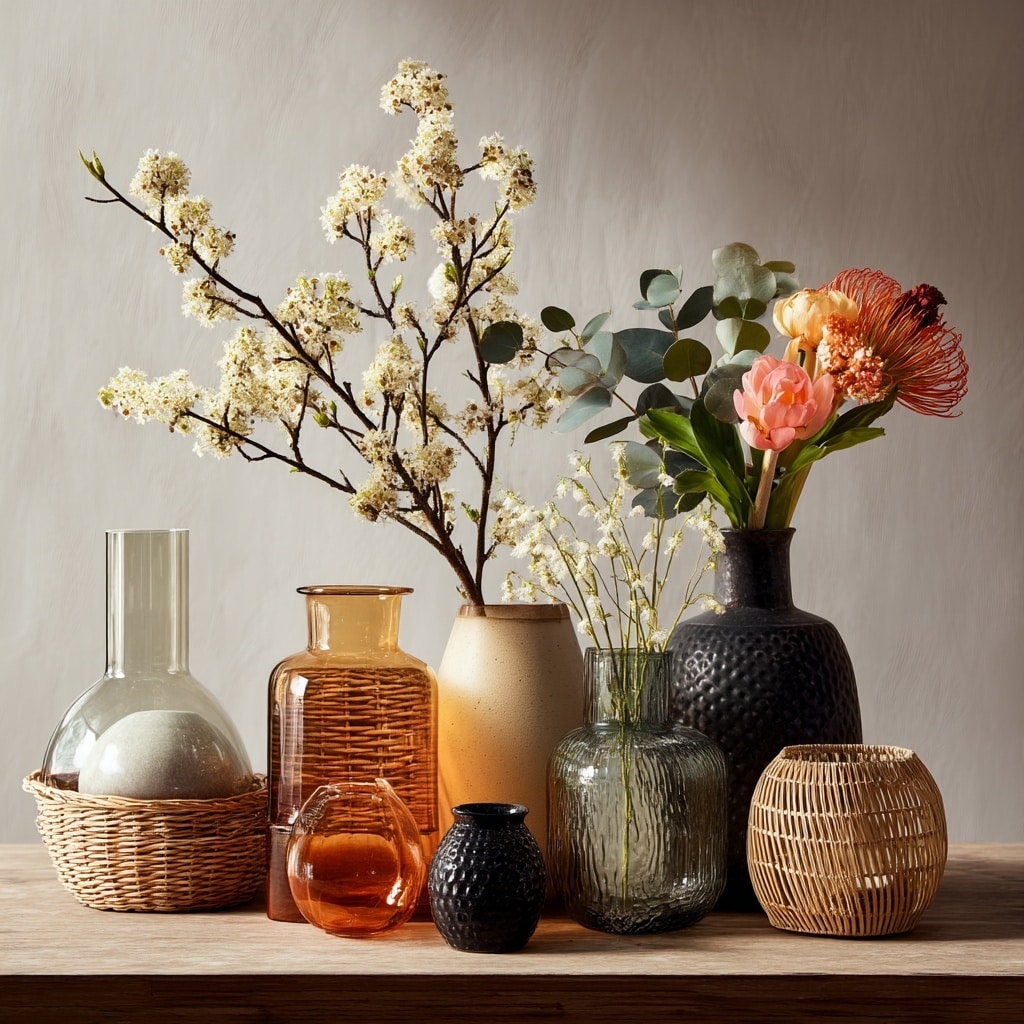
The container you choose is just as important as the flowers themselves. Your vessel sets the tone for the entire arrangement, whether it’s a classic glass vase, a rustic ceramic pitcher, or even a woven basket lined with plastic. The shape, height, and weight of the container should complement the types of blooms you’re using.
For instance:
- Top-heavy flowers like hydrangeas or peonies need a stable, weighted base.
- Delicate stems like tulips benefit from a tall, narrow vase to support their natural bend.
- Branches or wildflowers pair beautifully with wide-mouthed jars or farmhouse-style containers.
💡 Creative Tip: If you’re using a basket or non-waterproof vessel, place a small plastic cup or container inside to hold the water. Add moss or greenery around the rim to hide it for a polished look.
Choosing the right vessel not only enhances the visual impact but also ensures your flower arrangements stay upright and well-supported.
Step 4: Prepare Your Flower Vase

Before you begin placing stems, it’s important to set up a solid structure inside your vase. This foundation helps hold each flower in place and keeps your flower arrangements looking full and balanced.
Here are a few methods to prep your vase:
- Create a tape grid: Use clear floral tape to make a crisscross pattern over the mouth of the vase. This grid gives support and spacing to each stem.
- Use a floral frog: This is a reusable insert with small pins or holes that hold stems securely. It’s especially helpful for wide or shallow containers.
- DIY support: Bend a small piece of chicken wire into a ball and nestle it inside the vase. It acts like a flexible framework for placing stems.
Whatever method you choose, make sure your vase is clean and filled about two-thirds with fresh, cool water. Add flower food for extra nourishment.
💡 Pro Tip: Change the water every other day and trim stems slightly each time to keep your arrangement fresh and mold-free.
Step 5: Create a Base with Greenery
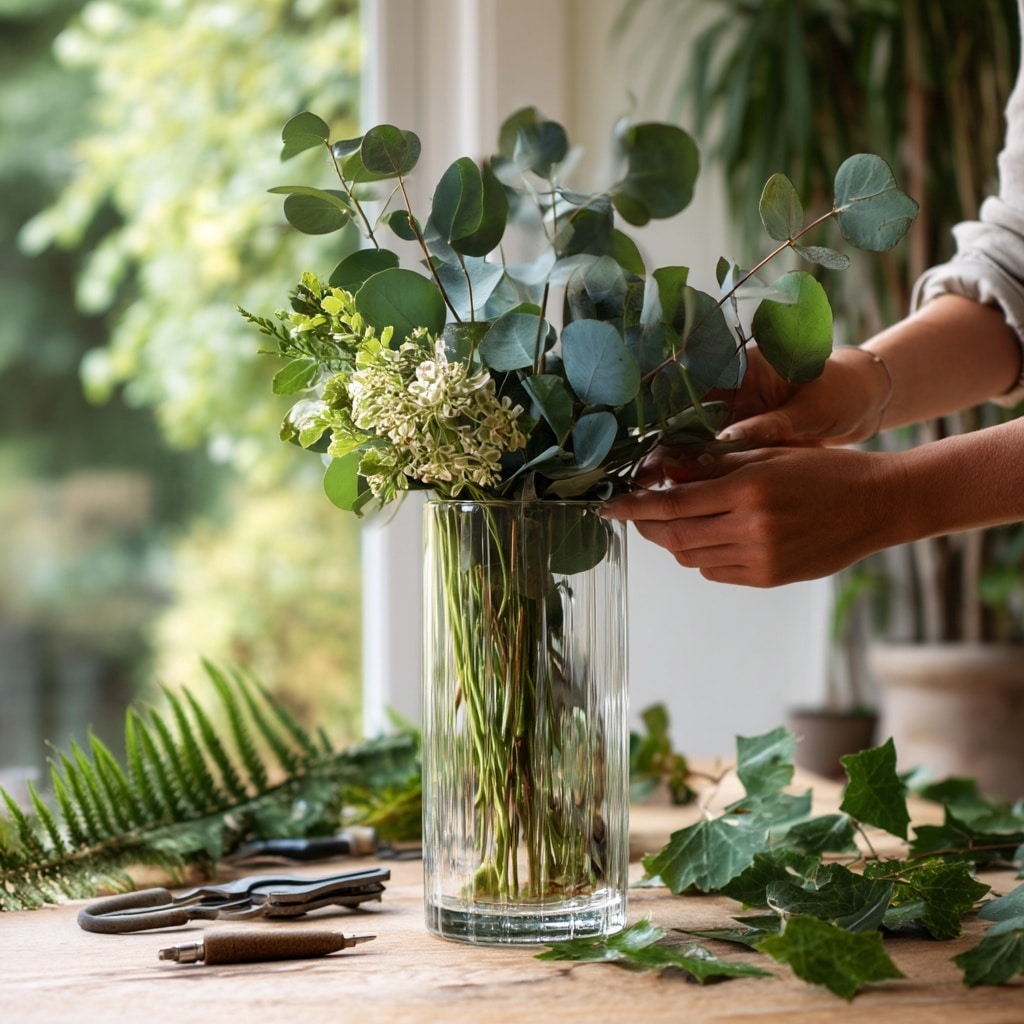
Every stunning flower arrangement starts with a strong foundation—and that means greenery. Before adding your colorful blooms, use foliage to build shape, structure, and depth. This step gives your flower arrangements a natural, balanced look and helps support the flowers you’ll add next.
Popular greenery options include:
- Eucalyptus – soft, draping texture with a soothing scent
- Fern fronds – perfect for adding volume
- Ivy – great for trailing edges or hanging baskets
- Ruscus or salal (lemon leaf) – versatile and sturdy
Arrange your greenery in an inverted triangle or dome shape, allowing some pieces to extend beyond the vase edges for a relaxed, garden-fresh feel. Make sure to trim the stems at an angle before placing them in the water, and turn the vase as you go to ensure even distribution on all sides.
💡 Design Tip: Don’t pack in too much. Leave space for the flowers to nestle in naturally.
Step 6: Add Focal Flowers
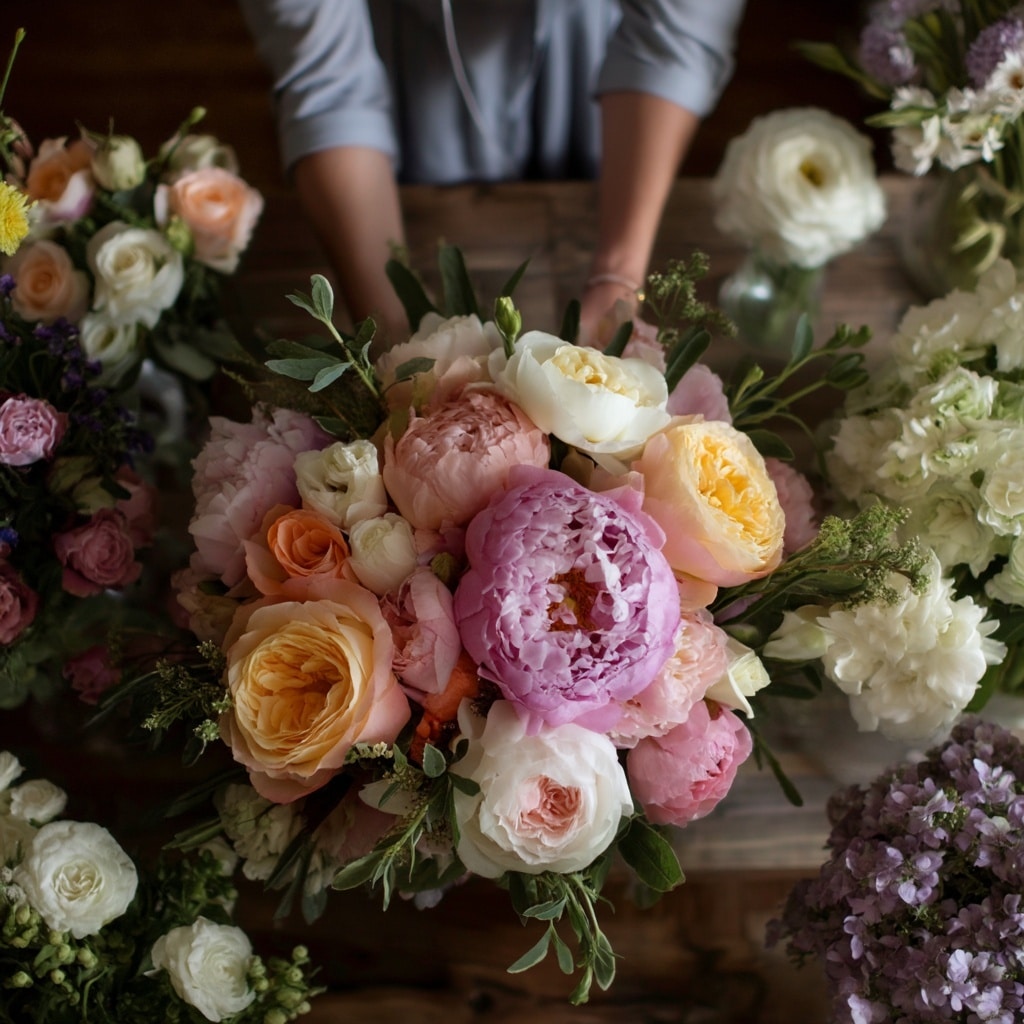
Now that your greenery is in place, it’s time for the stars of your flower arrangements—the focal flowers. These are typically the largest or most striking blooms in your selection. Think roses, peonies, dahlias, lilies, or sunflowers—anything with bold color, texture, or shape that instantly draws the eye.
Tips for placing focal flowers:
- Stick to odd numbers: Use 3, 5, or 7 for a natural, organic feel.
- Vary the heights: Don’t line them up at the same level. Let some stand taller and others nestle in closer to the greenery.
- Angle the stems: Avoid placing flowers straight out to the sides—they’ll droop. Instead, angle them slightly inward or upward for a more perky, structured look.
If you have a turntable or lazy Susan, place the vase on it while arranging so you can easily view all sides without handling the flowers too much.
💡 Pro Tip: Keep focal blooms close but not crowded. Each should have space to stand out.
Step 7: Add Filler Flowers

With your focal blooms in place, it’s time to fill the gaps using smaller, supporting flowers. These filler flowers add texture, color variation, and softness, helping your flower arrangements look full and cohesive without overwhelming the main blooms.
Great filler flower options:
- Baby’s breath – airy and delicate
- Statice – adds color and volume
- Waxflower – tiny, long-lasting blossoms
- Solidago (goldenrod) – a wildflower touch
- Mini carnations or spray roses – affordable and versatile
As you place these fillers, think of your arrangement as a dome. You want to fill in all angles—not just around the top, but in between and slightly below the focal flowers too. Grouping filler flowers in small clusters (usually in sets of 3 or 5) mimics how they grow naturally and makes the arrangement feel more organic.
💡 Design Tip: Step back every few minutes and look at your bouquet from all sides. Adjust any gaps or uneven spots as needed.
Step 8: Finish the Arrangement
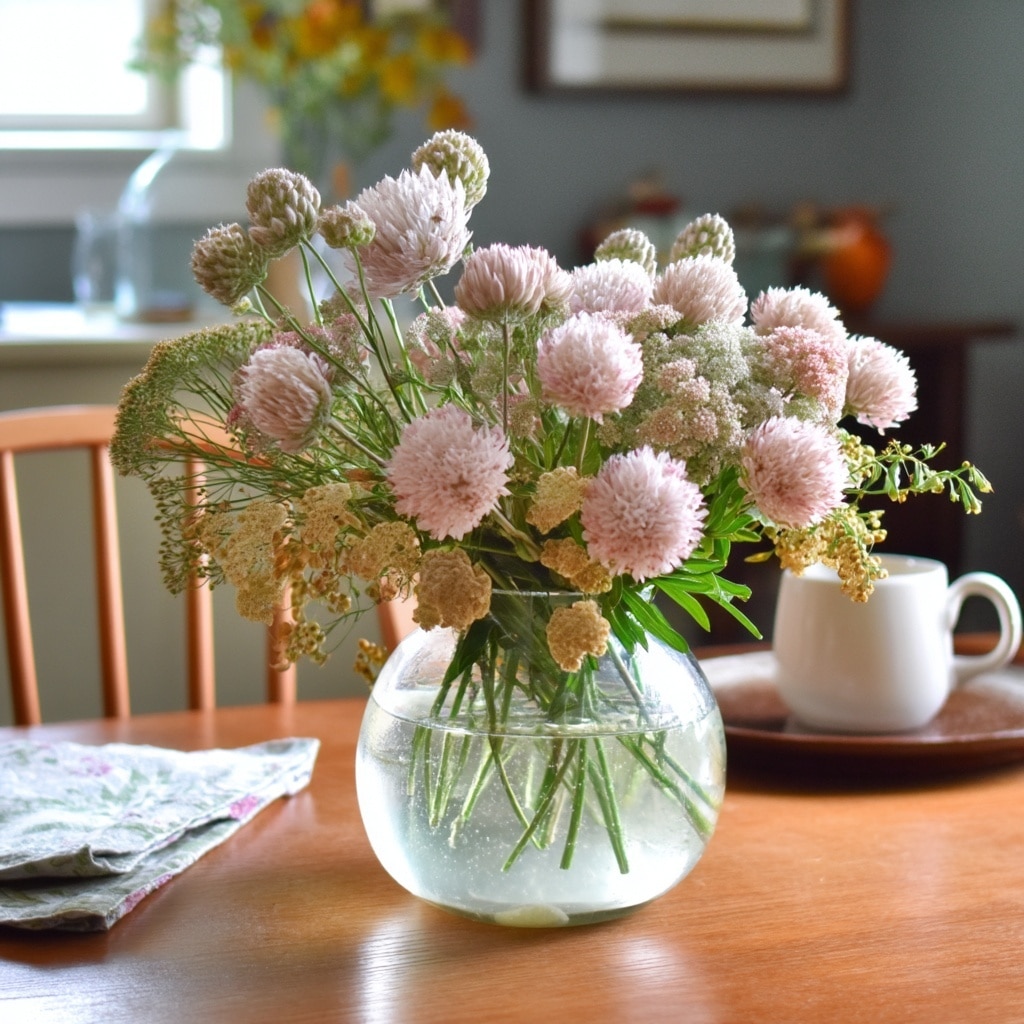
To bring your bouquet together, add the finishing touches with light, airy blooms and fine details. These delicate flowers—often called floaters—add movement and softness to your flower arrangements, filling in any small gaps and creating a balanced, natural look.
Common finishing flowers include:
- Baby’s breath – adds a gentle, cloud-like texture
- Sedum – soft clusters that complement almost any flower
- Yarrow – brings in earthy charm with subtle color
- Astilbe or Queen Anne’s lace – feathery and romantic
Place these last, tucking them lightly into open spaces without crowding the focal flowers. Because these blooms are softer and more fragile, adding them at the end keeps them from being crushed or hidden.
Once you’re happy with the shape and fullness, mist the entire arrangement lightly with water. This gives it a fresh, dewy look. Then, display your creation in a cool spot away from direct sunlight, and remember to top off the water every day or two to keep the flowers hydrated.
💡 Final Tip: Trim stems and change the water every couple of days to prevent bacteria and extend vase life.
Conclusion
Creating beautiful flower arrangements at home doesn’t require a florist’s license—just a bit of planning, creativity, and care. By following these eight simple steps, you can transform any bunch of blooms into a professional-looking centerpiece or everyday display. From selecting a cohesive color palette to placing the final floaters, each stage adds depth and personality to your bouquet.
Whether you’re decorating for a special occasion or just brightening your kitchen, mastering how to make flower arrangements at home lets you bring the beauty of nature indoors in your own unique style.

