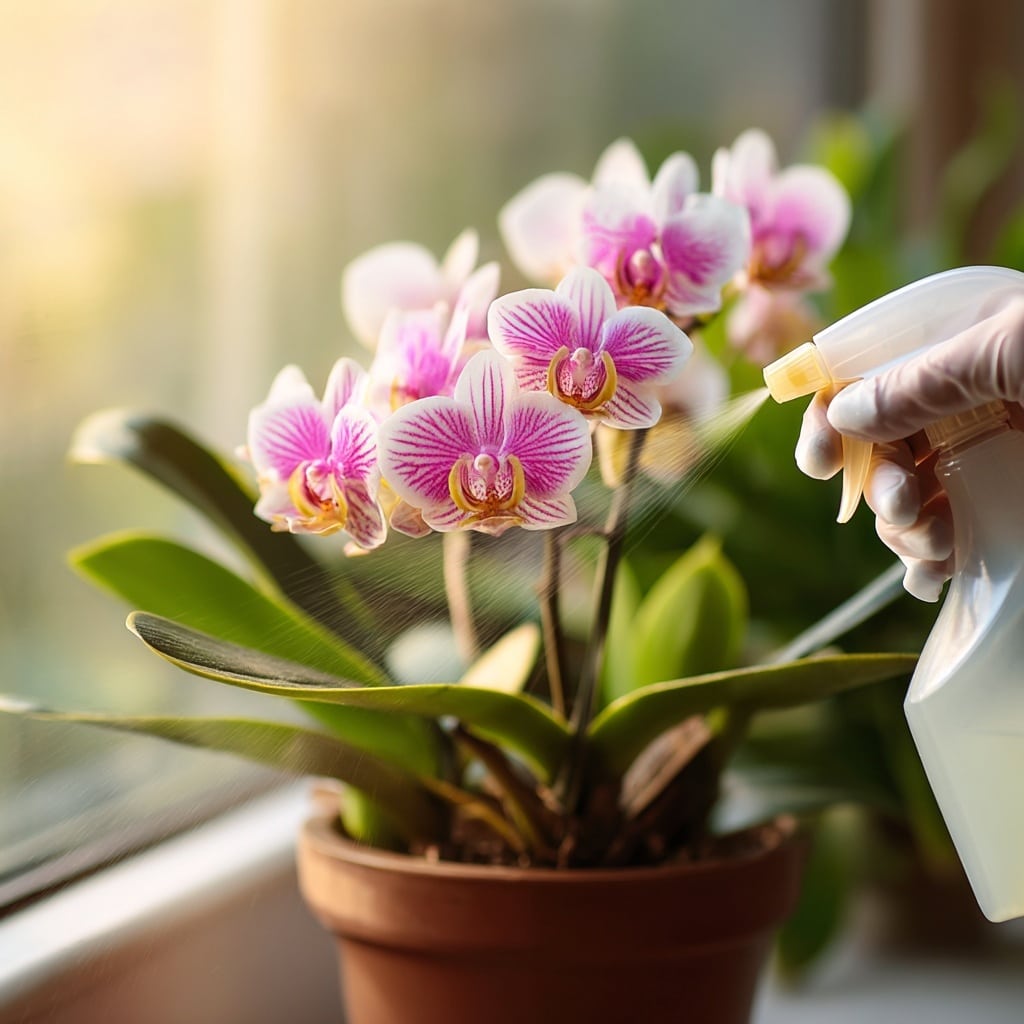
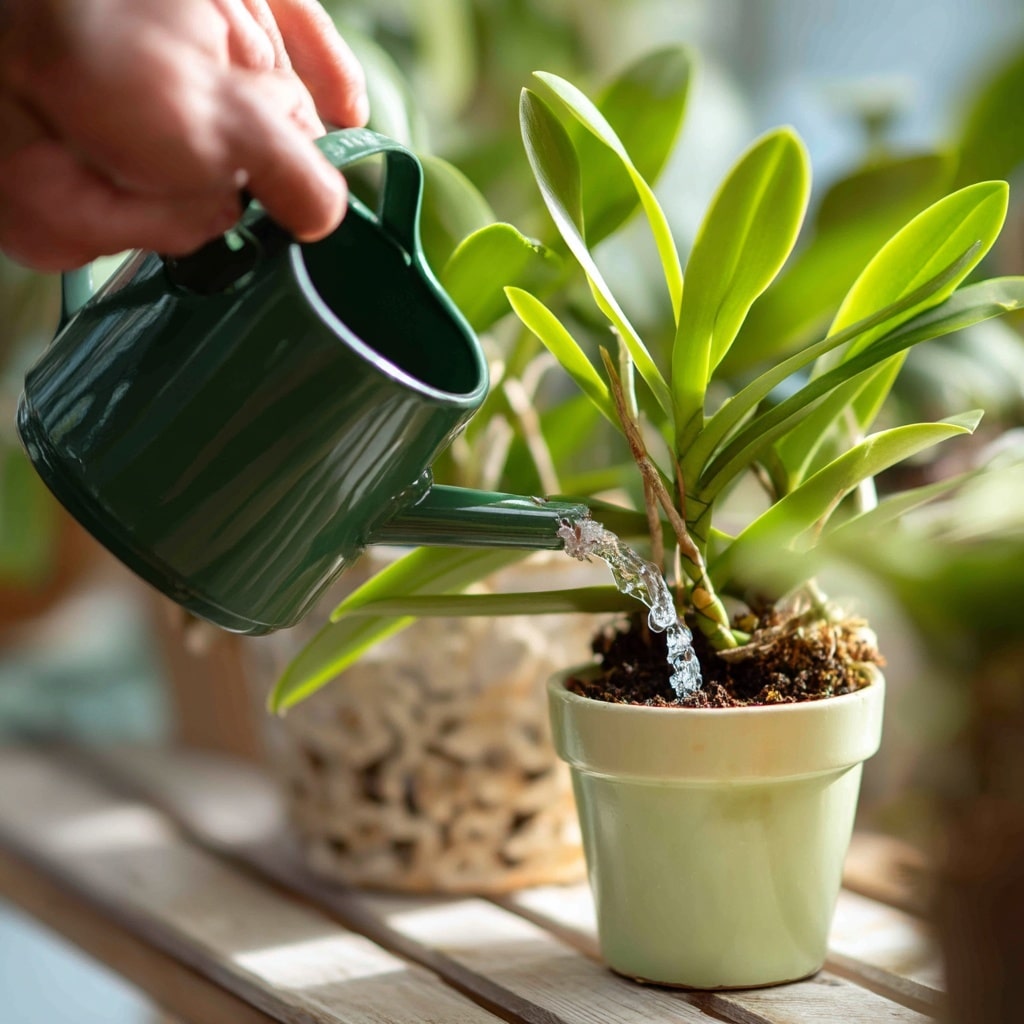
Orchid care can seem mysterious, especially after those breathtaking blooms fade and you’re left with a cluster of plain green leaves. But don’t give up on your plant just yet—knowing how to fertilize orchids for more blooms is the secret to turning that dormant-looking pot into a thriving floral display again. Fertilizing orchids isn’t like feeding your typical houseplants. It takes the right approach, timing, and a little patience to keep these exotic beauties healthy and blooming year after year.
In this article, we’ll walk through five expert-backed tips for fertilizing your orchid the right way—from when to start feeding, to what type of fertilizer to use, and even when to stop. Whether you’re a beginner or a seasoned grower, these simple steps can make a huge difference in your orchid’s performance.
Table of Contents
1. Use a Diluted, Balanced Fertilizer Specifically for Orchids
Choosing the right fertilizer is essential if you want your orchid to thrive and rebloom. Look for a balanced formula—typically labeled 10-10-10—designed specifically for orchids. This means it contains equal parts nitrogen, phosphorus, and potassium, which support leaf growth, root development, and flowering.
But here’s the trick: dilution matters. Instead of using the full strength recommended on the label, mix your orchid fertilizer at one-quarter strength. Orchids prefer frequent, light feedings over heavy doses. Over-fertilizing can burn delicate root systems and do more harm than good.
A weak but consistent feeding routine helps build a strong foundation of healthy roots and foliage, which is exactly what your orchid needs to prepare for its next blooming cycle.
2. Skip Fertilizing During the Winter Months

When the colder months roll in, your orchid naturally slows down. Days get shorter, temperatures drop, and your plant enters a resting phase. This is completely normal—and crucial for healthy growth.
During this dormant period, fertilizing can actually harm your orchid. The plant isn’t actively using nutrients, so feeding it now can result in root burn or salt buildup in the potting medium, which stresses the plant.
Instead, give your orchid a break. Hold off on all fertilization from late fall through winter—typically November through February, depending on your climate. Let the plant rest, focus on maintaining a stable environment with indirect light and proper humidity, and resist the urge to “push” it with extra food.
🌡️ Important: If you notice absolutely no new growth and temperatures remain cool, that’s your cue to pause the fertilizer completely.
3. Start Fertilizing in Late Winter or Early Spring When New Growth Appears
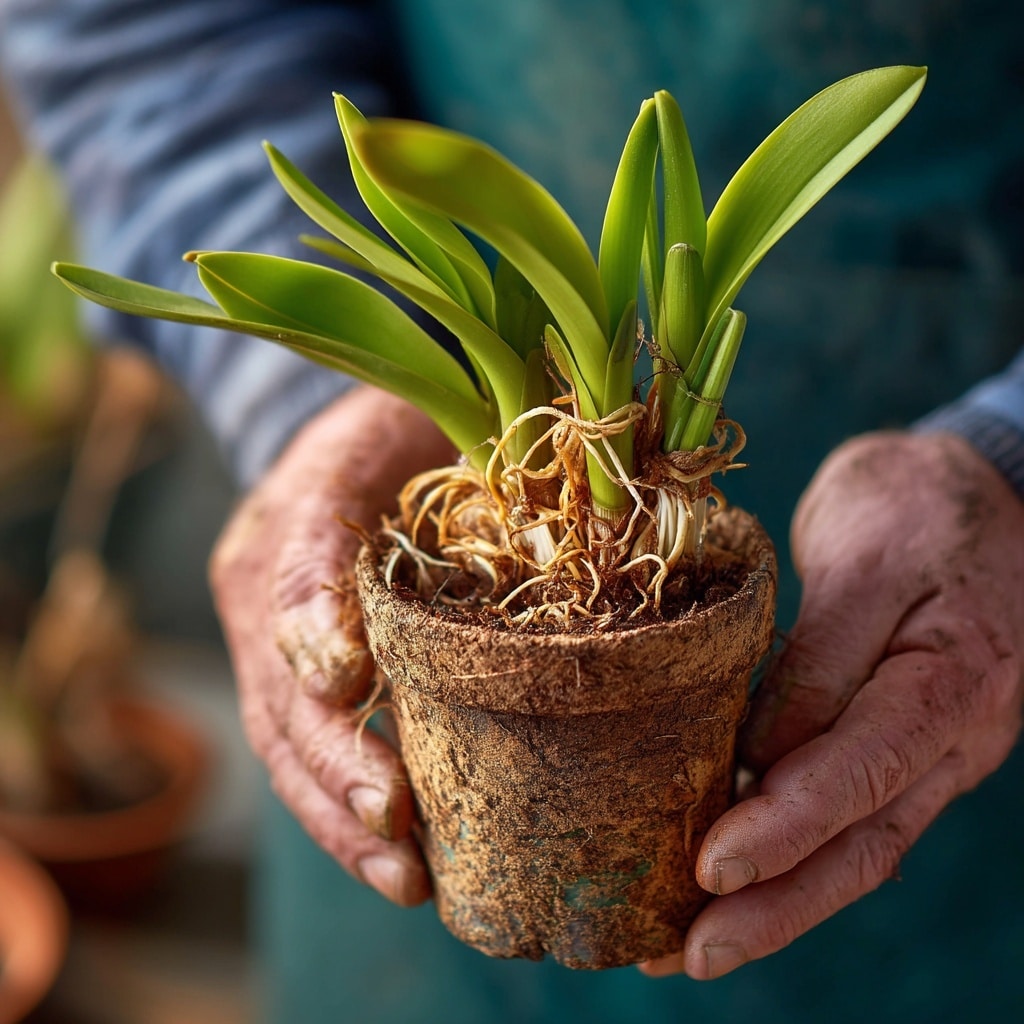
After a few quiet winter months, your orchid will begin waking up. You’ll notice signs like new leaf tips, root buds, or even tiny shoots pushing out from the base. This is your signal: it’s time to start fertilizing again.
Generally, late February to early April is the right window to resume feeding, depending on your local climate. If you live in a warmer southern region, you might see growth as early as March. In cooler northern areas, it could be closer to May.
This early growth stage is when your orchid needs a boost. Fertilizer at this time helps support root development, leaf expansion, and flower spike formation—setting the stage for a strong blooming season.
🔍 Watch for cues: Don’t go by the calendar alone. Begin fertilizing only once your orchid shows active growth.
4. Fertilize Every Two Weeks During the Growing Season
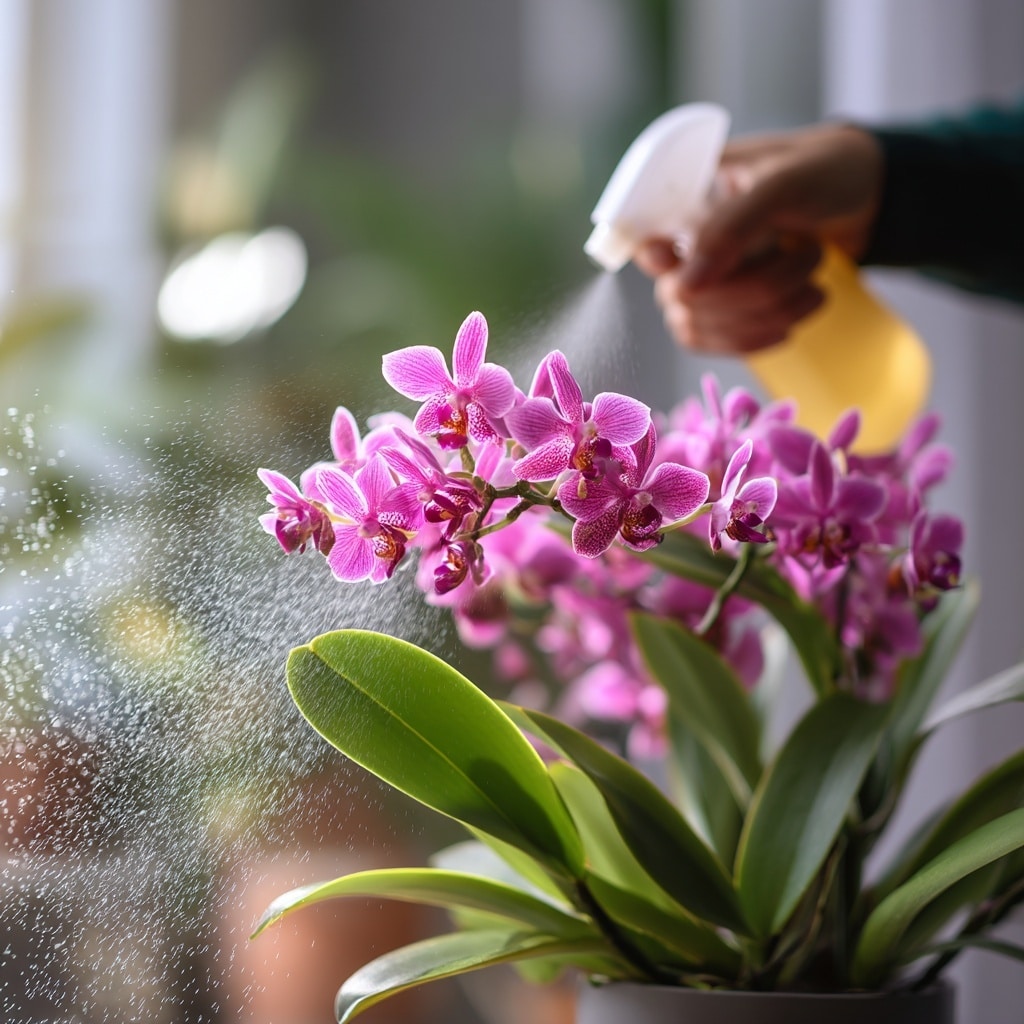
Once your orchid enters its growing season—usually March through October—a steady feeding routine will make all the difference. During this time, orchids are busy building roots, extending leaves, and preparing flower spikes. To support all that effort, you’ll want to fertilize every other week using your diluted orchid fertilizer.
But there’s more: adding Epsom salt into your routine can give your orchid an extra edge. Mix 2 tablespoons of Epsom salt into a gallon of water, and lightly spray the leaves about once a month during the growing season. This provides magnesium and calcium—two essential nutrients that promote vibrant green foliage and stronger chlorophyll production.
Stick with the “weakly, weekly” concept even if you’re only feeding bi-weekly. The idea is to avoid shocking the roots while providing consistent nutrition to support blooming.
🧪 Pro Tip: Always water your orchid first before fertilizing to prevent root burn.
5. Stop Fertilizing Just Before Halloween
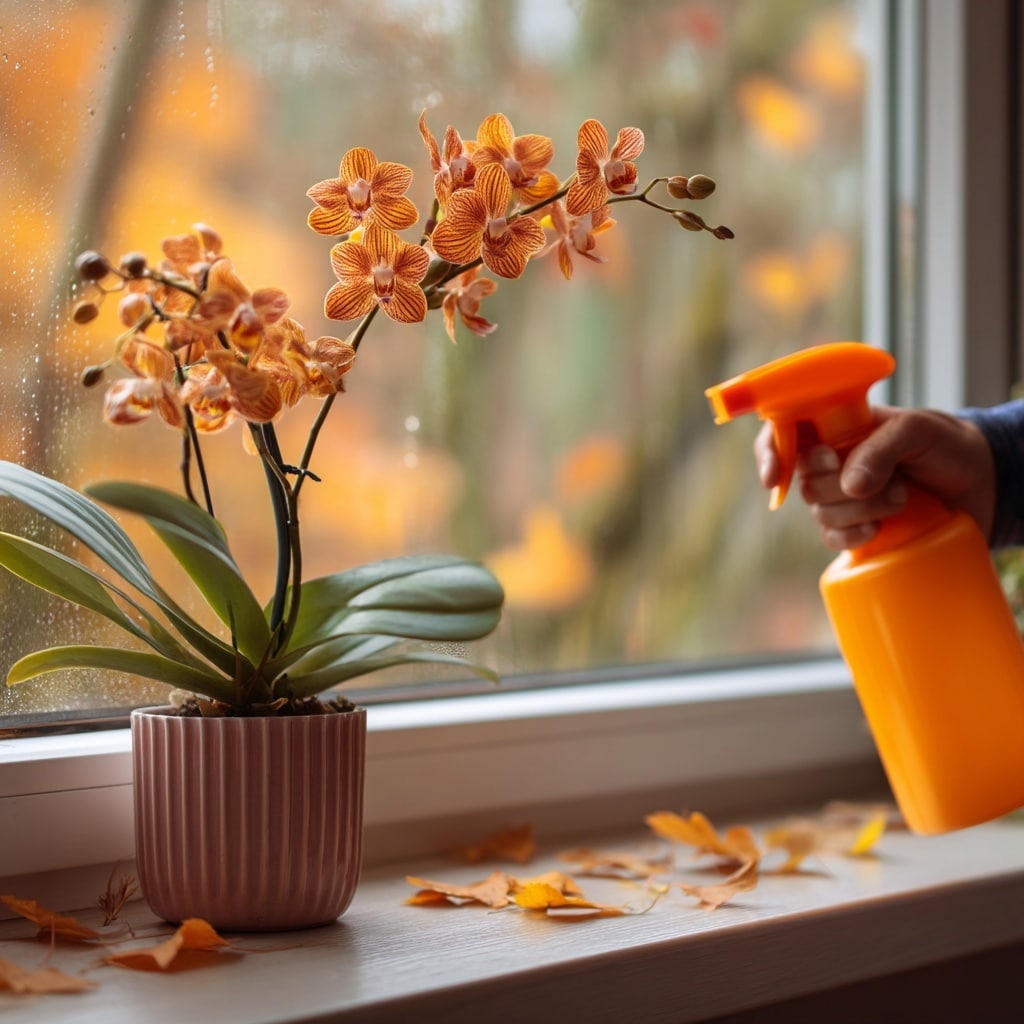
As fall approaches, your orchid begins to shift its energy toward blooming rather than growing. By late October, it’s time to stop fertilizing entirely. Continuing to feed your orchid past this point won’t lead to more flowers—in fact, it can confuse the plant and delay the bloom cycle.
The cooler temperatures and lower light levels of fall signal to the orchid that it’s time to focus on producing a flower spike. At this stage, the nutrients it needs are already stored in its roots and leaves. More fertilizer won’t help and may even hinder the natural cycle by overstimulating growth.
To support your orchid now, focus on stable light, proper humidity, and cooler night temperatures (ideally in the low 60s °F), which can help trigger bud development.
📅 Reminder: End fertilization by mid to late October, even if the plant still looks actively growing.
Conclusion
With the right care, your orchid can reward you with stunning blooms year after year. Remember: timing and moderation are everything. Start feeding with a diluted fertilizer when new growth begins, stay consistent during the growing season, and ease off just before fall. Avoid winter fertilizing, and always respond to your orchid’s natural signals.
By following these five fertilizing tips, you’re not just keeping your plant alive—you’re helping it thrive. A healthy orchid is a blooming orchid, and your efforts will show in every vibrant flower

