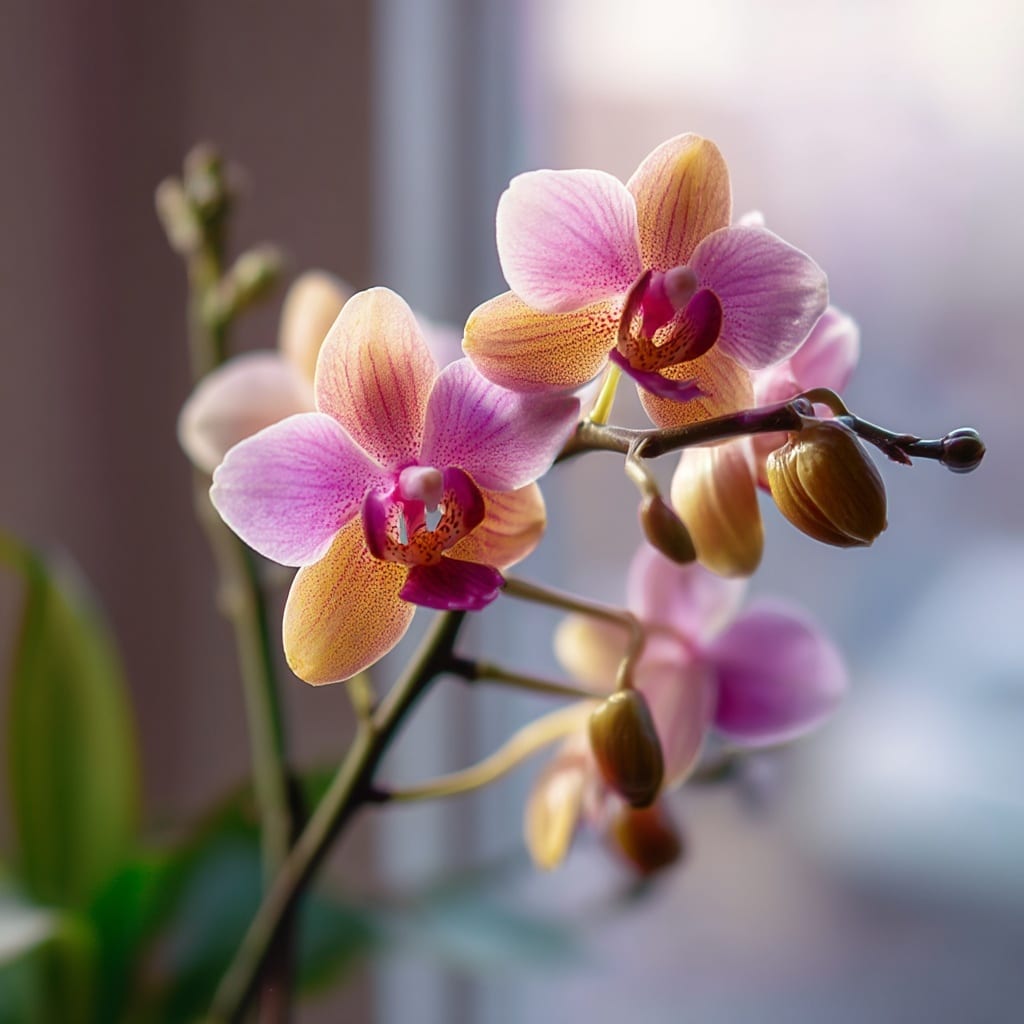
Orchid care can be incredibly rewarding, especially when those elegant blooms return after their first display. But many growers—especially beginners—find themselves wondering how to coax their plant into blooming again. If your orchid has finished flowering and you’re left staring at an empty stem, don’t worry—it’s not the end. With the right approach, you can absolutely encourage your orchid to grow a new spike and thrive season after season.
In this guide, we’ll walk through seven proven ways to promote spike regrowth, covering everything from environmental tweaks to fertilization tips. Whether you’re caring for a Phalaenopsis or another popular variety, these methods are designed to help your orchid flourish again.
Table of Contents
Understanding the Growth Cycle of Orchids
To help your orchid grow a new spike, it’s important to understand how its natural life cycle works. Like many flowering plants, orchids alternate between periods of active growth and dormancy. Each phase plays a crucial role in whether your plant has the energy and conditions needed to bloom again.
Most orchids go dormant during the colder months—typically in late fall and winter. During this time, growth slows down as the plant rests and stores energy. This phase is completely normal and doesn’t mean your orchid is unhealthy.
Once spring arrives, your orchid enters its active growing season. From early spring through late fall, the plant focuses on producing new roots, leaves, and—yes—flower spikes. This is your window to support new growth by giving it the right care.
By working with this natural rhythm instead of against it, you’ll be more likely to see healthy, vibrant spikes emerging at just the right time.
Provide Proper Growing Conditions

Creating the right environment is essential if you want your orchid to grow a new spike. These plants may be hardy, but they’re also sensitive to changes in light, temperature, humidity, and watering routines. Get these core conditions right, and you’ll set the stage for healthy growth and future blooms.
Bright, Indirect Light
Light is a major driver of spike development. Orchids need bright but indirect light—too little, and growth slows; too much, and the leaves can scorch. A spot near an east-facing window is ideal. If the leaves look dark green, your orchid may not be getting enough light. Aim for light green leaves, which often indicate proper exposure.
Temperature Control
Orchids thrive in daytime temperatures between 60°F to 80°F, with slightly cooler nights between 50°F and 70°F. These temperature shifts mimic their natural tropical environment and help trigger the hormonal responses that lead to spike formation. Avoid placing your orchid near drafty windows, vents, or heaters, which can disrupt this balance.
Humidity Matters
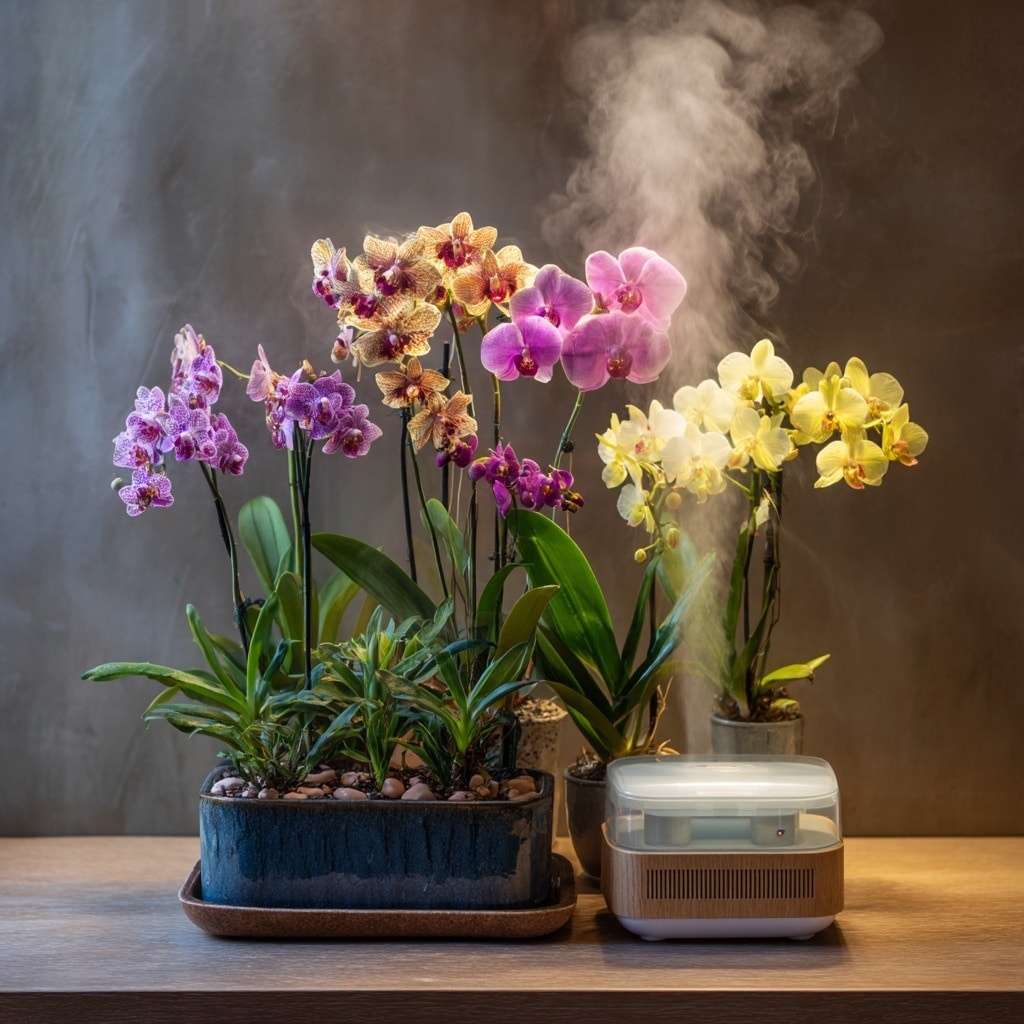
In their native habitats, orchids are used to high humidity levels. Aim for a relative humidity of 50% to 70%. If your indoor air is dry—especially in winter—consider using a small humidifier or placing a shallow tray of water with pebbles beneath your orchid pot. Just make sure the roots aren’t sitting in water, which can lead to rot.
Watering Wisely
Orchids dislike soggy roots just as much as they hate being too dry. The rule of thumb? Let the top inch of the growing medium dry out before watering again. Always use a well-draining orchid potting mix, and avoid leaving standing water in the pot or saucer. Overwatering is one of the most common reasons an orchid won’t grow a new spike.
Pruning and Maintenance
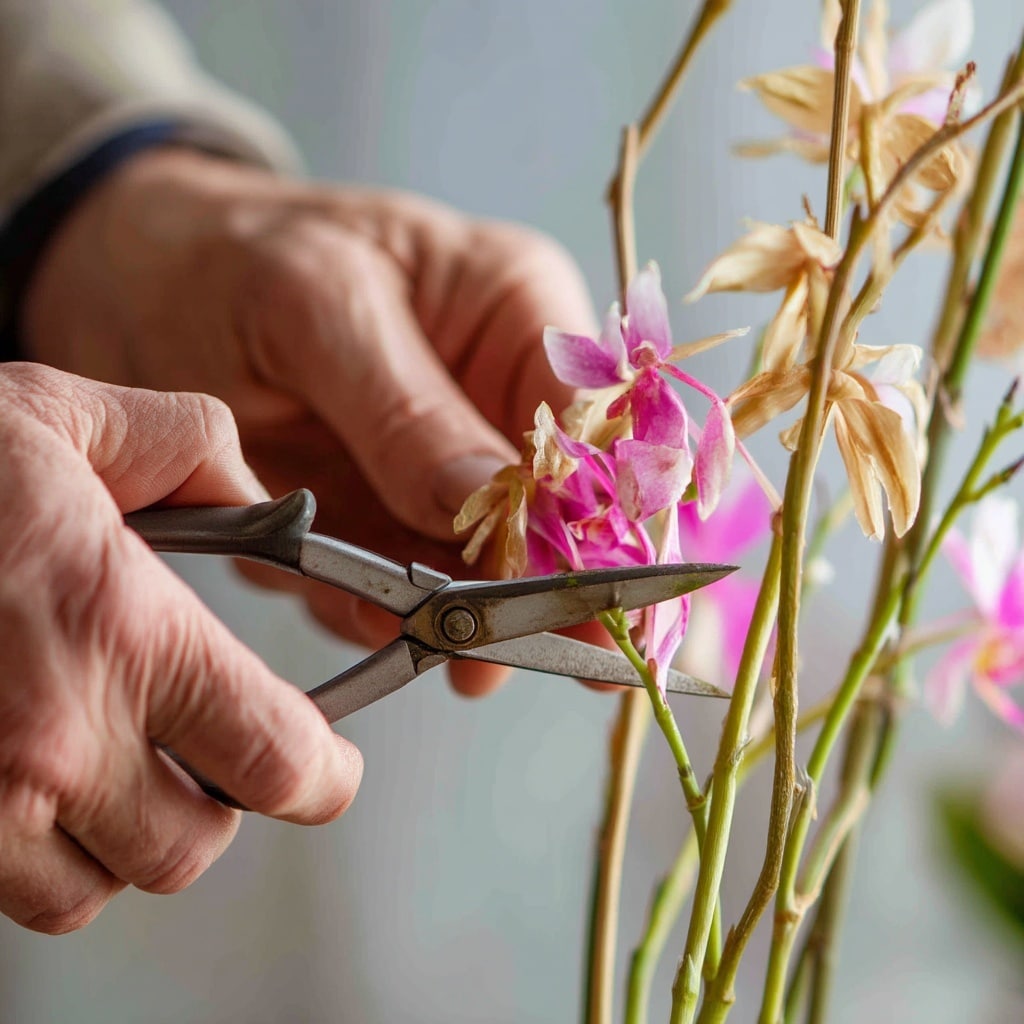
Good maintenance isn’t just cosmetic—it directly influences whether your orchid has the energy and space to grow a new spike. By pruning strategically and repotting when needed, you create a healthier root system and encourage your plant to focus its energy on new growth.
Trim Old Flower Spikes
Once your orchid has finished blooming, resist the urge to leave the faded spike in place. Use sterilized, sharp scissors or pruning shears to cut the spike just above the first node, or remove it entirely if it’s turned brown and dried out. This cleanup tells the plant it’s time to shift focus from seed production to new growth.
Remove Dead or Damaged Tissue
Check your orchid regularly for yellowing leaves, wilted roots, or any mushy or discolored parts. These can invite pests or fungus and sap energy from the plant. Gently trim away any unhealthy tissue using sterile tools to avoid contamination.
Repot Every 1–2 Years
Over time, potting medium breaks down and becomes compacted, reducing airflow to the roots. Repotting your orchid every one to two years provides fresh, well-draining media and keeps the roots healthy. It’s also a great opportunity to inspect the roots and trim away any that are dead or rotting.
Healthy roots are the foundation for a healthy orchid—and a healthy orchid is far more likely to produce new spikes during its growth season.
Stimulating New Growth
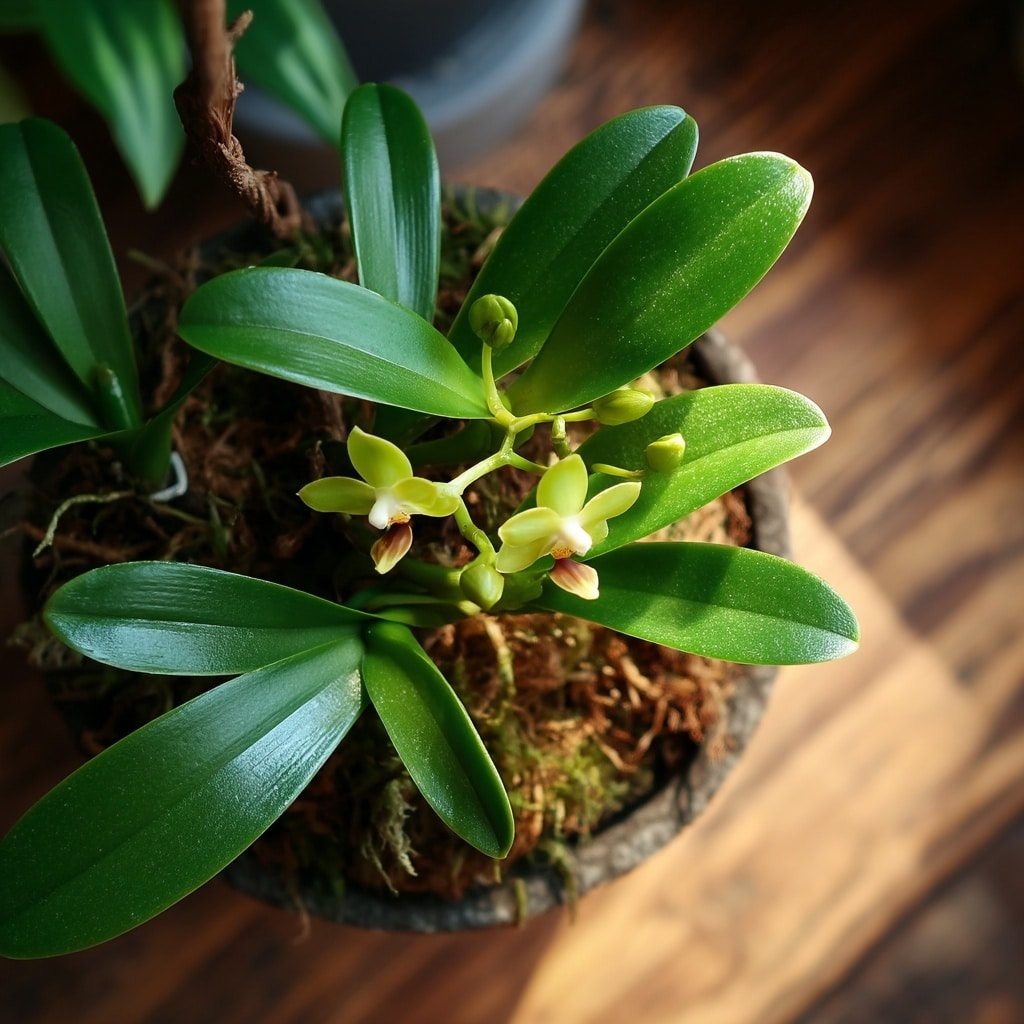
Once your orchid is healthy and properly maintained, it’s time to encourage new activity—specifically, the growth of a fresh flower spike. This part of the process involves strategic changes in temperature, feeding, and sometimes a little boost from nature (or science).
Use a Balanced Fertilizer
Feeding your orchid the right nutrients during its active growing season is critical. Choose a balanced fertilizer, such as a 20-20-20 blend or one designed specifically for orchids. Apply it every two weeks during spring and summer, then scale back during fall and winter when the plant is dormant.
Potassium and phosphorus are particularly helpful in spike development, so look for blends that support bloom production.
Introduce Cooler Temperatures
A slight temperature drop—especially at night—can signal to your orchid that it’s time to push out a new spike. For many varieties, placing the plant in a cooler room (around 55°F–60°F at night) for a few weeks can trigger this response naturally. Just avoid sudden swings that may stress the plant.
Try a Growth Hormone (Optional)
Some orchid growers find success using commercially available growth hormone sprays or paste, particularly those containing cytokinin. These products are often applied directly to nodes on an old spike or the base of the plant to promote new spike formation. Always follow instructions carefully and don’t overuse.
Keep Humidity Consistently High
If humidity drops below 40%, your orchid may focus on survival rather than new growth. Aim to maintain humidity levels above 50%, especially during this phase. Grouping orchids together or placing them near a humidifier can help create a mini “microclimate” ideal for spiking.
Fertilize Your Orchid Regularly
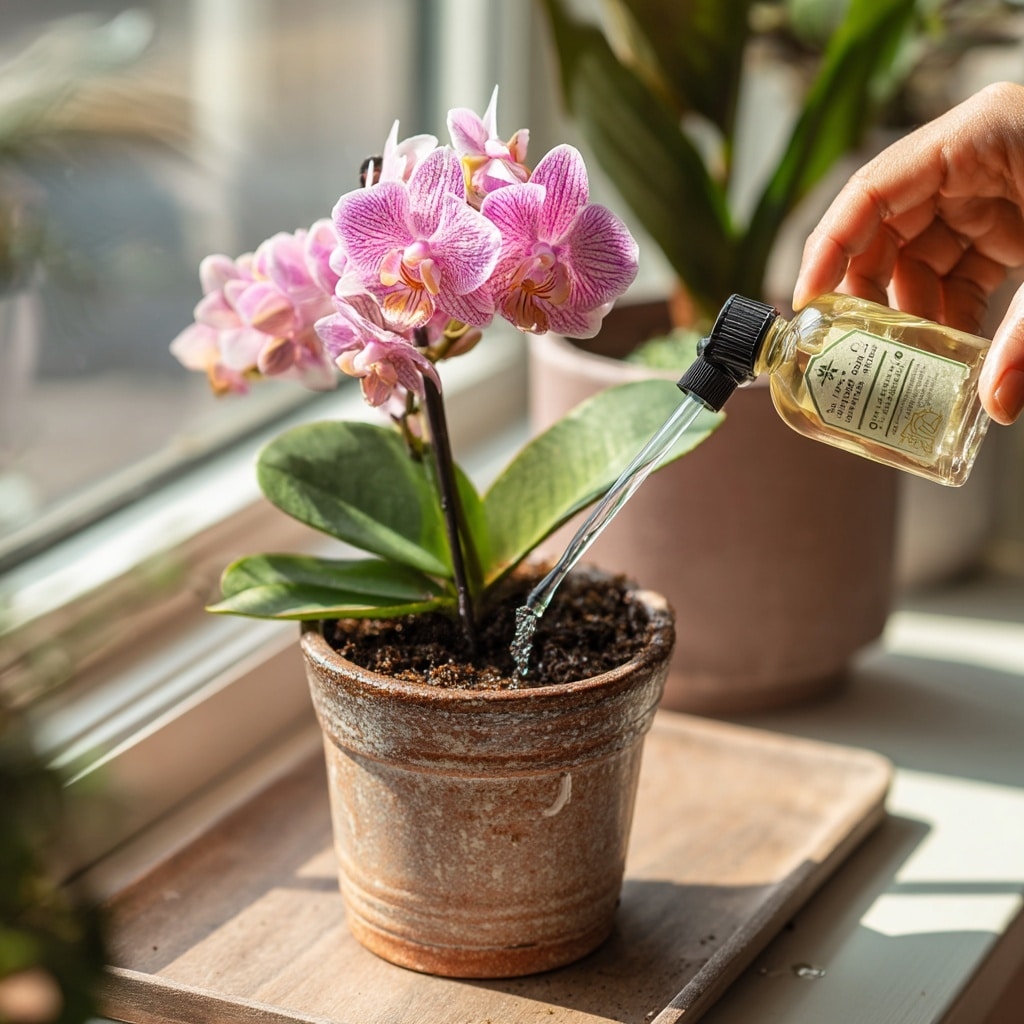
Consistent fertilization plays a major role in helping your orchid grow a new spike. While light and temperature set the stage, it’s the nutrients you provide that fuel the plant’s ability to produce strong, healthy growth—including those beautiful flowering spikes.
Stick to the Growing Season
Your orchid enters its active growth phase during spring and summer, which is the best time to fertilize. During this period, feed your orchid every two weeks with a diluted, balanced fertilizer. Avoid feeding heavily during the dormant winter months, when the plant isn’t actively growing or absorbing nutrients as efficiently.
Choose the Right Fertilizer
There are two good options:
- A general balanced formula (like 20-20-20)
- A specialized orchid fertilizer with higher potassium content to boost bloom potential
Liquid fertilizers are easy to use and absorb quickly, while slow-release granular types offer long-term feeding. Both can be effective—just choose the one that fits your care routine.
Follow Label Instructions
More isn’t better. Over-fertilizing can burn orchid roots and cause stunted growth or delayed blooming. Always dilute your fertilizer to half-strength unless otherwise noted by the brand. Under-fertilizing, on the other hand, can lead to weak spikes or no spike at all.
Only Fertilize Moist Roots
Never apply fertilizer to a dry orchid. Doing so can damage root tissue and lead to nutrient shock. Water your orchid first, then follow with the fertilizer solution to ensure proper absorption and prevent root burn.
Proper nutrition is a long-term investment—done consistently, it can help your orchid push out not just one, but multiple spikes over time.
Provide Adequate Lighting
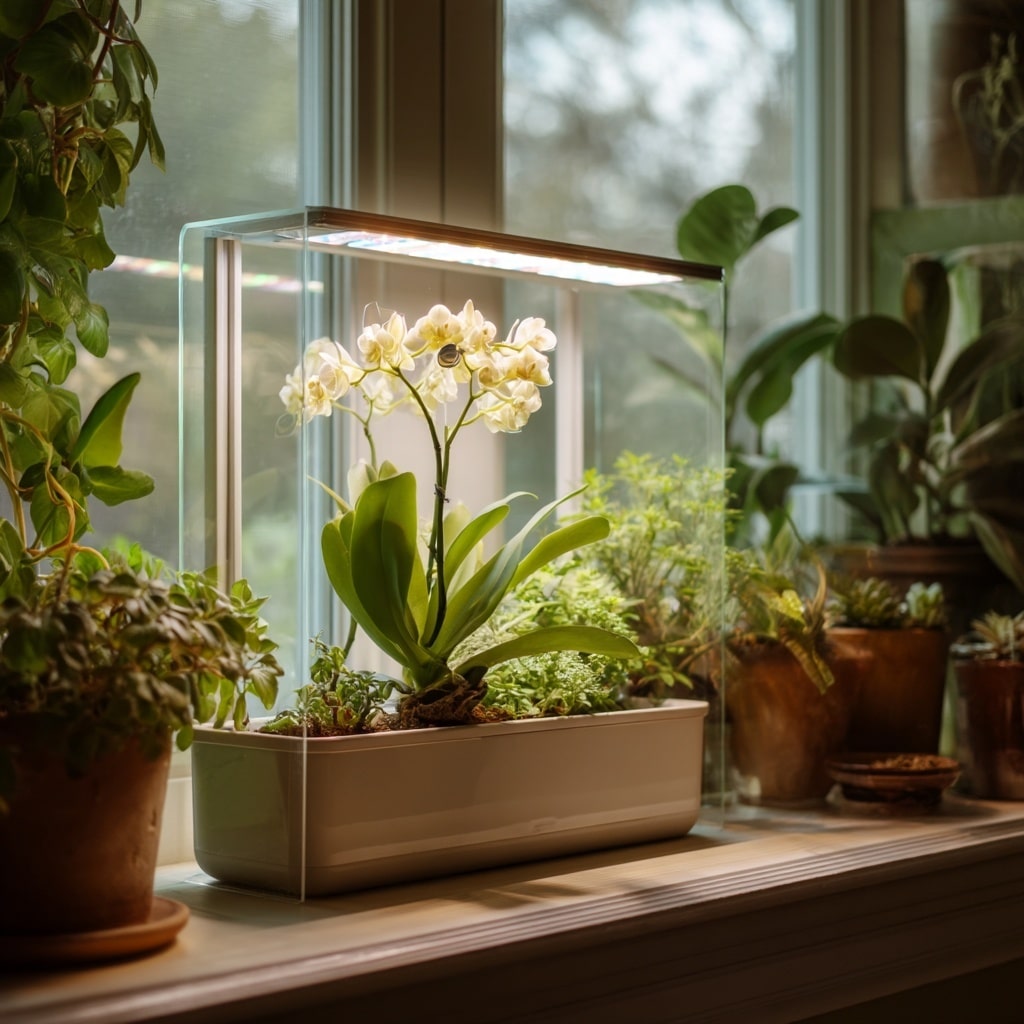
Light is one of the most important environmental factors that influences whether an orchid will bloom again. While orchids are adaptable, poor lighting is a common reason why a plant stays spike-free.
Bright But Gentle
Orchids thrive in bright, indirect light. Direct sunlight—especially midday sun—can scorch the leaves, while dim corners of your home will leave your plant starved for energy. The sweet spot is filtered light, such as near an east-facing window or behind a sheer curtain.
If you notice dark green leaves, your orchid may be lacking light. A light green color with a slight yellow hue is often a sign that lighting is just right.
Adjust Based on Orchid Type
Not all orchids are the same. For example:
- Phalaenopsis orchids prefer low to medium light
- Vanda and Cattleya orchids need brighter conditions
Knowing your orchid’s species will help you better match it to the correct lighting environment for spike development.
Use Grow Lights if Needed
If your home doesn’t get enough natural light—especially in the winter months—consider using LED grow lights. These are energy-efficient and provide a full spectrum of light ideal for orchids. Place the lights 12 to 18 inches above the plant and run them for 12 to 16 hours per day to mimic natural daylight.
Good lighting not only triggers new spike growth but also strengthens the leaves and root system, giving your orchid everything it needs to bloom beautifully.
Maintain the Right Humidity Levels
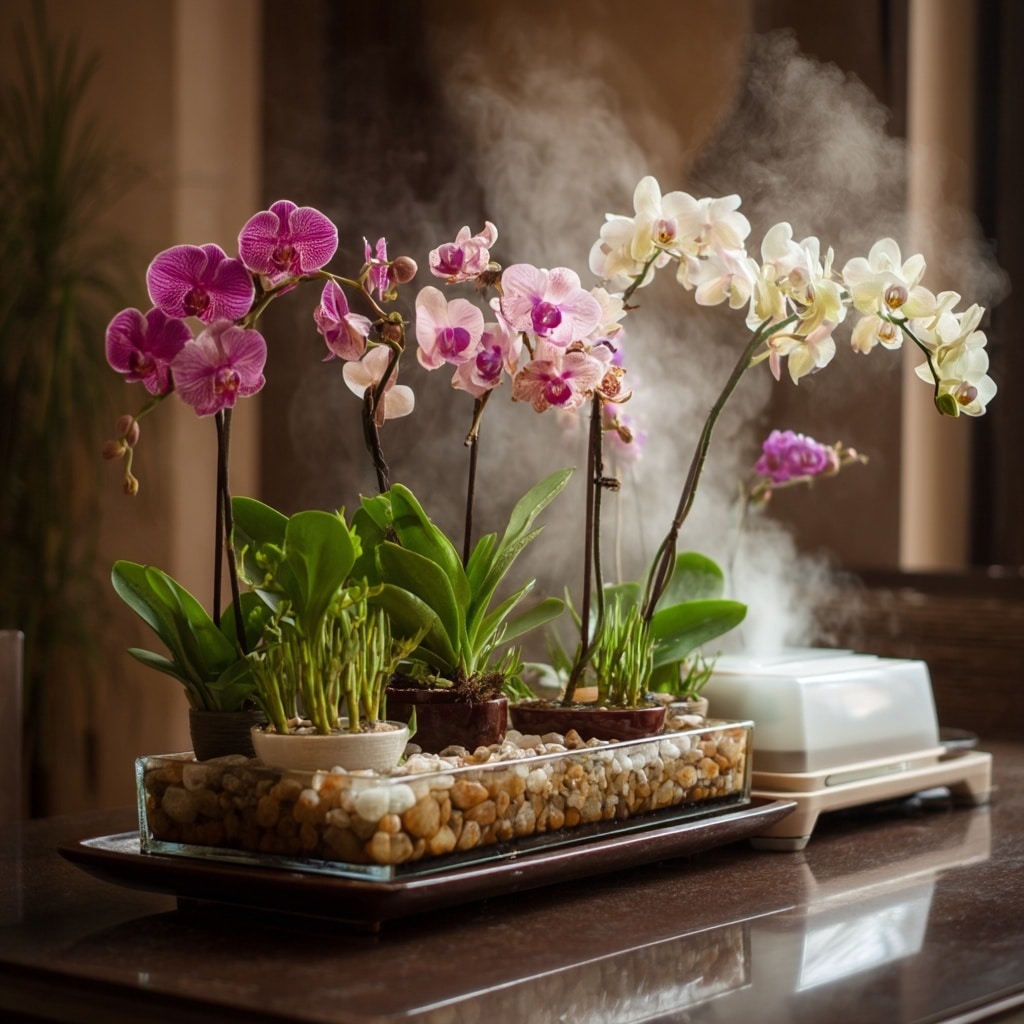
In the wild, orchids grow in tropical rainforests where the air is warm and humid nearly year-round. Recreating that environment at home is key if you want your orchid to grow a new spike. Low humidity can lead to dry leaves, brittle roots, and stalled growth—none of which supports reblooming.
Aim for 50%–70% Humidity
Most orchids do best when the air humidity stays above 50%. If your home runs dry—especially in winter—your plant may struggle to absorb moisture through its leaves and roots, stunting its ability to develop a new spike.
Simple Ways to Raise Humidity
You don’t need a greenhouse to give your orchid the humidity it craves. Try these at-home methods:
- Use a humidifier nearby to maintain consistent levels
- Place a water tray filled with pebbles beneath the pot (ensure the pot itself isn’t sitting in water)
- Group orchids together to create a small, shared microclimate
- Move your plant to a humid room, like the bathroom or kitchen
Check the leaves often—wrinkling or soft spots can be a sign the humidity is too low. A small hygrometer (humidity monitor) can also help you keep track of levels with precision.
High humidity, when combined with proper light and watering, gives your orchid the perfect conditions to push out new spikes with confidence.
Final Thoughts
Growing a new spike on your orchid isn’t about luck—it’s about consistency. By understanding your plant’s natural cycle, giving it the right balance of light, water, nutrients, and humidity, and pruning wisely, you’ll create the conditions that encourage blooming year after year.
It might take time, especially if your orchid is recovering from stress or neglect. But with a little patience and attention to detail, that fresh green spike will appear—and soon after, the reward of vibrant flowers.
Every orchid is unique, and part of the fun is learning what yours needs most. Keep observing, keep adjusting, and your orchid will thank you with lasting beauty.

