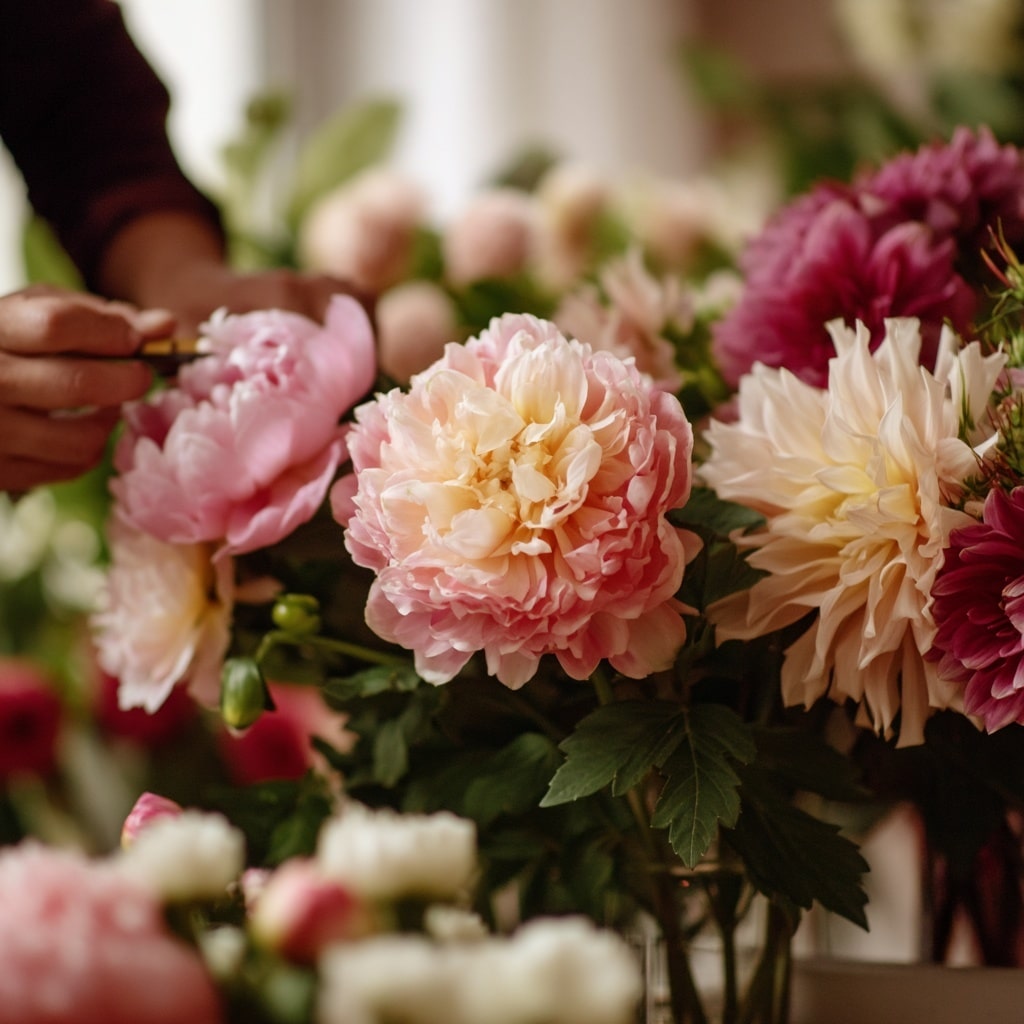
Flower arrangements aren’t just about tossing blooms into a vase—they’re an art form that blends color, texture, and balance. Whether you’re preparing a table centerpiece or gifting a homemade bouquet, learning how to craft beautiful flower arrangements can elevate any space. With the right guidance and a few practical tools, anyone can master the basics. In this step-by-step guide, you’ll discover how to select blooms, prep them properly, and style them like a seasoned florist. From choosing the right container to adding finishing touches, these techniques will help your creations last longer and look stunning from every angle.
Table of Contents
Step 1: Choose a Flower Arrangement Design
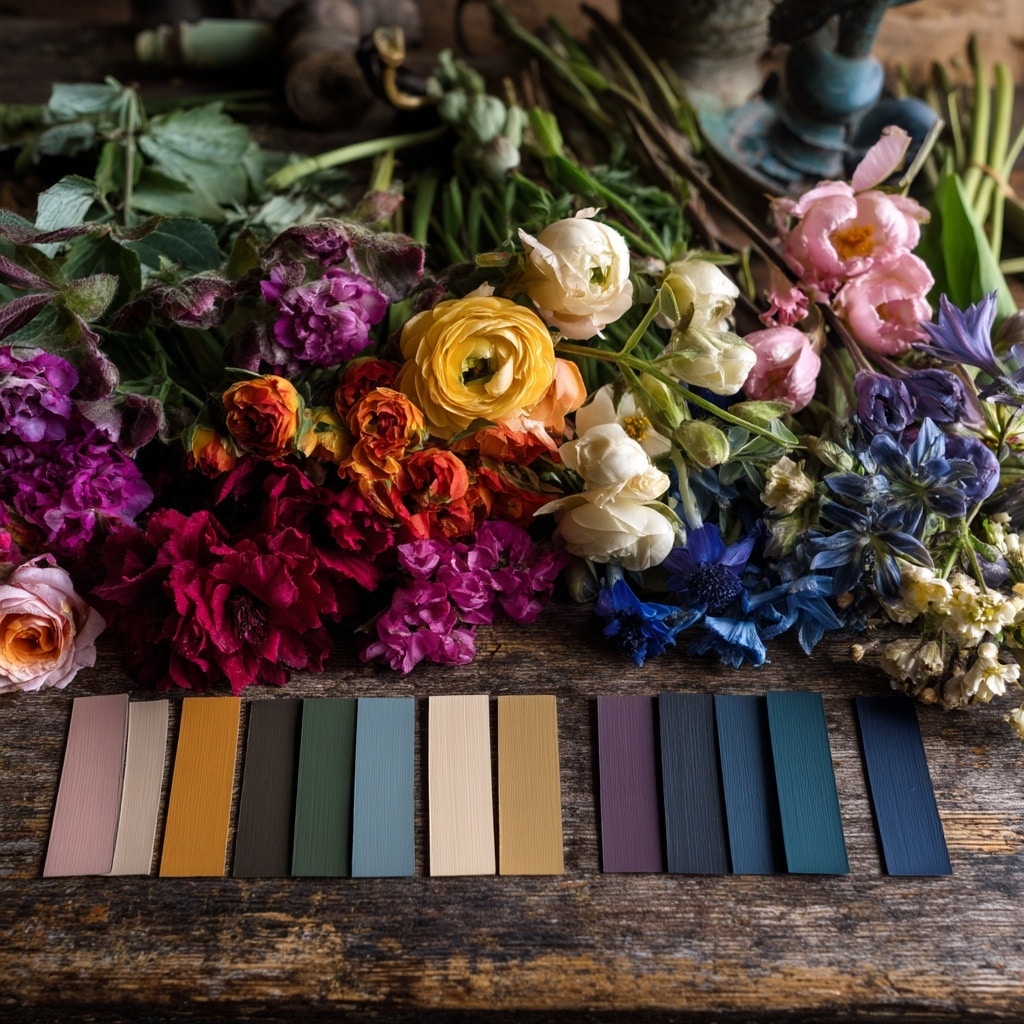
The foundation of all beautiful flower arrangements begins with a clear design plan. Before you pick up a single stem, decide on the overall look you want to achieve. Start with a simple color palette—this helps create harmony and prevents the final result from looking too chaotic.
Monochromatic designs, which use several shades of the same color, are elegant and easy to coordinate. On the other hand, complementary colors—like purple and yellow or blue and orange—can create striking contrasts that stand out in any room.
Rather than sticking strictly to a shopping list, stay flexible. Visit your local florist, farmer’s market, or even your backyard garden and choose what’s in season or catches your eye. Mixing flowers with different shapes, sizes, and textures adds movement and natural flair to your arrangement.
Keep in mind: a thoughtful design at the start will guide every step that follows and help ensure your flower arrangements look balanced and professional.
Step 2: Cut and Prepare Flowers
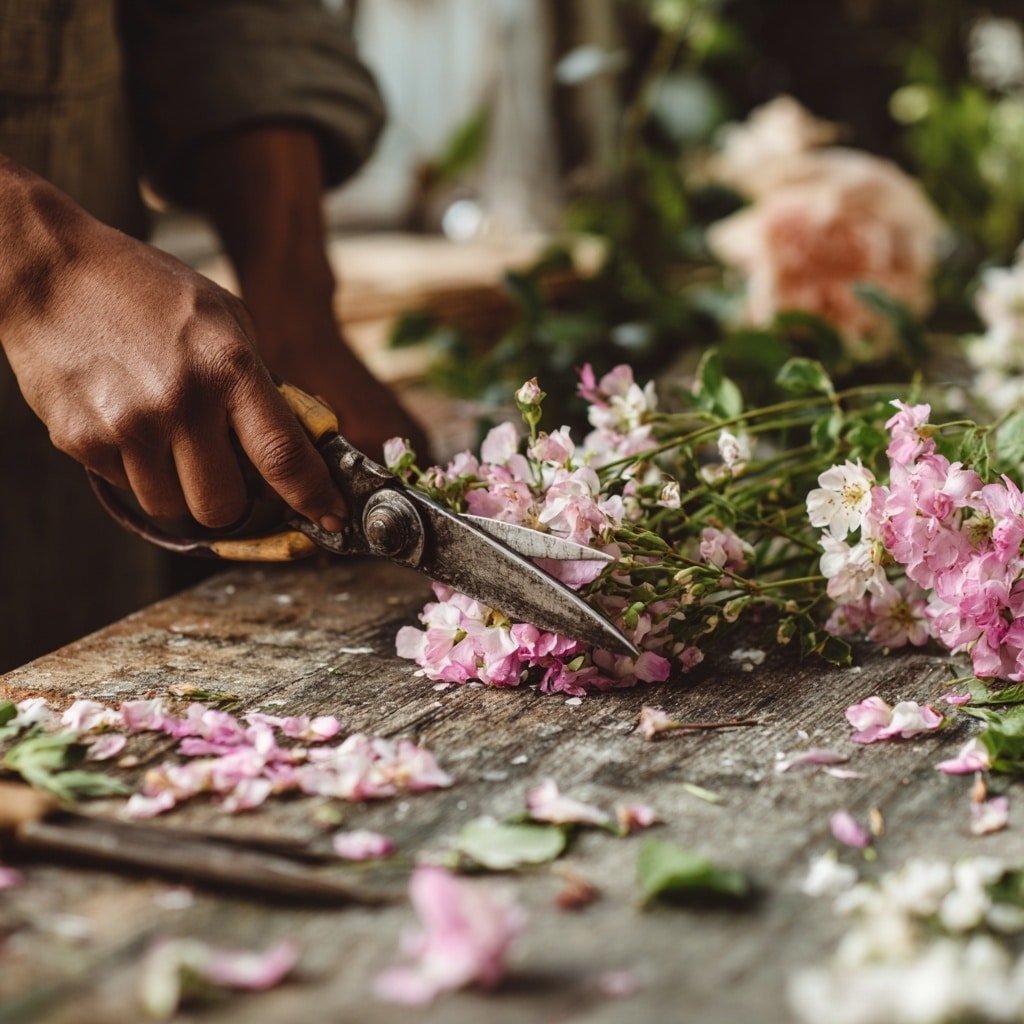
Proper preparation is key to making your flower arrangements last longer and look fresh. Once you bring your flowers home, resist the urge to start arranging right away. Taking a few minutes to prep your stems will make all the difference.
First, remove any leaves that would sit below the waterline in your vase. Leaves submerged in water decay quickly and can introduce bacteria, shortening the lifespan of your blooms. Also, snip off any damaged petals or buds that compete with your main flowers.
Next, use sharp floral shears or scissors to trim each stem at a 45-degree angle. This diagonal cut increases the surface area for water absorption and prevents the stems from resting flat against the bottom of the vase.
Place the trimmed flowers in a temporary container of clean water mixed with flower food. Let them hydrate for at least an hour before arranging. Healthy, well-prepped stems are the backbone of stunning flower arrangements.
Step 3: Choose a Vessel
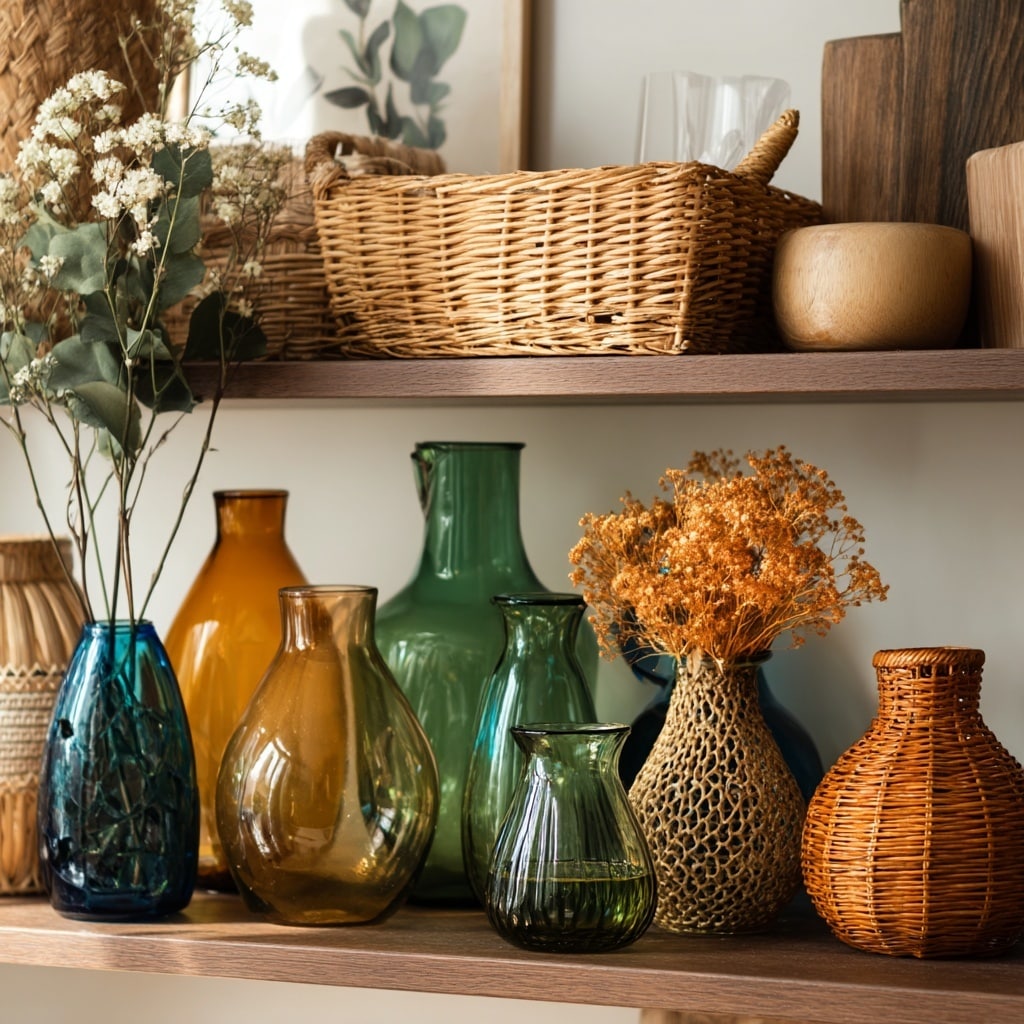
The vase or container you choose plays a major role in both the structure and style of your flower arrangements. It’s not just about looks—it’s also about support.
Start by matching your vessel to the type of flowers you’re using. Tall, top-heavy blooms like sunflowers or gladiolus need a sturdy, weighted vase to keep them upright. Softer stems, such as tulips or ranunculus, do best in vases with straight sides that offer gentle support.
Want a more natural, rustic feel? Try using a woven basket or a vintage container. Just be sure to line it with a watertight plastic cup or jar to hold the water. You can tuck moss or greenery around the liner to hide it.
No matter what you choose, make sure your container is clean. A fresh, bacteria-free base helps extend the life of your flower arrangements and prevents murky water from spoiling your design.
Step 4: Prepare Your Flower Vase
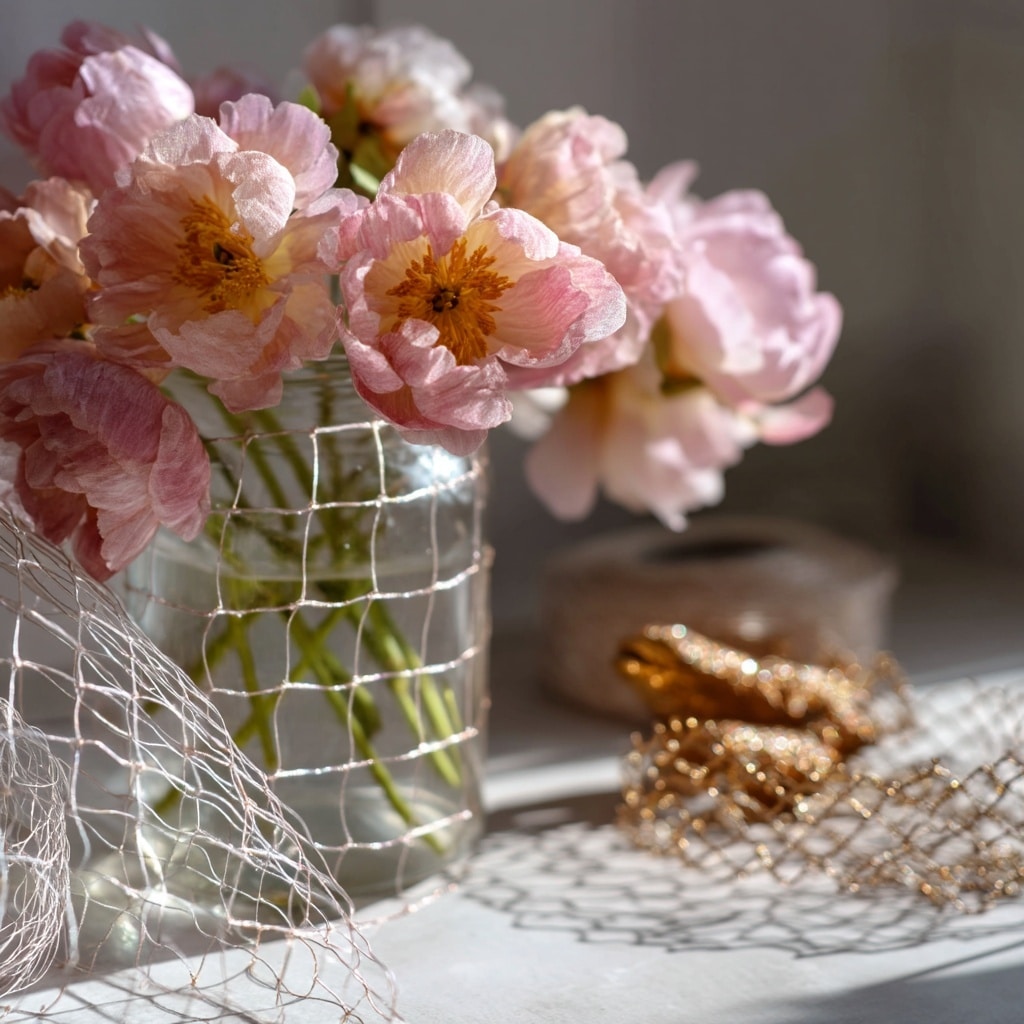
Before adding any blooms, it’s important to prep your vase for structural support. A common issue with flower arrangements is that stems shift or collapse without a steady foundation. Luckily, there are easy ways to fix that.
One of the simplest techniques is to create a grid across the mouth of the vase using clear floral tape. This invisible framework gives each stem its own slot, helping your flowers stay exactly where you want them. For larger openings, space the tape about an inch apart in a crisscross pattern.
If you’re using a wide or shallow container, consider using a floral frog or a DIY insert made from chicken wire. These give you even more control and can be reused for future arrangements.
Whichever method you choose, be sure to fill the vase with clean, lukewarm water mixed with floral preservative before you begin placing flowers. This step ensures that your flower arrangements stay stable, hydrated, and beautifully intact from start to finish.
Step 5: Create a Base with Greenery
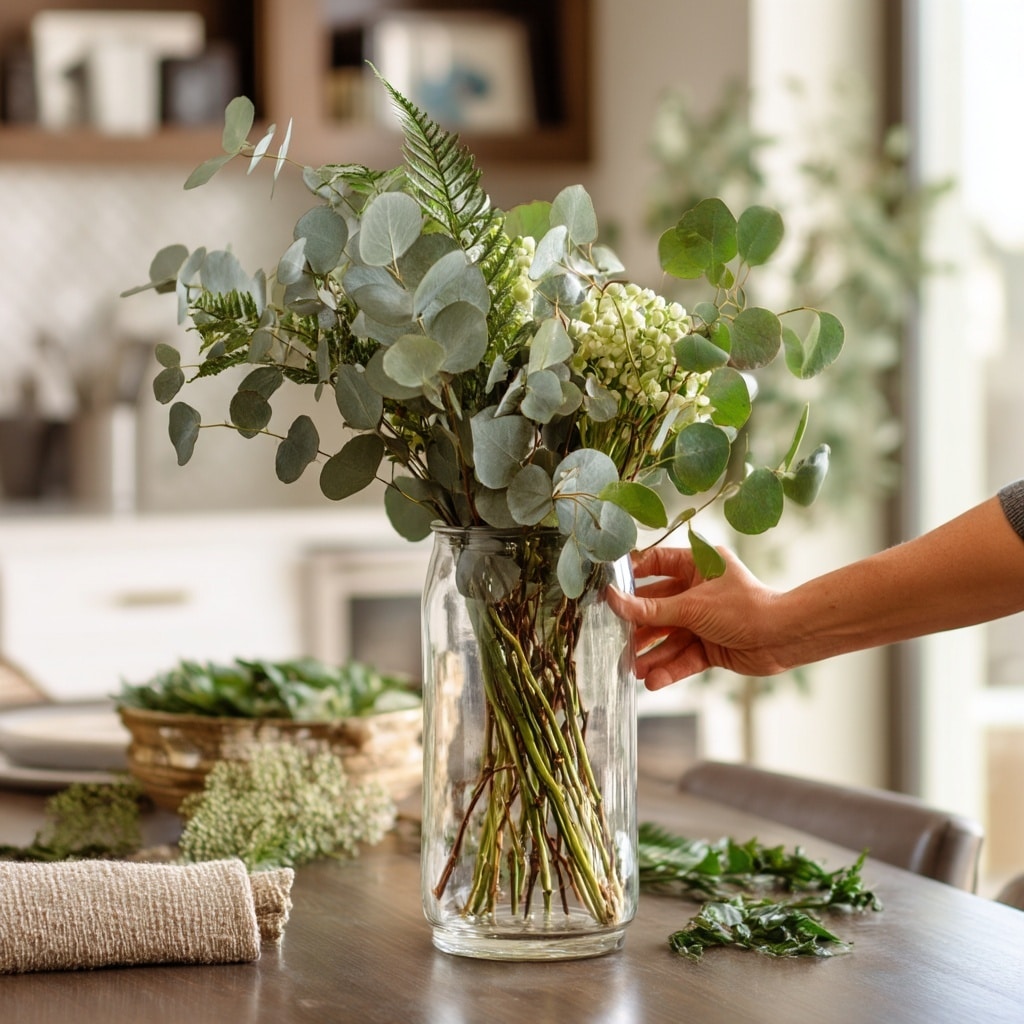
Every great flower arrangement starts with a strong, balanced base—and that begins with greenery. Think of it as the structure that gives your bouquet shape and depth before any blooms are added.
Use sturdy, flexible greens like eucalyptus, ruscus, ivy, or fern fronds. These not only add texture but also help support the flowers that come next. Start by placing the greenery in an inverted triangle pattern, allowing some pieces to drape slightly over the edge of the vase while others reach upward. This creates both width and height, giving your arrangement a natural, three-dimensional form.
As you insert each stem, give it a fresh diagonal cut and remove any submerged leaves. Angle the stems outward rather than straight up—this gives the arrangement a fuller, more organic look.
Layering in greenery first helps define the silhouette of your design, making it easier to position blooms later. It also ensures that your flower arrangements have fullness and visual interest from every angle.
Step 6: Add Focal Flowers
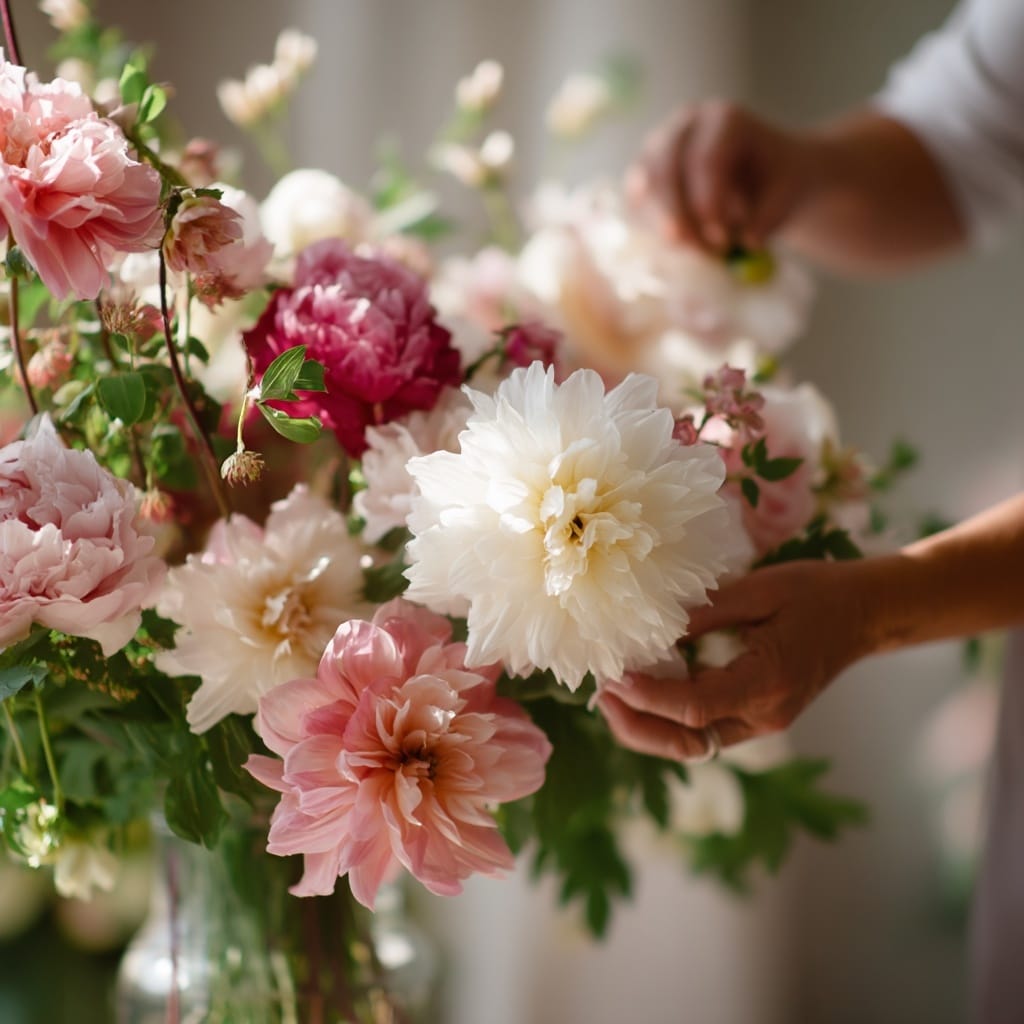
Now it’s time to bring your flower arrangements to life with focal flowers—the stars of the show. These are typically the largest or most eye-catching blooms in your bouquet, such as peonies, roses, dahlias, or hydrangeas.
Start by placing them at varying heights within the greenery base, avoiding symmetry. Odd numbers (three, five, or seven) usually work best and give your arrangement a natural, garden-like feel. Don’t crowd them all in the center—space them out to create flow and balance throughout the design.
Be mindful of their angles. Stems sticking straight out can look heavy or awkward. Tilt the blooms slightly inward or outward to create a dome shape and add dimension. If you’re unsure, spinning your vase as you go can help you check the design from every side.
These focal flowers will draw the eye and define the overall mood of your flower arrangements, so take your time placing them just right.
Step 7: Add Filler Flowers
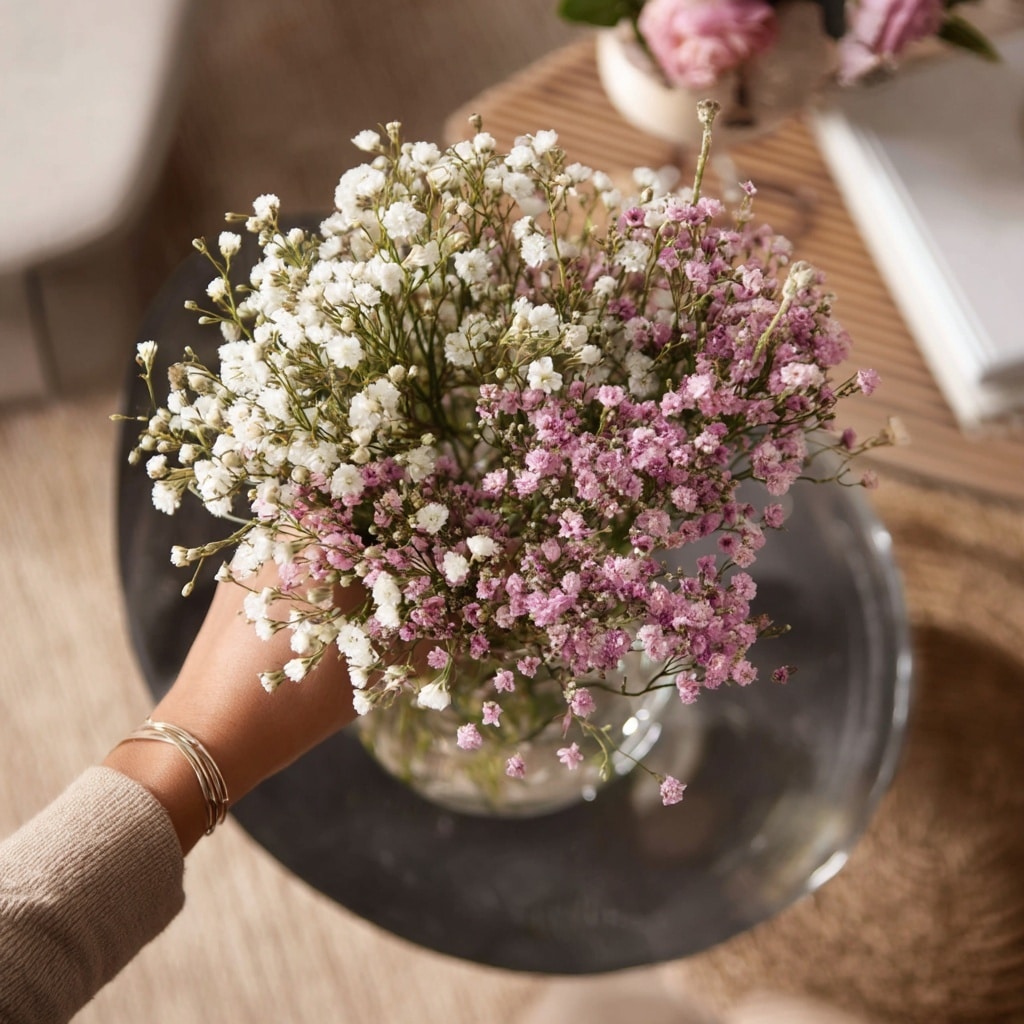
With your focal blooms in place, it’s time to add filler flowers—the supporting cast that ties your flower arrangements together. These smaller, textural elements help fill gaps, soften edges, and add contrast without stealing the spotlight.
Choose delicate varieties like waxflower, asters, statice, or spray roses. Baby’s breath is a classic choice, but don’t be afraid to mix in something unexpected like scabiosa or yarrow for added interest.
Place filler flowers in clusters of three or five, mimicking how they grow naturally. Avoid sticking them straight out from the sides. Instead, tuck them in at different angles to enhance the dome shape of the arrangement. Focus on creating depth and layering by weaving the stems between focal flowers and greenery.
Filler blooms are essential for creating volume and flow. They help your flower arrangements feel complete, polished, and professionally styled—without appearing overstuffed.
Step 8: Finish the Arrangement
The final touches are what transform good flower arrangements into stunning ones. Now that your base, focal, and filler flowers are in place, it’s time to add soft, airy accents to complete the look.
Floaters—like cosmos, Queen Anne’s lace, or baby’s breath—add a light, whimsical quality and should be added last. These delicate stems are easily damaged, so placing them at the end ensures they stay visible and intact.
Before displaying your arrangement, mist it lightly with water to mimic the dewy freshness of a just-picked bouquet. This not only adds visual appeal but also hydrates the petals. Be sure to top off the water level in the vase and replace the water every two days to extend the life of your flowers.
Stand back and view your arrangement from every side. Make any final adjustments to ensure balance and shape. At this stage, your flower arrangements should look lush, layered, and effortlessly elegant—ready to brighten any room.
Conclusion
Creating beautiful flower arrangements doesn’t require a professional florist—just a bit of planning, a creative eye, and the right techniques. By following these eight simple steps, you’ll be able to design arrangements that are visually stunning, long-lasting, and full of personality. Whether it’s a centerpiece for your table or a heartfelt gift, your flowers will reflect care and craftsmanship every time.
Keep experimenting with different flower types, color palettes, and containers. The more you practice, the more confident you’ll become—and soon, arranging flowers will feel as natural as picking them.

