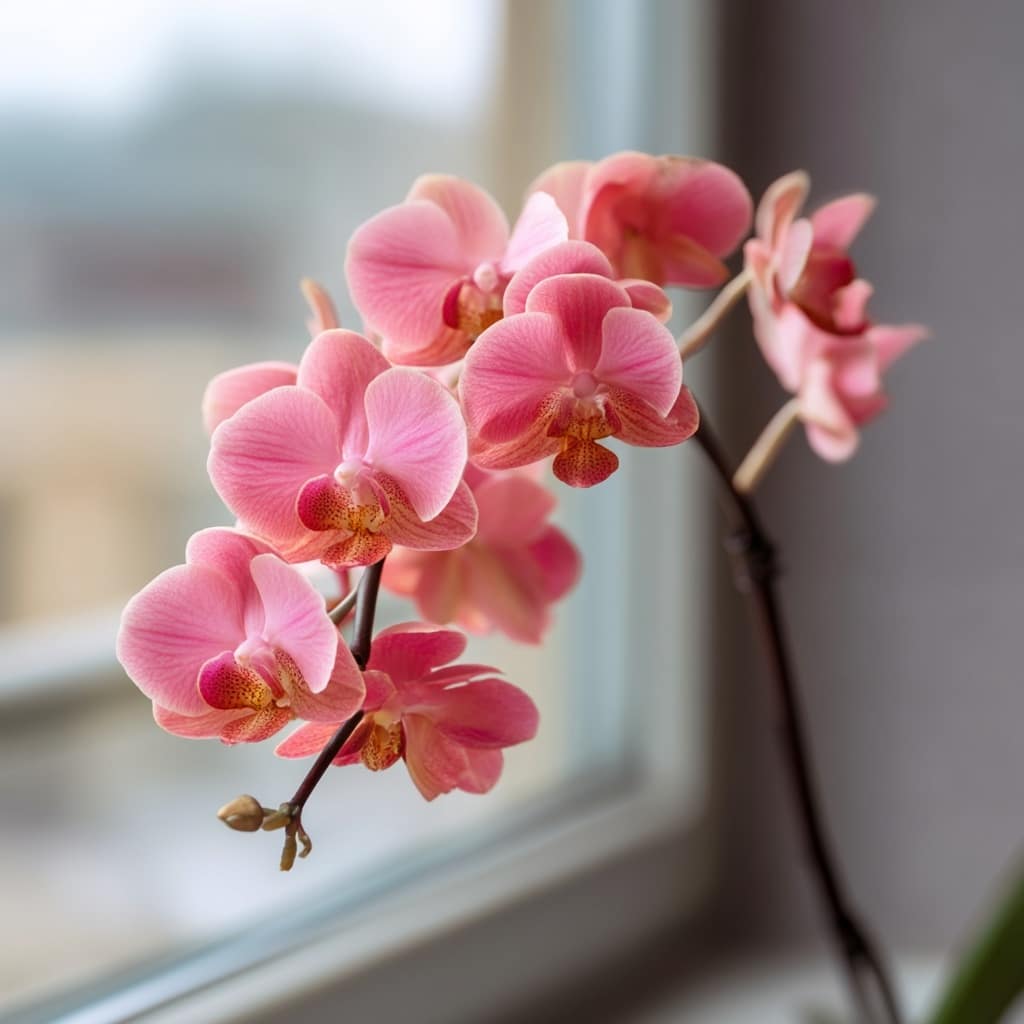
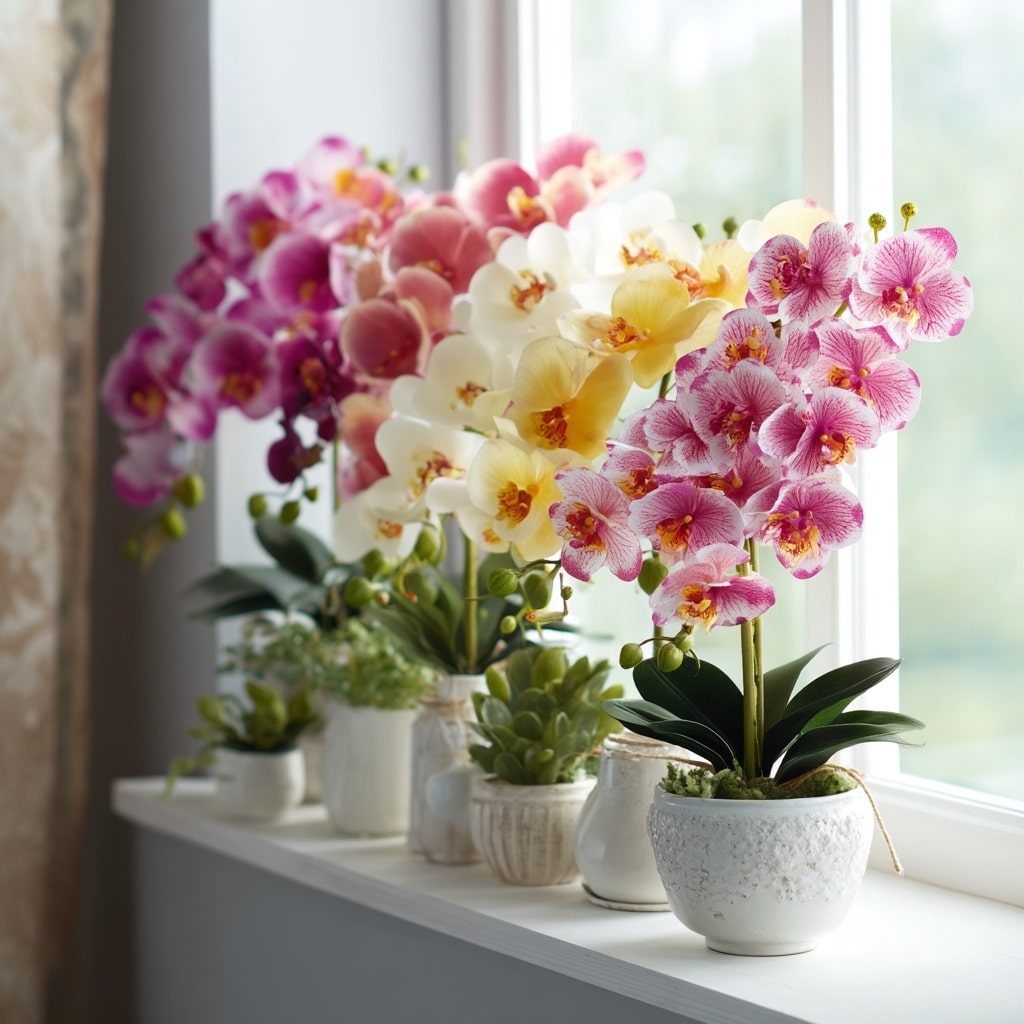
Orchid care has a reputation for being intimidating, but the truth is, growing these elegant plants at home is much easier than most people think. With just a few simple adjustments to your routine, you can enjoy vibrant blooms that last for weeks—and with a little love, they’ll return year after year. Whether you’re a first-time orchid grower or looking to improve your plant’s health, the tips below will help you create the perfect conditions for a thriving orchid. Say goodbye to the myth that orchids are fussy and hello to a houseplant that’s both stunning and surprisingly low-maintenance.
Table of Contents
Tip #1: Choose the Right Orchid
If you’re just getting started, the best orchid to grow is the Moth Orchid (Phalaenopsis). It’s not only the most popular variety but also one of the easiest to care for. These orchids feature broad, butterfly-shaped blooms in a wide range of colors and patterns, making them ideal for brightening up any indoor space.
Unlike some exotic varieties that need specialized care, Moth Orchids are forgiving and adaptable. They come in both standard and mini sizes, so whether you’re growing on a windowsill or in a larger room, there’s a perfect fit. Stick with this beginner-friendly orchid until you’re comfortable, then you can explore more adventurous types if you’d like.
Tip #2: Provide Proper Light
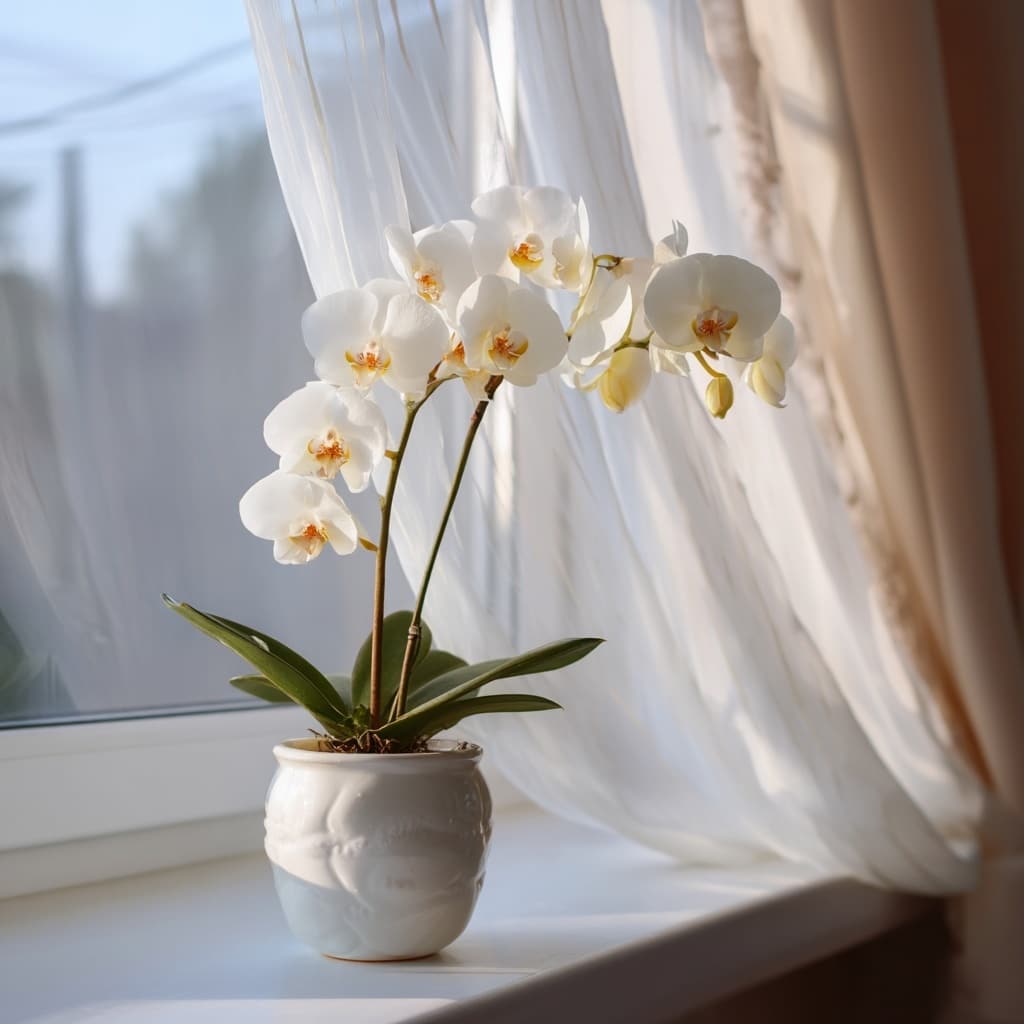
Light plays a major role in keeping your orchid healthy and blooming. These plants thrive in bright, indirect sunlight—think of the dappled light they’d get in their natural jungle habitat. A windowsill with filtered morning light or a spot near a south- or east-facing window works best.
Avoid placing your orchid in direct sunlight, as the intense rays can scorch its leaves. If your only option is a sunny window, simply hang a sheer curtain to diffuse the light. On the flip side, too little light can prevent your orchid from flowering altogether. If you notice dark green leaves with no blooms, that’s often a sign the plant needs more brightness.
Pro tip: If you’re growing orchids in a space without adequate natural light, consider using a grow light to supplement during shorter winter days.
Tip #3: Water Wisely
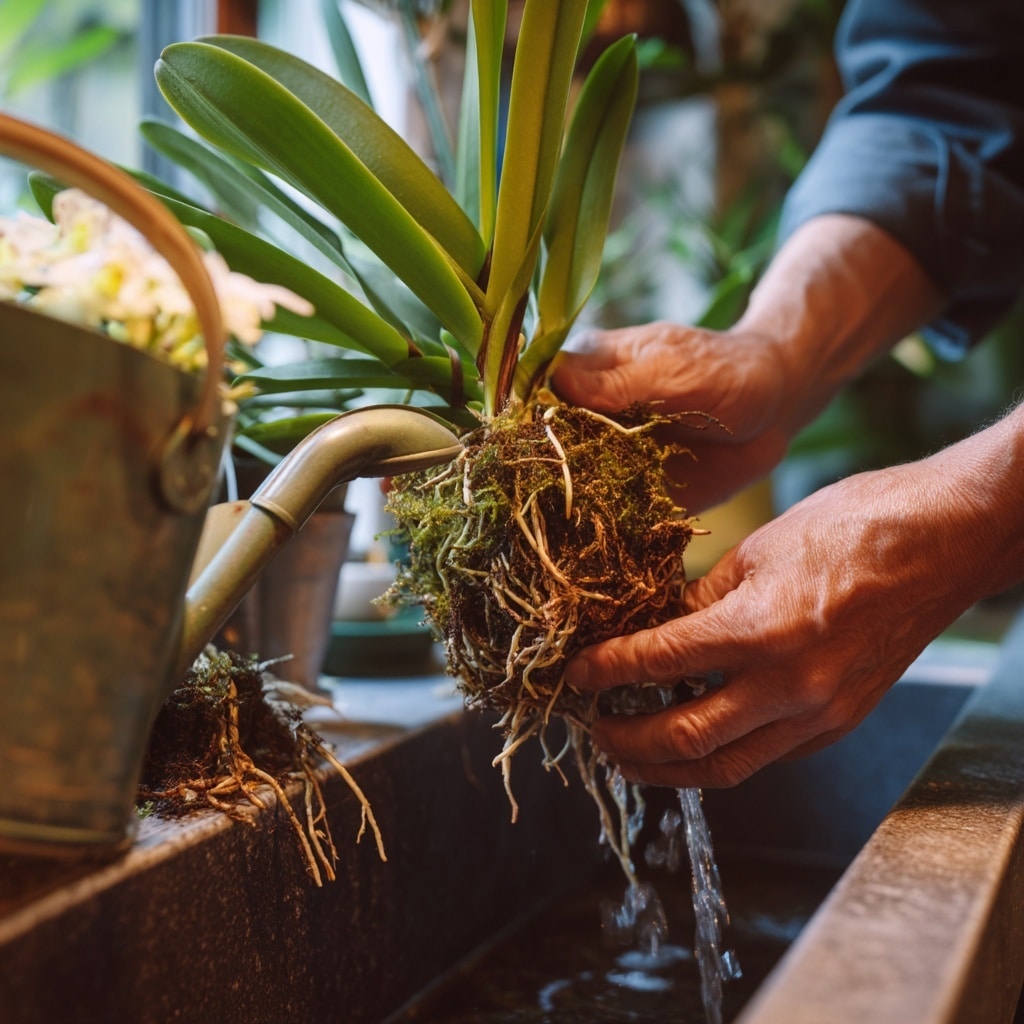
When it comes to watering your orchid, less is often more. These tropical beauties don’t grow in soil—they naturally cling to tree bark in the wild—so their roots need air just as much as they need moisture. That’s why most orchids are sold in pots filled with bark or moss rather than traditional potting soil.
The best method? Gently run water over the roots for a minute or two, then let the pot drain completely. You should only water about once every 7 to 10 days, allowing the growing medium to dry out between waterings. A soggy orchid is a sad orchid—constant wetness can lead to root rot and other issues.
To check if it’s time to water, stick your finger into the bark. If it feels dry, it’s watering time. If it still feels damp, wait another day or two.
Tip #4: Increase Humidity Naturally
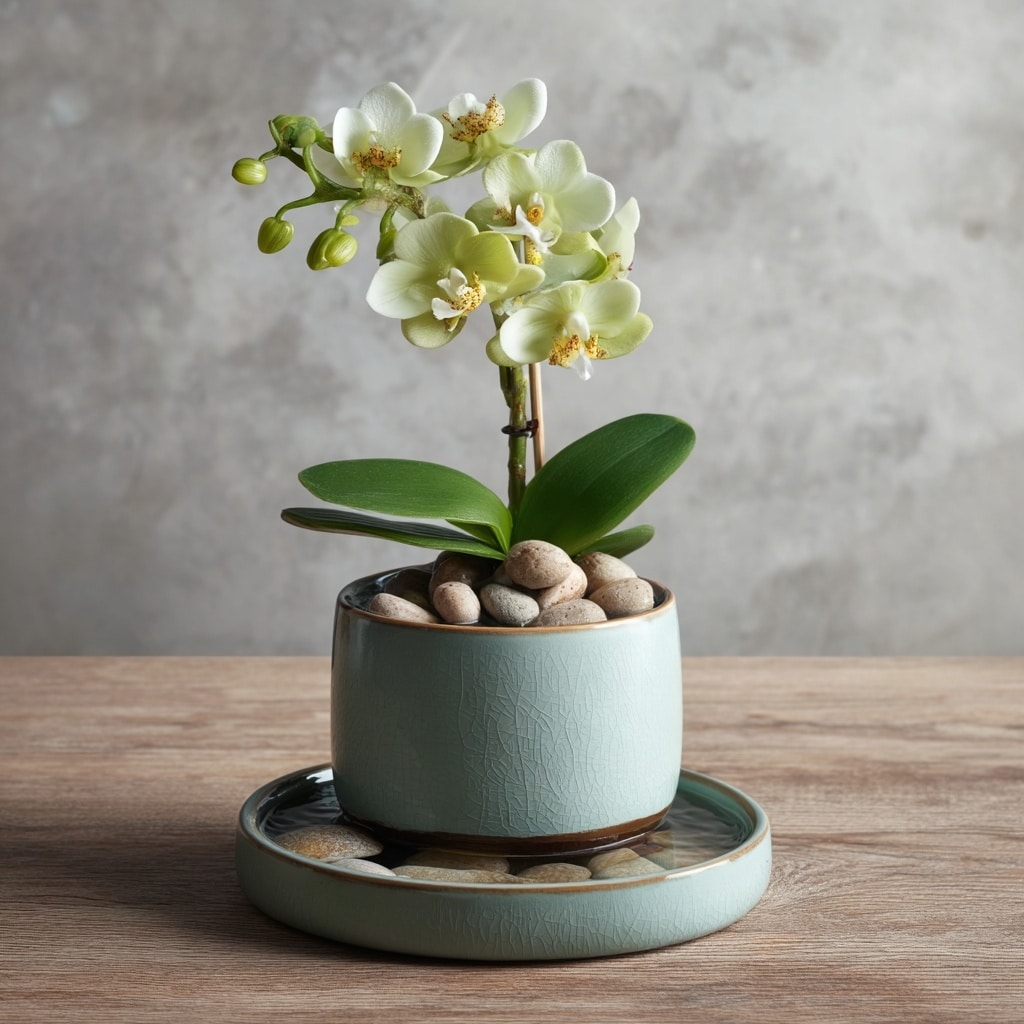
Your orchid may be thriving in terms of light and water, but without the right humidity, it can struggle—especially during dry winter months. Orchids prefer a humid environment similar to their tropical origins, and luckily, you don’t need a greenhouse to make that happen.
One of the easiest ways to boost humidity is to place your orchid on a tray filled with pebbles and water. Just make sure the bottom of the pot rests on the stones, not in the water. As the water evaporates, it creates a more humid microclimate around the plant. It’s simple, affordable, and very effective.
Skip daily misting—it’s unnecessary and can lead to fungal problems. Instead, aim to maintain consistent moisture in the air around your orchid, especially if your home has forced air heating or air conditioning.
Tip #5: Feed Your Orchid Right
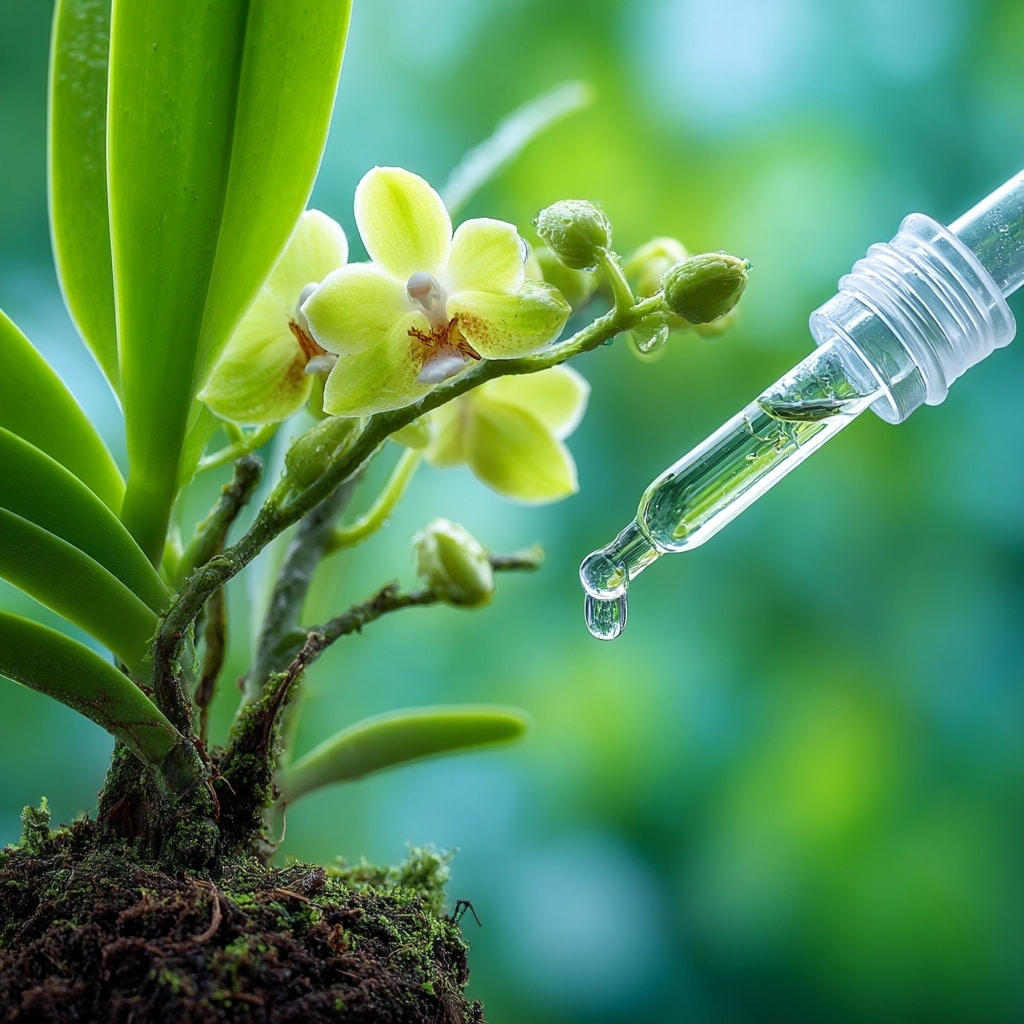
To keep your orchid blooming beautifully, it needs more than just water and light—it also needs regular feeding. During the growing season (typically spring and summer), use a balanced orchid-specific fertilizer every two to four weeks. Look for one labeled for orchids and follow the instructions carefully—more isn’t better.
When the flowers have faded, don’t toss the plant! Simply trim the empty flower spike just above the base or at a visible node to encourage potential reblooming. Continue feeding lightly during this rest period to help your orchid store energy for the next bloom cycle.
Consistent, gentle feeding keeps your orchid strong, supports root health, and improves its ability to bloom again year after year.
Conclusion
Growing an orchid doesn’t have to be complicated or intimidating. With the right type of orchid, proper lighting, mindful watering, consistent humidity, and occasional feeding, you can enjoy months of stunning blooms—and even get your orchid to rebloom year after year. Whether you’re a beginner or just looking to sharpen your plant care skills, these five easy tips will help your orchid thrive indoors.

