Planter boxes diy projects are one of the easiest and most rewarding ways to upgrade your outdoor space—especially when space is limited. Whether you live in an apartment with a small balcony or have a deck railing that needs a little life, over-the-railing planter boxes offer a smart, stylish, and space-saving solution.
This weekend DIY build is perfect for beginners, requiring only basic tools and simple materials that you can find at any local home improvement store. With just a few cuts, screws, and a splash of creativity, you’ll have sturdy, attractive planter boxes hanging securely from your railing—ready to hold herbs, flowers, or even compact veggies.
And the best part? These planter boxes are designed for easy assembly, making them a great introduction to woodworking without overwhelming you with complex techniques.
Table of Contents
Tools & Materials You’ll Need for This Planter Boxes DIY Project
Before getting started, gather all your tools and supplies to make the process smooth and efficient. This planter boxes diy project doesn’t require advanced equipment—just a few essentials most beginners may already own or can easily borrow.
Tools
- Miter saw (for clean, straight cuts)
- Drill or Kreg Pocket-Hole Jig
- Brad nailer (optional but speeds things up)
- Staple gun (for landscape fabric)
- Clamps (to keep parts steady while fastening)
- Measuring tape and pencil
💡 Tip: If you’re new to power tools, this is a great starter project to get comfortable with a miter saw and drill.
Materials
- 5 cedar dog-ear fence pickets
(Each approximately 19/32″ thick, 5-1/2″ wide, and 6 ft long)
Cedar is naturally rot-resistant, making it perfect for outdoor use. - 1″ pocket-hole screws
- 1″ brad nails
- Outdoor wood glue
- Landscape fabric (to line the inside and prevent soil washout)
- Railing mounting hardware (hooks, brackets, or custom mounts)
Make sure to double-check your railing’s measurements before cutting—railings vary, and a snug fit is key for safety and aesthetics.
Cut List for Your Planter Boxes DIY Build

Before assembly, use your miter saw to make the following cuts from your cedar fence pickets. These measurements are for building two identical planter boxes that fit over most deck railings.
Cut List (For Two Boxes)
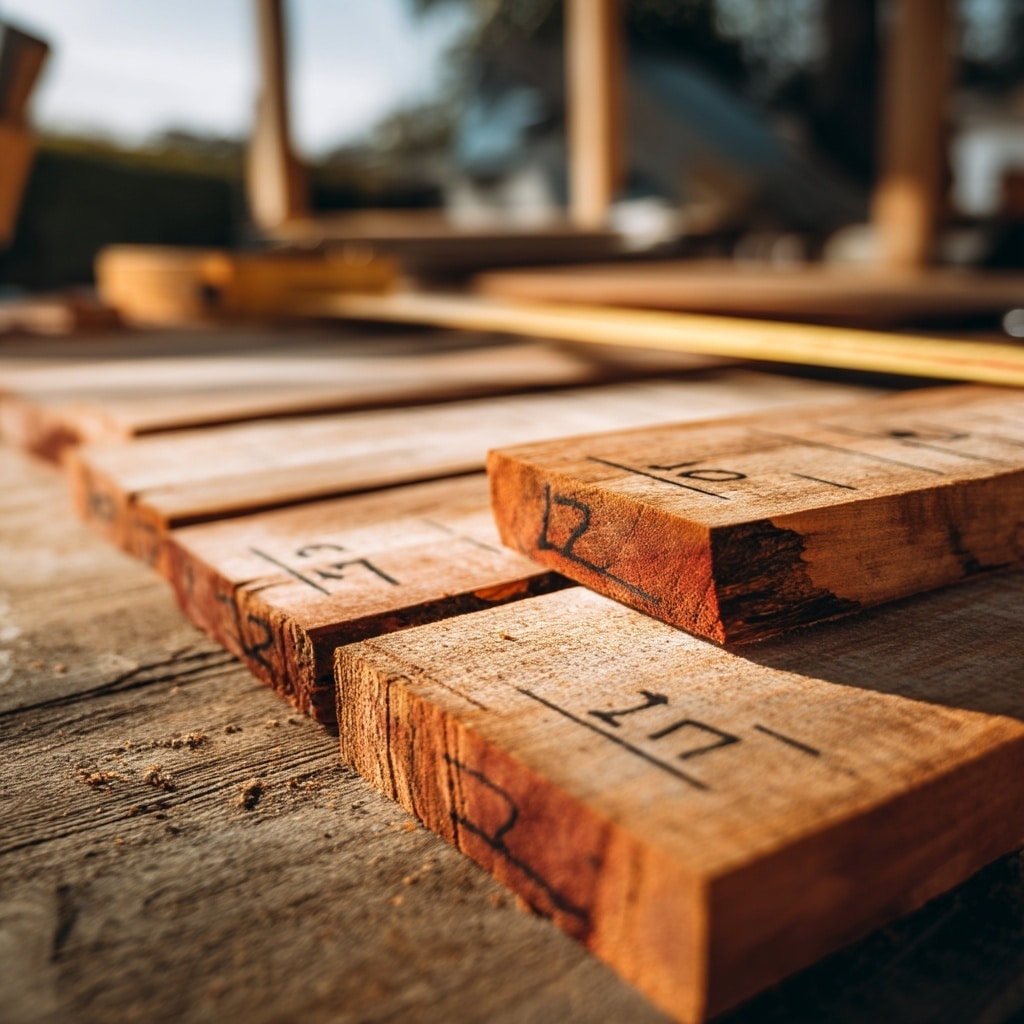
- 12 Side Supports – 3 1/4″ x 5 1/2″ x 19/32″
- 6 Bottom Supports – 5 1/2″ x 5 1/2″ x 19/32″
- 4 End Pieces – 4 7/8″ x 5 1/2″ x 19/32″
- 6 Exterior Panels – 36″ x 5 1/2″ x 19/32″
✅ Pro Tip: Cut all pieces before assembly to save time and ensure a smooth build process.
Step-by-Step Instructions for Building Your Planter Boxes DIY Style

1. Cut All Your Pieces
Measure and cut all wood components according to the list above. Label the parts if needed to stay organized.
2. Attach the Bottom Supports
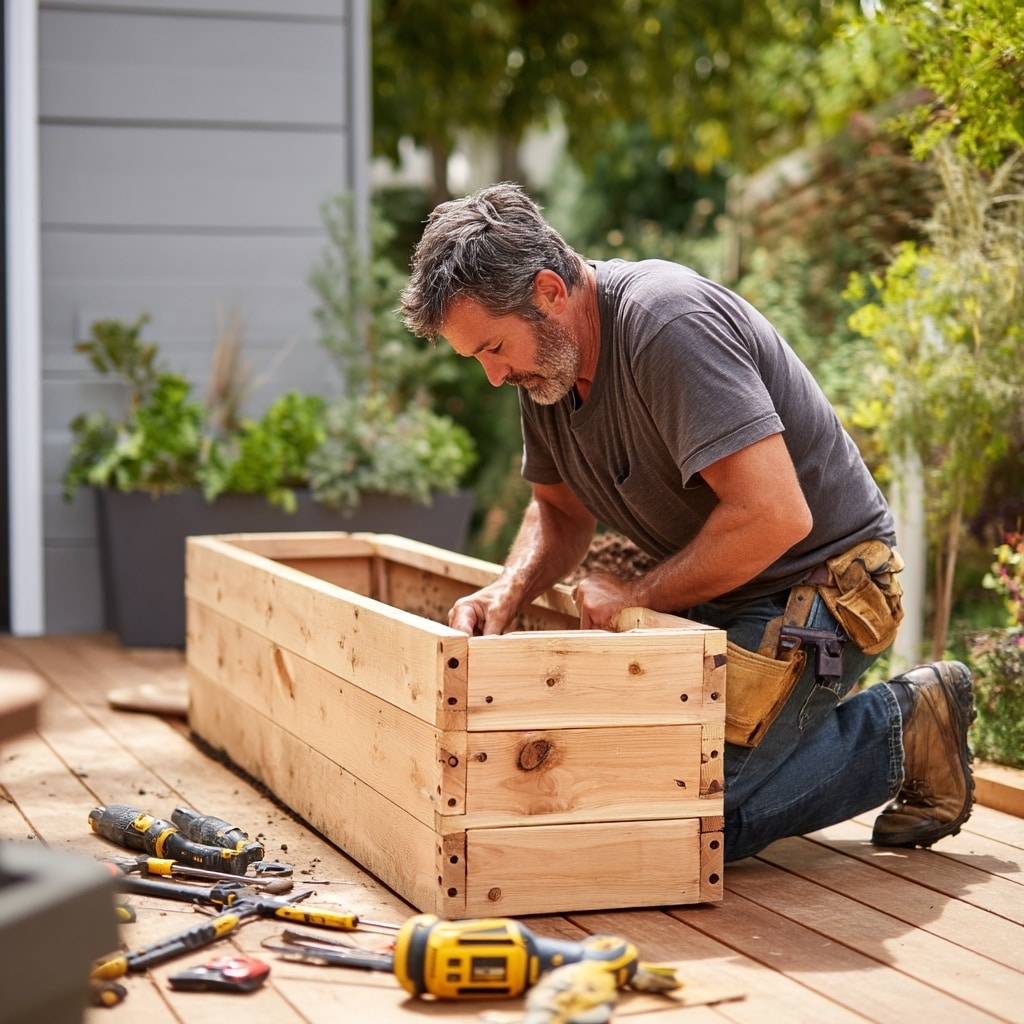
Lay one of the exterior panels face-down and use wood glue and brad nails (or screws) to secure three bottom supports evenly spaced along the bottom.
This forms the base structure of each planter.
3. Attach the Sides
Position your end pieces vertically at each end of the bottom panel. Secure with brad nails or pocket-hole screws.
Then attach one side support to each interior corner for reinforcement.
4. Add the Second Exterior Side
Flip the partially built box over and attach the second 36″ exterior panel to form the opposite side.
Make sure all bottom and side supports align securely. Clamp if necessary before fastening.
5. Secure the Final Side Supports
Add the remaining side supports to strengthen both interior ends of the box. This step helps prevent bowing once the box is filled with soil.
6. Line With Landscape Fabric
Cut a piece of landscape fabric to size and staple it inside the planter. This helps retain soil while allowing drainage.
Be sure to staple around the top edge and corners so the liner stays in place.
7. Drill Holes for Mounting Hardware
Mark and drill holes on the bottom side of each planter where it will sit on your railing.
This allows you to attach mounting hardware safely—hooks or brackets are great options depending on your railing type.
8. Mount the Planter Boxes to the Railing
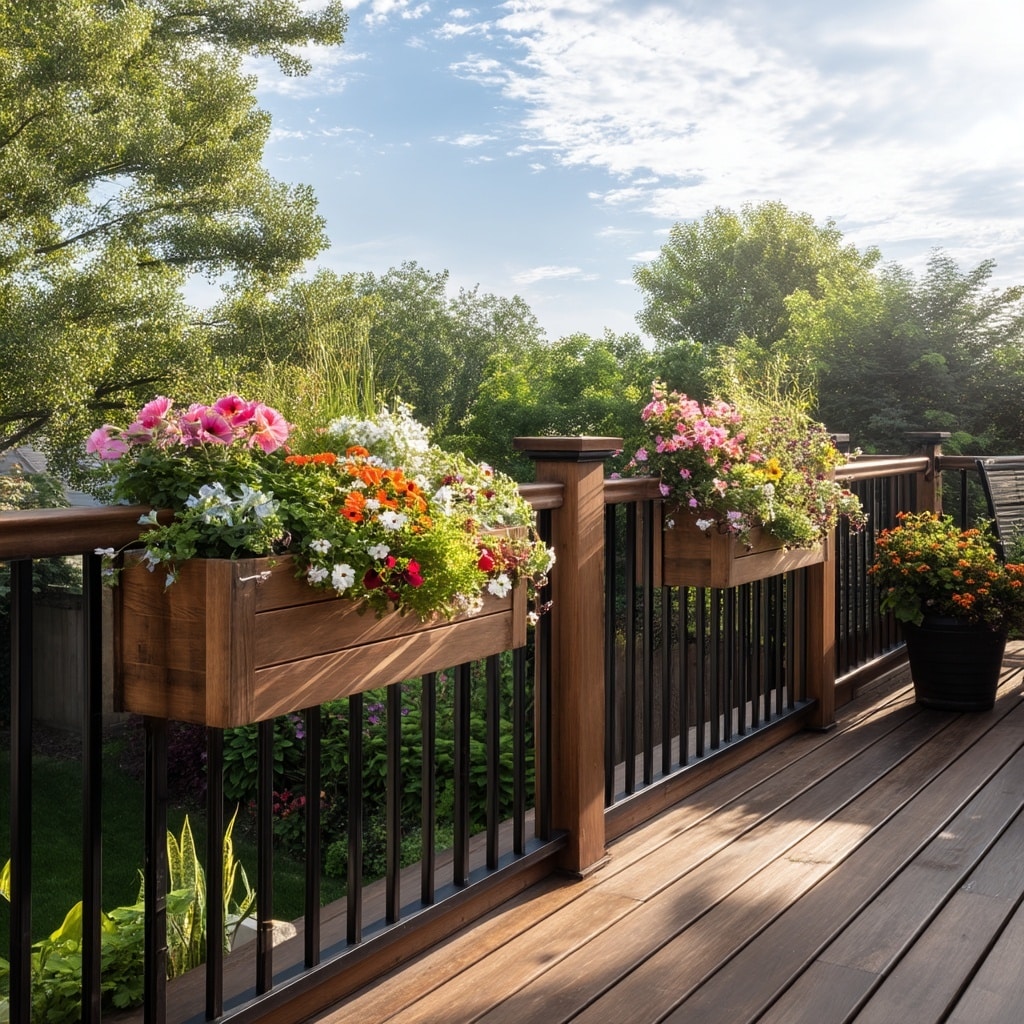
Position the planter box on your deck or porch railing. Use screws or fasteners from your mounting kit to attach it firmly in place.
Double-check for levelness and stability before planting anything.
9. Start Planting!
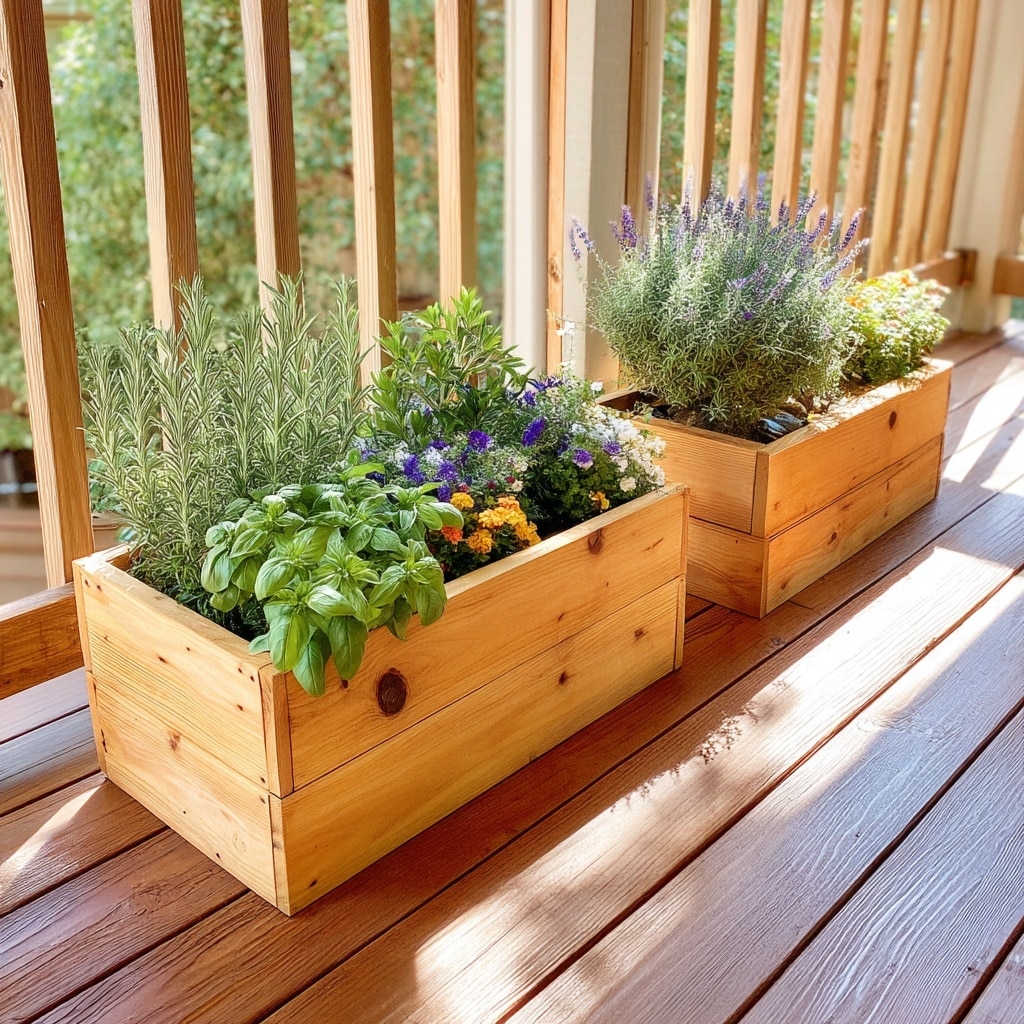
Now your planter boxes diy project is complete. Fill them with herbs, cascading flowers, or even shallow-root veggies like lettuce or strawberries.
You’ve just added beauty and functionality to your outdoor space with your own two hands.
Final Tips for Long-Lasting DIY Planter Boxes

- Seal the wood if you want added durability. While cedar resists rot naturally, a coat of exterior-grade sealer can extend the life of your planter boxes.
- Drill drainage holes in the bottom panel (if you skipped landscape fabric) to avoid waterlogging your plants.
- Adjust hardware size if your railing is wider or narrower than standard. Measure before mounting to avoid frustration.
- Paint or stain your boxes to match your deck or aesthetic. Just make sure the finish is plant-safe and weather-resistant.
If you enjoy projects like this, consider adding a matching DIY garden bench or vertical planter wall to complete your patio setup.
Conclusion

Building your own planter boxes diy is not only a satisfying weekend project—it’s also a smart way to make the most of small outdoor spaces. With simple tools, budget-friendly materials, and just a little bit of effort, you’ll create beautiful over-railing planters that add instant curb appeal and functionality.
Whether you’re growing flowers, herbs, or salad greens, this project proves that even beginners can build something both beautiful and durable.


