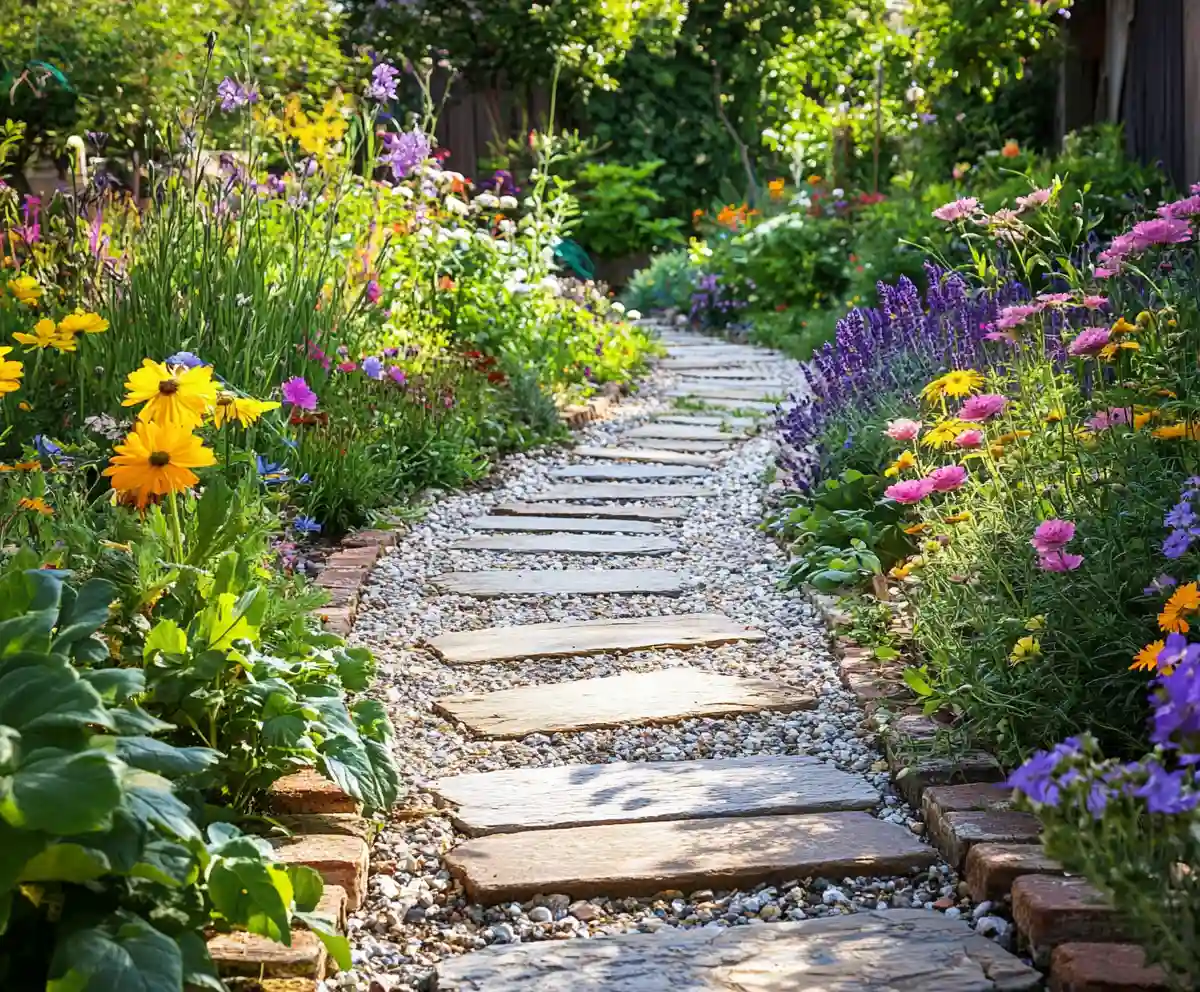
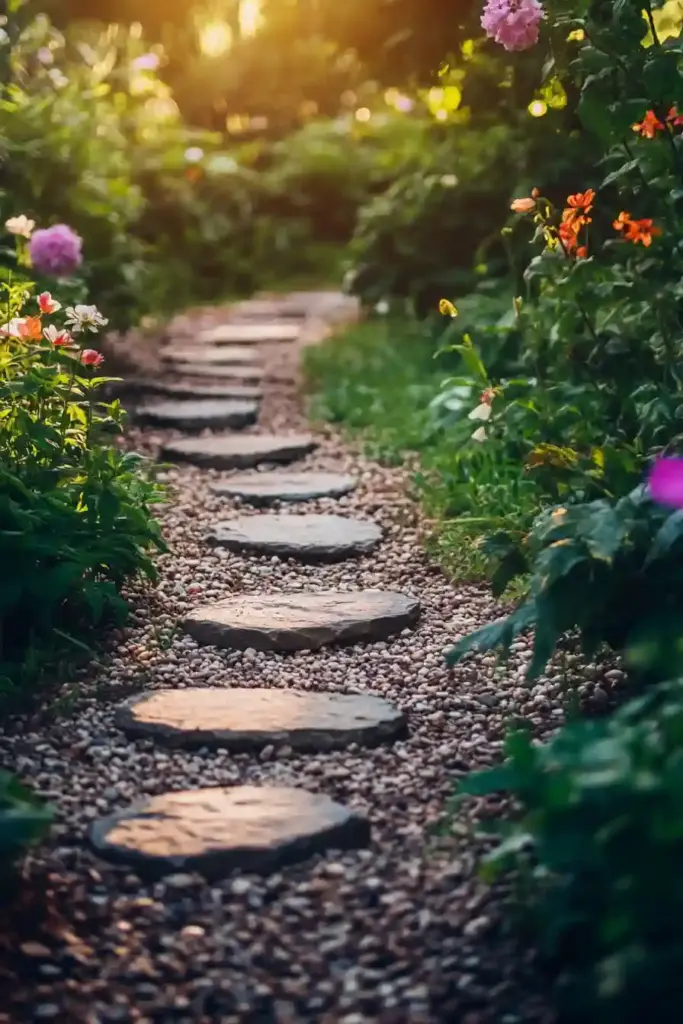
Creating a beautiful outdoor space doesn’t have to cost a fortune — and it definitely doesn’t require a landscaping crew. With a little creativity and a weekend’s worth of effort, you can build a DIY budget garden walkway that’s both practical and picture-perfect. Whether you’re looking to keep muddy footprints at bay, add structure to your garden beds, or simply enhance your backyard’s charm, a walkway is one of the easiest upgrades you can tackle on your own.
In this guide, you’ll find inspiration and practical advice to plan, design, and build your own affordable garden path. From reclaimed bricks to rustic wood planks and low-maintenance gravel, there are options to fit every budget and style — all while keeping things eco-friendly and beginner-friendly.
🛠️ Planning Your DIY Budget Garden Walkway
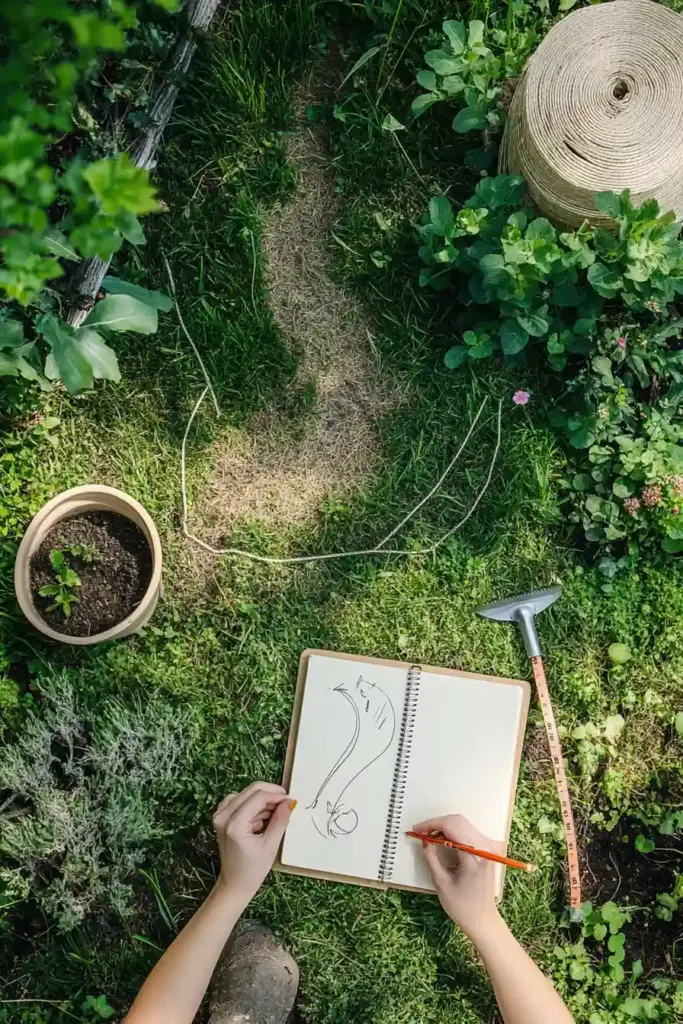
Before you grab a shovel or pick out materials, it’s essential to take a step back and map out your plan. A well-thought-out garden walkway doesn’t just look good — it serves a purpose, blends seamlessly with your landscape, and stands the test of time.
🎯 Define the Purpose of Your Path
Ask yourself:
- Is the walkway functional, like connecting your patio to a shed or greenhouse?
- Or is it decorative, weaving through flower beds or leading to a quiet seating area?
Understanding how you’ll use the path will guide its placement, materials, and width.
🌀 Shape and Flow: Visualize It First
To get a feel for how the walkway will look and flow, lay out a garden hose or some string where you want the path to go. This gives you a visual reference and allows easy adjustments before any digging begins.
- Straight paths are best for utilitarian spaces like side yards or narrow areas.
- Curved or meandering paths create a relaxed, organic look — perfect for cottage or woodland-style gardens.
📏 Get the Size Right
A standard width for a garden path is about 2 to 3 feet, which is enough for a single person to walk comfortably. If you’re planning a wider walkway for two people or wheelbarrow access, consider going up to 4 feet.
🌦️ Don’t Forget the Climate
If you live in an area with heavy rain or freeze-thaw cycles, your design should include proper drainage and durable materials. Planning for the weather now saves you time and money in repairs later.
🧱 Best Materials for a DIY Budget Garden Walkway
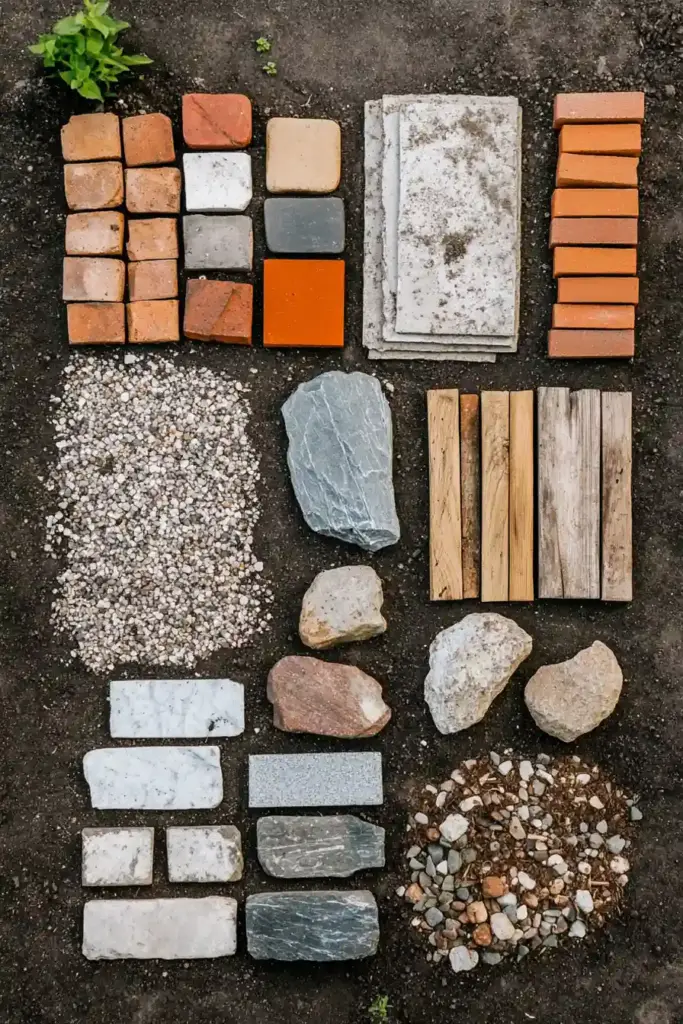
Your choice of materials can make or break both your budget and the final look of your garden path. Luckily, there are tons of affordable options that are not only easy to install but also full of personality. Here’s a breakdown of the best low-cost materials, plus their pros and cons to help you make the right choice.
🪨 1. Gravel: Affordable & Easy to Work With
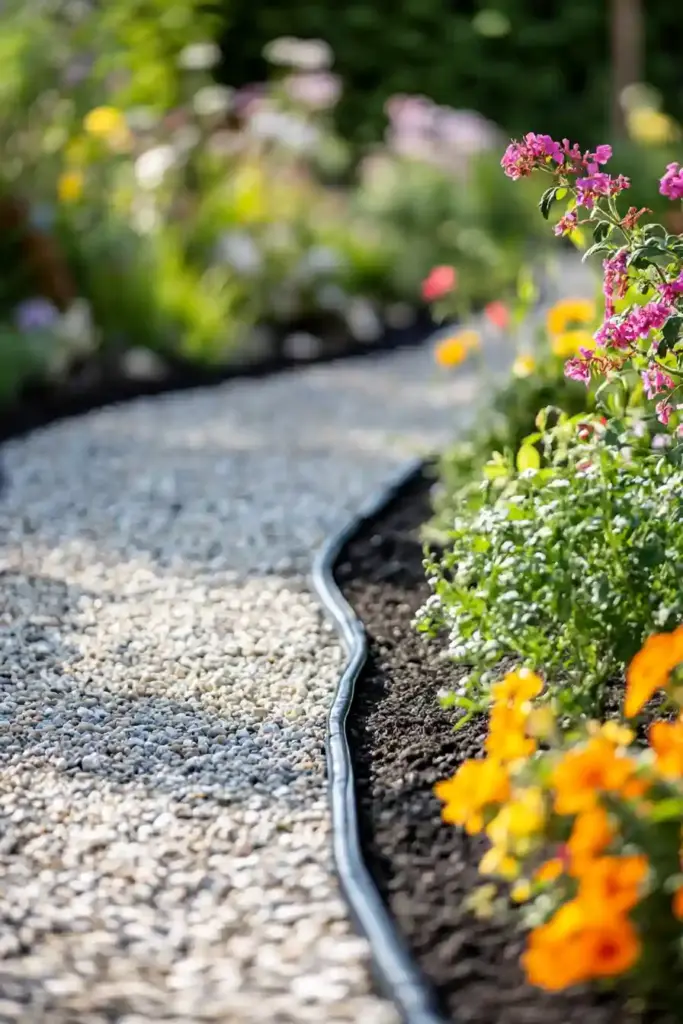
Gravel is one of the most budget-friendly choices for walkways — and it’s super DIY-friendly.
Pros:
- Inexpensive and widely available
- Great drainage
- Comes in a variety of sizes and colors
- Quick to install
Cons:
- Needs edging to stay in place
- Requires occasional raking and topping up
Pro Tip: Use landscape fabric underneath to prevent weed growth and improve stability.
🌲 2. Mulch or Bark: Natural & Soft Underfoot
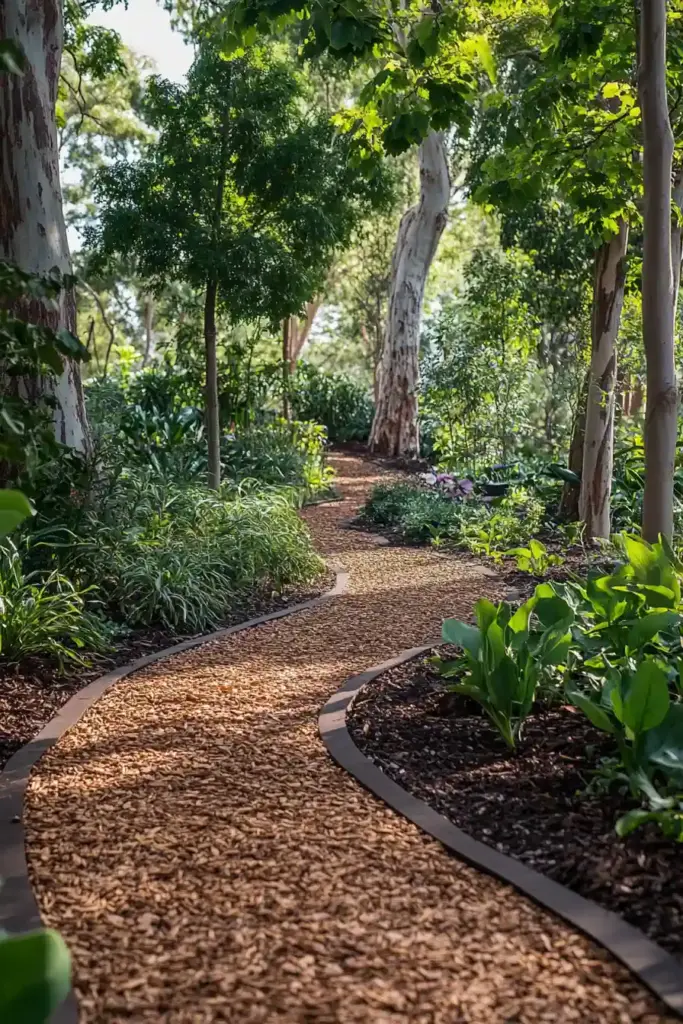
Wood chips and bark mulch are ideal for informal, woodland-style gardens. They blend beautifully with natural surroundings.
Pros:
- Cheap and eco-friendly
- Easy to spread
- Helps suppress weeds and retain moisture
Cons:
- Decomposes over time
- Can wash away in heavy rain
- Needs annual replenishment
🪵 3. Stepping Stones: Stylish & Space-Saving
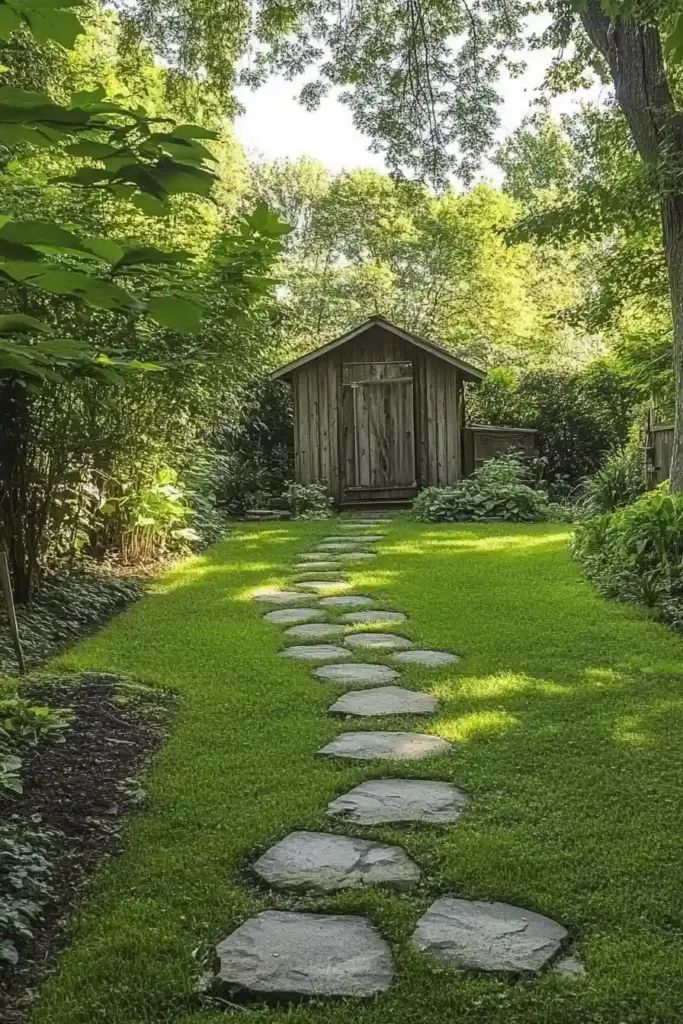
Stepping stones (like flagstone or concrete pavers) are perfect for creating charming paths through grass or gravel.
Pros:
- Attractive and customizable
- Require less material than full walkways
- Allow grass or ground cover to grow in between
Cons:
- Ground needs to be levelled
- Spacing must be precise to avoid tripping hazards
🧱 4. Reclaimed Bricks or Pavers: Eco-Friendly & Timeless
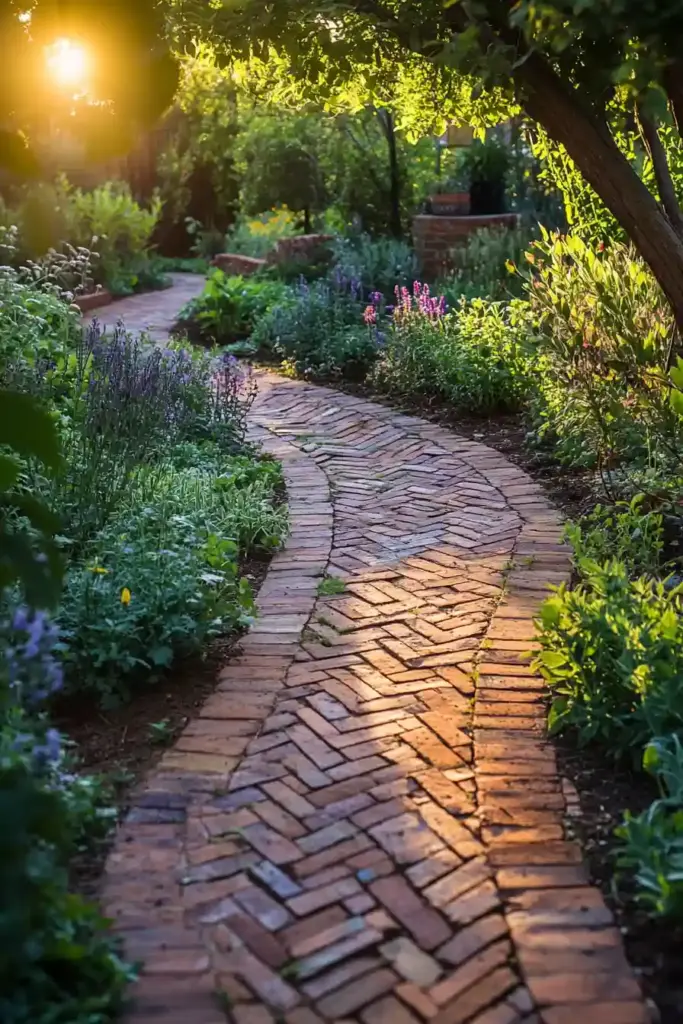
Salvaged bricks add character and warmth to any walkway. They’re a great upcycling option for sustainable gardens.
Pros:
- Durable and classic
- Can be arranged in creative patterns
- Great for curved paths
Cons:
- Requires some skill to lay flat and evenly
- Can be harder to source in large quantities
🌾 5. Crushed Stone or Decomposed Granite: Refined Yet Rustic
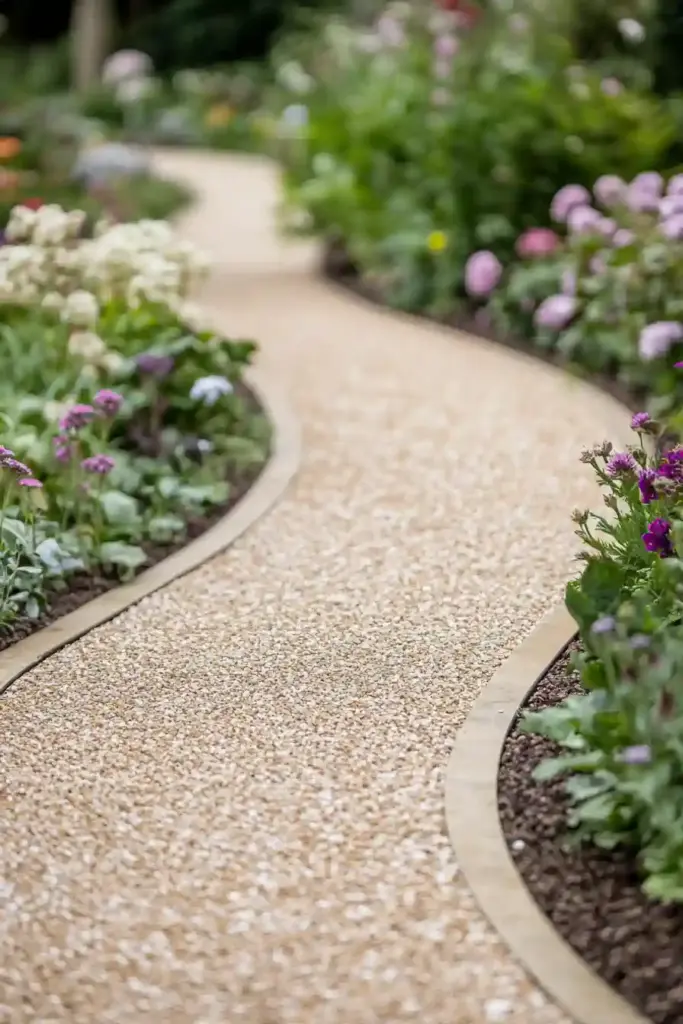
These offer a similar look to gravel but with a finer texture that gives a more polished finish.
Pros:
- Good drainage
- Stable walking surface
- Available in different natural tones
Cons:
- Like gravel, it needs edging
- May require occasional replenishment
🧱 6. Concrete: Durable & Customizable
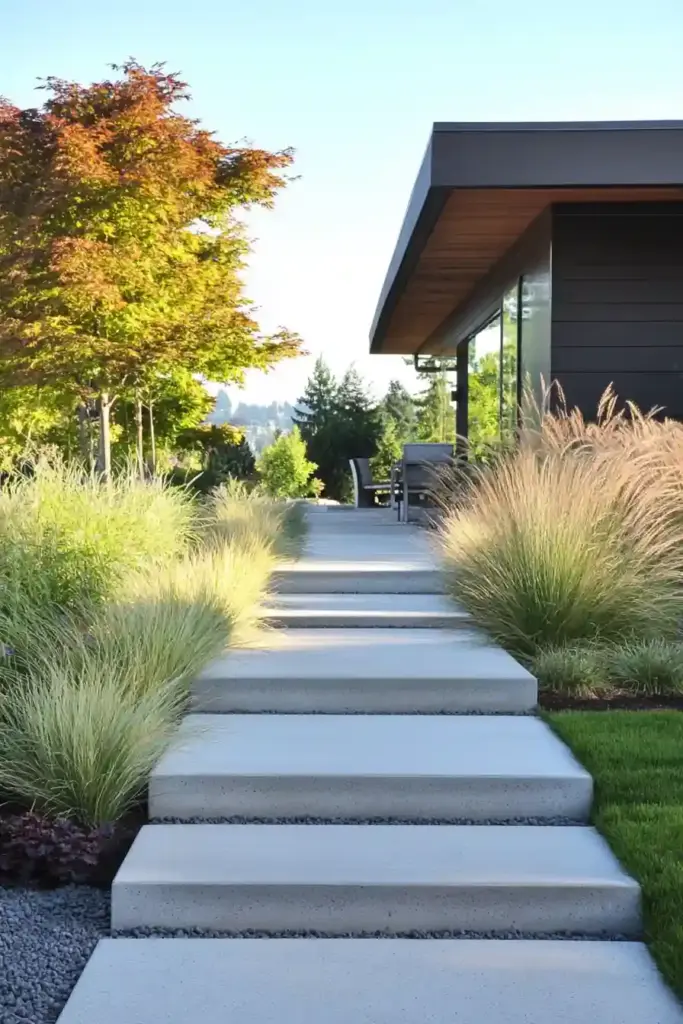
Concrete is more labor-intensive but great for modern gardens and high-traffic paths.
Pros:
- Long-lasting and low maintenance
- Can be molded into any shape or size
- Ideal for straight, linear paths
Cons:
- Requires mixing, pouring, and finishing
- May crack over time if not installed properly
🌳 7. Reclaimed Wood Planks: Rustic & Sustainable
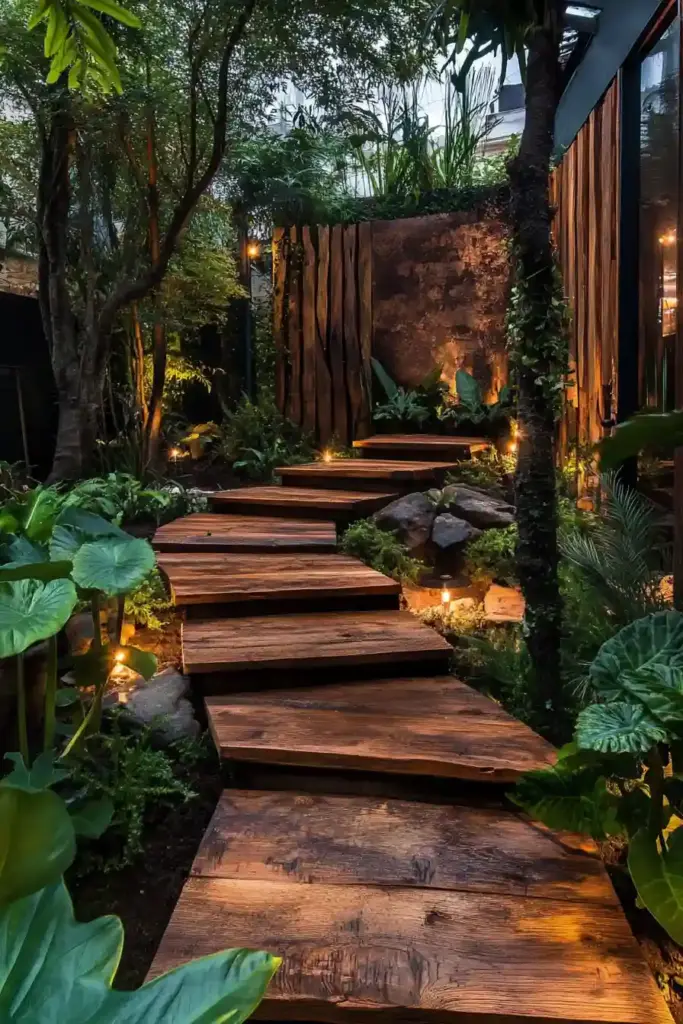
Want something unique? Try using reclaimed wood planks for a warm, rustic vibe.
Pros:
- Full of charm and character
- Can be cut to fit any layout
- A sustainable material choice
Cons:
- Requires weatherproofing and regular maintenance
- Not all wood types are suitable for outdoor use
Tip: Opt for rot-resistant wood like cedar or pressure-treated lumber for better longevity.
✏️ Design Tips for a Picture-Perfect DIY Budget Garden Walkway
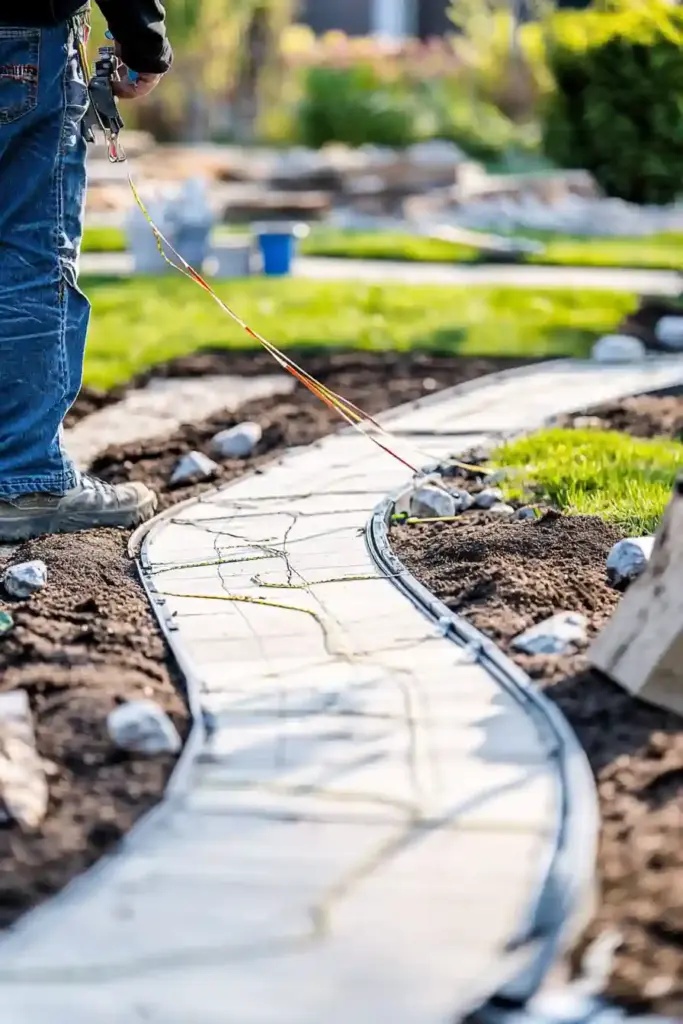
A thoughtfully designed garden walkway can completely transform the look and flow of your outdoor space. Beyond choosing the right materials, details like shape, size, and edging can elevate your path from basic to beautiful.
📐 Walkway Width: Comfort First
Most garden walkways should be at least 24 inches wide to comfortably accommodate one person. For busier routes — like paths leading to a patio or frequently used shed — consider widening to 36–48 inches.
- Single-use paths: 2–3 feet wide
- Double-use or utility paths: 3–4 feet wide
Having the right width ensures your walkway feels natural and doesn’t force people to shuffle single-file unless that’s part of the charm!
🌿 Curves vs. Straight Lines
Adding curves to your DIY budget garden walkway gives it a more relaxed, organic feel. Straight paths are better suited for modern or formal gardens, while meandering ones feel whimsical and inviting.
- Curved paths encourage a slower pace and blend well into natural landscapes
- Straight paths are practical and great for side yards or narrow spaces
Use a garden hose or string to experiment with path shapes before digging — it’s easier to tweak a layout now than later.
🧱 Add Edging for Definition
Edging serves two important purposes:
- Keeps loose materials (like gravel or mulch) from spilling into your garden beds
- Creates a polished, finished look
Budget-friendly edging options:
- Reclaimed bricks or stones
- Wooden garden borders
- Plastic or metal edging strips
- Plants or low-growing herbs for a softer edge
Pro Tip: Keep edging level with or slightly higher than the walkway surface for better material containment and visual appeal.
🎨 Match the Path to Your Garden’s Style
Your walkway should feel like an extension of your garden — not an afterthought.
- Cottage gardens look amazing with mulch, reclaimed bricks, or stepping stones
- Modern gardens pair well with concrete, crushed stone, or clean-cut pavers
- Rustic gardens are perfect for wood planks or natural flagstones
By matching the material and layout to your garden’s vibe, your path will feel intentional and cohesive.
🧰 How to Build Your DIY Budget Garden Walkway (Step-by-Step)
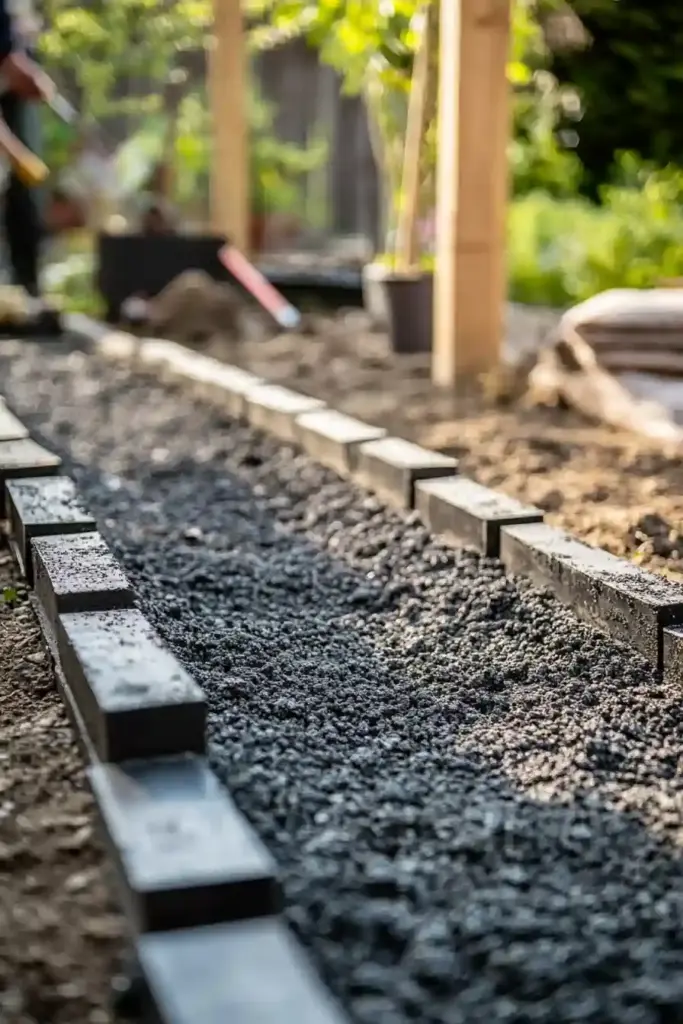
Once you’ve picked your path and materials, it’s time to roll up your sleeves. Here’s how to build your walkway from the ground up — literally.
🧹 1. Clear and Prep the Area
Start by removing grass, weeds, rocks, and debris from your chosen path. You’ll want to dig down around 4 to 6 inches to allow space for the base layer and top materials.
- Use a flat shovel to define clean edges
- Slope the path slightly (about 1 inch per 4 feet) for proper drainage
🧻 2. Lay Landscape Fabric (Optional but Recommended)
Laying down landscape fabric helps prevent weed growth and keeps your base material from sinking into the soil over time.
- Roll it out across the path
- Cut and shape it to fit curves or corners
- Secure with landscape pins
🪨 3. Add the Base Layer
A solid base provides stability and drainage — this is key to a long-lasting walkway.
- Use crushed stone, coarse sand, or gravel (about 2–3 inches deep)
- Spread it evenly with a rake
- Compact it thoroughly using a hand tamper or plate compactor
This step prevents your walkway from becoming uneven over time.
➖ 4. Install Edging
Secure your chosen edging along both sides of the path. This holds your material in place and defines the walkway’s shape.
Budget-friendly edging options:
- Bricks
- Wood strips
- Metal/plastic edging
- Even upcycled materials like wine bottles or logs!
Make sure your edging is level and firmly anchored.
🧱 5. Add Your Walkway Material
Time to add your top layer! How you install it depends on your material of choice:
For Gravel or Mulch:
- Pour material over the base (about 2 inches thick)
- Rake it evenly across the path
- Top up as needed after it settles
For Stepping Stones or Pavers:
- Place each stone starting from one end
- Keep spacing consistent if using ground cover in between
- Use a rubber mallet to tap into place
- Check that everything’s level
For Bricks or Reclaimed Pavers:
- Lay in your desired pattern (e.g., herringbone or basketweave)
- Fill gaps with sand or fine gravel
- Lightly mist with water to help it settle
✨ 6. Finishing Touches
Give your walkway that polished look:
- Sweep excess sand or material off the surface
- Add decorative touches like solar lights, low-growing plants, or garden statues
- Water lightly to settle materials, especially if using bricks or stone
And voilà — you’ve created a beautiful, functional path that enhances your garden and reflects your personal style.
💡 Extra Tips for a Low-Maintenance, Long-Lasting Walkway
Once your DIY budget garden walkway is in place, a few smart strategies can help keep it looking its best with minimal effort.
🔄 1. Embrace Gentle Curves
For winding paths, flexible edging like rubber, plastic, or metal is much easier to work with than rigid materials. For pavers or bricks, use a masonry saw or chisel to cleanly shape pieces to fit.
🔧 2. Keep Up with Maintenance
Every walkway needs a bit of TLC:
- Gravel/mulch: Rake regularly and top up each season
- Bricks/pavers: Refill sand between joints and check for shifting
- Wood: Seal or stain annually to prevent rot and wear
🌸 3. Add Decorative Touches
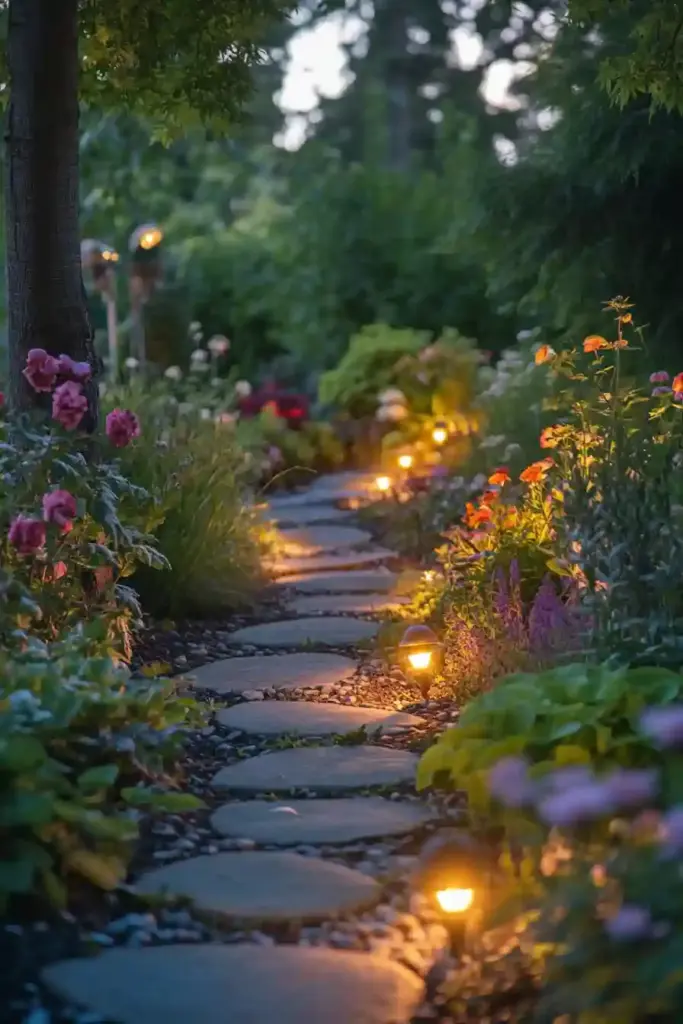
Personalize your path with creative touches:
- Line it with solar lights for evening ambiance
- Plant creeping thyme or low-growing herbs along the edges
- Add custom stepping stones with family handprints or mosaic designs
These small details make your walkway feel truly one-of-a-kind.
🏁 Conclusion: Walk This Way
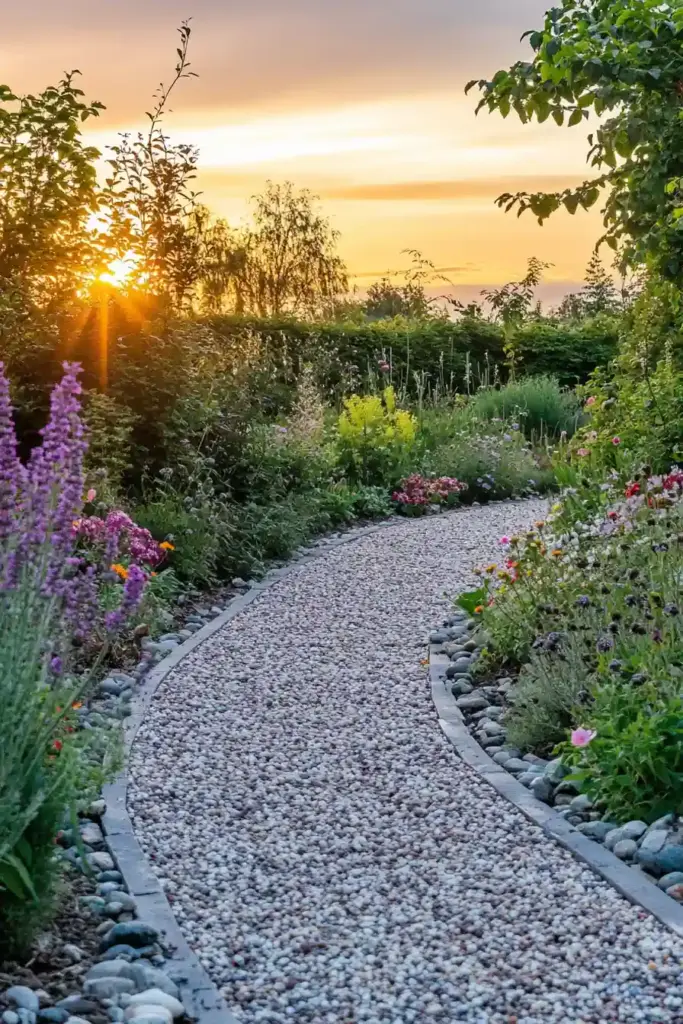
Creating a DIY budget garden walkway is a simple, rewarding weekend project that brings long-term beauty and function to your outdoor space. Whether you’re guiding guests to your back patio, curating a peaceful stroll through your flower beds, or just looking to stay mud-free on rainy days, a thoughtfully planned path can make all the difference.
With the right materials, a little prep, and a touch of creativity, you’ll have a walkway that looks great, works hard, and reflects your garden’s personality.

