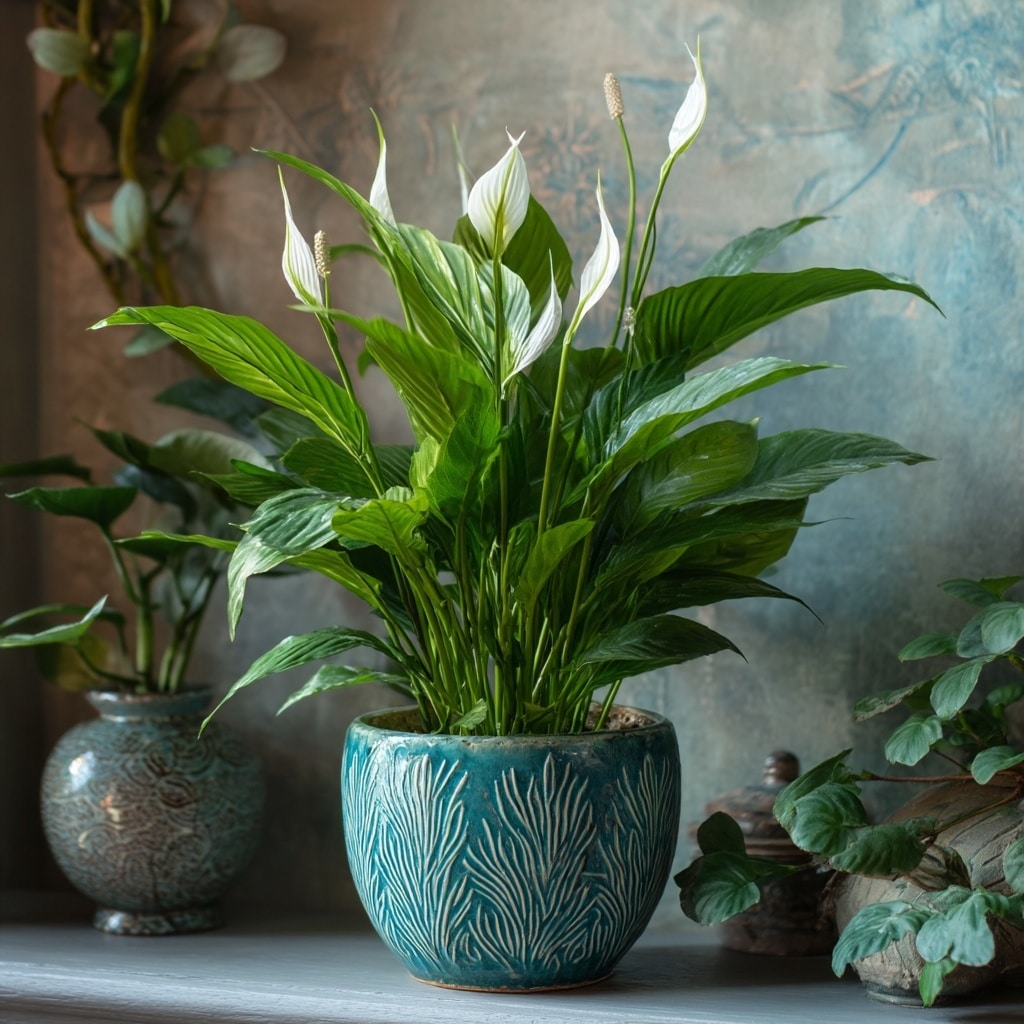
Peace lily care doesn’t have to be complicated. Whether you’re a new plant parent or a seasoned indoor gardener, peace lilies (Spathiphyllum) are a great addition to any home thanks to their graceful white blooms and lush green leaves. Known for their air-purifying qualities and forgiving nature, peace lilies respond clearly when something’s off—making them ideal for learning how to care for houseplants. In this guide, we’ll walk through everything you need to know to grow a healthy, vibrant peace lily, from light and watering needs to pruning, fertilizing, and fixing common issues.
About the Peace Lily
The peace lily, or Spathiphyllum, is a tropical plant native to the rainforests of Central and South America. Valued for its striking appearance, this plant features broad, glossy green leaves and white spathes that resemble flowers—though technically, they’re modified leaves. Peace lilies are not only beautiful, but they also play a role in improving indoor air quality by filtering out pollutants such as benzene and formaldehyde.
What makes peace lily care so approachable is the plant’s adaptability. It can thrive in typical indoor conditions and offers visual cues—like drooping leaves—to let you know when it needs attention. Among the many varieties, ‘Mauna Loa’ is a popular choice due to its size and reliability indoors. Whether placed in a corner of your living room or a bright hallway, peace lilies bring a serene, tropical vibe to any space.
Light Requirements for Peace Lily Care

Light plays a major role in successful peace lily care. These plants naturally grow beneath the canopy of tropical rainforests, which means they thrive in bright, indirect light. An ideal spot is near a north- or east-facing window where the sun’s rays are gentle and diffused.
Too much direct sunlight can be harmful. You might notice brown leaf tips or scorched spots if your peace lily is getting sunburned. On the other hand, too little light can slow down growth and limit blooming, leading to leggy or pale foliage.
If you’re working with a low-light room, peace lilies will tolerate it—but they won’t flourish. In such spaces, supplement with a full-spectrum grow light to mimic natural sunlight and encourage healthy growth. Just remember to keep the light source a few feet away to prevent leaf damage.
Quick Tips:
- Avoid placing your peace lily in direct afternoon sun.
- Rotate the plant occasionally for even growth.
- Monitor leaf color: dark green is healthy, while yellowing may indicate poor lighting.
Soil Conditions for Peace Lily Care
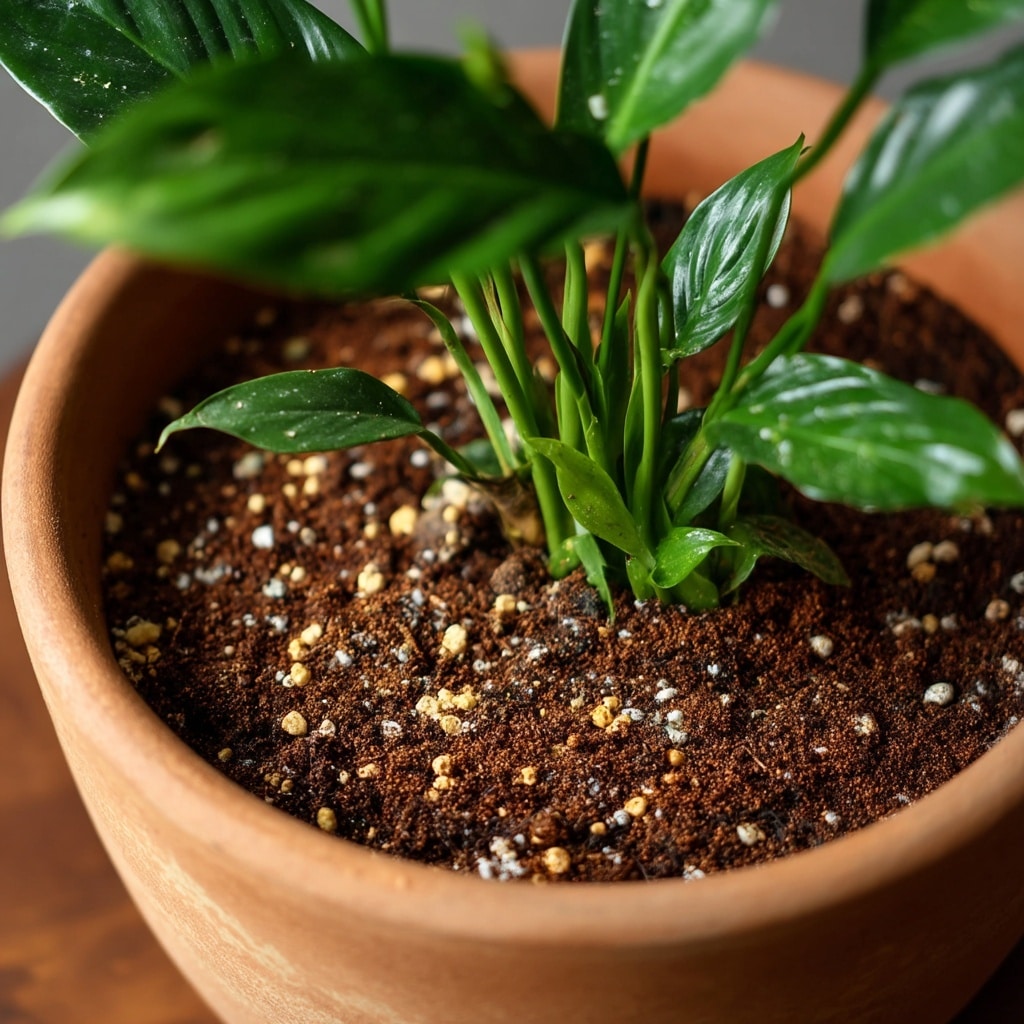
A critical part of proper peace lily care is choosing the right soil. Peace lilies like their roots to stay evenly moist, but they hate soggy soil, which can quickly lead to root rot. That’s why a well-draining potting mix is essential.
The best soil for peace lilies strikes a balance between retaining moisture and allowing excess water to escape. A quality indoor potting mix that includes peat moss or coco coir for moisture retention and perlite or coarse sand for aeration is ideal.
DIY Potting Mix Tip:
- 2 parts peat moss or coco coir
- 1 part perlite or coarse sand
- Optional: a handful of compost for nutrients
Make sure your pot has drainage holes, and avoid letting water collect in the saucer. Sitting in stagnant water can suffocate the roots and lead to fungal problems. If you’re repotting, always refresh the soil to prevent compaction and allow air to reach the roots.
Temperature and Humidity Needs
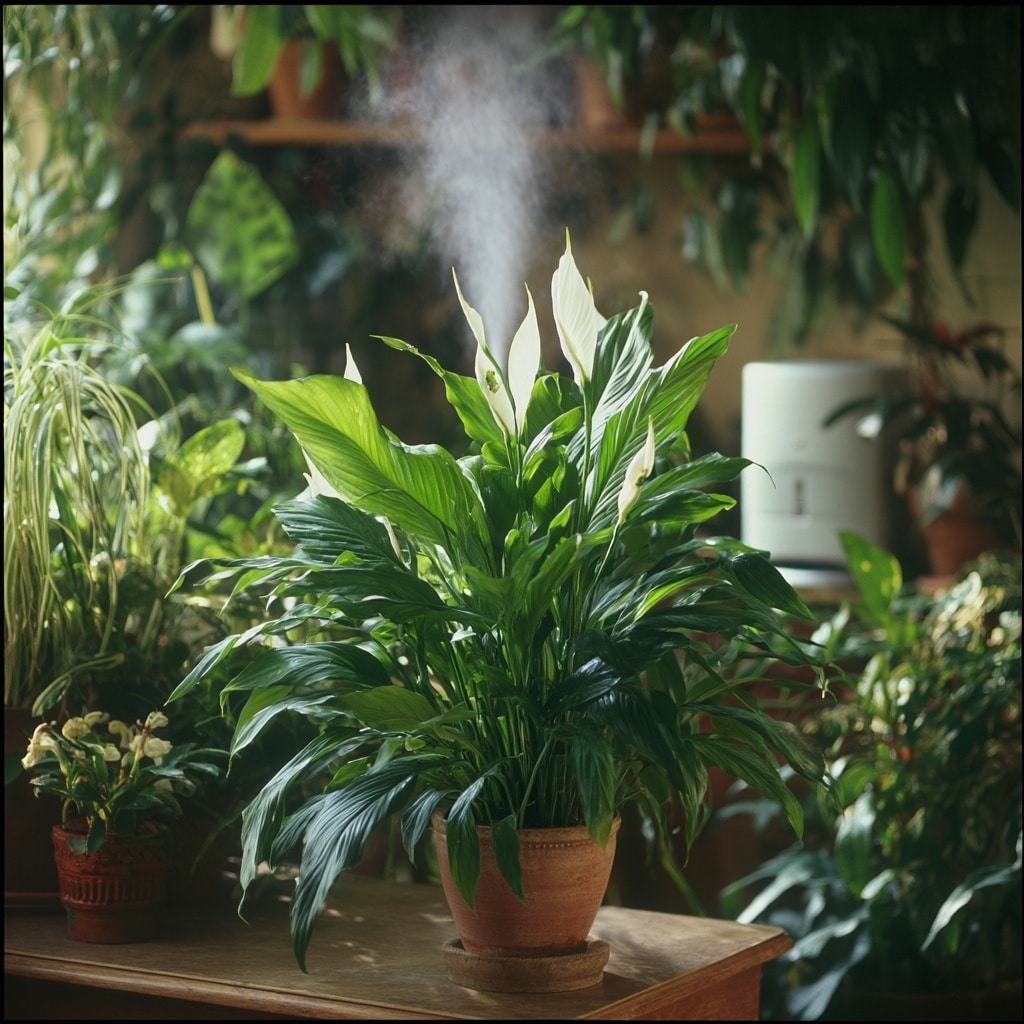
Understanding the ideal environment is key to successful peace lily care. Since these plants originate from humid, tropical regions, they prefer warm temperatures and moist air.
✅ Temperature Guidelines:
- Ideal range: 65–80°F (18–27°C)
- Avoid: Cold drafts, open windows in winter, and placement near heaters or vents
If your peace lily is exposed to temperatures below 50°F (10°C), you may notice slowed growth or cold damage like drooping or blackened leaf tips. Try to keep the temperature steady year-round.
💧 Humidity Tips:
Peace lilies love humidity, and dry indoor air—especially in winter—can cause brown leaf tips or drooping.
Boost humidity by:
- Misting: Lightly mist the leaves using distilled or filtered water to prevent mineral buildup.
- Humidity tray: Set the pot on a tray of pebbles with water (but don’t let the roots sit in water).
- Grouping plants: Place your peace lily near other houseplants to create a shared humid microclimate.
- Humidifier: Use a room humidifier to maintain consistently higher humidity levels.
Creating a warm and humid environment mimics the plant’s native habitat and helps it grow more vigorously, with glossier foliage and healthier blooms.
How to Water Peace Lilies

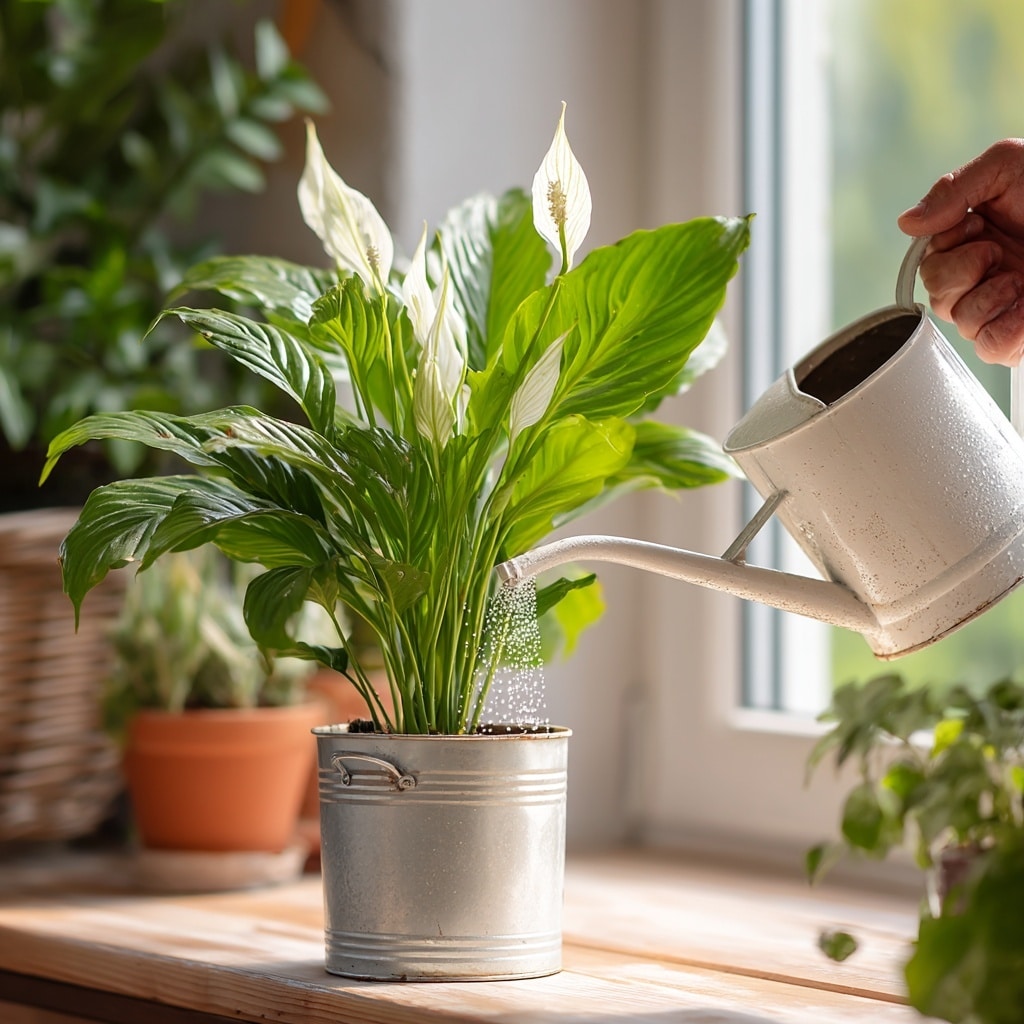
If there’s one area where plant parents often go wrong with peace lily care, it’s watering. Peace lilies are sensitive to both overwatering and underwatering—but luckily, they’re great communicators. Their leaves droop dramatically when thirsty, giving you a clear signal.
💧 How Often to Water:
- Check the soil before watering by sticking your finger 1–2 inches deep. If it feels dry, it’s time to water.
- Water thoroughly, letting excess water drain out completely.
- Never let the plant sit in water—empty the saucer after watering.
In general, peace lilies prefer consistently moist soil, not wet or dry. Overwatering is far more dangerous than missing an occasional drink.
🔁 Seasonal Adjustments:
- Spring/Summer: Active growing season, water more often
- Fall/Winter: Growth slows down, so reduce watering frequency—but monitor for dryness due to indoor heating
🚩 Signs of Overwatering:
- Yellowing leaves
- Mushy or black stems
- Moldy soil or a musty smell
- Root rot (if roots appear dark and slimy when unpotted)
⚠️ Signs of Underwatering:
- Drooping, limp leaves
- Crispy brown edges
- Dry, compact soil pulling away from the pot sides
🌿 Pro Tip:
Use distilled or rainwater instead of tap water. Peace lilies are sensitive to chlorine, fluoride, and mineral salts found in municipal water, which can cause leaf tip burn over time.
Fertilizing Peace Lilies
While peace lilies aren’t heavy feeders, giving them the right nutrients at the right time will boost their growth and encourage blooming. Proper peace lily care includes a light, consistent feeding schedule during their active growing months.
🧪 Fertilizer Type:
- Use a balanced, water-soluble fertilizer—look for a ratio like 20-20-20
- Dilute to half strength to avoid overfeeding and salt buildup
📅 When to Fertilize:
- Spring and summer: Every 4–6 weeks
- Fall and winter: Skip or fertilize lightly, as growth slows and the plant rests
Over-fertilizing can lead to brown leaf tips, burned roots, and fewer blooms. If you notice white crust on the soil surface, it may be time to flush the soil with distilled water to remove excess salts.
🌿 Natural Option:
If you prefer organic care, you can use a gentle liquid seaweed or fish emulsion fertilizer, again diluted to half strength.
✨ Signs Your Plant Needs Fertilizer:
- Pale, slow-growing foliage
- Lack of blooms during the growing season
- Generally healthy but underwhelming appearance
Feeding your peace lily properly helps maintain its signature deep green leaves and supports beautiful spathes throughout the year.
Foliage Care Tips

Healthy foliage is one of the most striking features of a peace lily, and keeping those leaves looking their best is an essential part of overall peace lily care. Dust, dry air, and buildup from tap water can all impact the plant’s appearance and ability to photosynthesize efficiently.
🧼 Cleaning the Leaves:
- Wipe leaves gently with a damp, soft cloth every couple of weeks to remove dust
- Avoid leaf-shine sprays—they can clog pores and attract pests
- If the plant is especially dusty, a lukewarm shower in the sink or bathtub works well (just let it drain fully)
🌬 Boosting Photosynthesis:
Clean leaves not only look better but also allow your plant to breathe and absorb light more effectively. You’ll notice a glossier, more vibrant plant with consistent care.
✂️ Remove Damaged Foliage:
- Trim yellowing or brown leaves at the base using clean, sharp scissors or pruning shears
- Always cut at the base of the stem rather than halfway up the leaf
Keeping the foliage clean and tidy helps prevent pest problems, reduces disease risk, and gives your peace lily the polished look that makes it a true indoor centerpiece.
Repotting Peace Lilies
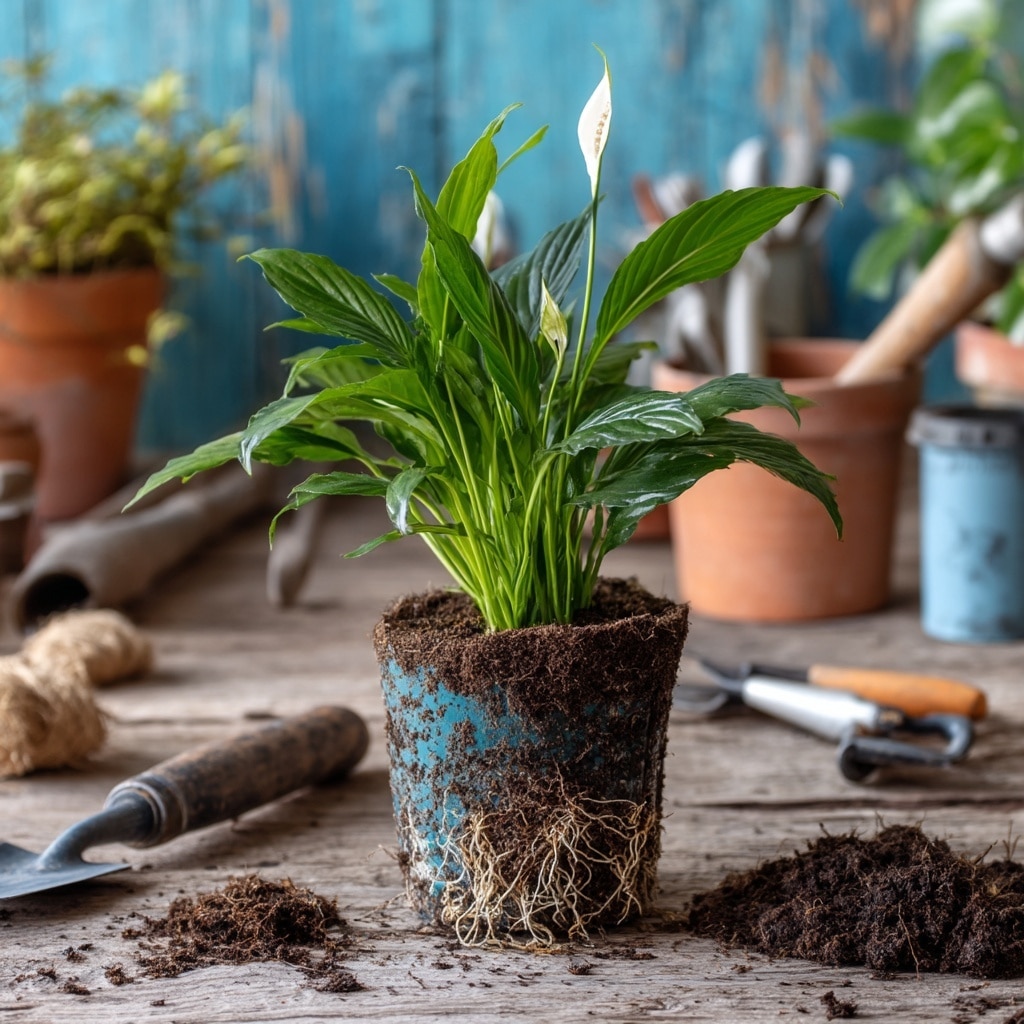
Like most houseplants, peace lilies eventually outgrow their containers. Repotting not only gives your plant more room to grow but also refreshes the soil, helping it absorb water and nutrients more effectively. Proper peace lily care includes repotting every 1–2 years.
🪴 When to Repot:
- Roots are growing out of the drainage holes
- Water runs straight through the pot (a sign of root crowding)
- Plant looks cramped or growth has slowed noticeably
- Soil dries out too quickly or stays soggy despite normal watering
🧂 How to Repot:
- Choose a new pot that’s 1–2 inches wider than the current one, with drainage holes
- Gently remove the plant and loosen the root ball
- Trim away any dark, mushy roots (signs of rot)
- Replant using fresh, well-draining potting mix
- Water thoroughly and place the plant back in its usual spot
Repotting in early spring is ideal, just before the plant begins its active growing season. Be sure not to use a pot that’s too large, as extra soil can hold excess water and lead to root rot.
Pruning and Deadheading
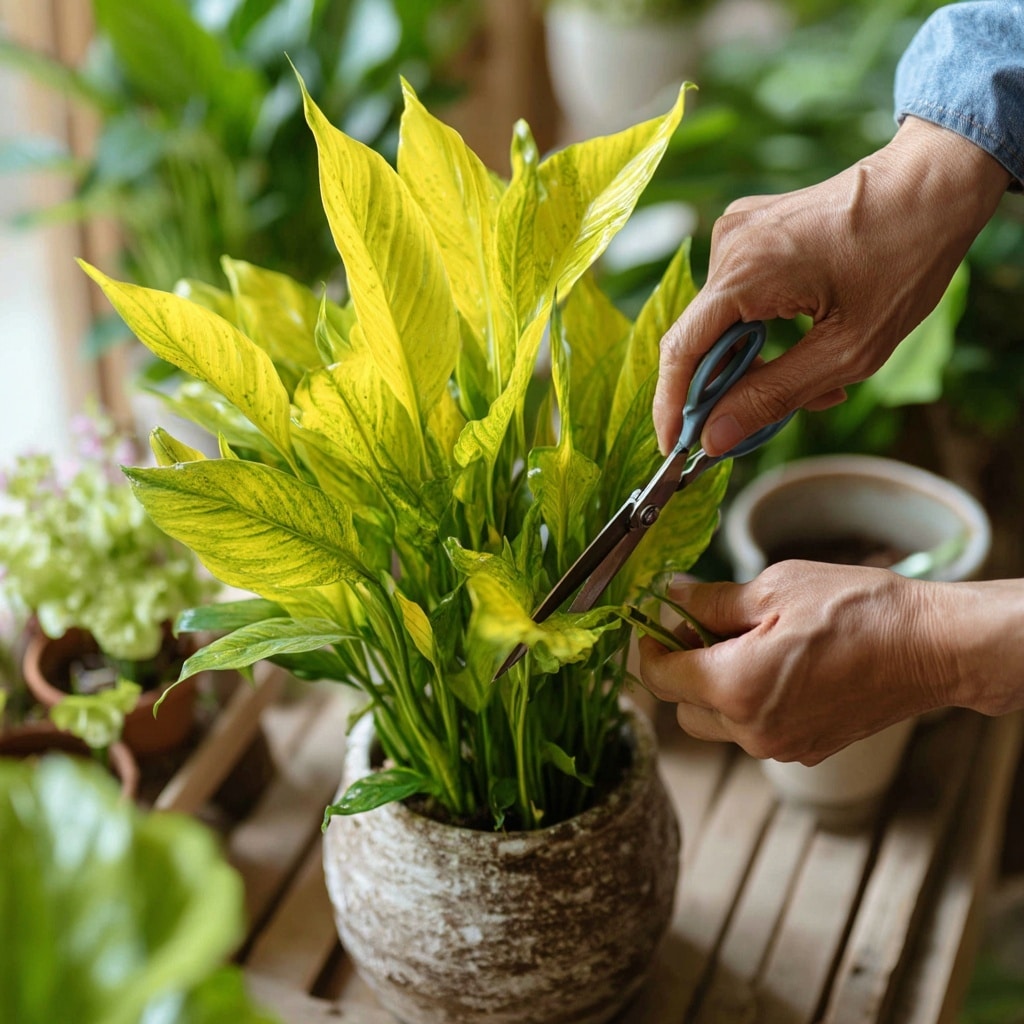
Regular pruning is a simple yet powerful step in peace lily care that helps keep your plant looking fresh and encourages healthy growth. Peace lilies don’t require heavy pruning, but removing old or damaged parts helps prevent disease and keeps the plant neat.
✂️ What to Prune:
- Yellow or brown leaves: These are often a sign of aging, stress, or improper watering. Cut them at the base of the stem using clean scissors or shears.
- Spent blooms: Once the white spathes fade to green or brown, they won’t return. Deadhead them by trimming the flower stalk all the way down to the base.
🌿 Why It Matters:
- Prevents energy waste on dying or dead parts
- Reduces the chance of fungal disease
- Keeps your plant tidy and visually appealing
🧼 Pruning Tips:
- Always sterilize tools before and after use to avoid spreading disease.
- Prune in the morning or early evening when the plant is less stressed.
- Never remove more than 25% of the plant at one time.
Routine grooming not only improves your peace lily’s appearance but also enhances airflow around the plant—especially helpful in humid indoor environments.
Common Pests and Diseases

While peace lilies are generally hardy and resilient, they’re not immune to a few common houseplant issues. Knowing how to spot and treat these problems early can make all the difference in maintaining a healthy plant.
🐛 Common Pests:
- Mealybugs
- Appear as white, cotton-like clusters on leaves and stems
- Suck plant sap, causing leaf yellowing and stunted growth
- Treatment: Wipe with rubbing alcohol or spray with neem oil or insecticidal soap
- Spider Mites
- Signs include tiny specks, webbing, and leaf discoloration
- Thrive in dry conditions
- Treatment: Increase humidity and spray with insecticidal soap or neem oil
- Fungus Gnats
- Small black flies often caused by overwatering
- Larvae feed on organic matter and roots
- Treatment: Let soil dry between waterings, and use sticky traps or beneficial nematodes
🦠 Common Diseases:
- Root Rot
- Caused by overwatering and poor drainage
- Signs: mushy roots, wilting despite wet soil, yellow leaves
- Solution: Remove affected roots, repot in fresh soil, and adjust watering habits
- Leaf Spot or Blight
- Brown or black spots often caused by fungal or bacterial infections
- Solution: Prune affected leaves, improve air circulation, and avoid getting the leaves wet when watering
Regular inspection and proactive care can help keep your peace lily pest- and disease-free. Always isolate new plants for a couple of weeks before placing them near your existing collection to prevent any unwanted surprises.
Peace Lily Propagation
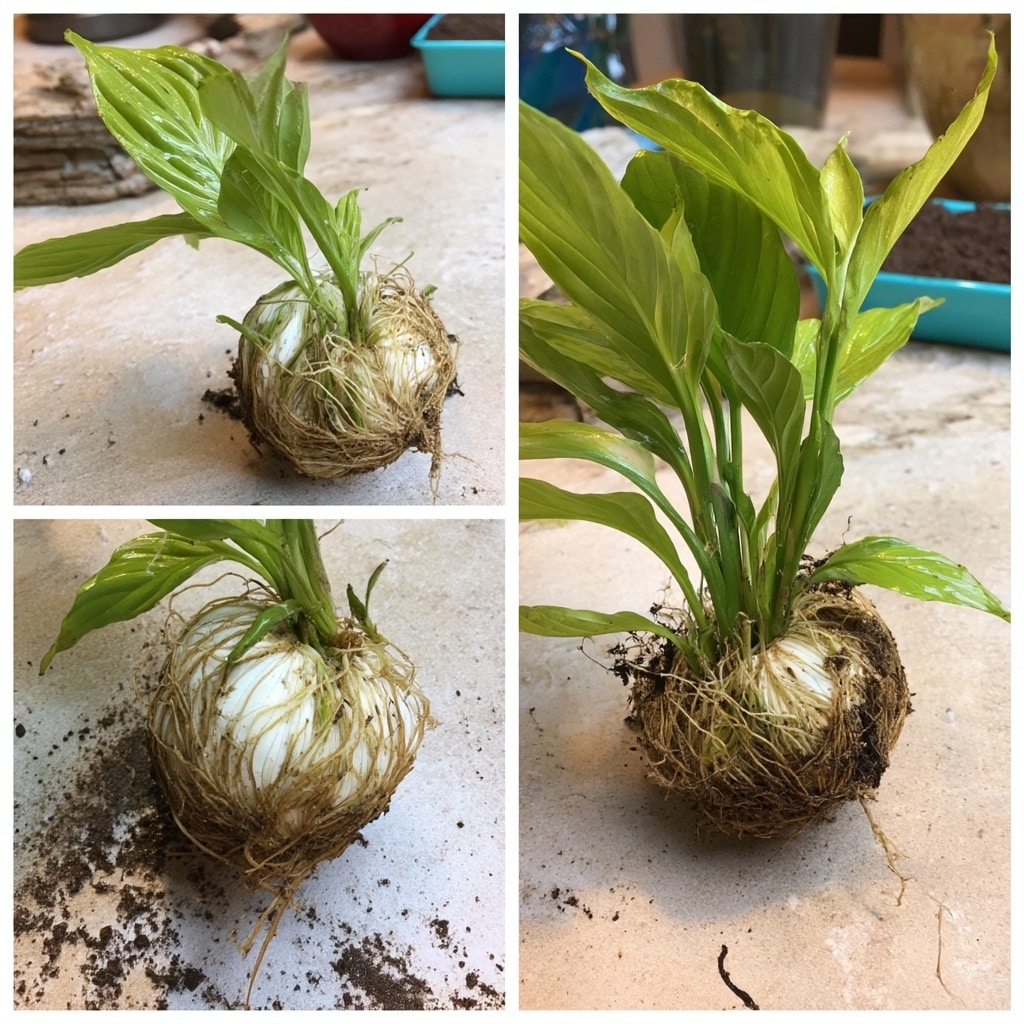
One of the easiest ways to grow your collection—or share a beloved plant with a friend—is through peace lily propagation. While they don’t propagate from leaf cuttings like some houseplants, peace lilies are ideal for division, which is both simple and effective.
🌿 Division Method (Most Common):
Best done when repotting, typically in spring.
Steps:
- Carefully remove the plant from its pot and gently separate the root ball.
- Look for natural divisions—each section should have its own root system and at least 2–3 healthy leaves.
- Replant each division in its own pot with fresh, well-draining soil.
- Water thoroughly and place in bright, indirect light.
🌱 Stem Cuttings (Less Reliable):
Some gardeners try rooting stem cuttings with a node in water or moist soil. While possible, it has a much lower success rate than division.
💡 Propagation Tips:
- Avoid dividing a stressed or unhealthy plant
- Give newly potted divisions time to adjust before fertilizing
- Keep humidity high and light consistent to encourage strong root development
Propagating peace lilies is a satisfying way to expand your plant family—and a testament to good peace lily care practices.
Troubleshooting Common Peace Lily Issues
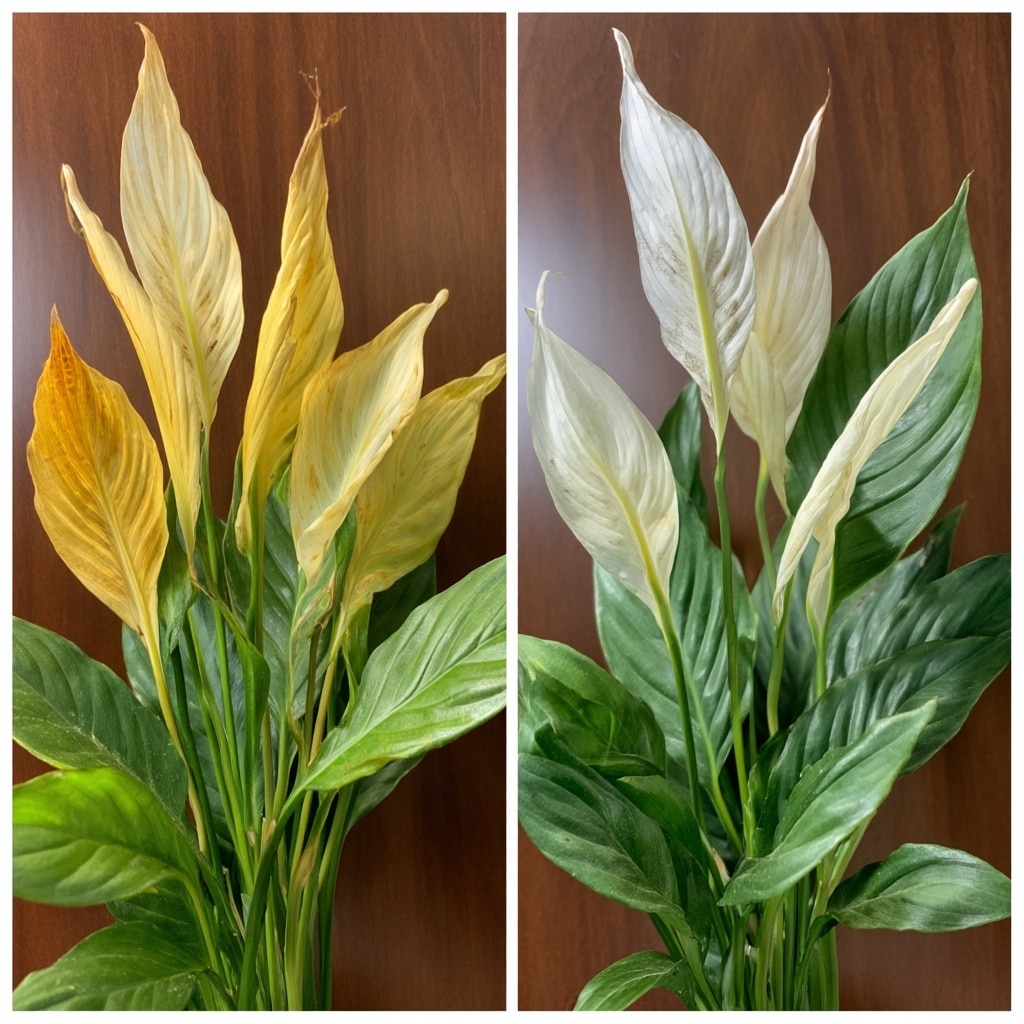
Even with the best intentions, your peace lily may occasionally show signs of distress. Fortunately, most problems are easy to diagnose and correct once you know what to look for.
⚠️ Yellow Leaves
Causes:
- Overwatering (most common)
- Aging leaves (especially lower ones)
- Nutrient deficiencies
Fix:
Check soil moisture and drainage. If it’s soggy, let it dry out. Remove old yellow leaves and consider a light feeding if it’s been a while since fertilizing.
⚠️ Drooping Leaves
Causes:
- Underwatering (likely if soil is dry)
- Overwatering (if soil is wet but plant is limp)
- Sudden temperature changes
Fix:
Feel the soil. If dry, give it a thorough watering. If wet, improve drainage or repot if needed. Keep the plant away from cold drafts or heat sources.
⚠️ Brown Leaf Tips
Causes:
- Low humidity
- Tap water with chlorine or fluoride
- Fertilizer buildup
- Inconsistent watering
Fix:
Increase humidity, switch to distilled or rainwater, and flush the soil if salt buildup is suspected. Maintain consistent watering habits.
⚠️ Lack of Blooms
Causes:
- Not enough light
- Improper fertilization
- Immature or stressed plant
- No dormant phase (needed to trigger blooming)
Fix:
Ensure the plant gets bright, indirect light. Use a balanced fertilizer in spring and summer. Give it a rest in winter with cooler temps and reduced watering.
🧠 Peace Lily “Drama”:
Don’t worry if your peace lily droops dramatically—it’s just letting you know it’s thirsty. Water it, and within a few hours, it will bounce back like nothing happened. That’s part of its charm.
Final Thoughts on Peace Lily Care
Mastering peace lily care is all about balance. These elegant, low-maintenance houseplants are incredibly responsive—telling you exactly what they need, whether it’s a drink of water or a brighter spot in your home. By providing bright, indirect light, consistent moisture, warm temperatures, and an occasional feeding, your peace lily will reward you with vibrant green foliage and graceful white blooms.
With just a bit of attention and observation, peace lilies can thrive for many years, making them a favorite for both beginner and seasoned indoor gardeners.

