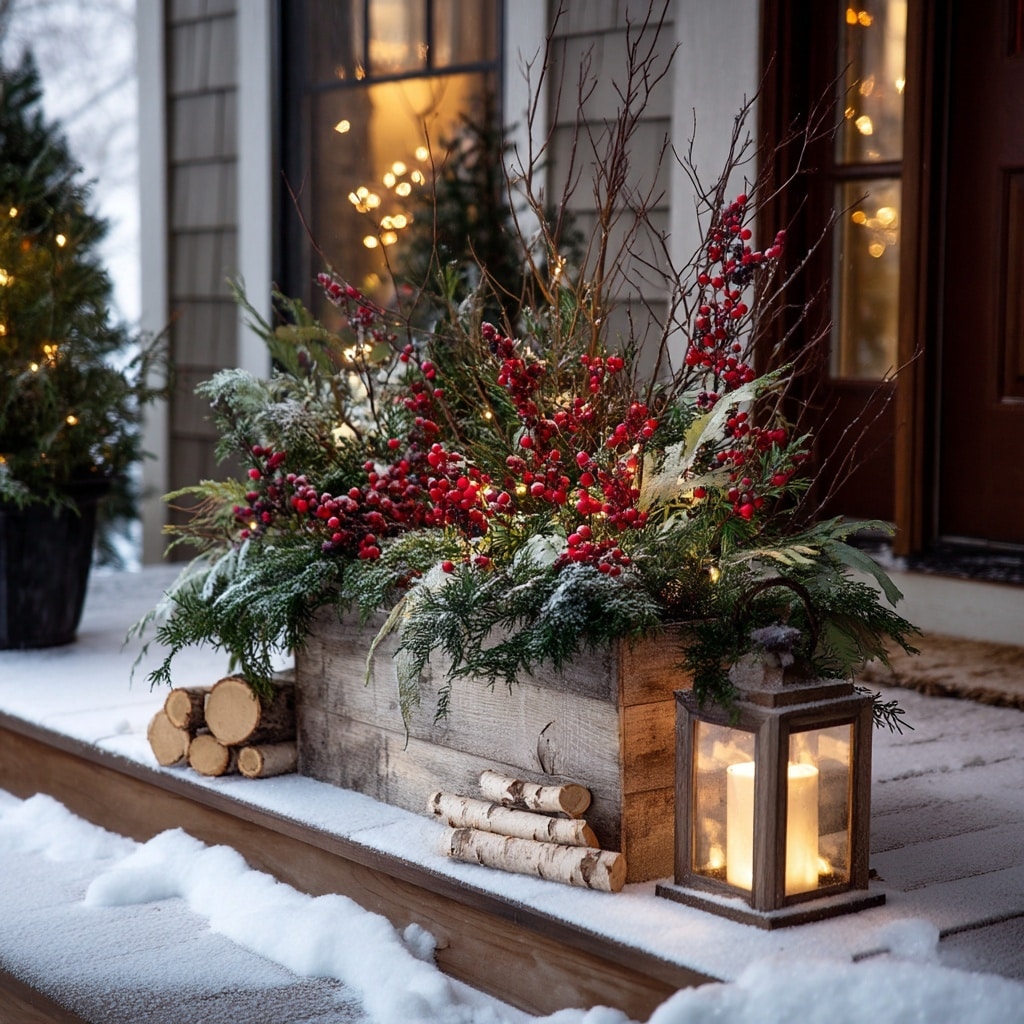
Creating a winter planter doesn’t have to be expensive or complicated. If you’ve ever admired a festive container bursting with greenery, twigs, and berries—only to be shocked by the price tag—you’re not alone. Thankfully, making your own DIY winter planter for front porch beauty is not only budget-friendly, but surprisingly easy, even if you’re not a floral design pro.
Whether you want to brighten up your outdoor space or just need an excuse to get your hands dirty one more time before spring, this guide will walk you through everything you need to know to create a beautiful, long-lasting arrangement that will carry charm and color through the coldest months.
Table of Contents
What to Include in a Winter Planter
Designing a winter planter is all about combining natural textures, pops of color, and varied heights to bring life to your outdoor space during the colder months. From evergreen boughs to decorative accents, the right mix of elements will turn an ordinary container into a seasonal showstopper.
Best Evergreen and Decorative Elements
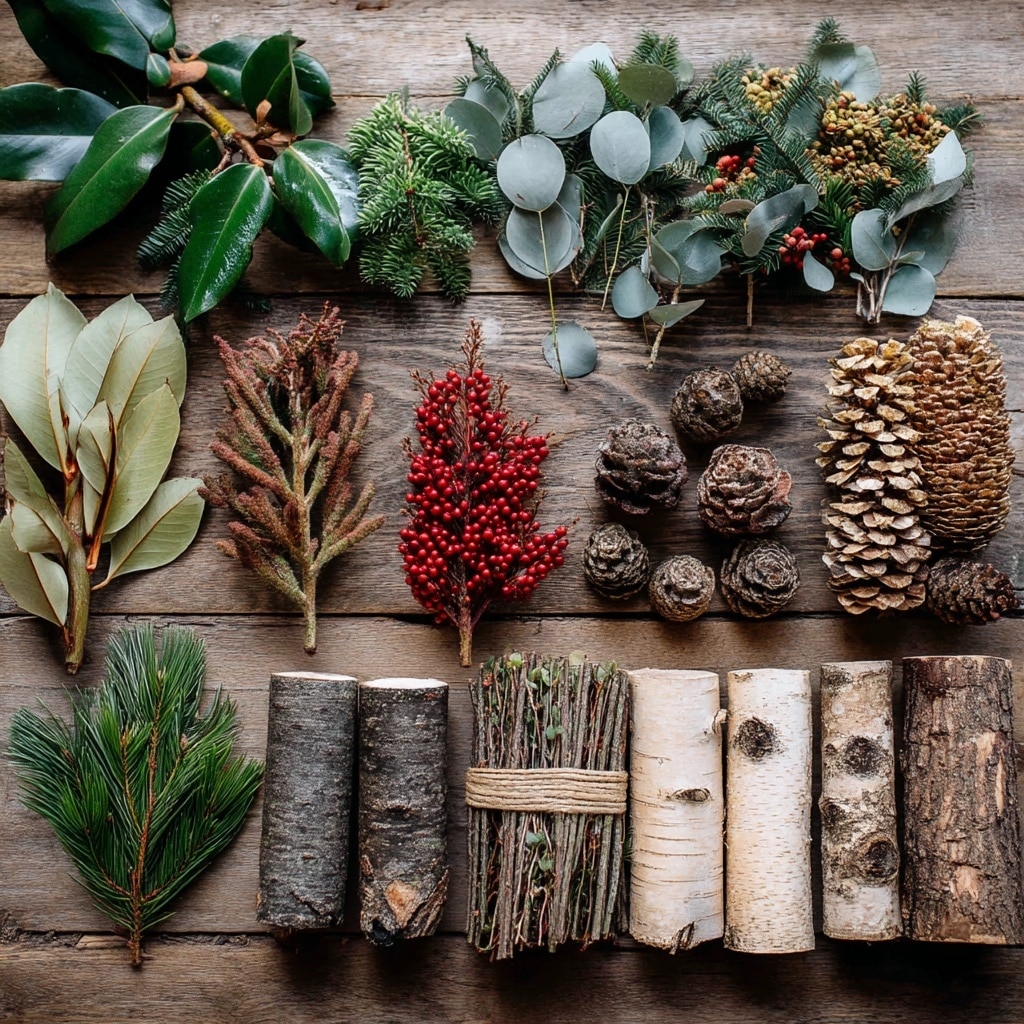
Here are some of the most popular materials to include in your planter:
- Spruce tips – Classic and full, perfect for structure
- Pine, fir, or cedar branches – Add variety in color and needle texture
- Red twig dogwood – Bold red branches for striking contrast
- Winterberry or faux berries – Pops of red that stand out against green
- Magnolia leaves – Glossy texture for added depth
- Eucalyptus – Silvery tone with a fragrant touch
- Dried hydrangeas – Adds fullness and absorbs outdoor spray paint beautifully
- Curly willow or birch logs – Ideal for vertical interest
- Lotus pods, pinecones, or seed pods – Natural, rustic fillers
- Waterproof Christmas ornaments – Use sparingly for holiday flair
- Outdoor-safe bows or ribbons – Adds a festive, finished look
- Solar lanterns or lights – For nighttime charm
Tip: Use greenery with varying shades and shapes to give your arrangement texture and dimension. Blue spruce, for example, pairs beautifully with softer cedar or pine.
Tips for Gathering Materials Cheaply (or Free)
Creating a DIY winter planter for front porch décor doesn’t mean spending a fortune. In fact, many of the best components might already be in your yard.
Here are some budget-friendly ideas:
- Trim your own evergreens – Snip lower branches from overgrown shrubs or trees
- Ask neighbors or friends – Many will gladly share prunings
- Visit local tree lots – Many give away leftover trimmings for free
- Check Home Depot or Lowe’s – Ask for discarded greenery from cut trees
- Stop by compost or brush sites – Some allow you to collect trimmings (call ahead)
- Repurpose old decorations – Pinecones, seed pods, and faux berries can be reused for years
Be respectful when foraging—only cut where it’s safe and permitted.
Reuse Year After Year
One of the smartest ways to keep your winter planter low-cost and eco-friendly is to reuse durable elements. Here’s what lasts:
- Birch logs or branches
- Faux berries made for outdoor use
- Decorative seed pods (like lotus or pinecones)
- Outdoor ribbons or bows
- Solar lights or battery candles
Store these pieces carefully after the season, and you’ll be ahead of the game next year.
Choosing the Right Container
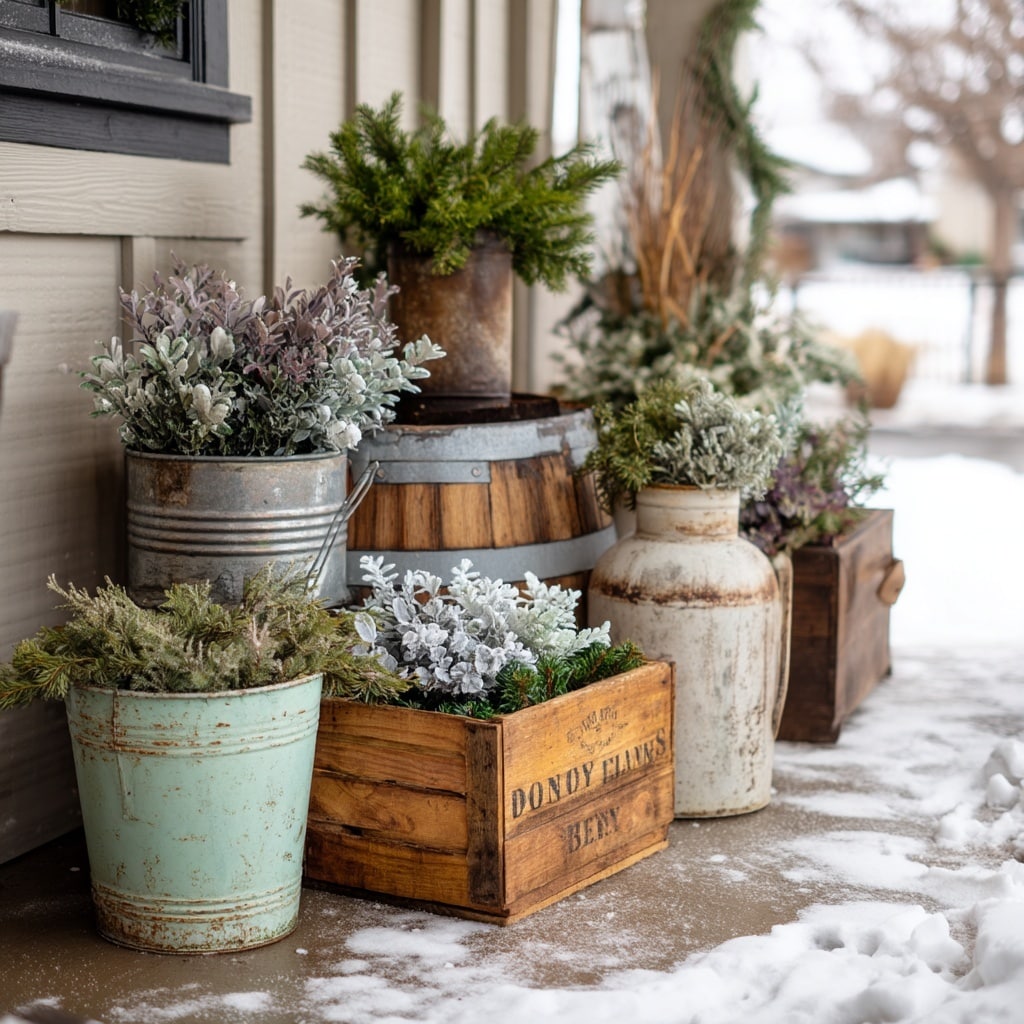
The foundation of a great winter planter is the container itself. While it might seem like just a vessel, the type of pot you choose can affect both the style and the longevity of your arrangement—especially in cold climates.
Creative Winter Planter Ideas
You don’t need to buy anything fancy. Many of the best planters are made using items you already have around the house or tucked away in the garage. Here are a few creative and stylish options:
- Galvanized buckets or wash tubs – Add rustic charm
- Vintage milk cans – Tall and narrow, perfect for front porch corners
- Wooden crates or bushel baskets – Great for cottage-style displays
- Old urns or garden pots – Instantly adds a touch of elegance
- Wine barrels or half-barrels – Roomy and stable
- Repurposed watering cans – Ideal for smaller accent planters
Just make sure whatever you choose has drainage holes, even during winter. Excess water can freeze, expand, and cause cracks—or rot roots if you’re using live plants.
Caution With Ceramic in Freezing Zones
If you live in a region where winter temperatures drop below freezing, be extra careful with ceramic, terra cotta, or other porous pots. These materials tend to crack or shatter once water gets in and freezes.
Instead, opt for:
- Plastic or resin planters – Lightweight and freeze-resistant
- Metal or wood containers – Sturdier, but may need lining to prevent rot
- Concrete pots – Extremely durable, though heavy
If you absolutely love a ceramic look, use faux greenery or line the pot inside with a plastic nursery container and pull it indoors during deep freezes.
Step-by-Step Guide to Building a Winter Planter
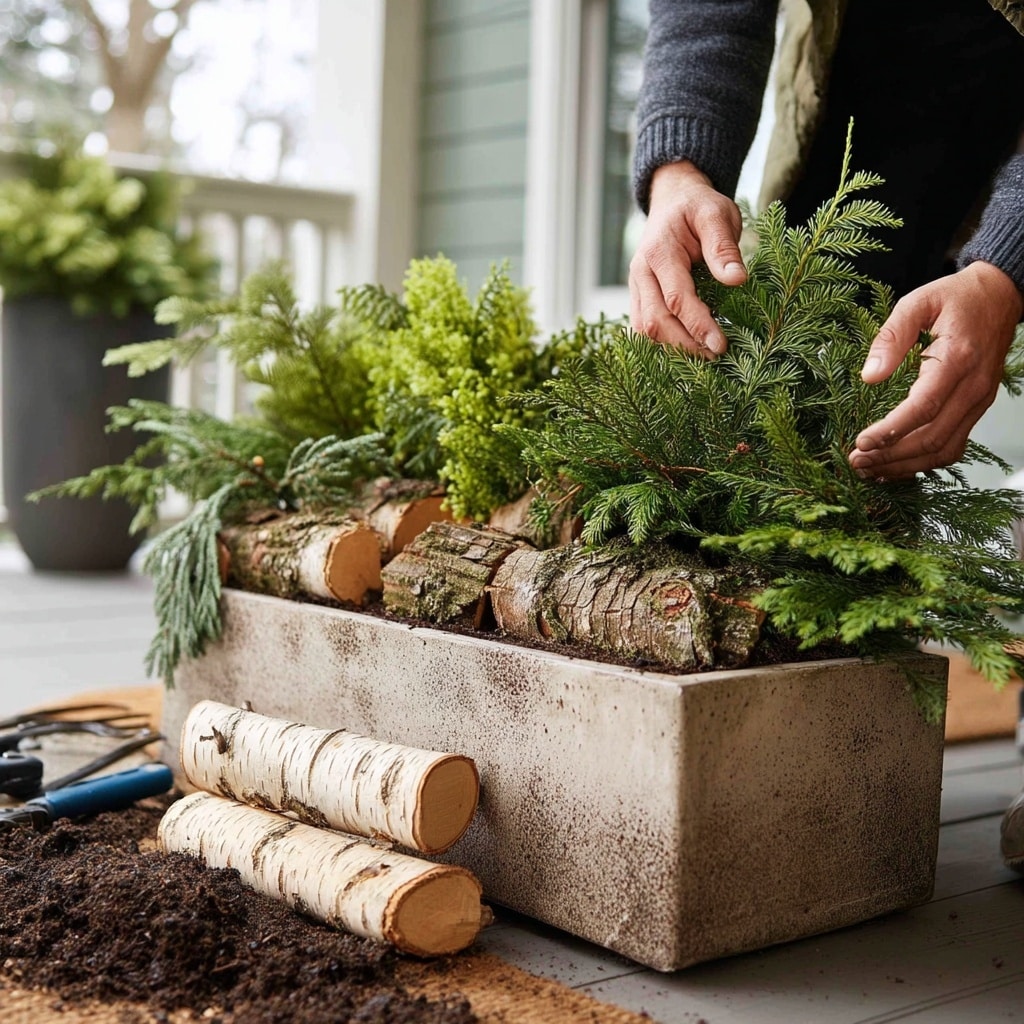
Now that you’ve gathered materials and picked the perfect container, it’s time to bring your winter planter to life. Whether you’re crafting something bold and festive or simple and rustic, the steps below will help you create a balanced and long-lasting display.
Step 1: Prep Your Greens and Materials
Before arranging anything, prepare your evergreens so they stay fresh and vibrant throughout the season:
- Give stems a fresh cut – Use sharp pruners to trim the ends of branches
- Soak in water – Let the greenery sit in a bucket of water overnight. This helps them absorb moisture and stay green longer
- Use Wilt Stop or Wilt Pruf – Spray the greenery to reduce moisture loss from wind and sun exposure
- Let materials dry – Before assembling, shake off excess water so things don’t get soggy in your container
💡 Tip: This step is especially important if you live in a warmer zone where your planters won’t freeze.
Step 2: Fill the Container
Fill your pot with one of the following bases to help anchor your branches:
- Potting soil – Ideal if you’re repurposing fall containers
- Rice hulls or sand – Lightweight options that hold shape
- Floral foam bricks – Good for warmer climates where freezing isn’t guaranteed
- Frozen soil – Still usable if you’re just adding elements on top
- Chicken wire – Shaped into a ball, it helps grip stems and create structure
Whatever base you use, make sure it’s firm enough to hold branches upright.
Step 3: Build the Arrangement
Now comes the fun part—arranging your greens! Follow this simple method:
- Start with height – Place your tallest elements in the center (like birch logs or spruce tips)
- Add mid-height greens – Build around the center using cedar, pine, or eucalyptus
- Layer shorter branches – Fill in outer edges with lower greenery or draping elements
- Vary colors and textures – Combine soft needles with broad leaves or red twigs
- Rotate the container as you work – This helps maintain symmetry on all sides
There’s no strict rule here—just aim for balance, depth, and a mix of shapes.
Step 4: Secure and Add Decorative Touches
Once the greenery is in place:
- Water the planter thoroughly if you used soil
- Reapply Wilt Stop if needed after handling
- Tuck in your extras – Add pine cones, berries, ribbon, or ornaments
- Consider lights – Solar fairy lights or LED candles add beautiful nighttime appeal
- Keep it seasonal – Use Christmas decorations early, then remove them to transition your planter into late winter
With a little creativity, your DIY winter planter for front porch can evolve with the season.
How to Make Your Winter Planter Last
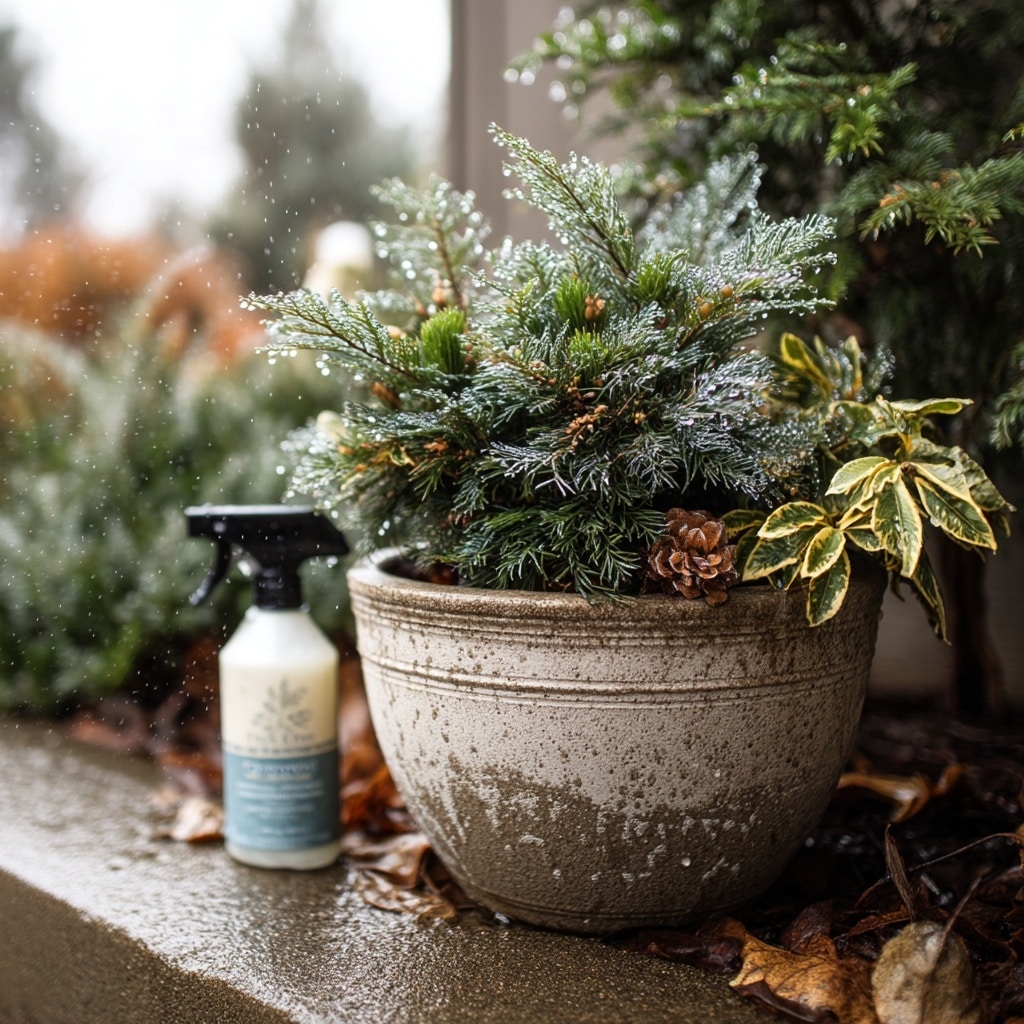
A beautifully crafted winter planter can stay vibrant well into late winter—if you take a few simple steps to preserve it. Depending on your climate, your maintenance routine will vary slightly, but overall, these tips will help keep your arrangement fresh, firm, and eye-catching all season long.
Maintenance in Cold Climates
If you live in a zone where temperatures dip below freezing, your winter planter is practically self-preserving once the soil freezes:
- Water thoroughly once after planting
- Allow the soil or base to freeze solid—this stabilizes the arrangement
- No further watering is needed unless there’s a warm spell
- Wind protection (like near a porch wall) helps prevent drying
Frozen soil acts like glue for your stems, holding them securely in place and keeping the greenery hydrated longer.
Tips for Warmer Zones
In milder climates, winter doesn’t always mean freezing temperatures. If your container won’t freeze, here’s what you should do:
- Water weekly to prevent greens from drying out
- Use floral foam bricks that hold moisture better than dry soil
- Keep the planter shaded if possible, to reduce sun damage
- Reapply Wilt Stop or Wilt Pruf every few weeks if temps remain above freezing
These steps mimic the natural preservation that freezing provides in colder regions.
Extra Tips for Long-Lasting Results
To get the most out of your effort:
- Avoid placing your planter in full sun—direct light dries out greens
- Keep it out of strong wind if possible
- Remove soggy or damaged pieces mid-season to refresh the look
- Use faux berries or waterproof decorations that won’t fade or rot
- Repurpose items next year: save birch logs, red twigs, pinecones, and bows in a dry storage bin
With just a little maintenance, your DIY winter planter for front porch can stay gorgeous from late fall through early spring.
Bonus Ideas and Inspiration
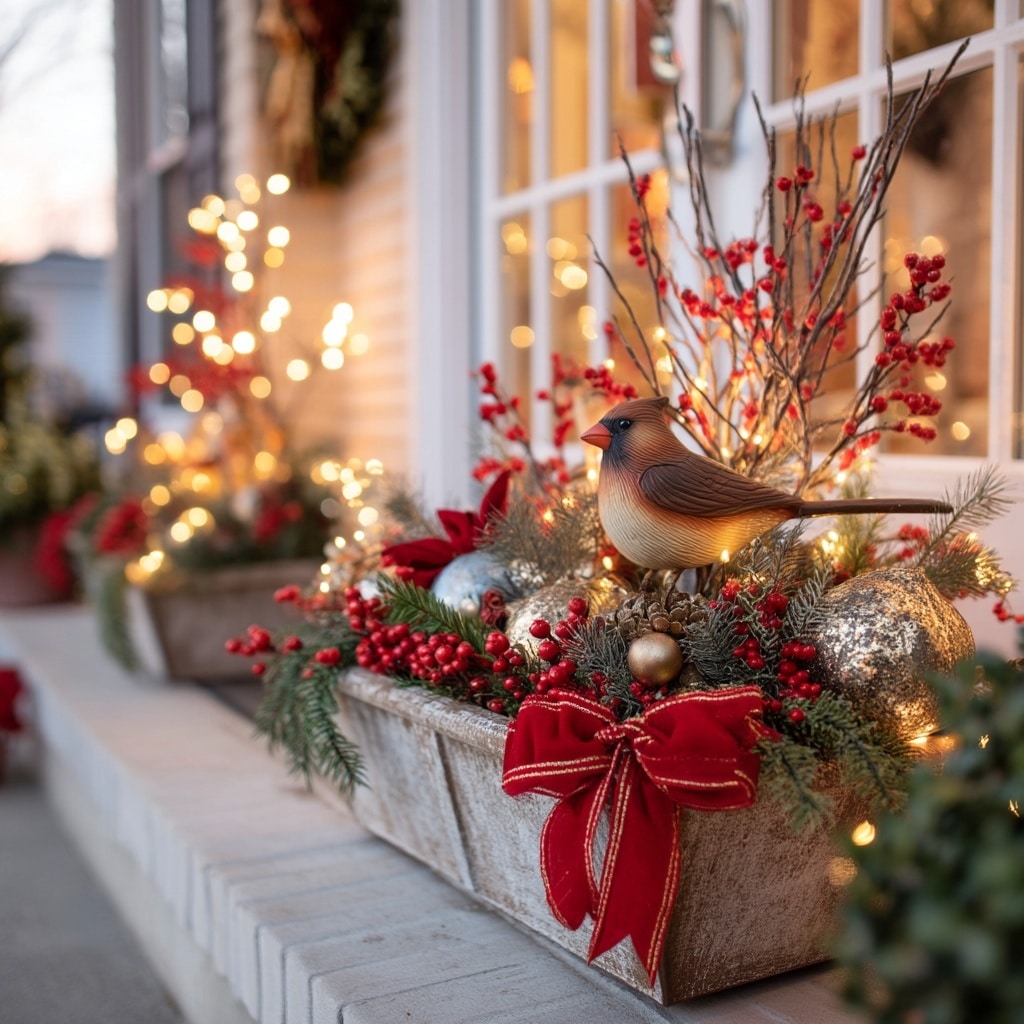
Once your winter planter is assembled, don’t stop there—this is your chance to get creative and make it uniquely yours. Whether you’re decorating for the holidays or just want something that feels fresh and wintry, these extras will add character and personal flair.
Add a Festive Holiday Touch
If you’re building your DIY winter planter for front porch in late fall, it’s the perfect opportunity to layer in seasonal holiday accents. Just keep them removable so you can transition into a more neutral winter look after the holidays.
Great add-ons include:
- Waterproof red bows or plaid ribbon
- Outdoor-safe Christmas ornaments
- Small faux gift boxes or bells
- Decorative solar lanterns or candles
- Mini evergreen wreaths or garlands tucked into the base
These additions instantly make your planter look festive and welcoming, especially when paired with a matching door wreath or porch sign.
Mixing Real and Faux Greenery
Not everything in your planter has to be natural. In fact, a mix of real and faux elements can make your display more durable and cost-effective.
Here’s how to blend the two seamlessly:
- Use real evergreens for base texture and fragrance
- Add faux berries, magnolia leaves, or eucalyptus for bold color and shape
- Choose UV-protected faux elements made for outdoor use to prevent fading
- Make sure faux pieces are firmly anchored—use floral picks or wire
This approach works especially well if you live in warmer climates where greens dry out quickly, or if you want to reuse parts next season.
Consider a Local Workshop or Garden Center
If you’re feeling unsure or want extra inspiration, consider:
- Signing up for a local garden center’s winter planter workshop
- Walking through seasonal displays for ideas (and photo inspiration)
- Watching a YouTube demo from a florist or garden center in your region
- Checking community Facebook groups for tips or supply swaps
Not only do these classes offer hands-on learning, but they’re a great way to see different styles—from rustic minimalism to full holiday glam—and get expert feedback.
You might spend a little more than expected on supplies, but you’ll walk away with new skills (and possibly enough leftovers to make another planter!).
Final Thoughts on Creating a Winter Planter
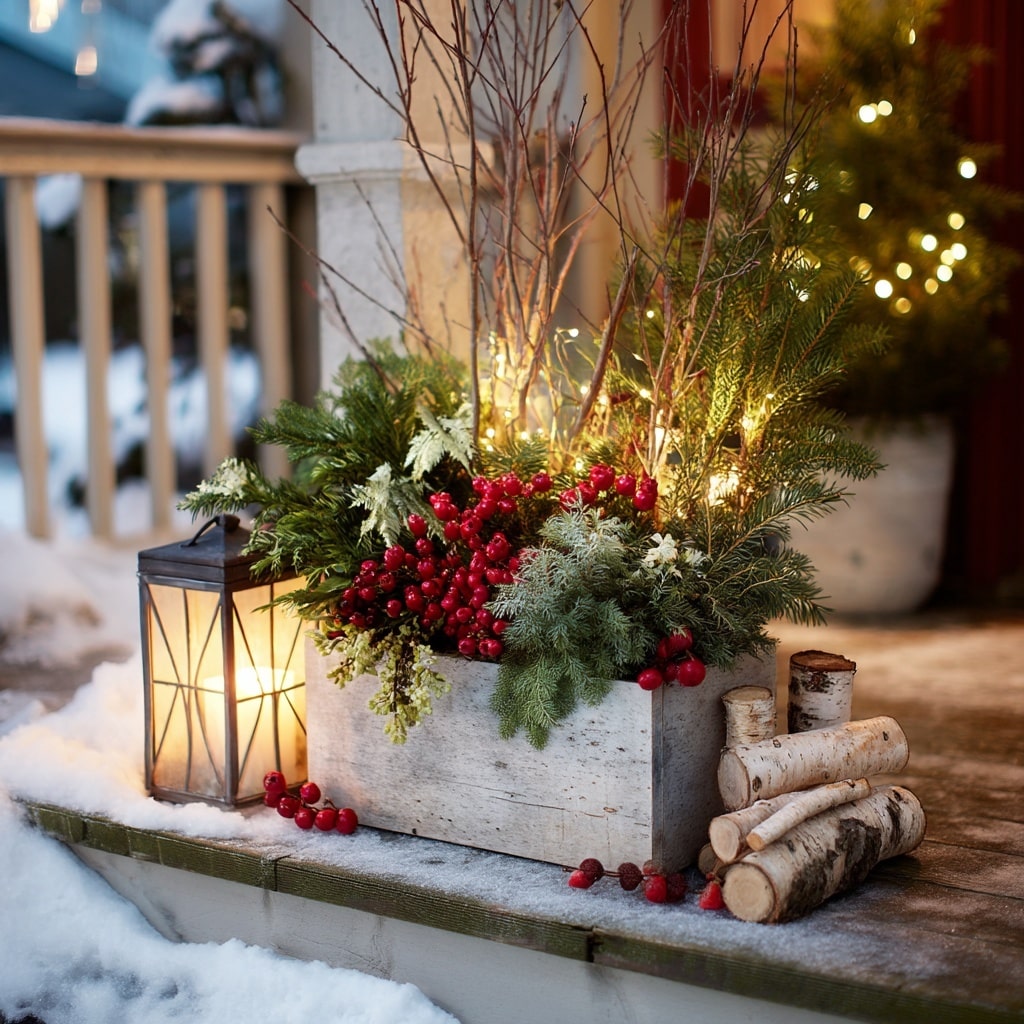
Building a winter planter is one of the simplest ways to bring color, life, and personality to your outdoor space during the colder months. Whether you’re repurposing trimmings from your yard or adding a few festive touches for the holidays, creating your own planter is far more satisfying (and affordable) than buying a pre-made one.
Even if you’re new to arranging greenery, the steps are approachable and flexible. With a bit of practice—and maybe some trial and error—you’ll find your own style and rhythm. And remember, no two planters need to look the same. That’s part of the fun.
So grab some evergreen branches, choose a sturdy container, and give your porch or patio a beautiful seasonal boost. You just might start a new favorite winter tradition.

