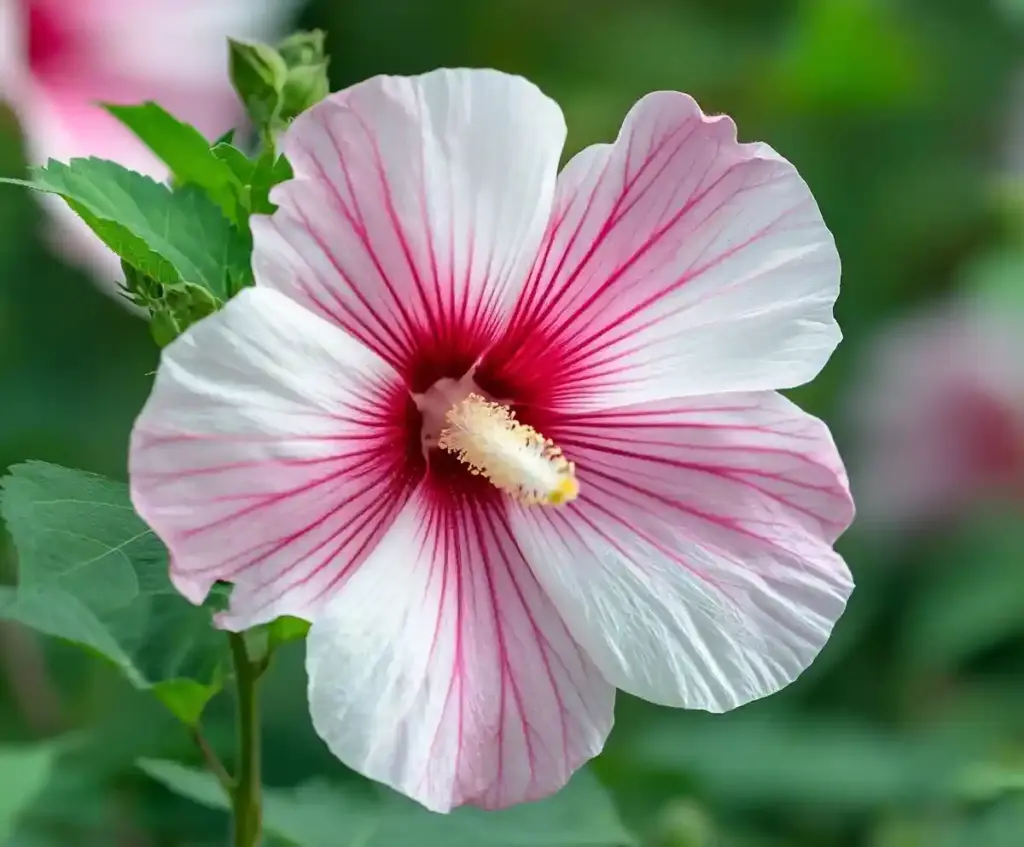
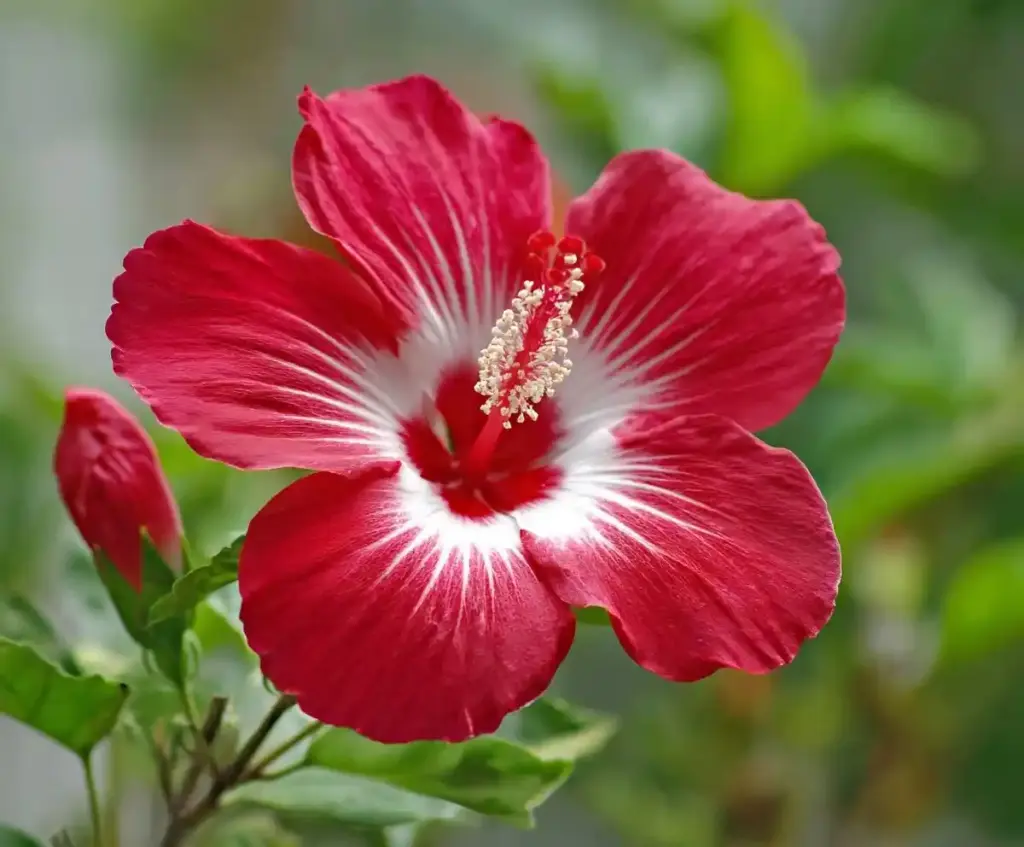
How to dry flowers is a timeless gardening skill that lets you capture the beauty of blooms long after their season ends. Whether it’s a bouquet from your garden, a wedding arrangement, or wildflowers picked during a nature walk, preserving them can turn a fleeting moment into a lasting keepsake.
Drying flowers isn’t just about nostalgia—it’s practical, too. Dried flowers can be used in wreaths, crafts, natural décor, and even homemade gifts. And you don’t need fancy equipment. With a few simple techniques, you can successfully dry flowers at home while maintaining their shape, texture, and vibrant color.
From traditional air-drying methods to modern shortcuts like microwaving or waxing, each approach offers different results depending on the type of flower and the look you’re after. Below, we’ll walk through eight effective methods to help you master how to dry flowers—each one easy, reliable, and perfect for DIY floral preservation.
Table of Contents
1) Air Drying Flowers in a Vase of Water
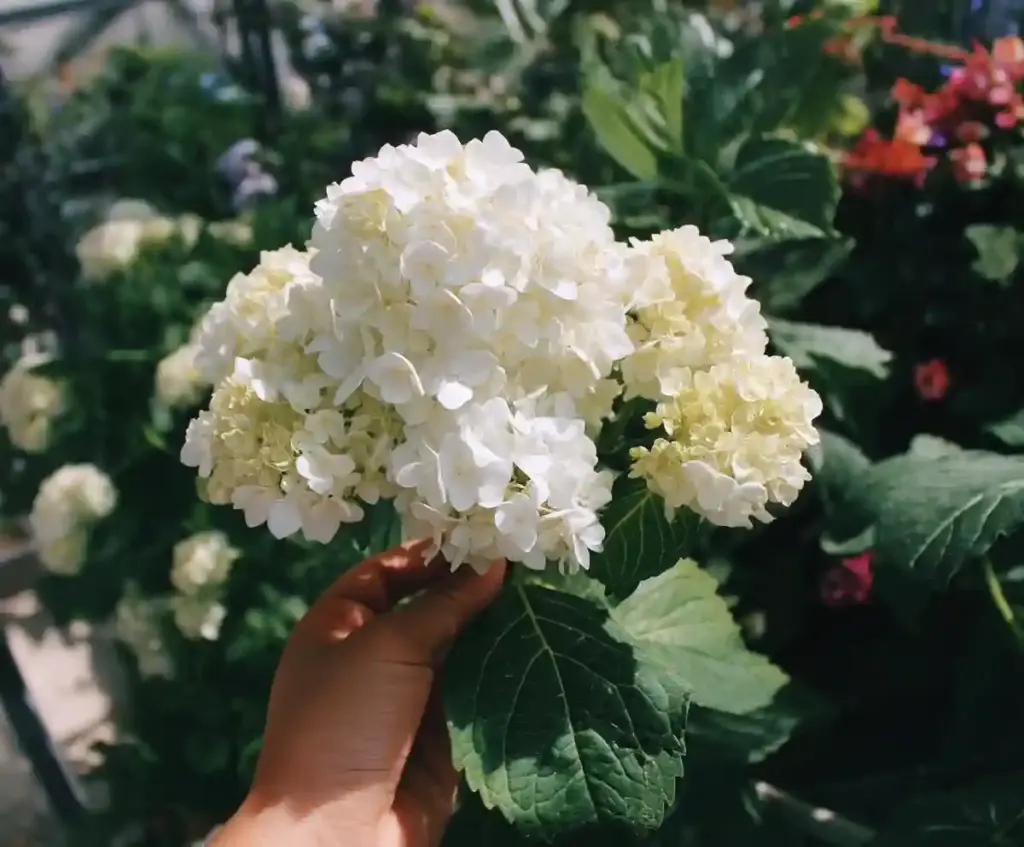
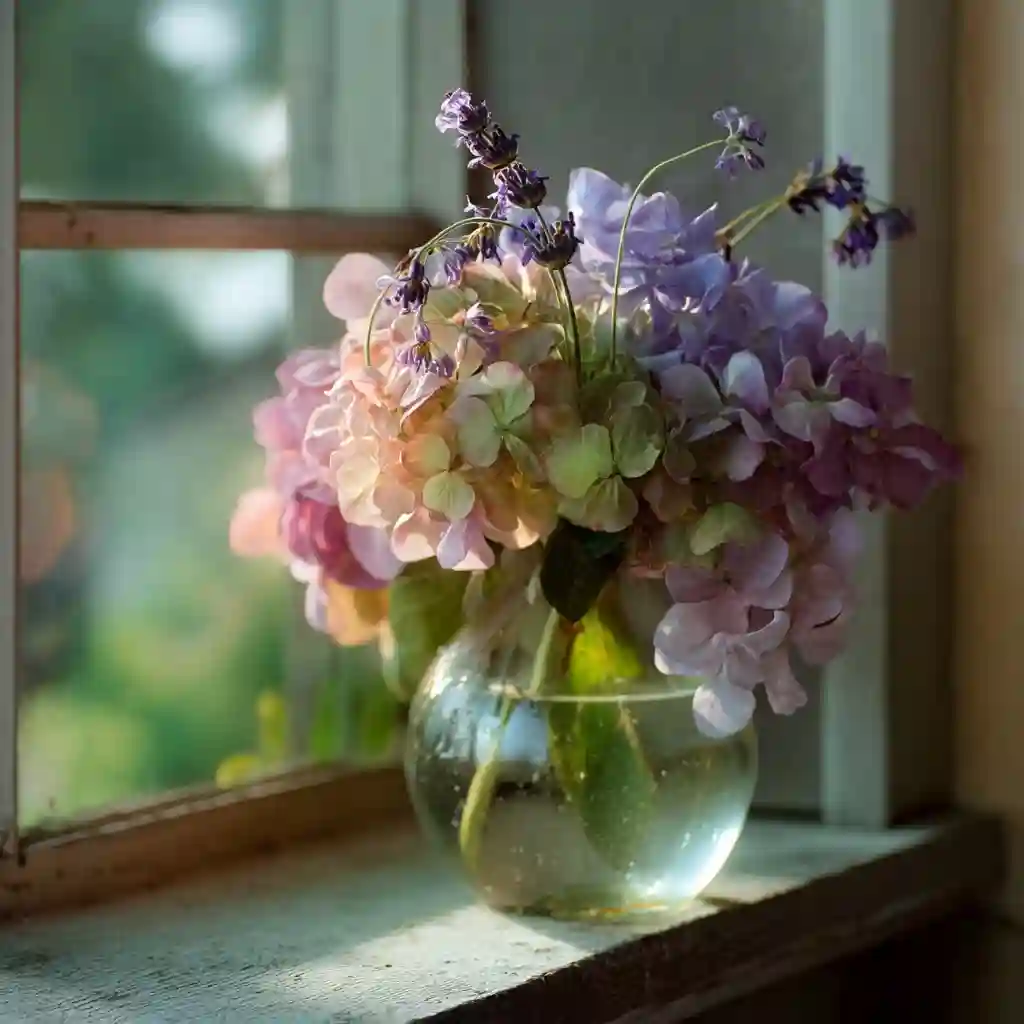
If you’re wondering how to dry flowers without hanging them upside down, letting them dry right in a vase is a surprisingly effective option—especially for blooms like hydrangeas and lavender. This method works best for sturdy-stemmed flowers that naturally retain their shape as they dry.
How It Works
Instead of removing the water completely, you allow it to slowly evaporate, encouraging the flower to dry gently over time. As moisture disappears, the petals dehydrate while staying intact, resulting in a more natural look.
Step-by-Step Instructions
- Trim the stems at an angle and remove any lower leaves that would sit below the waterline.
- Fill a vase with about 2 inches (5 cm) of water. A 1:1 mix of water and glycerin can help maintain petal flexibility and reduce brittleness.
- Place the flowers in the vase and leave them in a well-ventilated room, out of direct sunlight.
- As the water evaporates over 1–2 weeks, the flowers will gradually dry.
- Once the petals begin to feel papery, remove the flowers and trim the stems again to prevent mold.
Best Flowers for This Method
- Hydrangea
- Globe artichoke
- Lavender
- Carnation (fully opened)
- Yarrow
- Heather
- Gypsophila (baby’s breath)
Pro Tips
- Refill the water if it evaporates too quickly.
- Use cardboard or paper to lay the flowers flat after removing them for a smoother finish.
- Glycerin isn’t essential but does help flowers remain supple.
This is a low-effort, natural way to learn how to dry flowers without heat or special tools. It’s ideal for arrangements you’d like to preserve with minimal handling.
2) Flowers Hung Using the “Head Down” Method
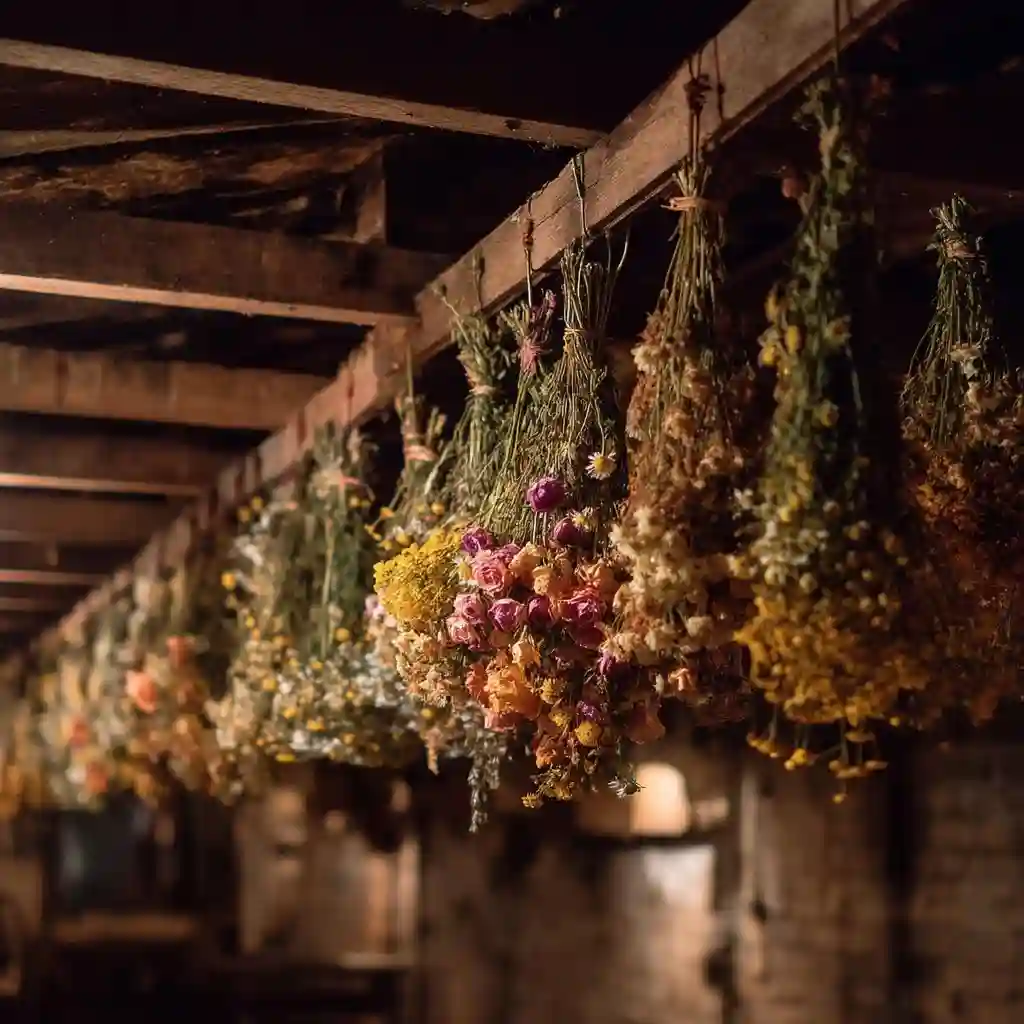
One of the oldest and most reliable techniques for anyone learning how to dry flowers is hanging them upside down. This method is simple, doesn’t require any special tools, and works beautifully for most garden blooms.
Why It Works
Hanging flowers upside down allows gravity to keep the stems straight while encouraging air circulation around the petals. It’s especially good for full-bodied blooms like roses and bunches of herbs or grasses.
How to Do It
- Pick the Right Time
Harvest flowers just before they reach full bloom, when petals are still firm but open. This ensures they retain their best color and shape. - Prepare the Stems
Strip off excess leaves and gather small bunches of 5–10 stems. Use twine or elastic bands to tie them securely near the base. - Hang to Dry
Invert the bunches and hang them in a dark, dry, and well-ventilated room like an attic or closet. Space them out to prevent overlap and mold. - Wait Patiently
Drying usually takes 2 to 4 weeks, depending on humidity and flower type. The flowers are ready when the petals feel crisp and stems snap easily.
Tips for Best Results
- Tie similar flowers separately to allow for even drying.
- Avoid hanging flowers near windows or in damp areas.
- Use paper clips, hooks, or clothespins to hang from string or twine.
Flowers That Respond Well
- Roses (unpinned)
- Peonies
- Lilacs
- Buttercups
- Bee balm
- Amaranth
- Chamomile
- Mint blossoms
- Yarrow
If you’re serious about learning how to dry flowers for bouquets, wreaths, or keepsakes, this traditional “head down” method is an easy and time-tested favorite.
3) Pressing Flowers in a Book
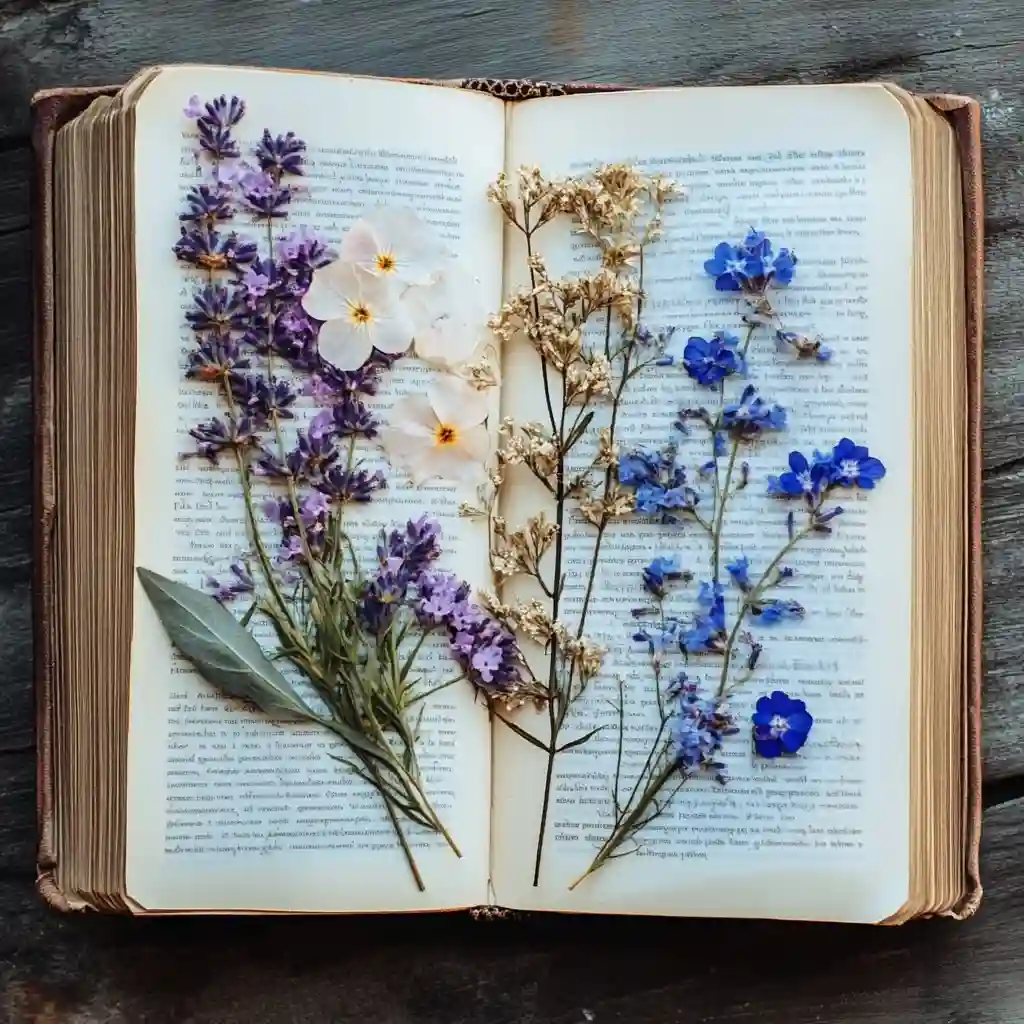
If you’ve ever found a delicate blossom tucked between the pages of an old novel, you already know one of the most nostalgic ways for how to dry flowers—pressing them in a book. This method is simple, affordable, and perfect for preserving small, flat flowers and leaves.
Why Use This Method?
Pressing flowers locks in their color and detail, making them ideal for artwork, scrapbooking, greeting cards, or even framed décor. It’s gentle and works especially well for fragile species that might crumble using other drying techniques.
Step-by-Step Instructions
- Pick the Right Blooms
Choose flowers that are naturally flat or thin, such as pansies, cosmos, violets, or ferns. Harvest them dry and free of dew. - Trim and Arrange
Snip off the stems and arrange the petals neatly. The more precise your arrangement now, the better the final look. - Create a Paper Envelope
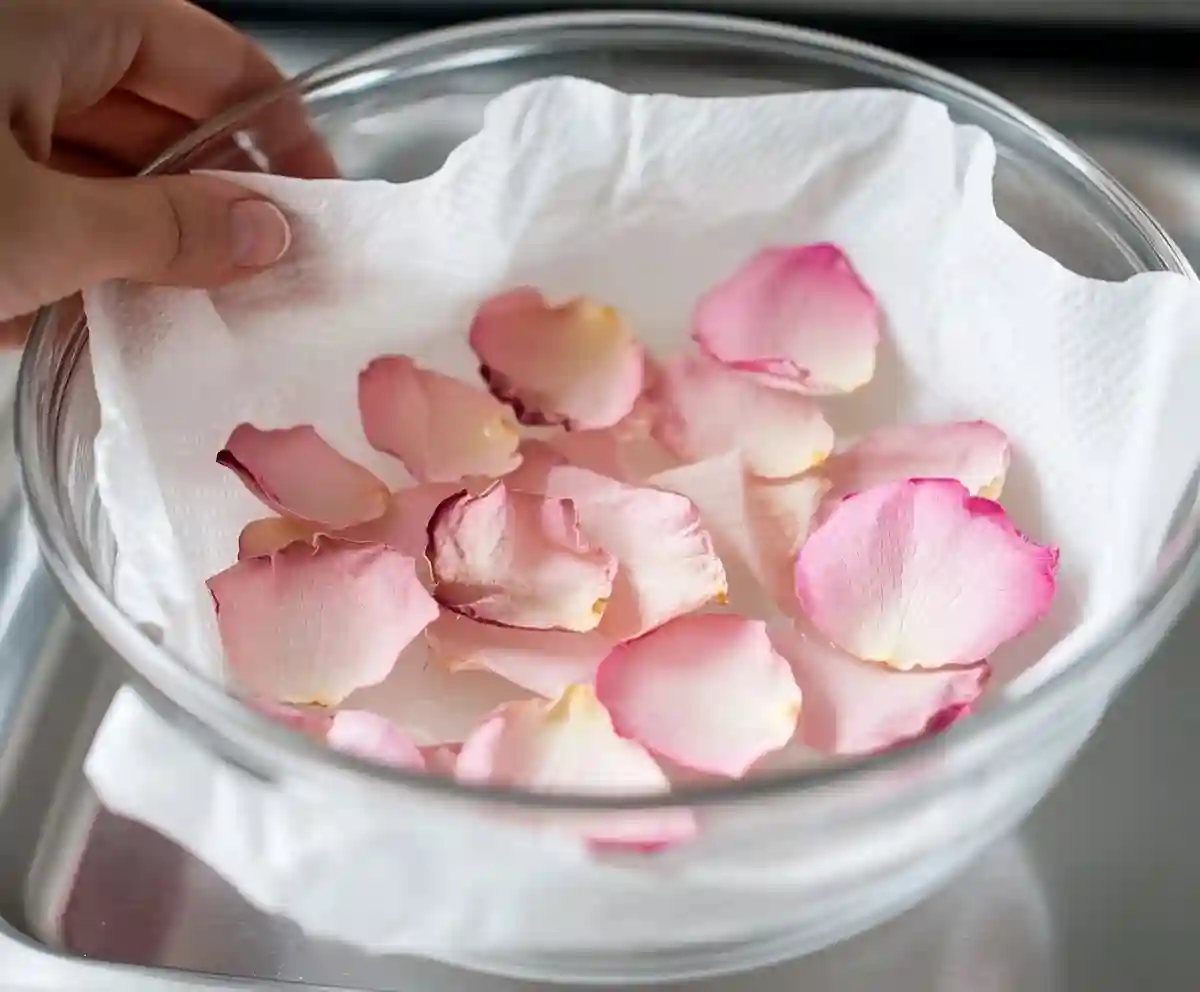
Use plain white printer paper or paper towels folded around the flower. Avoid waxy or glossy paper, which can trap moisture. - Press in a Book
Place the paper envelope inside a heavy book. Add more weight on top—like a stack of books or a bag of rice—for consistent pressure. - Wait and Check
Leave the flowers to dry for 3–6 weeks, checking every 10–14 days. Replace damp paper if needed to prevent mold.
Pro Tips
- Label each envelope with the flower name and date to track drying progress.
- Leave at least 5–10 pages between each pressed flower to promote airflow.
- Avoid mixing newly pressed flowers with partially dried ones.
Best Flower Choices
- Poppies
- Pansies
- Ferns
- Cosmos
- Primrose
- Lilac blossoms
- Anemones
- Wildflowers
When deciding how to dry flowers for crafts or keepsakes, pressing in a book is one of the easiest ways to create timeless floral memories—no gadgets needed.
4) Drying Flowers Under a Press
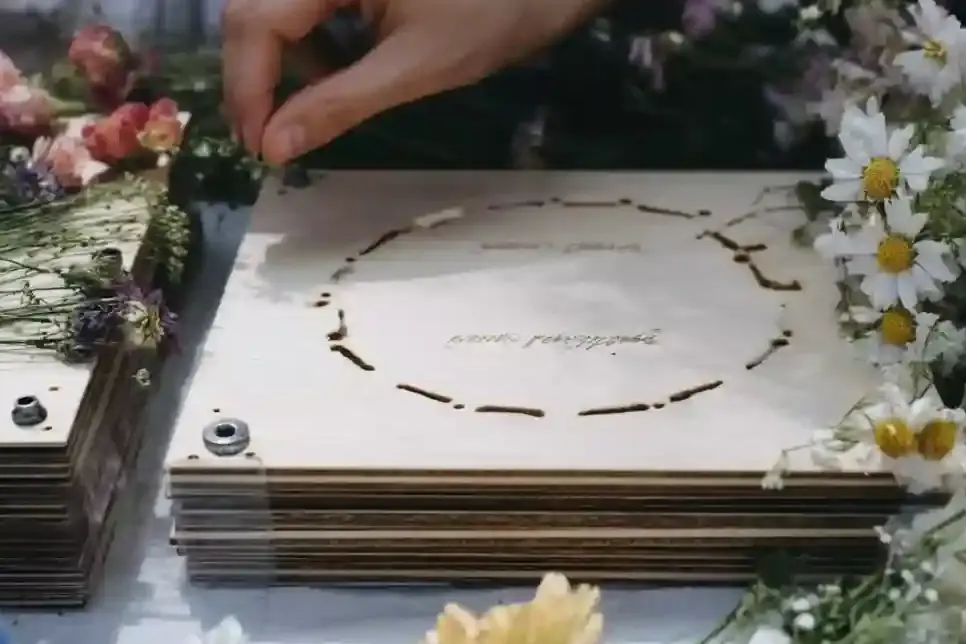
If you’re looking for a more controlled and efficient way for how to dry flowers, using a flower press—or even a homemade version—is a great choice. This technique offers consistent pressure, preserves color well, and allows you to flatten multiple blooms at once.
Why Choose a Press?
Unlike traditional book pressing, using a dedicated press (or a DIY setup) gives you the ability to dry flowers faster and more evenly. It’s perfect for creating pressed flower art or assembling botanical collections.
What You’ll Need
- Absorbent paper (like blotting paper, plain office paper, or tissue)
- Cardboard or thin plywood sheets
- Heavy object or clamps for pressure
- Optional: A flower press kit with bolts and wing nuts
How to Dry Flowers with a Press
- Lay the Flower Flat
Place your flower on a piece of paper and spread the petals so they don’t overlap. - Create Layers
Layer as follows: cardboard → absorbent paper → flower → paper → cardboard. This layering helps wick away moisture and ensures even pressure. - Add Weight or Clamp
If you’re using books or weights, place them firmly on top. If using a flower press, tighten the bolts until secure. - Check and Replace Paper
After 3–4 days, swap the damp paper with dry sheets to prevent mold. Most flowers dry in 1–2 weeks, though thicker blooms may take longer. - Optional Final Step
For delicate or blue flowers, lay them on a tray with fine sand or semolina for a few extra days to remove remaining moisture.
Ideal Flowers for This Method
- Pansies
- Violets
- Lilacs
- Primroses
- Ferns
- Bellflowers
- Wildflowers
- Medicinal herbs
If you’re exploring how to dry flowers with precision for artwork or DIY gifts, a press offers beautiful results with minimal fuss.
5) Drying Flowers in a Microwave Oven
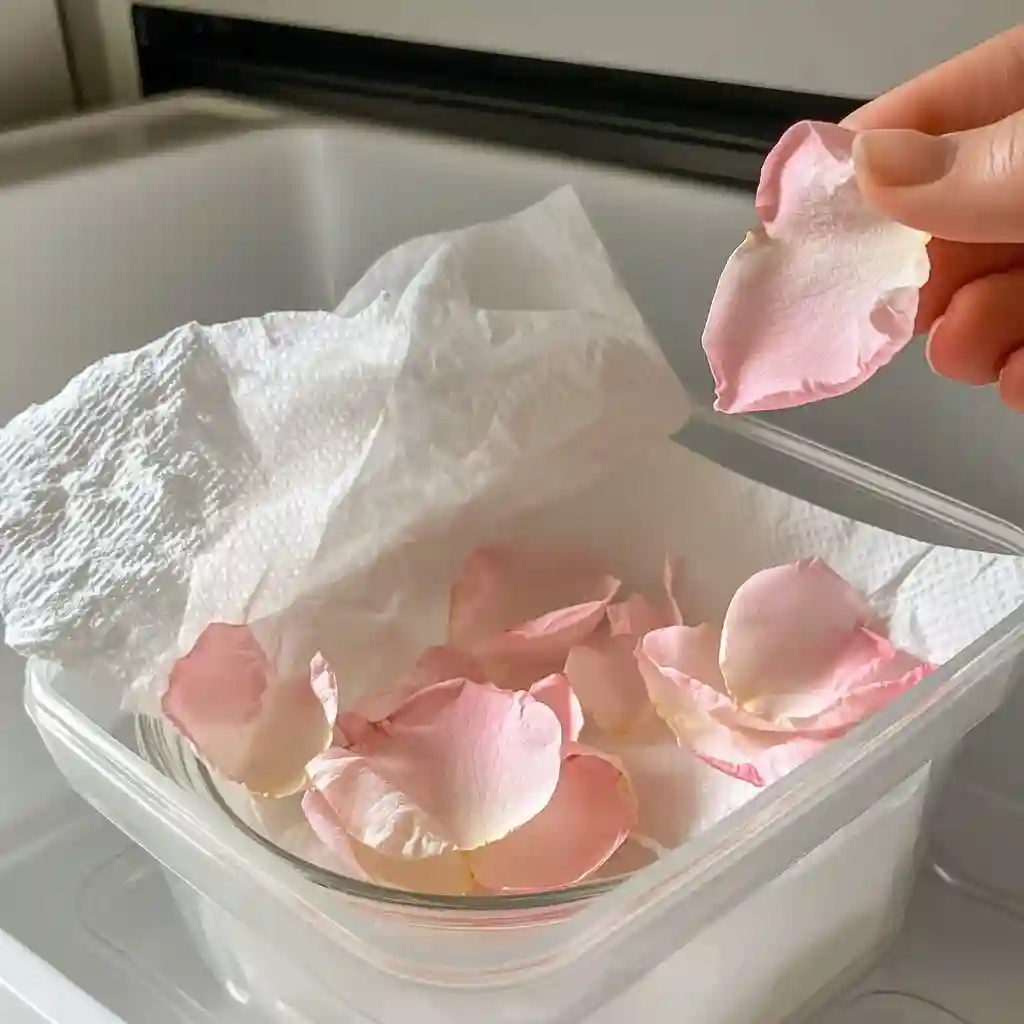
When you’re short on time but still want to preserve your blooms, using a microwave is one of the fastest methods for how to dry flowers at home. It takes just minutes and is perfect for flowers with soft, layered petals that hold color well.
Why Use This Method?
Microwave drying accelerates the process without sacrificing too much shape or color. It’s especially helpful if you need dried flowers for a last-minute project or seasonal décor.
How to Microwave-Dry Flowers
- Select the Right Flower
Choose a half-open bloom with about a 1–2 inch (3–4 cm) stem. Avoid flowers with thick or fleshy petals—they tend to scorch or dry unevenly. - Prepare the Setup
- Place the flower between two sheets of microwave-safe paper (like parchment).
- For better results, use a microwave-safe container filled with silica gel to surround and support the flower.
- Place a small cup of water in the microwave alongside the flower to reduce the risk of overheating.
- Microwave in Short Intervals
Start with 1–2 minutes on medium power. Check the dryness level with a toothpick. If more drying is needed, continue in 30-second bursts. - Cool and Finish
Let the flower cool completely inside the container (12–36 hours if using silica gel). If it still feels soft, hang it in a dry area for a few extra days.
Best Flowers for This Method
- Pansies
- Dahlias
- Zinnias
- Calendula
- Lavender
- Chamomile
- Baby’s Breath
- Carnations
Tips for Success
- Use defrost mode for fragile flowers like daisies or cosmos.
- Avoid high heat—overdrying makes petals brittle.
- Combine with silica gel for best color retention.
Microwave drying is a quick and fun way to learn how to dry flowers, especially if you enjoy crafting and want to get creative on a tight schedule.
6) Drying & Preserving with Dry Salt or Silica Gel
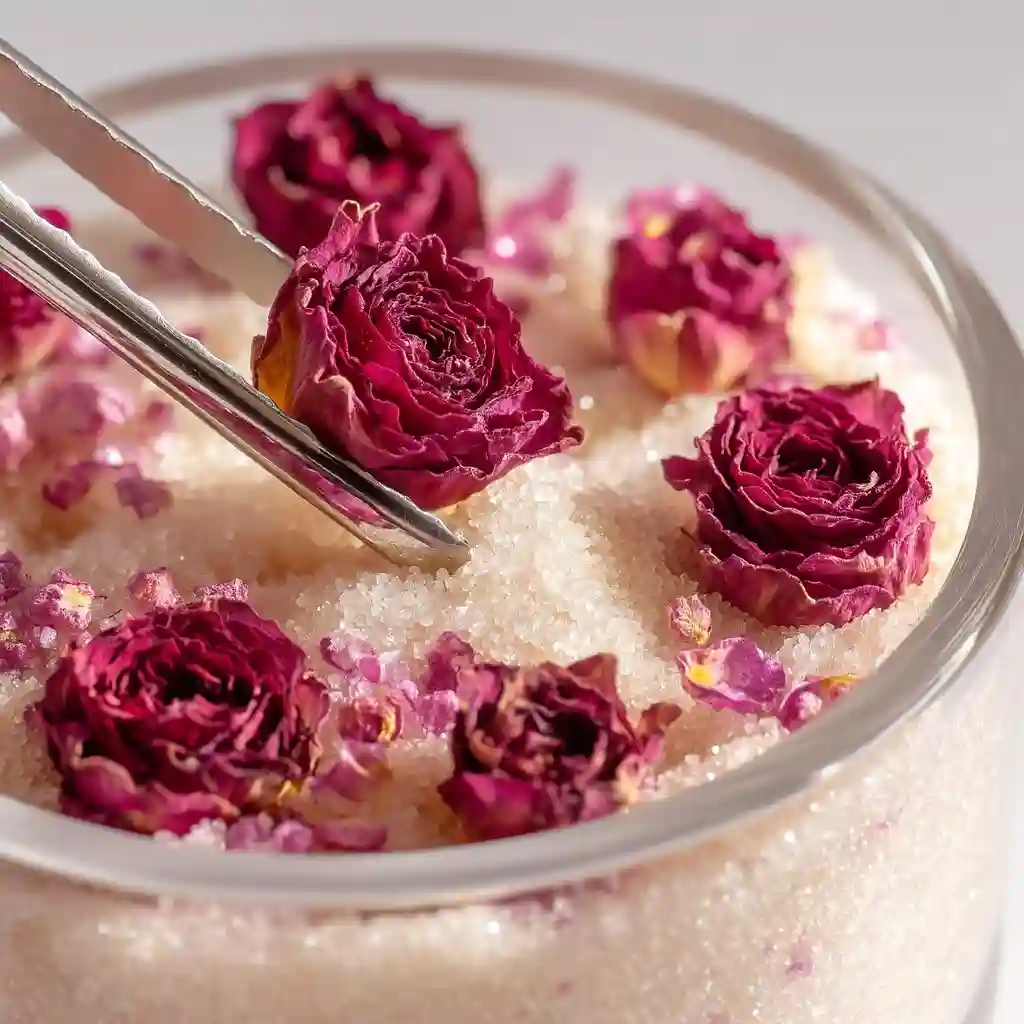
If your goal is to preserve the color, shape, and structure of blooms with precision, using silica gel or dry salt is one of the most effective techniques for how to dry flowers beautifully. It’s a popular method among crafters and florists because it maintains a flower’s original vibrancy better than most other drying techniques.
Why It Works
Silica gel acts as a desiccant, pulling moisture out of the petals quickly while supporting their shape. This method is especially helpful for thick or layered flowers that don’t dry well when hung or pressed.
How to Use Silica Gel or Salt to Dry Flowers
- Choose the Flowers
Harvest flowers on a dry day and trim stems to 2–3 cm. Use a floral wire to gently support the bloom from the base if needed. - Prepare the Container
Use a deep bowl, jar, or plastic container. Pour 3–4 cm of silica gel or fine dry salt into the bottom as a base. - Position the Flowers
Place flowers face down into the base layer. Slowly pour more gel or salt over the petals, making sure they’re fully covered. Fill gently to avoid crushing. - Seal and Store
If you’re using a jar, close it tightly and store it in a warm, dry place. Leave open containers in a space with low humidity and good ventilation. - Check and Remove
After 2–7 days, depending on flower size, gently remove the blooms using tweezers. They should feel dry, like stiff paper, but not brittle.
Best Flowers for This Method
- Roses
- Tulips
- Peonies
- Zinnias
- Chrysanthemums
- Sunflowers
- Orchids
Tips and Alternatives
- Cat litter (silica crystal type) can be used in a pinch—grind it finer if the granules are too large.
- Reuse silica gel by baking it at 90–100°C (195–210°F) for 2–3 hours to dry it out.
- Use a soft brush to gently remove any clinging particles from the petals.
For gardeners and DIYers who want maximum detail and color retention, this method is a top contender in the world of how to dry flowers effectively.
7) Drying Flowers With an Iron
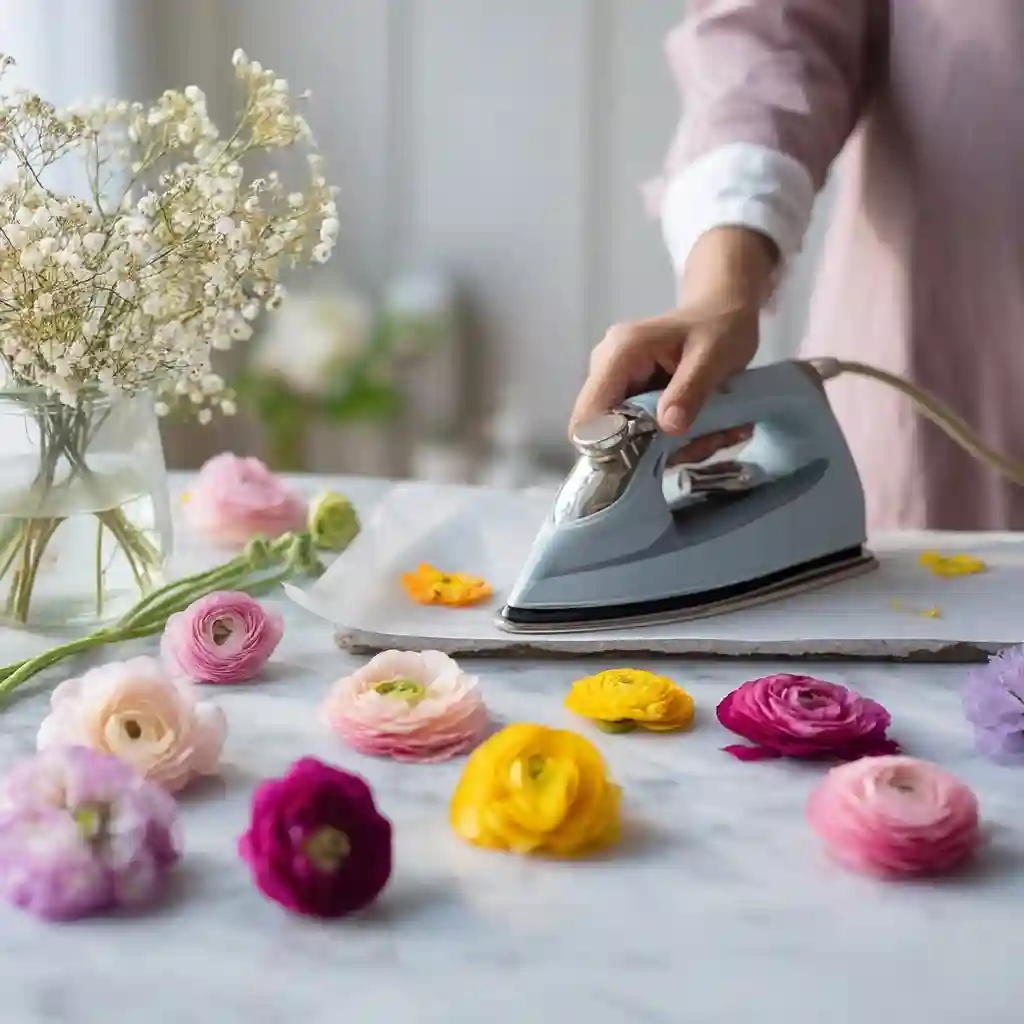
It might sound unconventional, but using an iron is another quick way to master how to dry flowers, especially if you’re dealing with small, thin blooms or decorative leaves. It’s fast, doesn’t require fancy tools, and is ideal for projects that need flat, crisp plant material.
Why Use an Iron?
This technique uses gentle heat and pressure to evaporate moisture from petals and leaves quickly. It’s especially effective for foliage and flowers with very thin structures, and it works well when you want results in under an hour.
Step-by-Step Guide
- Pick and Prep
Choose freshly picked, dry flowers or leaves. Arrange them neatly between two sheets of plain white office paper or blotting paper. - Set the Iron
Turn your iron to a low or medium heat setting and be sure steam is off. You want dry heat only. - Apply Heat Carefully
Press the iron over the paper-covered flower, holding it in place for 10–15 seconds at a time. Don’t slide the iron—lift and press to avoid smearing or damaging the petals. - Repeat and Replace Paper
Swap the paper for a fresh, dry sheet between each pass to absorb moisture. Continue pressing until the flowers or leaves feel dry to the touch.
Ideal Plants for Iron Drying
- Iris leaves
- Crocosmia leaves
- Ferns
- Daisy petals
- Chamomile flowers
Quick Tips
- This method is best for small, flat botanical elements rather than large or thick blooms.
- Ironing too long or using high heat can burn or discolor the flowers, so go slow and steady.
- For best results, finish by pressing the dried plant material under a heavy book for a few hours.
If you’re looking for how to dry flowers without waiting days or weeks, this technique can be a handy solution for simple DIY projects and crafts.
8) Waxing Cut Flowers with Paraffin
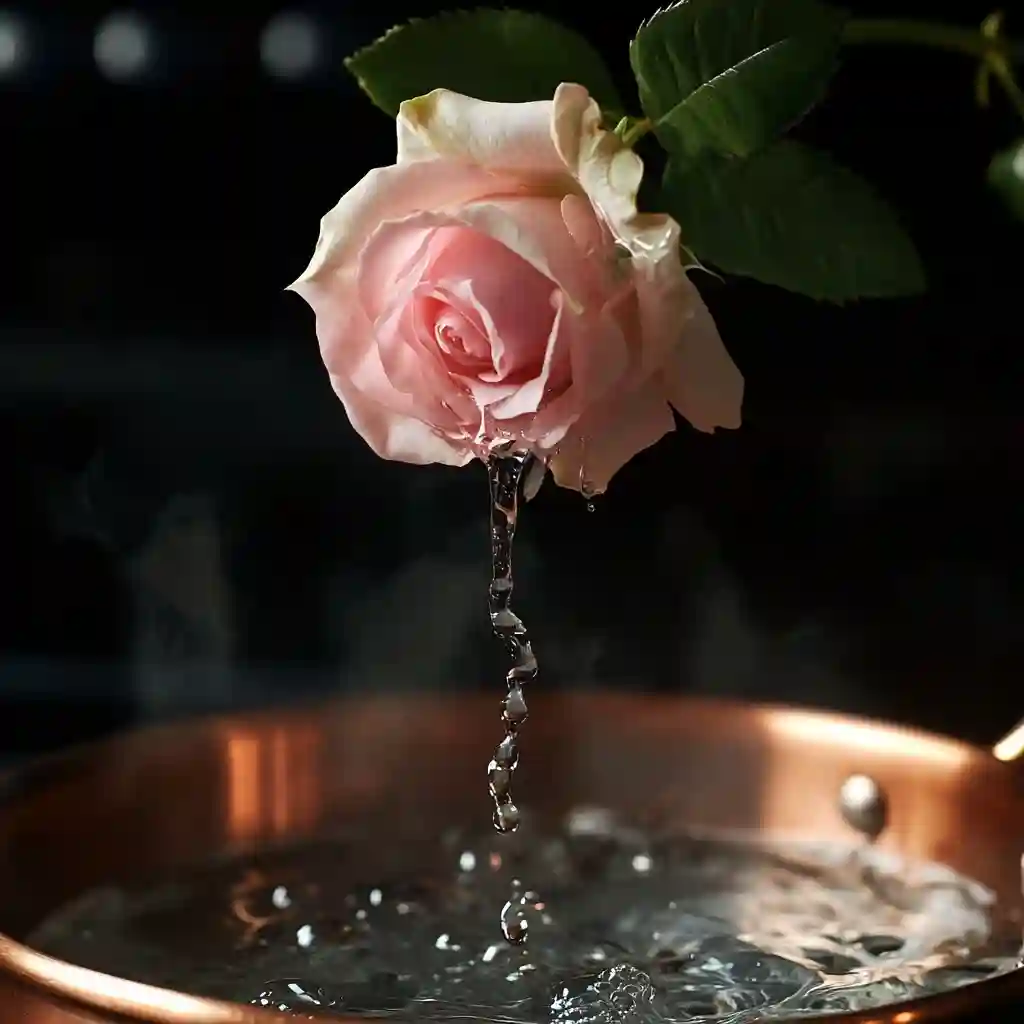
If you’re looking for a method that adds a touch of preservation magic, waxing is a unique option for how to dry flowers while locking in both structure and softness. Waxing with paraffin gives blooms a slightly glossy finish and protects them from air and moisture.
Why Choose Waxing?
Unlike air drying or pressing, waxing preserves the flower’s fresh appearance, making it a great method for sentimental bouquets or event flowers you want to keep intact. The wax seals the petals and helps them hold their shape for months—or even years.
How to Wax Flowers with Paraffin
- Melt the Wax
In a double boiler or heat-safe container, gently melt neutral paraffin wax over low heat. Avoid overheating—it should be fully liquid but not smoking. - Prep Your Flowers
Select firm, dry blooms. Trim the stems to your desired length and have them ready on a clean, dry surface. - Apply the Wax
- Use a soft paintbrush to gently coat each petal with warm wax.
- Start from the tips and move inward to avoid breakage.
- Alternatively, for smaller blooms, you can dip them quickly into the wax and pull them out in one smooth motion.
- Let Them Dry
Lay the waxed flowers on wax paper or a drying rack. Allow the wax to fully harden before handling or displaying.
Best Flowers for Waxing
- Roses
- Chrysanthemums
- Carnations
- Peonies
- Zinnias
- Orchids
- Tulips
- Sunflowers
Helpful Tips
- Always wax in a well-ventilated space to avoid inhaling fumes.
- Use wax that’s colorless or slightly off-white to preserve the flower’s true hue.
- Store waxed flowers in a cool, dry location away from direct light to extend their life.
For those wanting a long-term preservation option, waxing offers a creative and lasting way to practice how to dry flowers—especially when the memories attached to a bouquet are too precious to fade.
Conclusion
Knowing how to dry flowers opens up a world of creativity, memory-making, and sustainable décor. Whether you prefer the charm of air-dried bouquets or the precision of silica gel preservation, there’s a method to suit every flower and purpose. These techniques require little more than patience and a few household supplies—and the reward is lasting beauty.
Start simple and experiment with different methods to find what works best for your garden favorites. From homemade gifts to framed botanical art, dried flowers can bring joy all year round.
FAQ
What’s the easiest way to dry flowers for beginners?
The upside-down hanging method is one of the easiest and most reliable options, especially for beginners. It requires no special equipment and works well for a wide range of flowers.
How do you keep the color when drying flowers?
Drying flowers in silica gel or using a microwave with a desiccant helps retain vibrant color better than air-drying alone. Keep flowers out of direct sunlight to avoid fading.
Can I dry flowers with thick petals?
Yes, but avoid pressing or microwaving them directly. Instead, use silica gel or try the vase drying method, which supports their structure more gently.
How long do dried flowers last?
Properly dried and stored flowers can last 6 months to 2 years or more. Keep them in a dry, dark area away from humidity and direct sun.
🌿 Love gardening inspiration? Follow me on Pinterest for bold plant ideas, tips, and seasonal color!
More Posts
