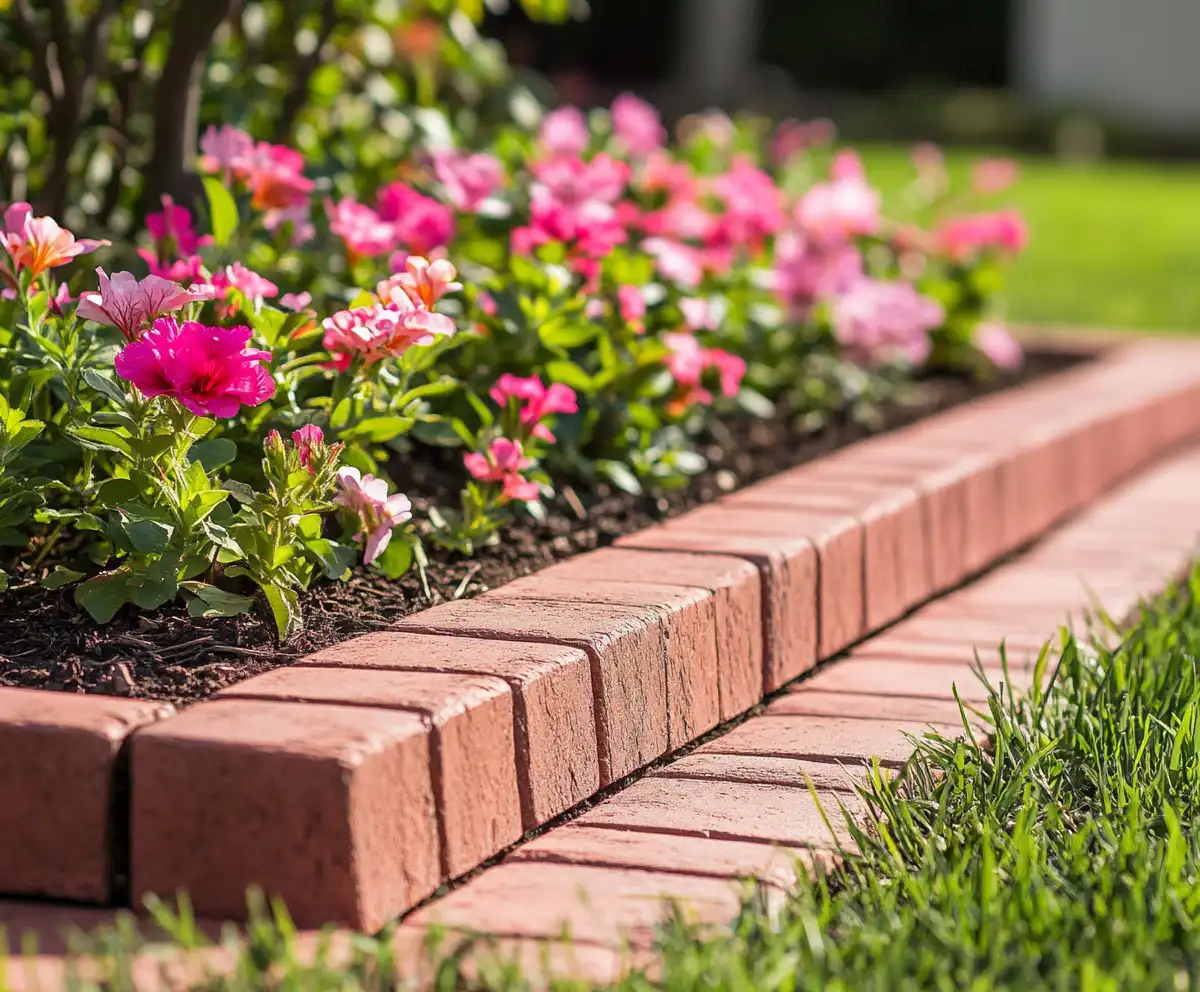
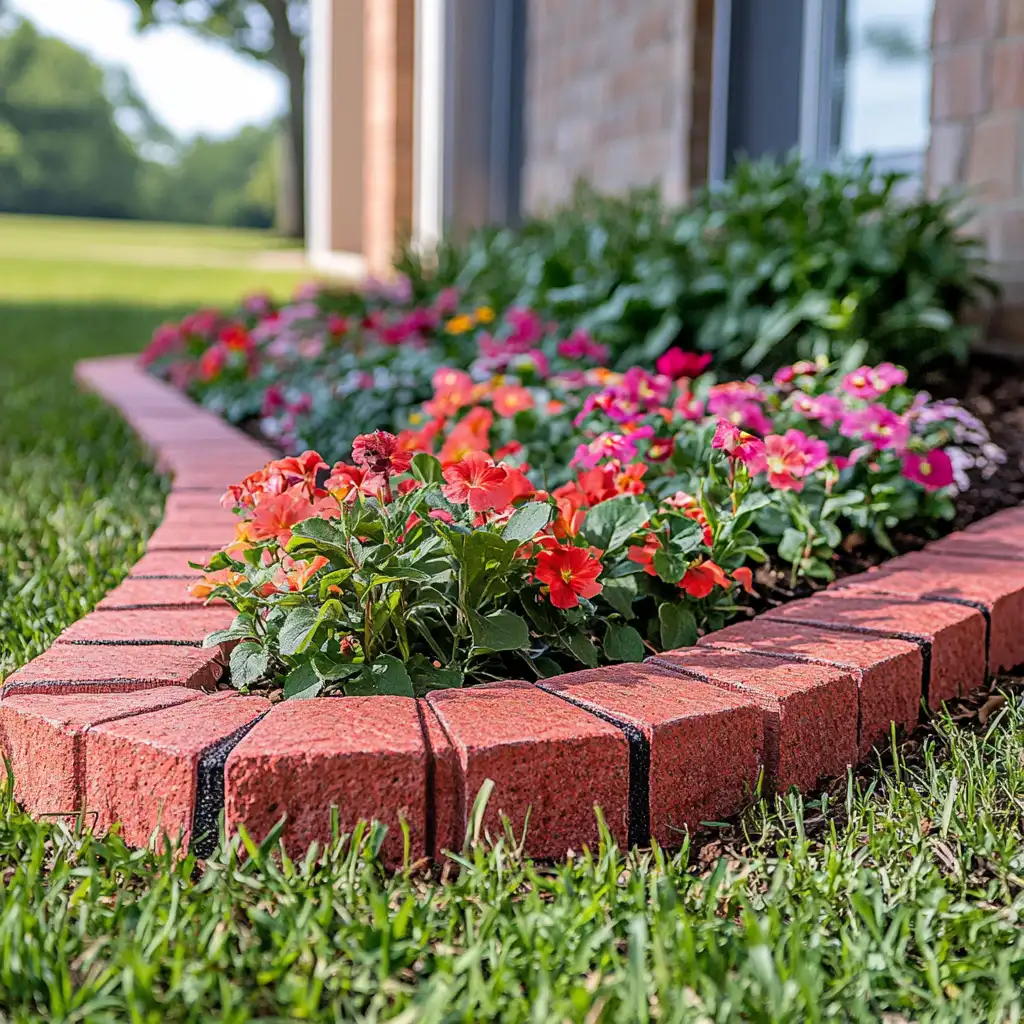
Brick garden edging is a timeless way to elevate the look of your landscape while keeping flower beds neat and organized. Not only does it provide a charming, rustic touch, but it’s also a practical solution to define your garden spaces.
Whether you’re a seasoned gardener or a DIY enthusiast, creating a curved brick garden edging is an approachable weekend project that can transform your yard’s appearance.
If you’re looking for complementary landscaping ideas, consider adding rustic landscaping elements or drought-tolerant plants to enhance your design.
For even more inspiration, explore our guide to stunning flower bed ideas that pair beautifully with brick borders. This guide walks you through each step of the process, ensuring your new garden border is both beautiful and functional.
🌿 Love gardening inspiration? Follow me on Pinterest for bold plant ideas, tips, and seasonal color!
Table of Contents
What You’ll Need
Before starting your brick garden edging project, gather all the necessary tools and materials. Being prepared will make the installation process smooth and enjoyable. Here’s what you’ll need:
Equipment / Tools
- Garden hose or string: To outline the curved edge shape.
- Shovel: For digging the trench where the bricks will sit.
- Mallet or rubber hammer: To tap the bricks into place.
- Measuring tape: For consistent spacing and alignment.
- Level: To ensure your edging stays even and neat.
Materials
- Bricks or pavers: Choose weather-resistant bricks that complement your garden’s style.
- Sand or gravel: For creating a stable base beneath the bricks.
- Soil backfill: To secure the bricks and fill any gaps.
- Optional landscaping fabric: Helps control weeds between the bricks.
Having all your tools and materials ready will make your brick garden edging project a satisfying, stress-free experience.
1. Sketch Your Plan

Begin your brick garden edging project by sketching out the desired shape and size of your garden border. Use a garden hose or string to outline the curved path where the bricks will go. This step helps visualize the design and makes it easier to adjust curves and lengths before digging. Take your time to create smooth, natural lines that complement the surrounding garden beds.
2. Make an Outline
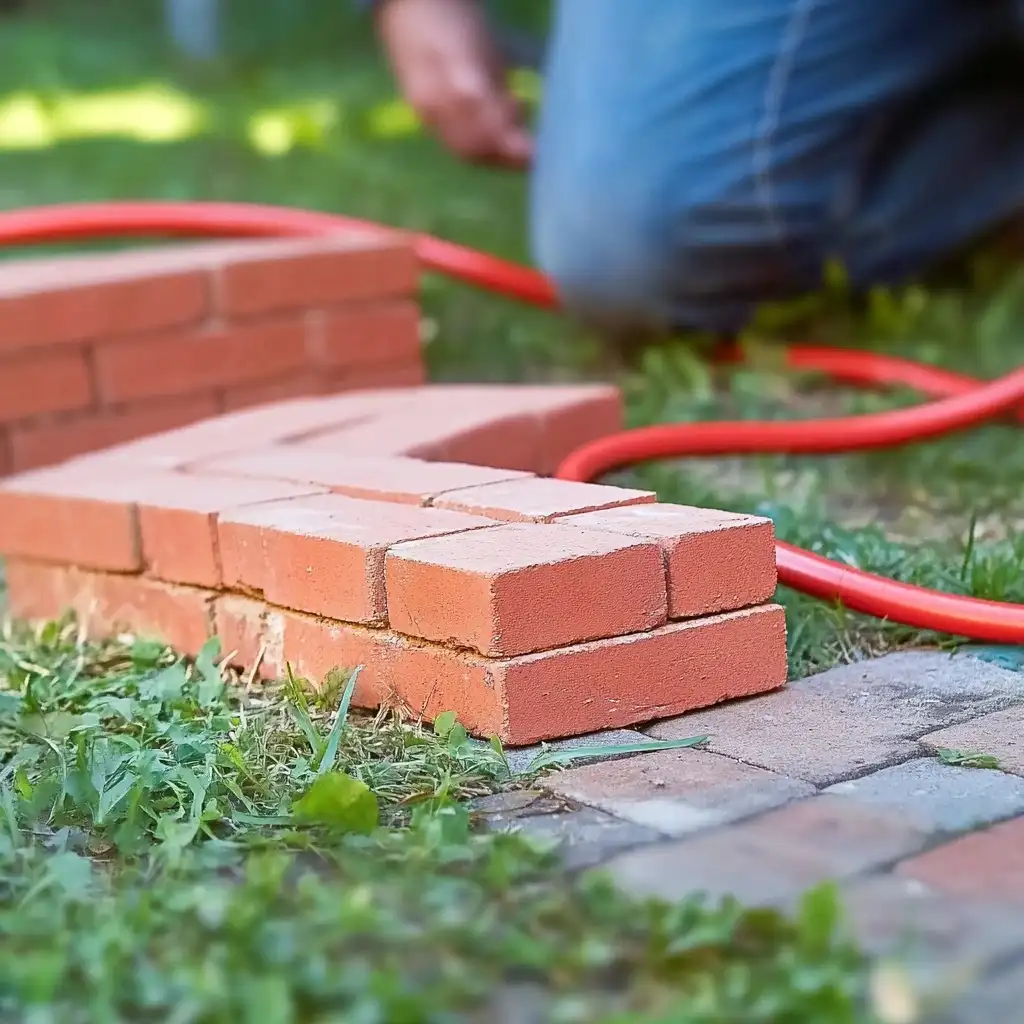
Once you’ve finalized the shape with your sketch, it’s time to make an outline. Lay your garden hose or string along the planned curve to mark where your brick garden edging will sit. Use landscaping paint or powdered chalk to mark the edges of the trench you’ll dig. This ensures precision and helps you follow your design as you work.
3. Dig a Trench
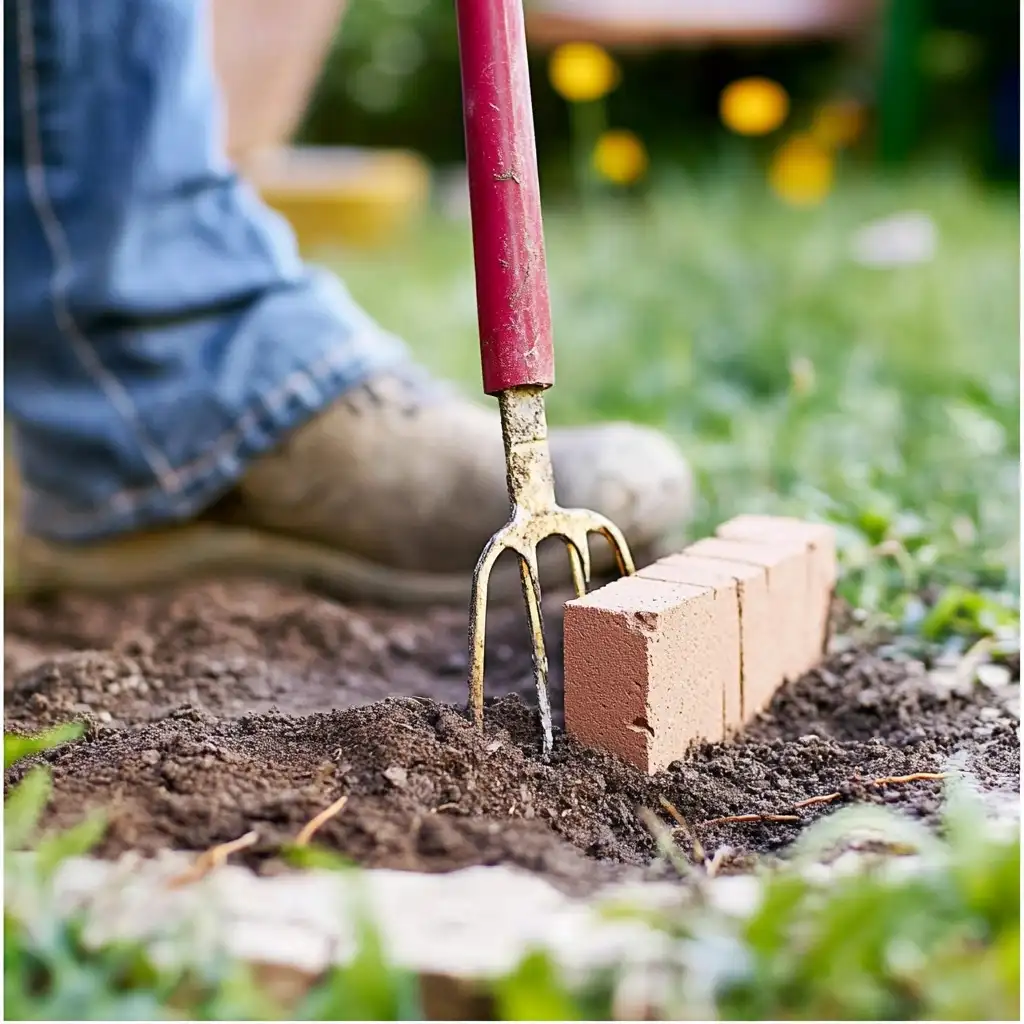
With your outline in place, it’s time to dig a trench for the brick garden edging. Using a shovel, dig along your marked line to a depth that allows your bricks to sit flush with or slightly above the ground—typically about 4–6 inches deep and wide enough to accommodate your bricks plus a little extra room for adjustments. Remove any loose soil or rocks to create a stable base for your edging.
4. Install the Outer Layer
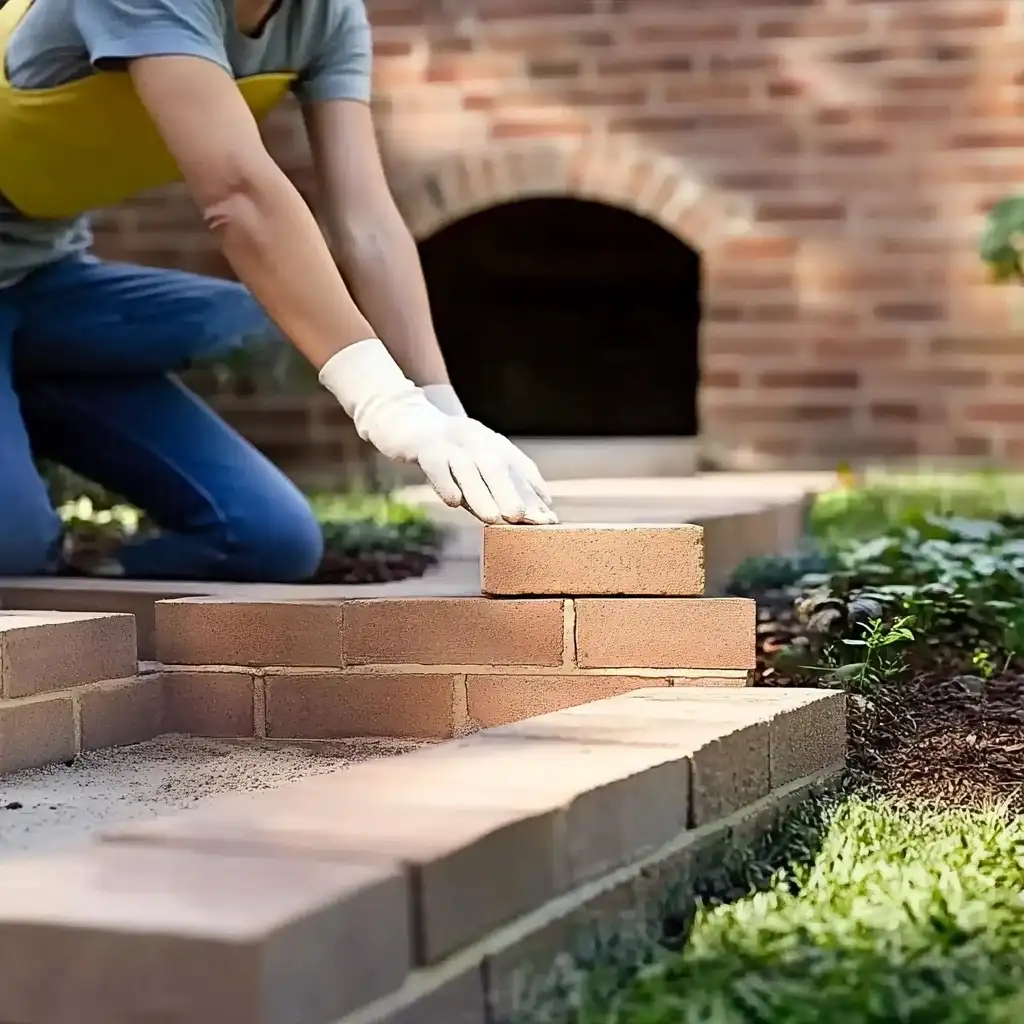
Begin installing the outer layer of your brick garden edging by placing bricks along one side of the trench. Start at one end of the curve and work your way around, tapping each brick gently into place with a mallet. Make sure each brick is level and aligned with the curve you planned. This first layer forms the visible edge of your border, so take your time to ensure a neat and attractive finish.
5. Install the Inner Layer
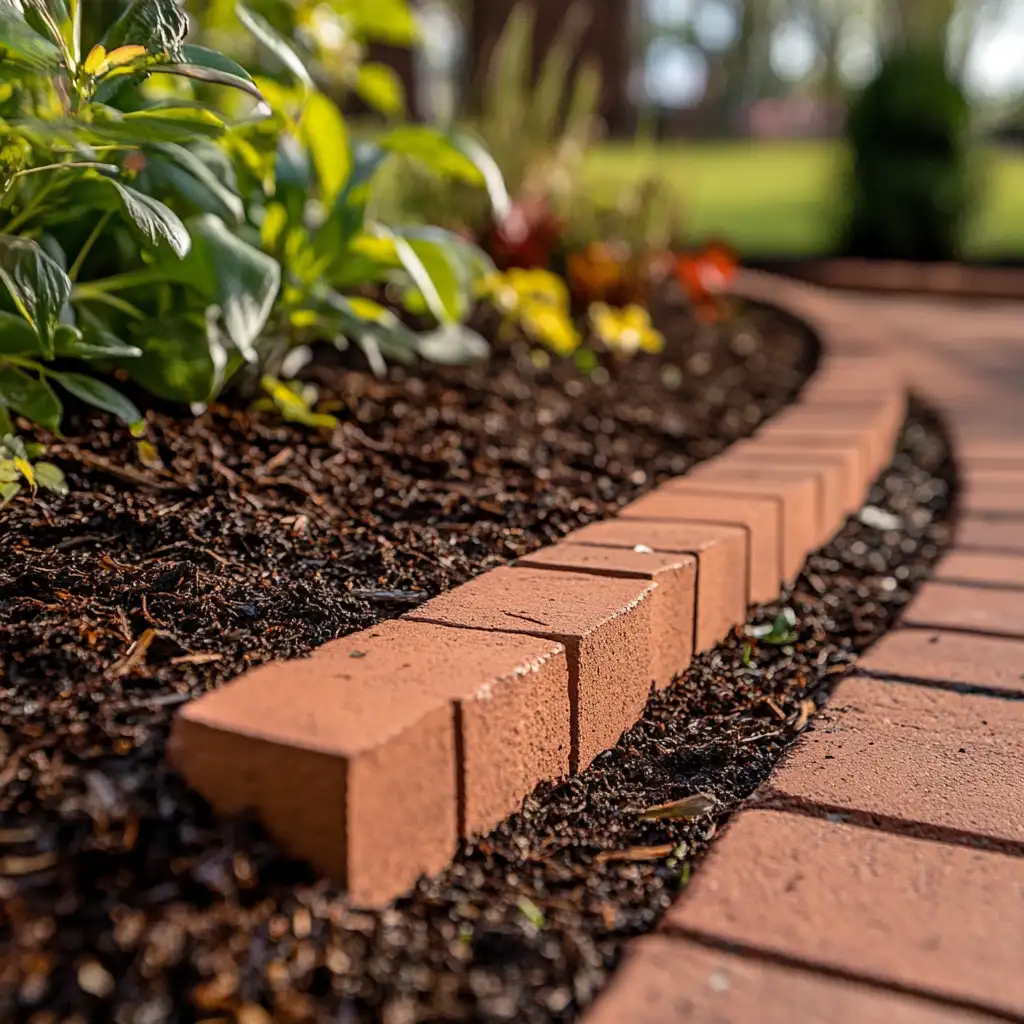
After the outer layer is in place, continue building your brick garden edging by installing the inner layer of bricks. Position these bricks snugly against the outer layer to create a stable, double-rowed border. Use the mallet to tap each brick firmly into the trench, ensuring they’re level and aligned with the curve. This second layer reinforces the structure, preventing shifting over time and giving your garden edge a polished, professional look.
6. Plant and Add Mulch
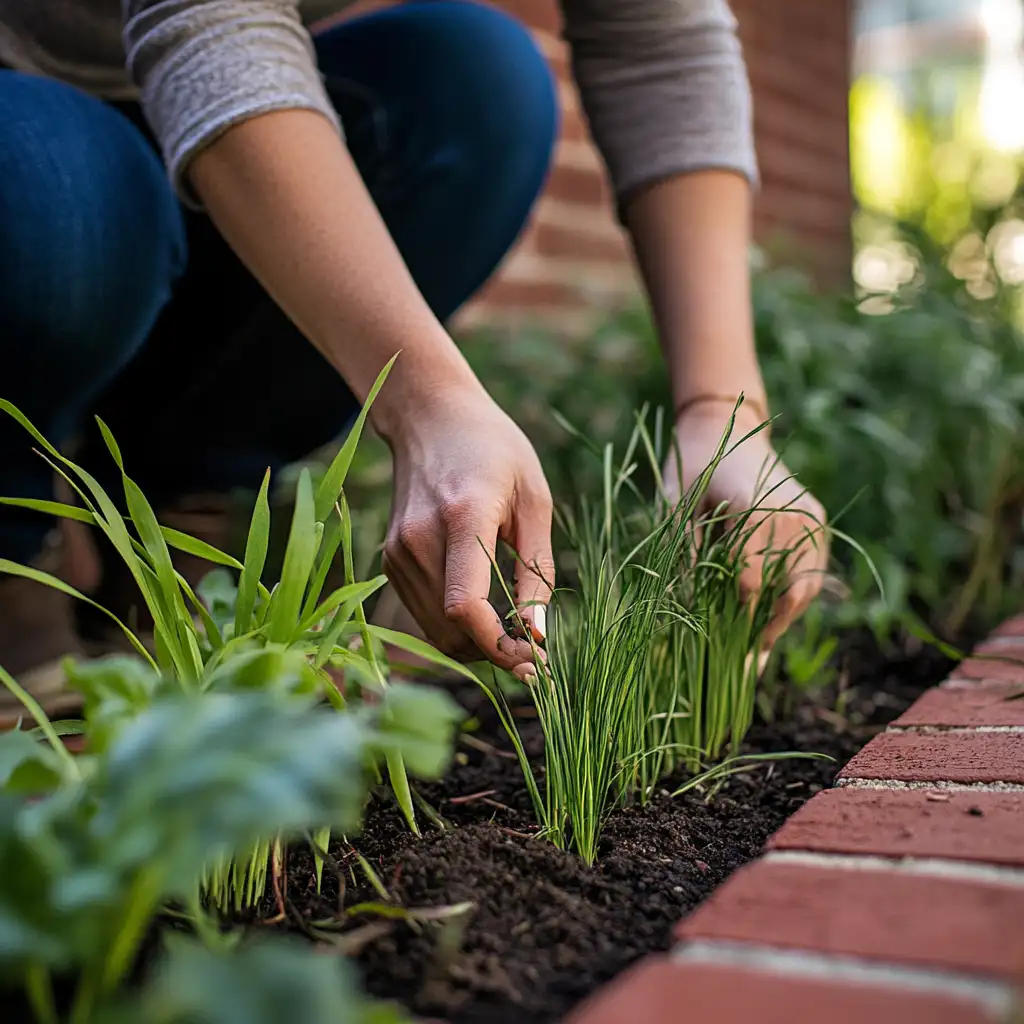
With your brick garden edging securely installed, it’s time to fill in the planting area and add the finishing touches. Backfill any gaps between the bricks with the soil you removed earlier, ensuring the bricks remain snug and stable. Plant your desired flowers, shrubs, or ground covers along the inside edge of the border, creating a lush, colorful display. Finish by applying a layer of mulch around the plants to retain moisture, suppress weeds, and enhance the overall look of your garden.
Conclusion
Creating brick garden edging is a simple yet transformative way to enhance your garden’s charm and structure. By following these steps—sketching your plan, digging a trench, and installing the bricks—you can craft a beautiful, functional border that complements your landscape. Not only does it define garden beds, but it also helps keep soil, mulch, and plants in place, creating a tidy, polished look that lasts for years. For even more ways to elevate your outdoor space, explore our tips on rustic landscaping ideas with rocks and discover affordable backyard renovation ideas that pair perfectly with brick edging.
Frequently Asked Questions
Are bricks good for garden bed borders?
Absolutely! Bricks are a popular choice for brick garden edging because they’re durable, weather-resistant, and add a timeless aesthetic to your garden. They also provide a neat, defined border that helps keep soil and mulch in place while deterring grass and weeds.
Is a brick garden border expensive?
Not necessarily. A brick garden edging project can be budget-friendly, especially if you use reclaimed bricks or purchase in bulk. Costs vary depending on the size of your garden and the quality of the materials you choose. It’s a relatively affordable way to achieve a high-end look for your landscape.
Do I need to use mortar or another adhesive to keep my brick garden border from moving?
Typically, no. For ground-level brick garden edging, a properly dug trench and compacted soil are enough to keep the bricks in place. Tapping the bricks gently with a mallet ensures they fit snugly against one another. However, for extra stability—especially on slopes—you can use landscaping adhesive if desired.

