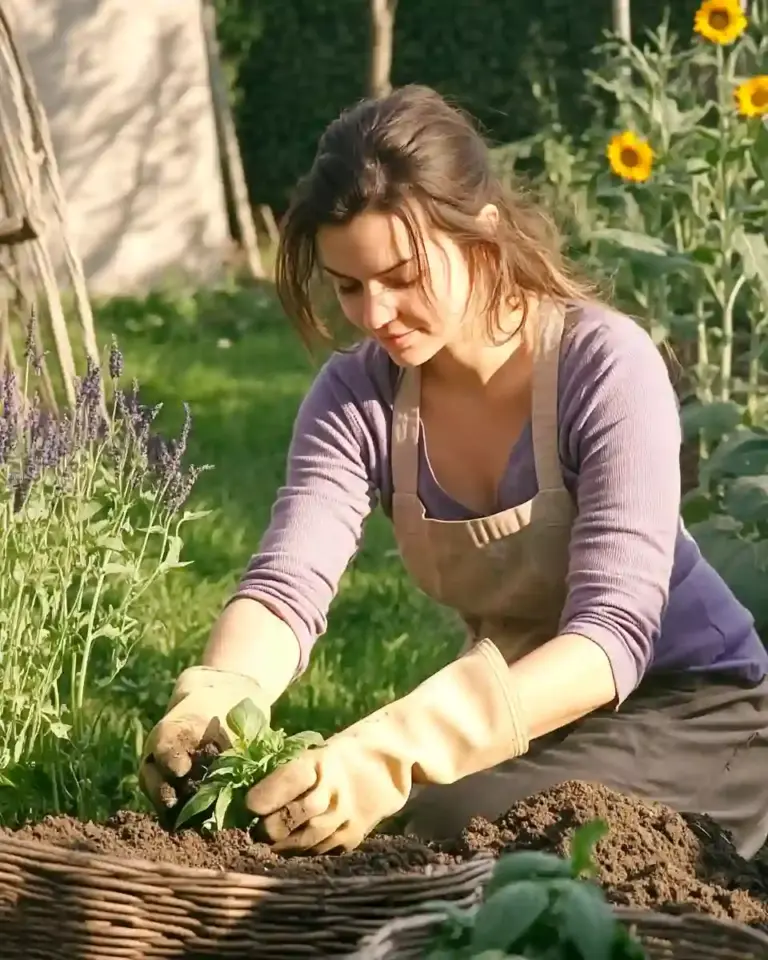
Gladiolus growing stages are the key to unlocking vibrant blooms that fill your garden with color and charm from summer into fall. Whether you’re planting a few corms or cultivating an entire bed, understanding each phase of this plant’s life cycle ensures healthier plants, better flowers, and successful seasonal gardening. From rooting to deadheading, every stage plays a role in producing those tall, sword-like stems adorned with cascading blossoms. If you’ve ever wondered how these dramatic flowers transform from dormant corms to spectacular blooms, this guide will walk you through all 7 crucial stages in their growth cycle—each with its own care tips and timing considerations.
Let’s start from the very beginning—rooting.
Table of Contents
1. Begin with Rooting
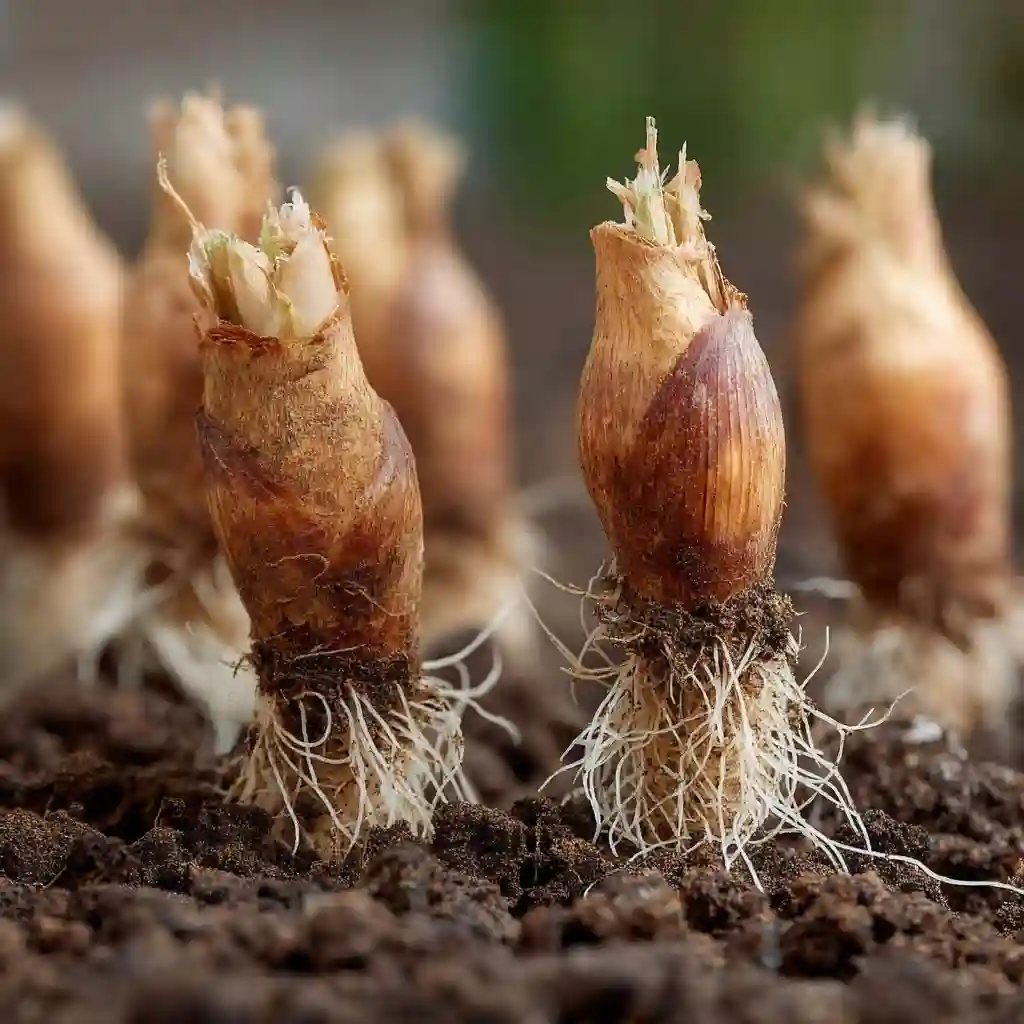
The first of the gladiolus growing stages is rooting, which begins as soon as you place a healthy corm into soil. Gladiolus grow from corms—not bulbs—so selecting firm, unblemished corms is essential. These corms act as food storage units, fueling early growth even before leaves or stems appear.
Rooting happens underground and typically takes one to two weeks. During this time, the corm absorbs moisture and nutrients, triggering the development of tiny roots. It’s best to plant corms in well-drained soil with consistent moisture—not soggy, just lightly damp.
Avoid planting corms that feel soft or show signs of rot. Starting with the right planting material can significantly improve the vigor and eventual blooms of your gladiolus.
2. Planting the Corms
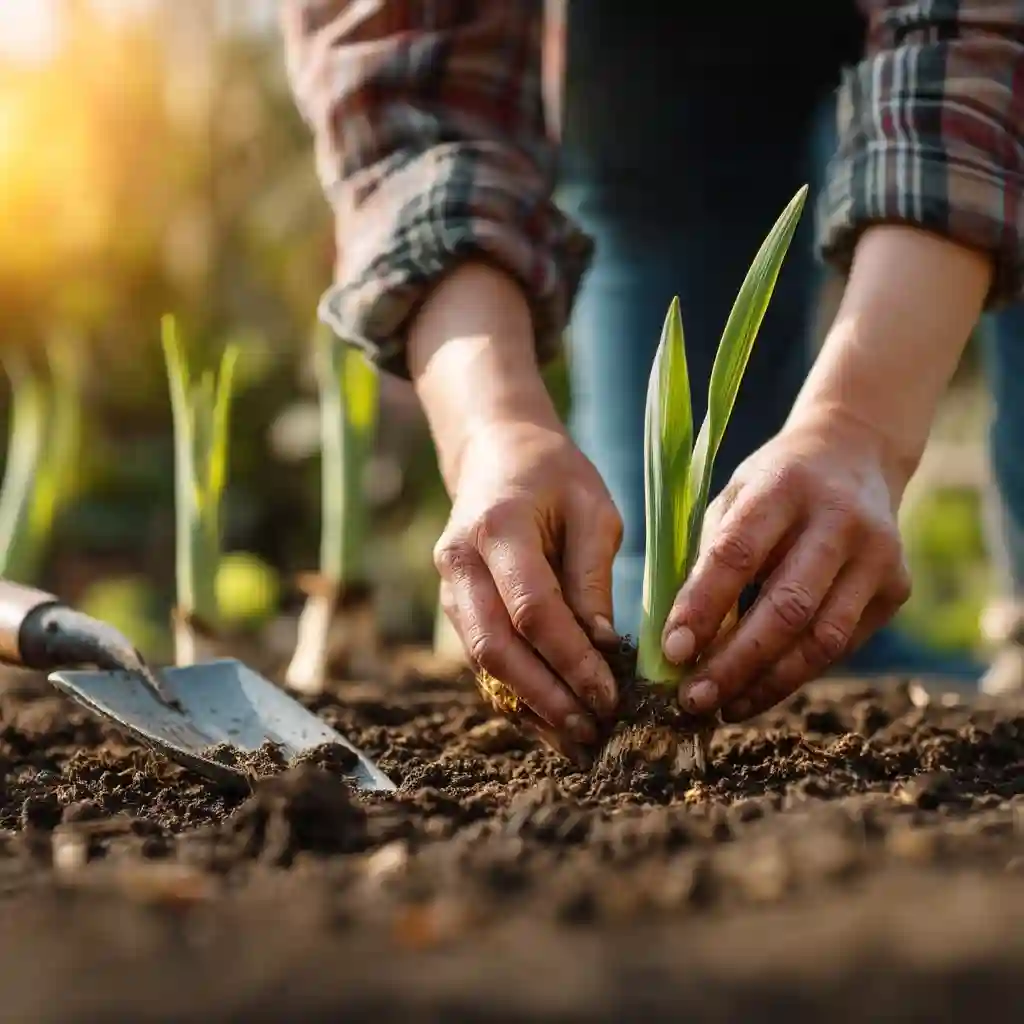
Once you’ve chosen healthy corms, the next of the gladiolus growing stages is planting them at the right time and depth. Wait until all danger of frost has passed—typically in spring—when soil temperatures are consistently above 55°F (13°C). Gladiolus thrive in warm, loose, and well-draining soil with full sunlight exposure.
Dig planting holes about 2 to 3 inches deep, spacing each corm 4 to 6 inches apart. Always plant with the pointed end facing up. This is where the sprout will emerge. If you’re aiming for a continuous bloom, stagger your planting every two weeks during the season.
Water the soil after planting, keeping it moist but not soggy. Good drainage is key—excess water can cause the corms to rot before they ever sprout.
3. Germination
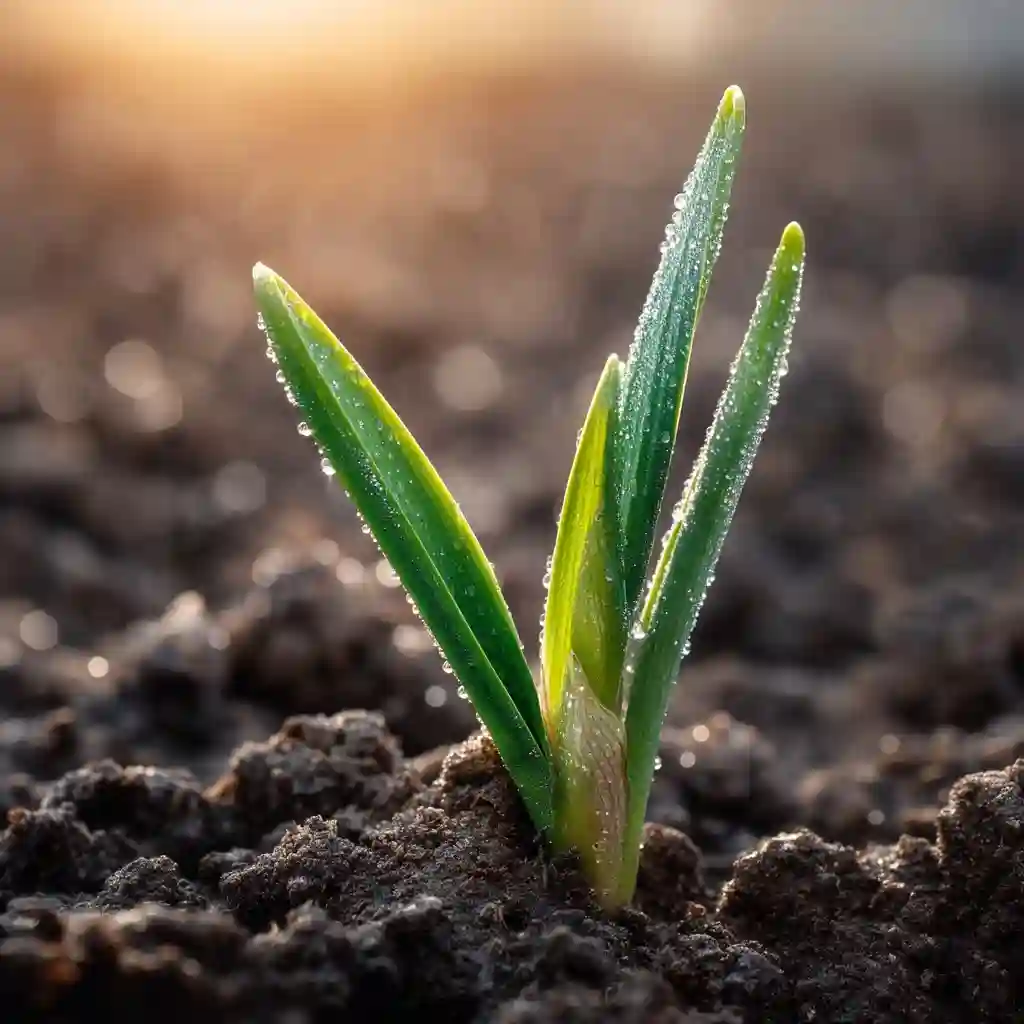
Germination is a critical phase in the gladiolus growing stages, marking the first signs of life above the soil. Roughly 10 to 21 days after planting, you’ll begin to see green shoots poking through the surface. For this to happen smoothly, soil temperatures should remain above 55°F (13°C), with ideal nighttime temperatures closer to 60°F (15.5°C).
During germination, moisture consistency is key. Dry conditions can delay sprouting, while overwatering may cause rot. Keep the soil lightly moist and avoid disturbing it while roots and shoots develop.
If planted too early in cool soil, corms may stay dormant or grow unevenly. Proper timing sets your gladiolus on the right path for strong, uniform growth during the next stages.
4. Vegetative Growth
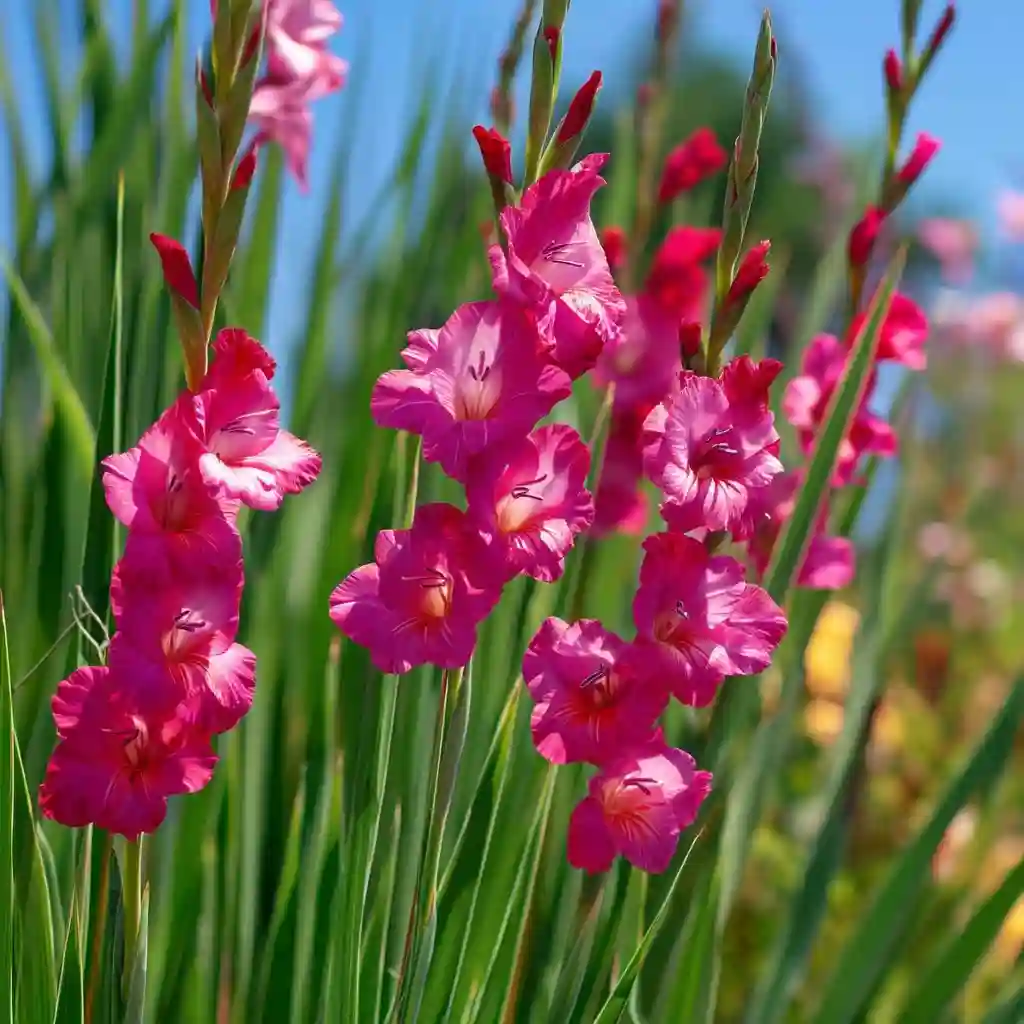
Vegetative growth is one of the most visually active gladiolus growing stages, where the plant focuses on producing strong, leafy stalks. These leaves are more than decorative—they’re essential for photosynthesis, storing energy in the corm that supports blooming later on.
During this phase, your gladiolus needs full sunlight—ideally six to eight hours a day. The leaves will grow tall and sword-shaped, forming the sturdy base that holds up the eventual flower spike.
Keep the soil evenly moist but never soggy. A light mulch can help retain moisture and suppress weeds. If growth appears thin or weak, apply a balanced fertilizer every few weeks to encourage lush, green foliage.
Healthy leaf development here directly impacts the size, color, and strength of your future blooms.
5. Blooming
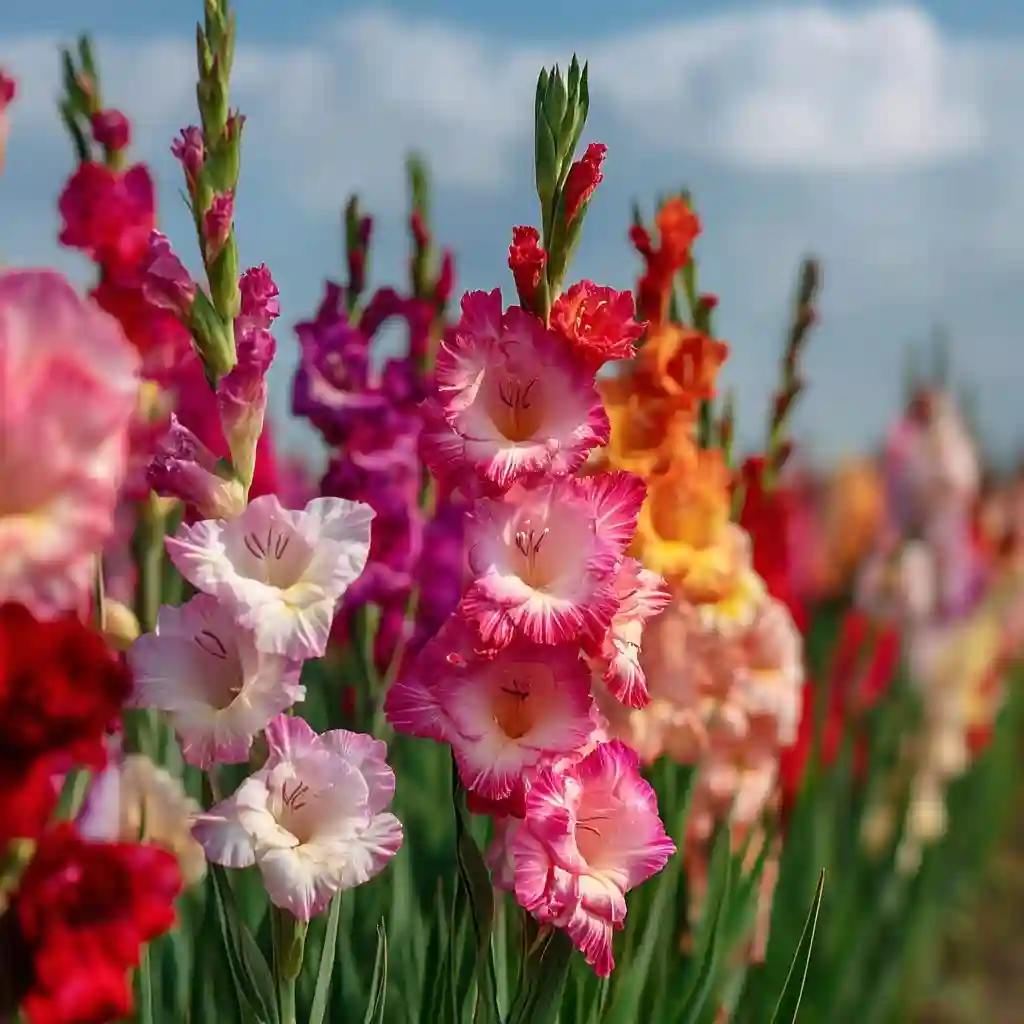
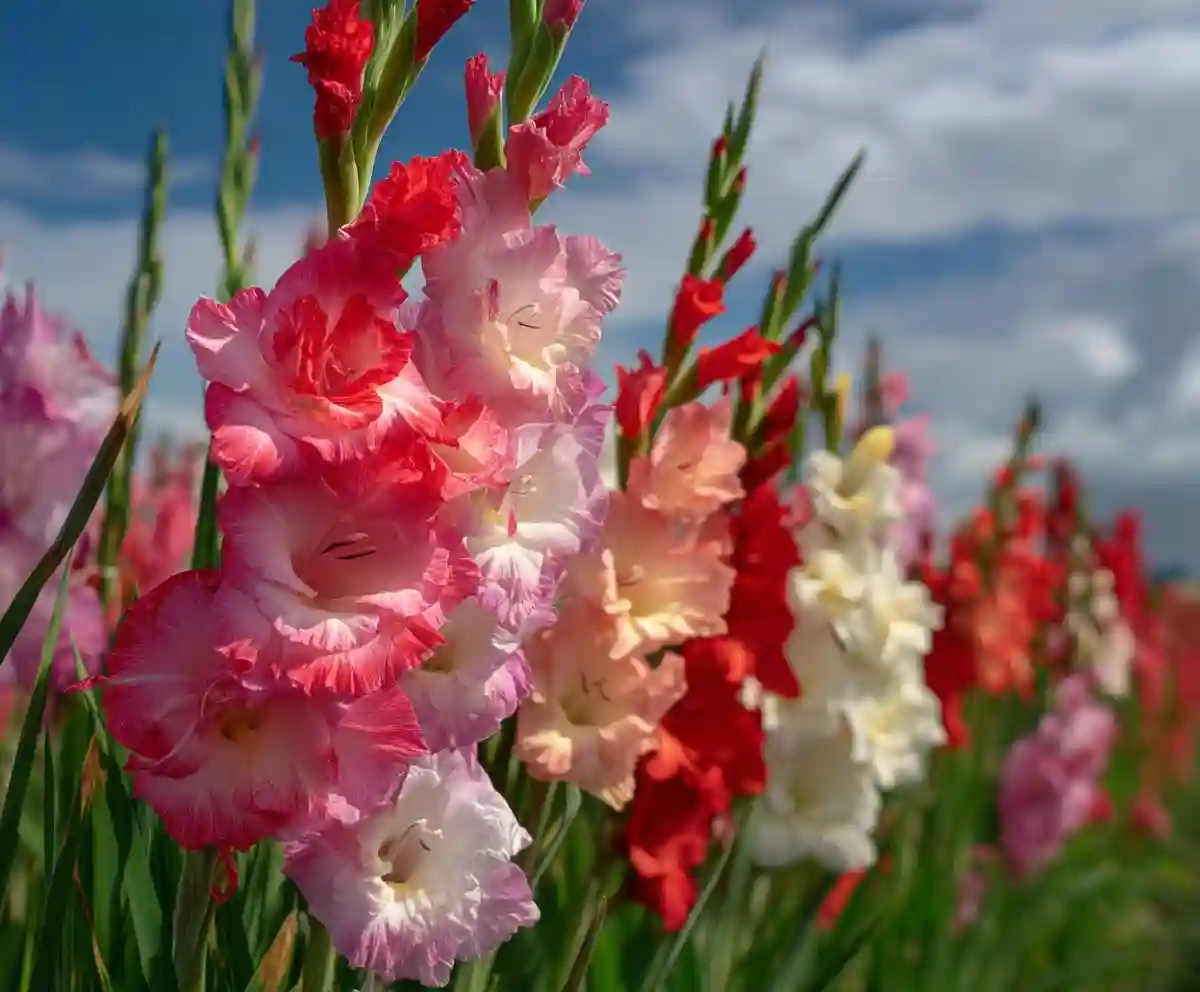
The blooming phase is the most rewarding of all gladiolus growing stages—when weeks of patient care finally pay off. Typically starting in early to mid-summer, tall flower spikes emerge from the center of the foliage. Blossoms open gradually from the bottom up, creating a striking vertical display that can last up to two weeks per stalk.
At this point, consistent watering is crucial. Keep the soil evenly moist, especially during hot spells. A bloom booster fertilizer (low in nitrogen, higher in phosphorus and potassium) can enhance flower color and longevity.
Since the flower spikes can get top-heavy, gently stake them to prevent bending or breakage from wind or rain. You can also cut the spikes for indoor arrangements—just leave a few leaves on the plant so it can continue storing energy for next year’s growth.
6. Storing Corms for the Next Year
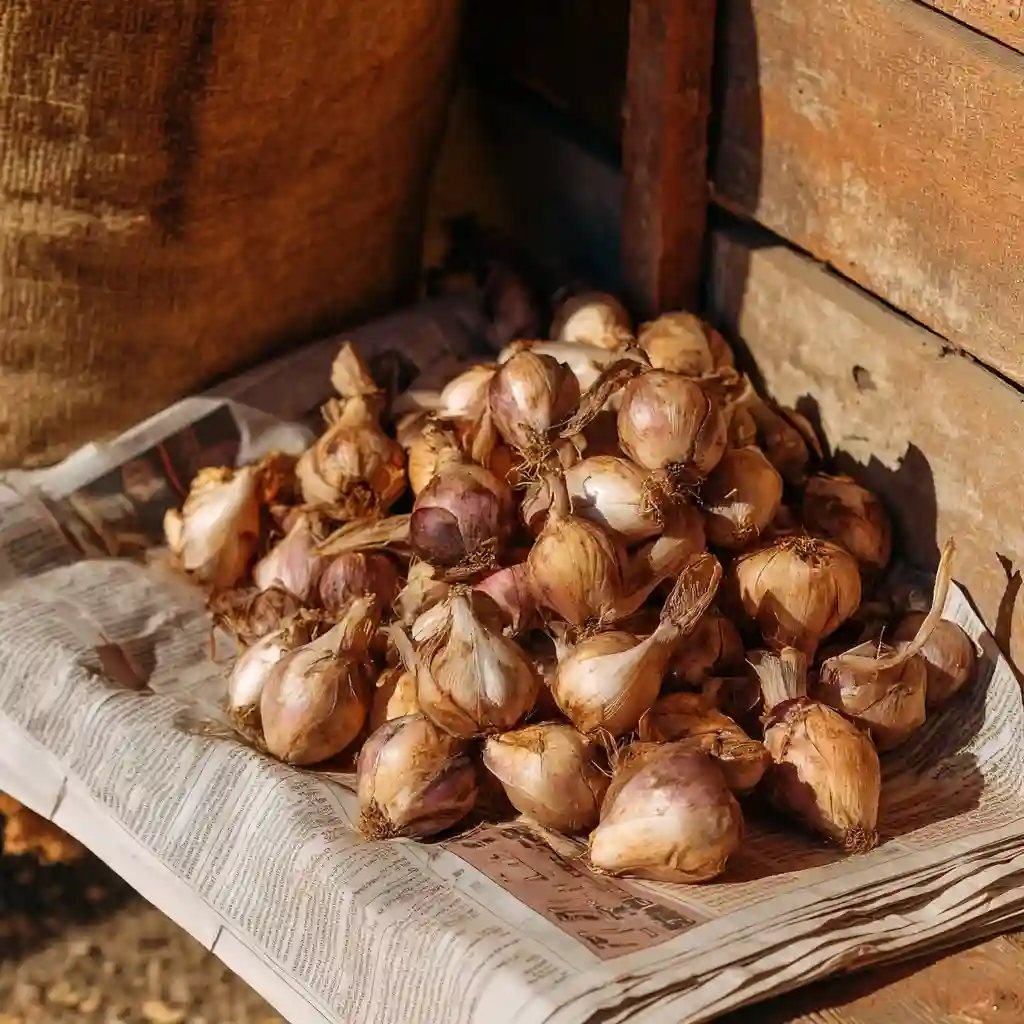
As blooming comes to an end, the next essential step in the gladiolus growing stages is storing the corms for reuse next season. Once the leaves turn yellow and begin to dry—usually after the first frost—it’s time to lift the corms from the soil.
Gently dig them up with a garden fork, being careful not to bruise or damage the new corms (called cormels) forming at the base. Shake off excess soil, then let them cure in a dry, shady spot with good air circulation for about 7 to 10 days.
Once dry, trim off the old roots and dead foliage. Store the corms in a mesh bag, paper sack, or box filled with dry peat moss. Keep them in a cool, dark location—around 40–50°F (4–10°C). Proper storage prevents mold, rot, and pests, ensuring your gladiolus return healthy and vibrant the next year.
7. Deadheading
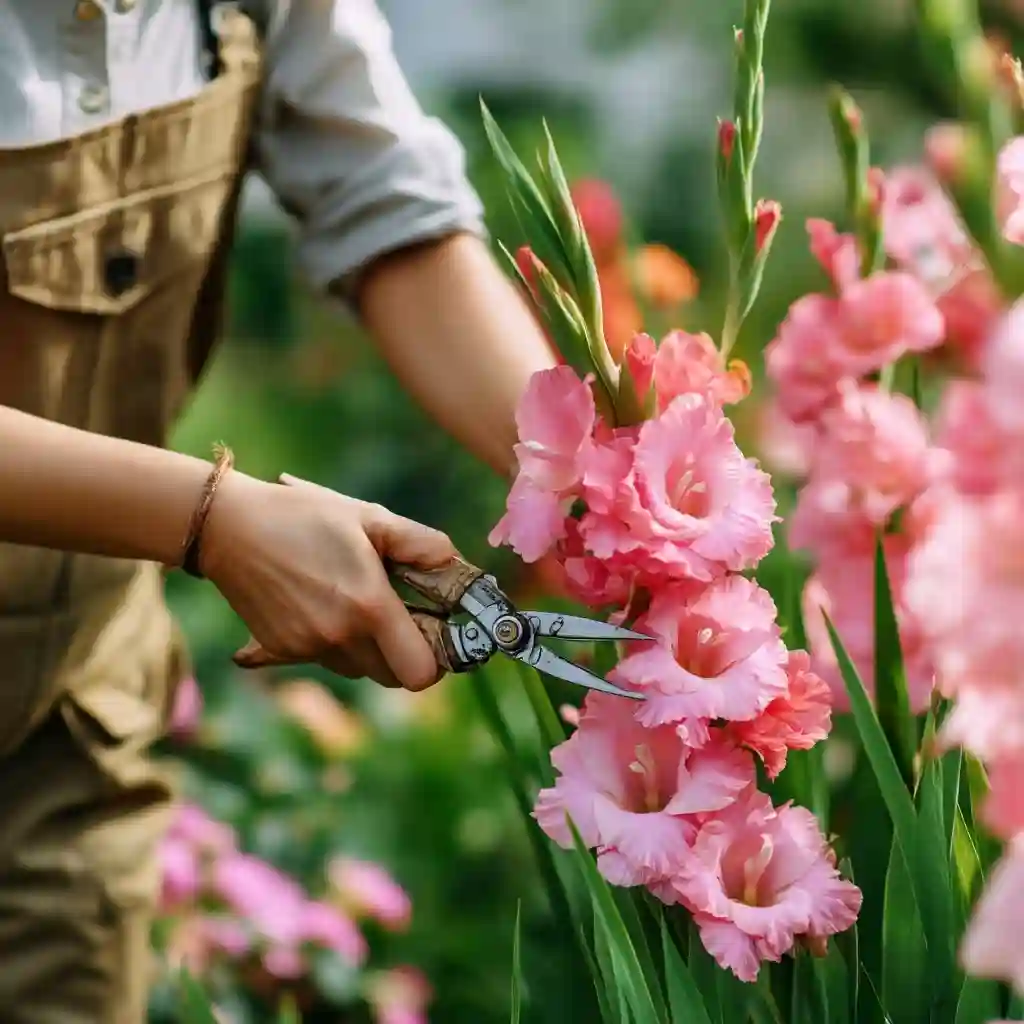
Deadheading is the final but often overlooked part of the gladiolus growing stages—and it plays a big role in overall plant health and bloom longevity. As soon as a flower fades, use clean, sharp scissors or pruners to snip off the spent bloom just above the next set of buds or leaves.
By removing dead flowers, you redirect the plant’s energy from seed production back into strengthening the corm. This helps improve bloom quality and extends the flowering period for remaining buds on the spike.
Don’t remove the entire stalk right away. Allow the green leaves and stems to continue photosynthesis until they naturally yellow. This gives the corm time to store nutrients, leading to even more vigorous growth next season.
Routine deadheading keeps your gladiolus looking neat, vibrant, and productive from early bloom to the end of the growing season.
Conclusion
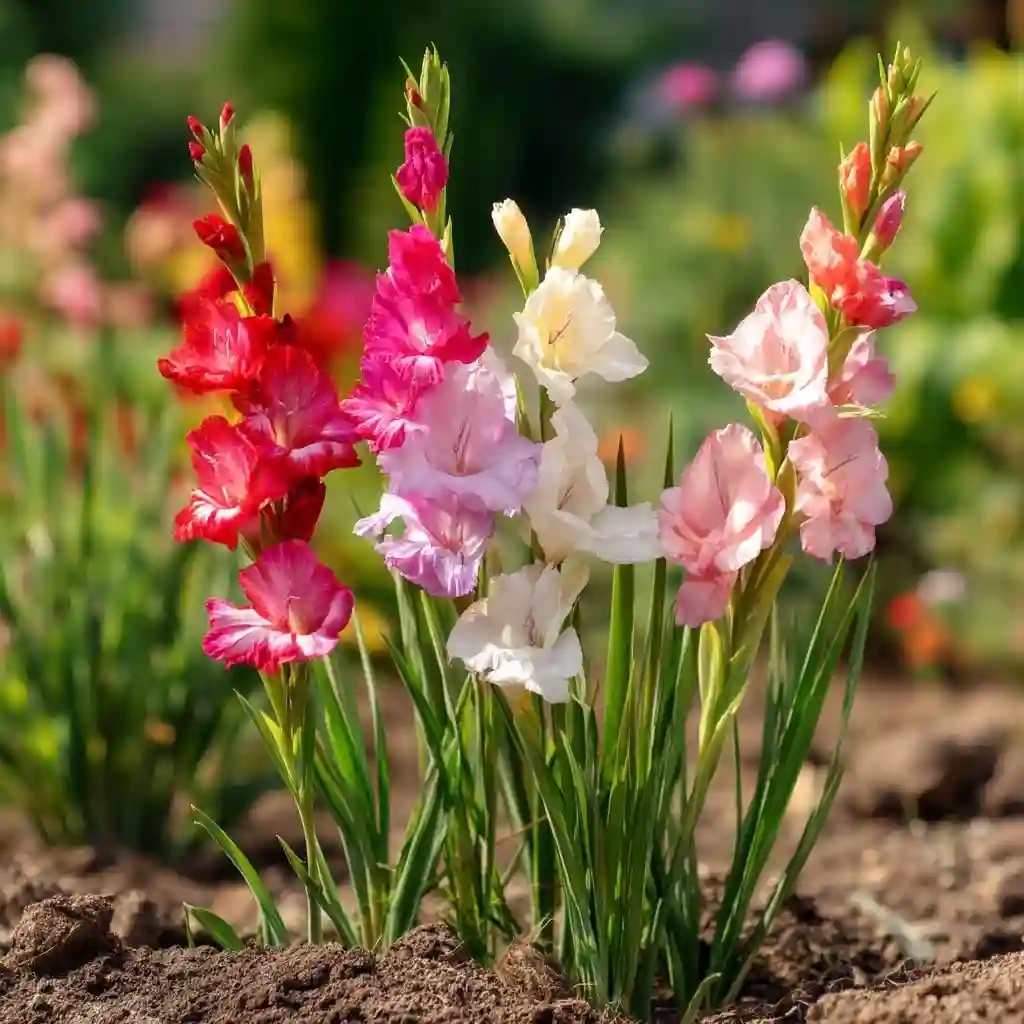
Understanding the gladiolus growing stages from start to finish helps you get the most from these showstopping flowers. Each stage—rooting, planting, germination, vegetative growth, blooming, storing, and deadheading—builds on the last, setting your plants up for success year after year.
With the right care at each phase, gladiolus can thrive in nearly any sunny garden. Whether you’re a beginner planting your first corms or a seasoned gardener looking to boost bloom performance, sticking to the timeline and tuning in to your plants’ needs ensures strong stalks, vibrant flowers, and healthy corms for the future.
FAQs
How long does it take for gladiolus to bloom after planting?
Typically, gladiolus bloom around 70 to 90 days after planting, depending on the variety and growing conditions. Warmer climates may speed things up slightly.
Can I leave gladiolus corms in the ground over winter?
In USDA zones 8 and above, yes—you can leave them in the ground with a layer of mulch for protection. In colder zones, it’s best to dig and store them to prevent freezing.
Why are my gladiolus not flowering?
Poor flowering could be due to insufficient sunlight, overcrowded corms, depleted soil nutrients, or inadequate watering. Make sure plants receive full sun and are spaced properly with regular feeding.
When should I start planting gladiolus?
Start planting gladiolus corms in spring, once the danger of frost has passed and soil temperatures are consistently above 55°F (13°C).
Do gladiolus need to be deadheaded?
Yes. Deadheading spent flowers encourages the plant to redirect energy into growing strong corms and producing more blooms, rather than forming seeds.
🌿 Love gardening inspiration? Follow me on Pinterest for bold plant ideas, tips, and seasonal color!
More Posts
