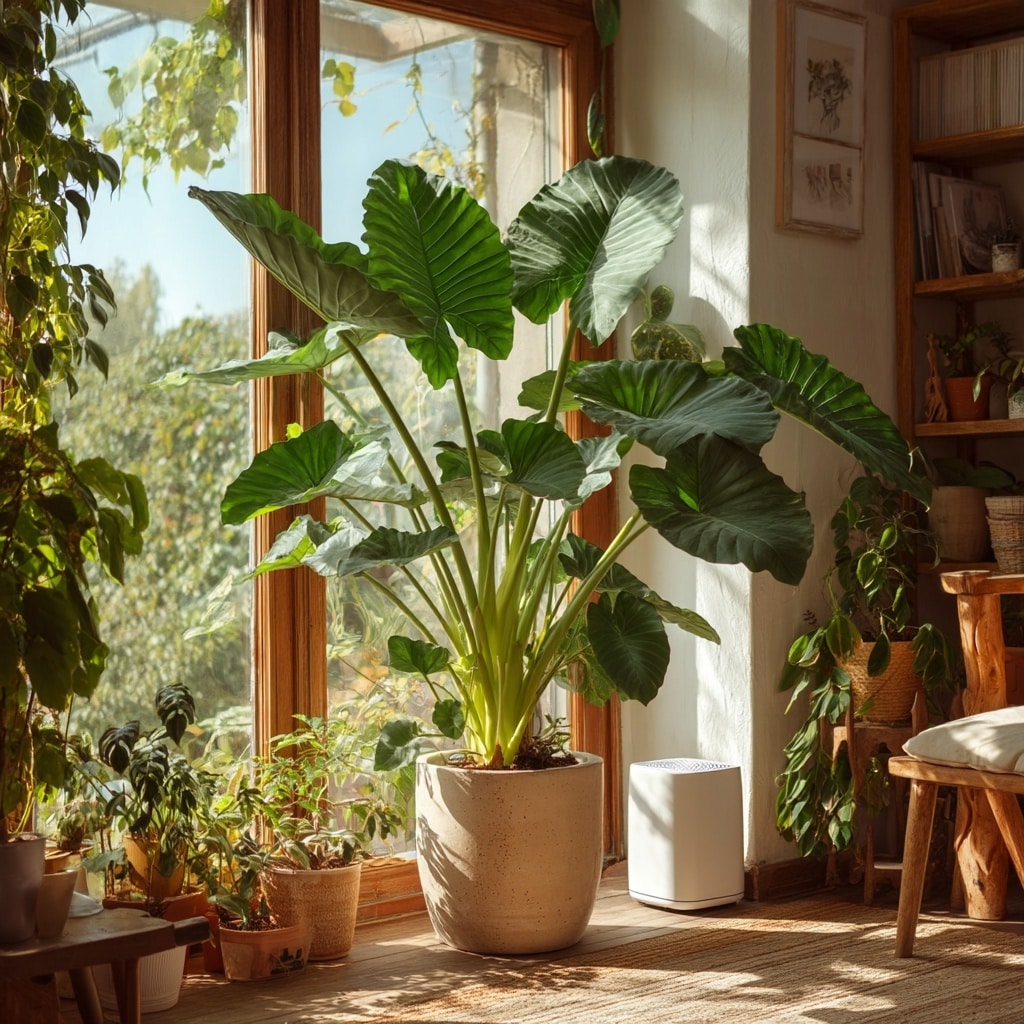
Elephant ears plants bring dramatic flair to gardens and homes with their oversized, heart-shaped leaves and tropical personality. These lush beauties, often from the Colocasia family, thrive in warmth and humidity, making them a favorite among gardeners seeking a bold, exotic look.
Whether you grow elephant ears plants in garden beds or containers, indoors or out, they’re surprisingly adaptable and fast-growing. With just the right amount of sun, moisture, and space to spread their tuberous roots, they can grow several feet tall in a single season.
In this guide, you’ll learn exactly how to grow, care for, propagate, and overwinter elephant ears plants so they stay healthy, vibrant, and striking all year round.
Table of Contents
How to Grow Elephant Ears Plants Outdoors
Elephant ears plants love the heat and humidity of summer, making them ideal for outdoor gardens in USDA zones 8 through 10. In these warmer climates, they can grow as perennials, reaching heights of 4 to 6 feet with leaves as wide as 2 feet. In cooler zones, they’re typically grown as annuals or dug up and stored over winter.
📅 When to Plant
Wait until late spring or early summer, when the soil is consistently above 50°F (10°C). These tubers need warmth to break dormancy and begin rapid growth.
You can plant either:
- Dormant tubers directly in the ground
- Starter plants purchased from nurseries
Either way, once temperatures rise, elephant ears plants grow quickly—often doubling in size within a few weeks.
🧤 Zone 7 Tip
If you’re in zone 7, you can overwinter elephant ears in-ground by adding a thick layer of mulch to protect them from frost. In colder zones, you’ll need to lift the tubers and store them indoors.
Soil Requirements for Elephant Ears Plants
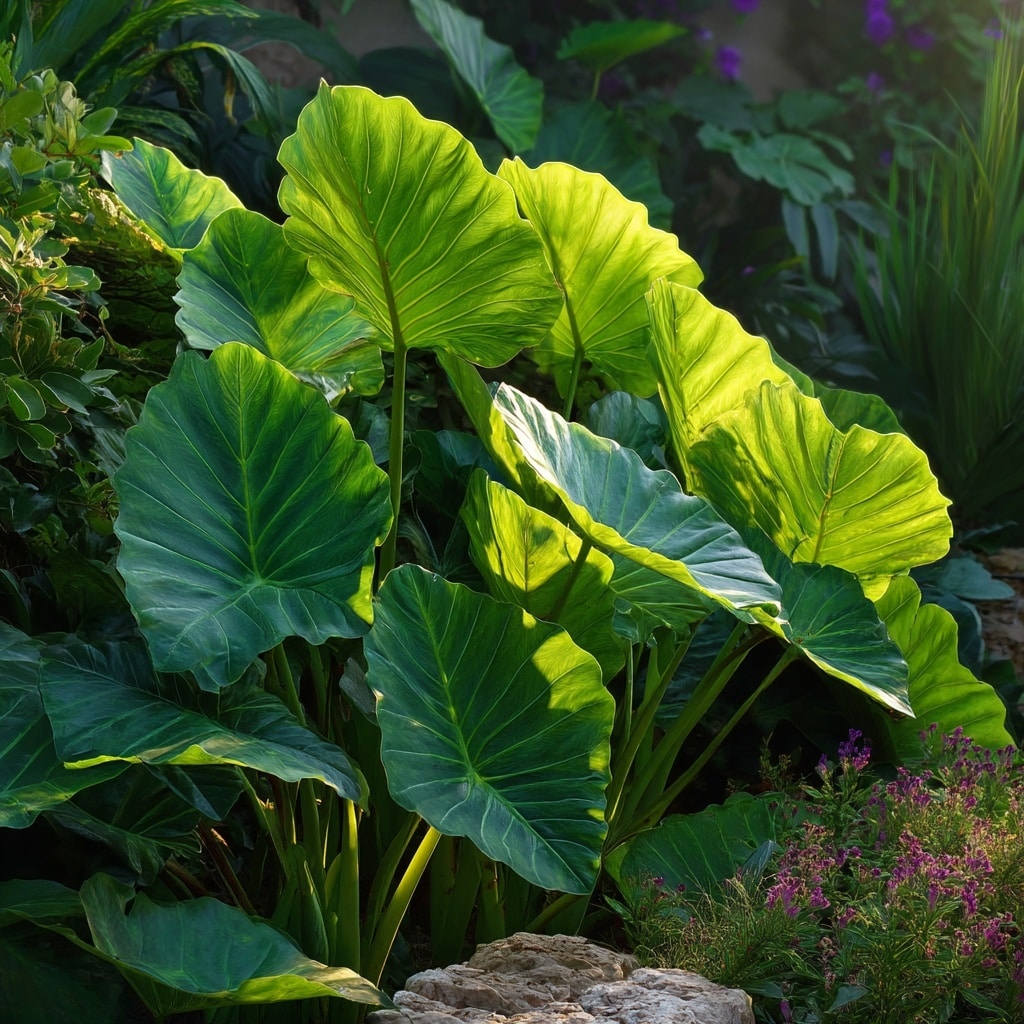
To thrive, elephant ears plants need rich, consistently moist soil with excellent drainage. These tropical tubers grow best in soil that is:
- Loamy and full of organic matter
- Well-draining, to prevent rot
- Slightly acidic to neutral, ideally with a pH between 5.5 and 7.0
🌿 How to Prepare the Soil
Before planting, mix compost or aged manure into the soil to boost nutrients and moisture retention. If your native soil is heavy clay or drains poorly, consider creating raised beds or planting in large containers with a quality potting mix.
Plant the tubers about 2 to 3 inches deep, with the growing tip pointing upward. Space each elephant ears plant 18 to 36 inches apart, depending on the variety, to allow the leaves room to spread.
Healthy soil is the foundation for those giant, glossy leaves elephant ears plants are known for.
Light Requirements for Elephant Ears Plants
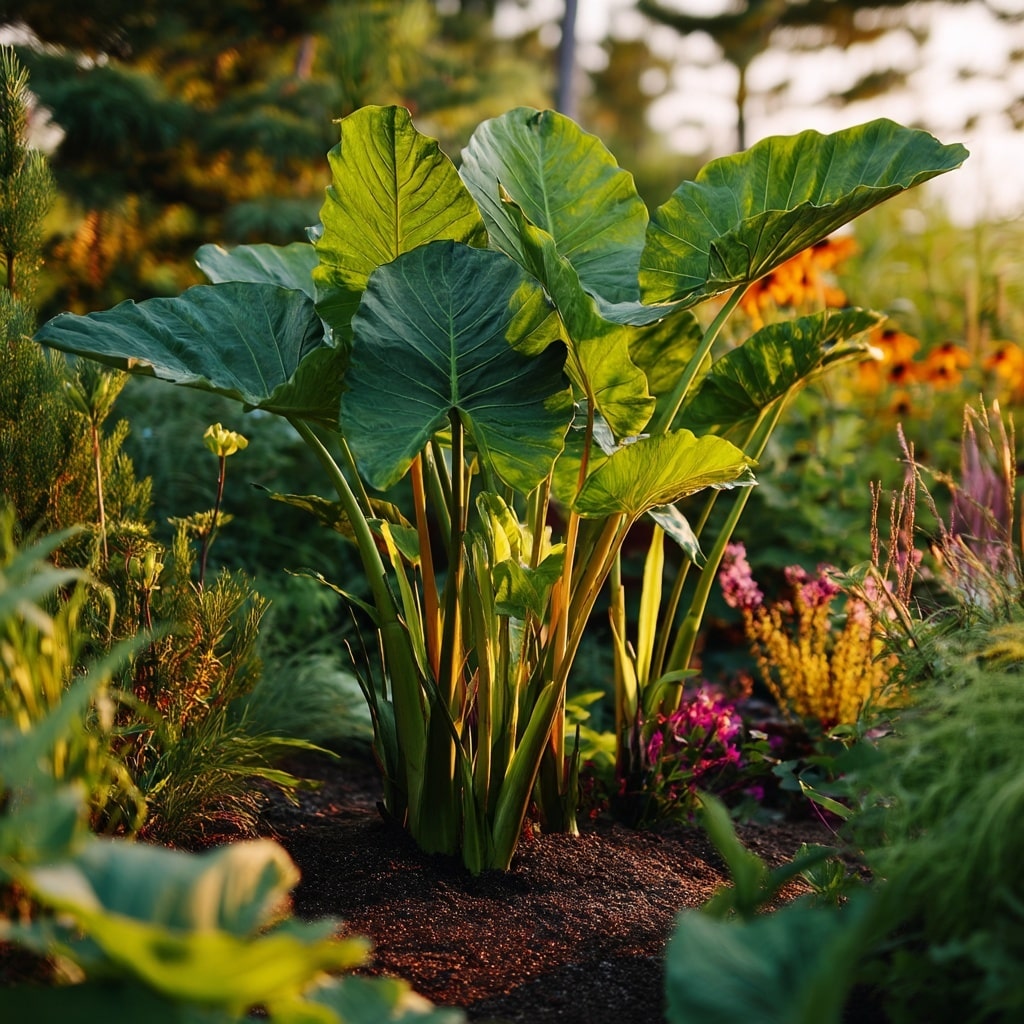
Elephant ears plants are sun-lovers, but they don’t all want the same amount of light. Getting this balance right is key to growing lush, healthy foliage.
🧭 General Light Guidelines:
- In cooler climates, elephant ears plants thrive in full sun (6+ hours daily).
- In hotter regions, especially where summer sun is intense, they perform best with morning sun and afternoon shade.
- In tropical or subtropical zones, dappled light or partial shade can help prevent leaf scorch.
If you’re unsure, aim for a bright spot with indirect sunlight, especially for container-grown plants. Watch how the leaves respond—yellowing or browning edges may mean too much direct sun, while slow growth may signal not enough light.
By tailoring the light conditions to your local climate, your elephant ears plants will grow tall, vibrant, and full.
Watering Tips for Elephant Ears Plants
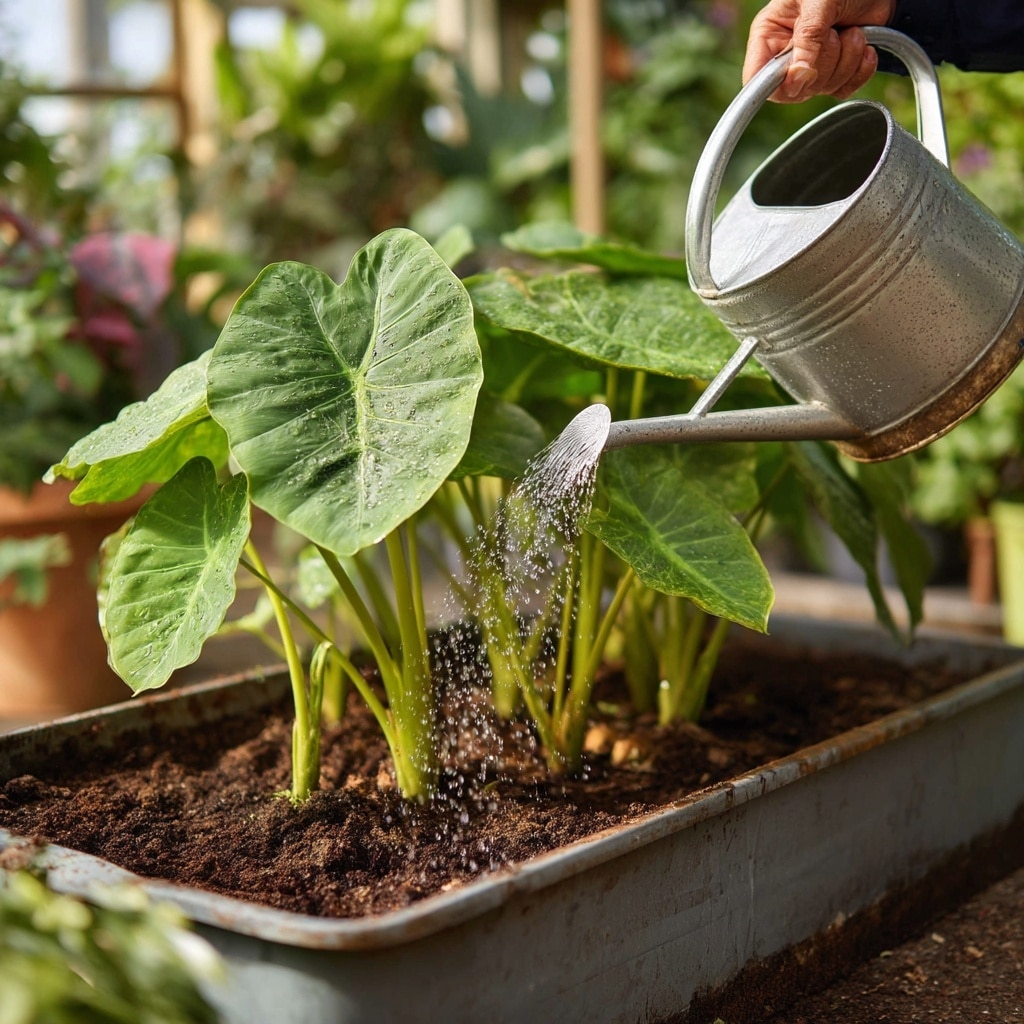
Consistent moisture is essential for elephant ears plants, especially during their active growing season. These tropical tubers are naturally found in wet, humid environments, so dry soil can quickly lead to drooping or yellow leaves.
🪣 Outdoor Watering
- Water deeply when the top 1 inch of soil feels dry.
- During hot spells, especially in full sun, you may need to water daily.
- Avoid letting the soil completely dry out between waterings.
🪴 Container Watering
Plants grown in pots dry out faster. In summer, check containers daily, and water thoroughly until excess drains from the bottom.
🚫 Avoid Overwatering
While elephant ears plants love moisture, soggy soil with poor drainage can cause root rot. Ensure your beds or pots drain well and never sit in standing water.
Maintaining a steady moisture level—not too wet, not too dry—will help elephant ears produce their iconic oversized leaves without stress.
Fertilizing Elephant Ears Plants
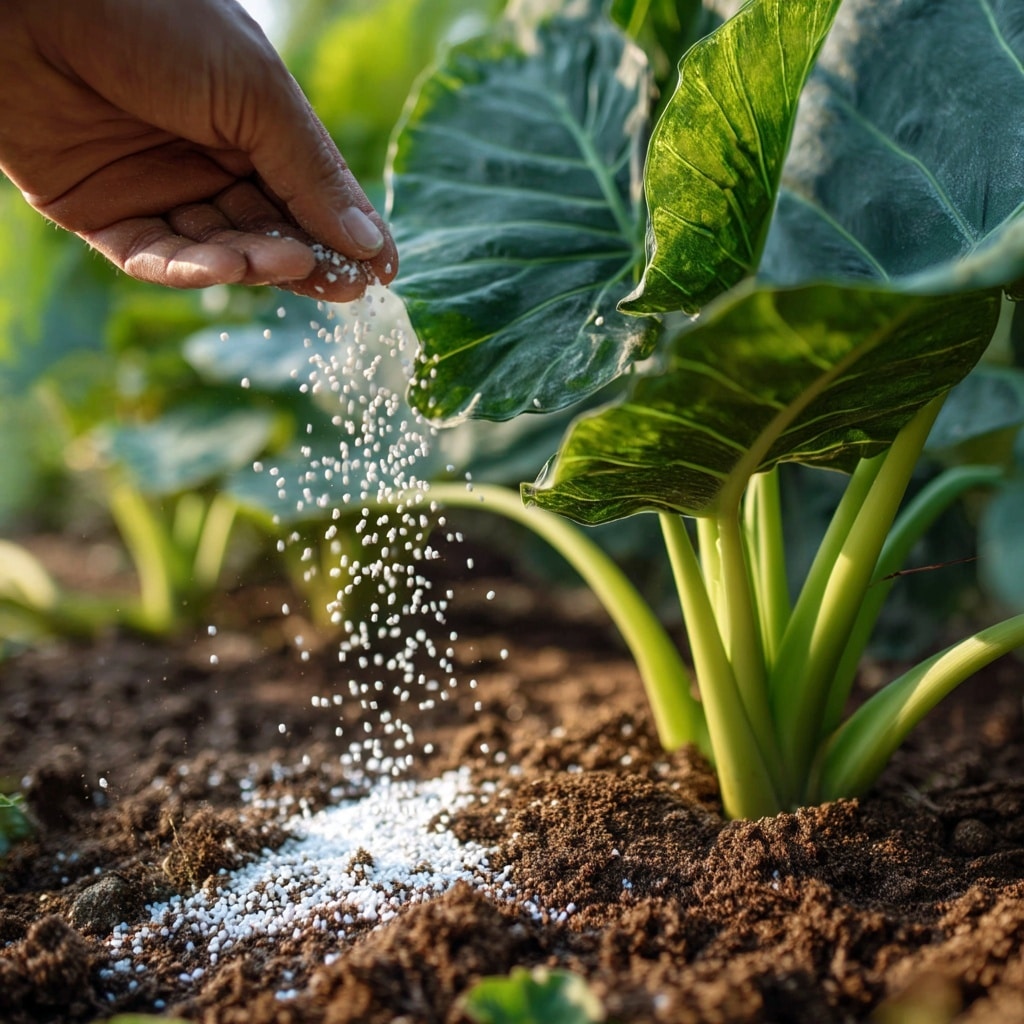
To fuel their rapid growth and bold foliage, elephant ears plants benefit from regular feeding during the growing season. These plants are heavy feeders and need extra nutrients to maintain their size and color.
💡 Fertilizer Tips:
- Use a nitrogen-rich fertilizer (high first number in N-P-K, such as 10-5-5).
- Apply once a month during the active growing period (late spring to early fall).
- For containers, you can use a diluted liquid fertilizer every 2–3 weeks for faster nutrient absorption.
Make sure the soil is moist before applying any fertilizer to avoid root burn. Feeding regularly helps elephant ears plants grow lush, vibrant, and tall—especially when paired with good light and watering.
Skip fertilizing in winter when growth slows or stops, especially if you’re overwintering them indoors or storing the tubers.
Pruning and Grooming Elephant Ears Plants
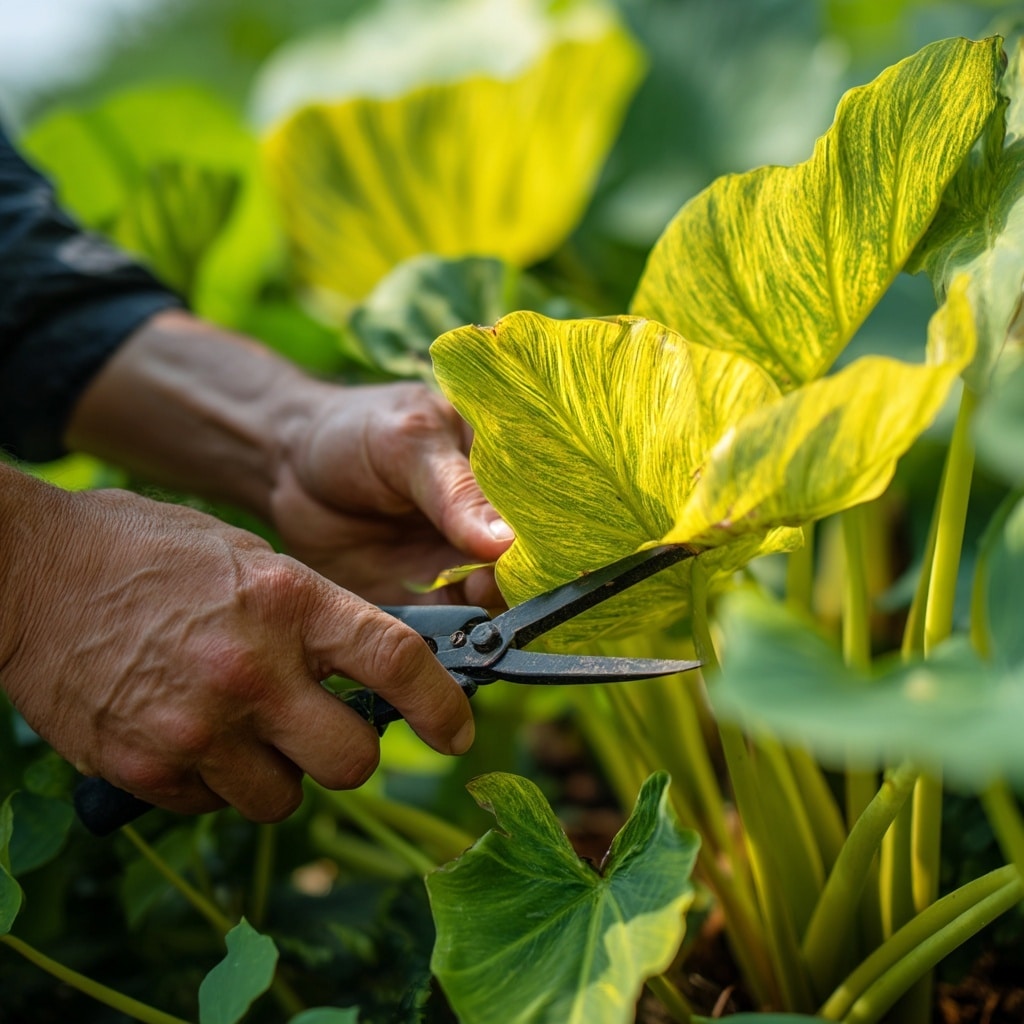
Though elephant ears plants don’t need heavy pruning, occasional maintenance keeps them looking their best and encourages healthy new growth.
🍃 When and How to Prune:
- Trim yellowing, wilted, or damaged leaves with clean, sharp pruners.
- Always cut at the base of the stem, close to the soil.
- Remove spent leaves regularly during the growing season to improve airflow and direct energy to new growth.
This type of grooming not only keeps your plant tidy, but also helps prevent pests and disease buildup.
🥶 Winter Tip:
As fall approaches, cut back outdoor elephant ears plants once the leaves die back after frost. You can then lift and store the tubers for winter, or heavily mulch them in the ground if you’re in a mild zone.
A little pruning goes a long way to keep elephant ears plants lush, bold, and thriving all season long.
How to Grow Elephant Ears Plants Indoors
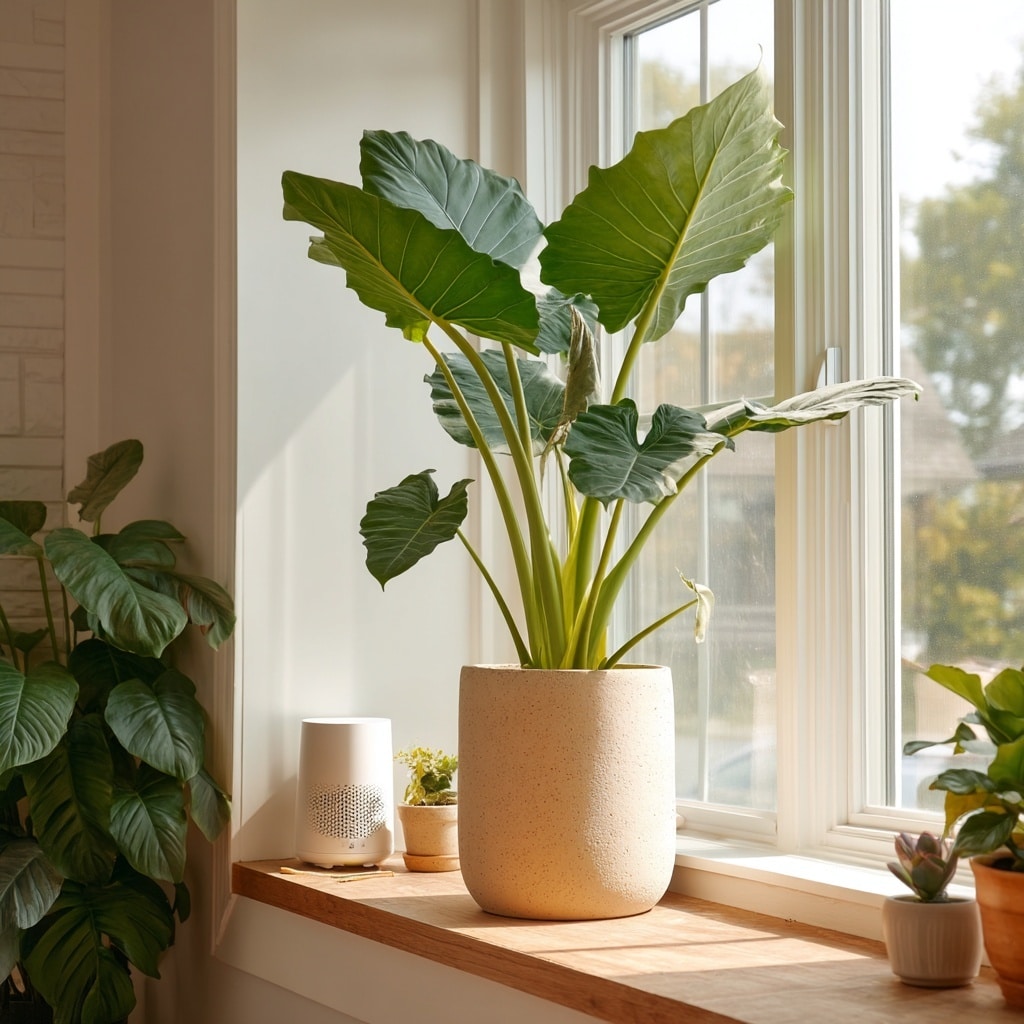
You don’t need a tropical climate to enjoy the bold beauty of elephant ears plants—they can thrive indoors with the right care. Whether you’re starting them as houseplants or bringing them in for winter, mimicking their natural humidity and warmth is key.
🌡️ Indoor Conditions
- Keep temperatures above 60°F (15°C)—they hate the cold.
- Place pots in a bright, sunny spot, but out of direct afternoon sun.
- Maintain high humidity with a room humidifier, pebble tray, or regular misting.
🪴 Potting Instructions
- Use a large container (at least 1 gallon) with drainage holes.
- Plant one tuber per pot, 2–3 inches deep in moist, well-draining soil.
- After planting, wait to water until a sprout appears above the surface.
💤 Overwintering Indoors
In colder climates, bring outdoor elephant ears plants inside before the first frost. You can either:
- Grow them as houseplants, or
- Store the dormant tubers in a cool, dark, dry place like a basement or garage.
Indoors, these tropical showstoppers bring a lush, jungle feel—even in the heart of winter.
Repotting Elephant Ears Plants
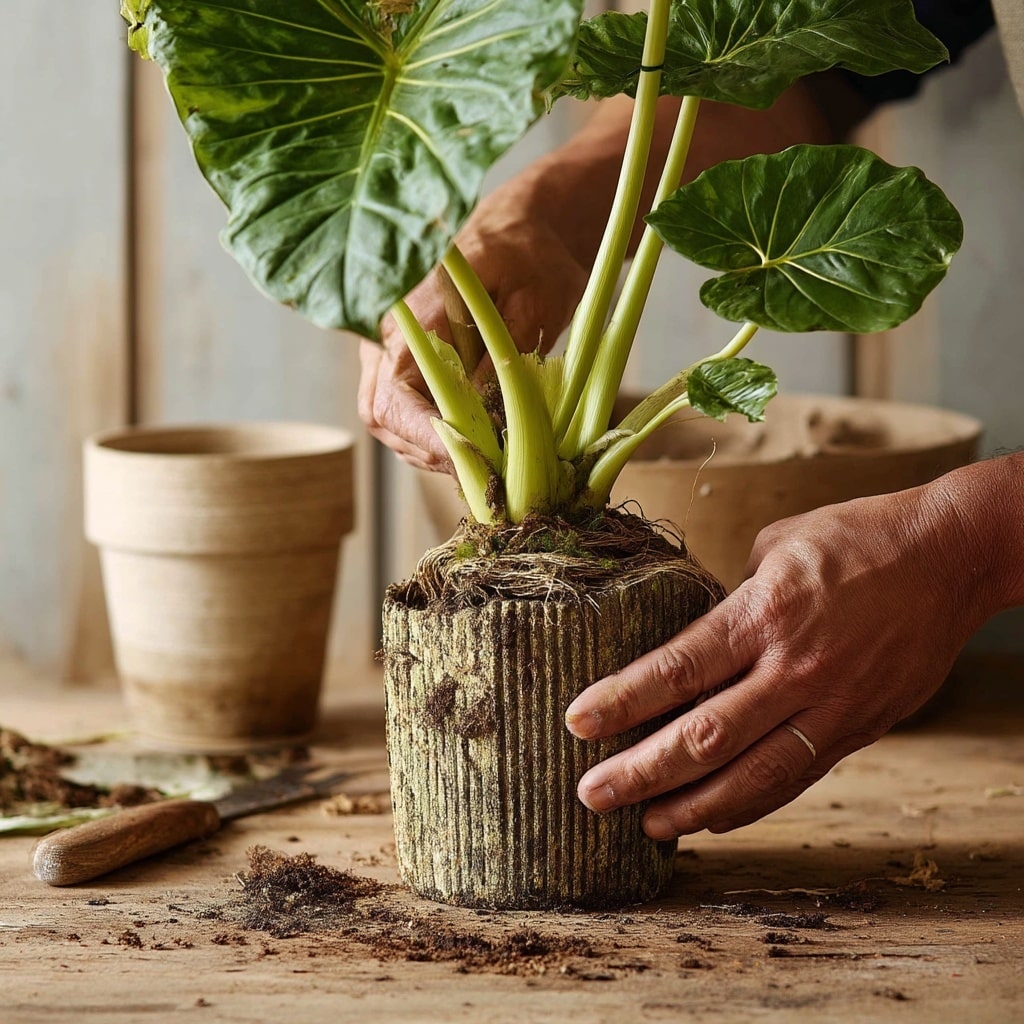
As fast growers, elephant ears plants often outgrow their containers—especially indoors. Repotting ensures their roots have enough room to expand and keeps the plant vigorous year after year.
🪴 When to Repot
- Repot when you see roots growing out of the drainage holes
- Or when the plant becomes top-heavy or root-bound
- Typically needed once a year, especially in active growers
📦 How to Repot
- Choose a new pot just 1–2 inches wider than the current one.
- Gently remove the plant, keeping the root ball intact.
- Place it in the new pot with fresh, well-draining soil.
- Water thoroughly and return to its usual bright, humid location.
Avoid upsizing too drastically—oversized containers can retain excess moisture and cause root rot.
A well-timed repot helps elephant ears plants continue growing big, bold, and healthy.
How to Propagate Elephant Ears Plants
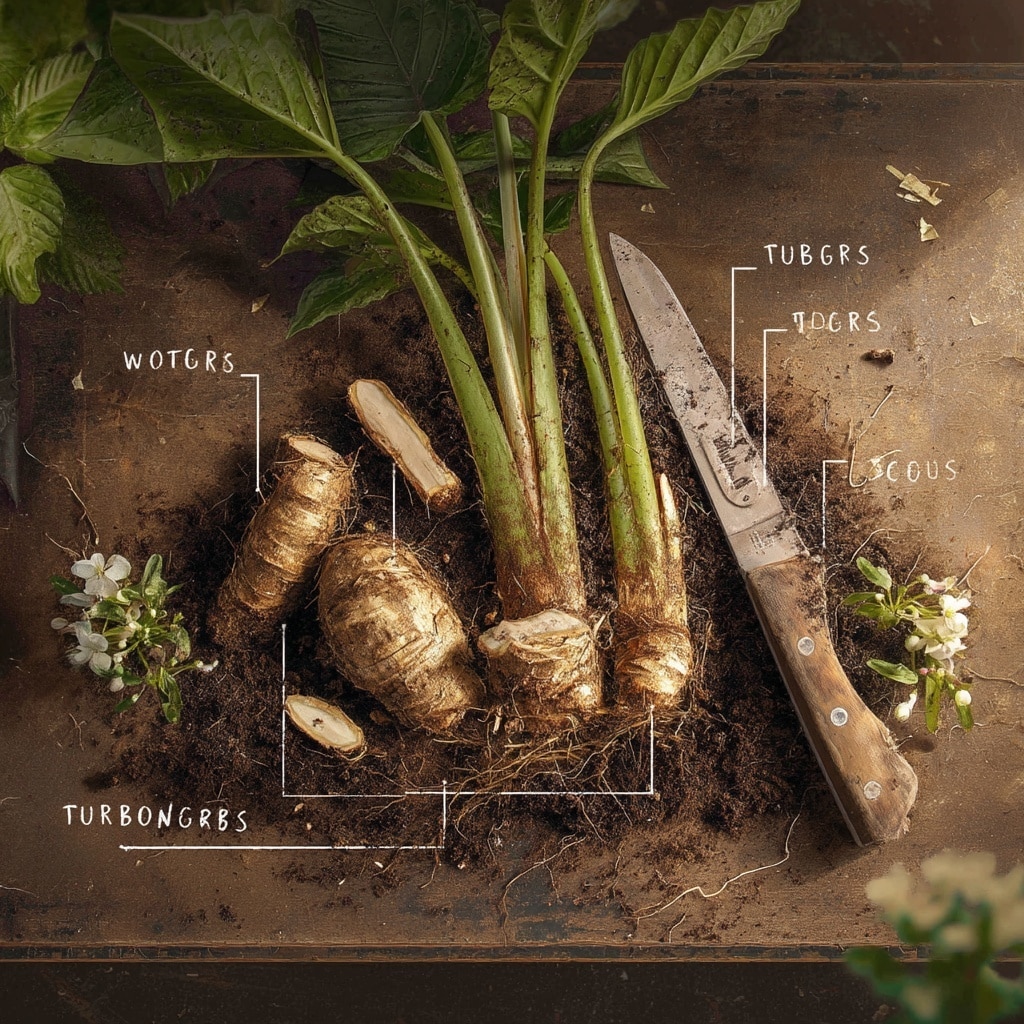
One of the easiest ways to expand your collection of elephant ears plants is through propagation by division. These tuberous plants naturally produce offshoots that can be separated and replanted.
✂️ How to Propagate:
- Wait until late spring or early summer, when the plant is actively growing.
- Gently dig up the parent plant and look for small tubers or runners growing from the base.
- Use a clean, sharp knife to separate the offshoots from the main tuber.
- Replant each tuber 2–3 inches deep in moist, well-draining soil.
Some varieties send out runners (long horizontal stems) with baby plants at the ends—these can also be clipped and planted separately.
📦 Aftercare
Keep the new plantings in warm, bright conditions and water regularly to help them establish roots. With just a few tubers, you can fill your garden or home with lush, dramatic foliage in a single season.
Toxicity Warning: Are Elephant Ears Plants Safe?
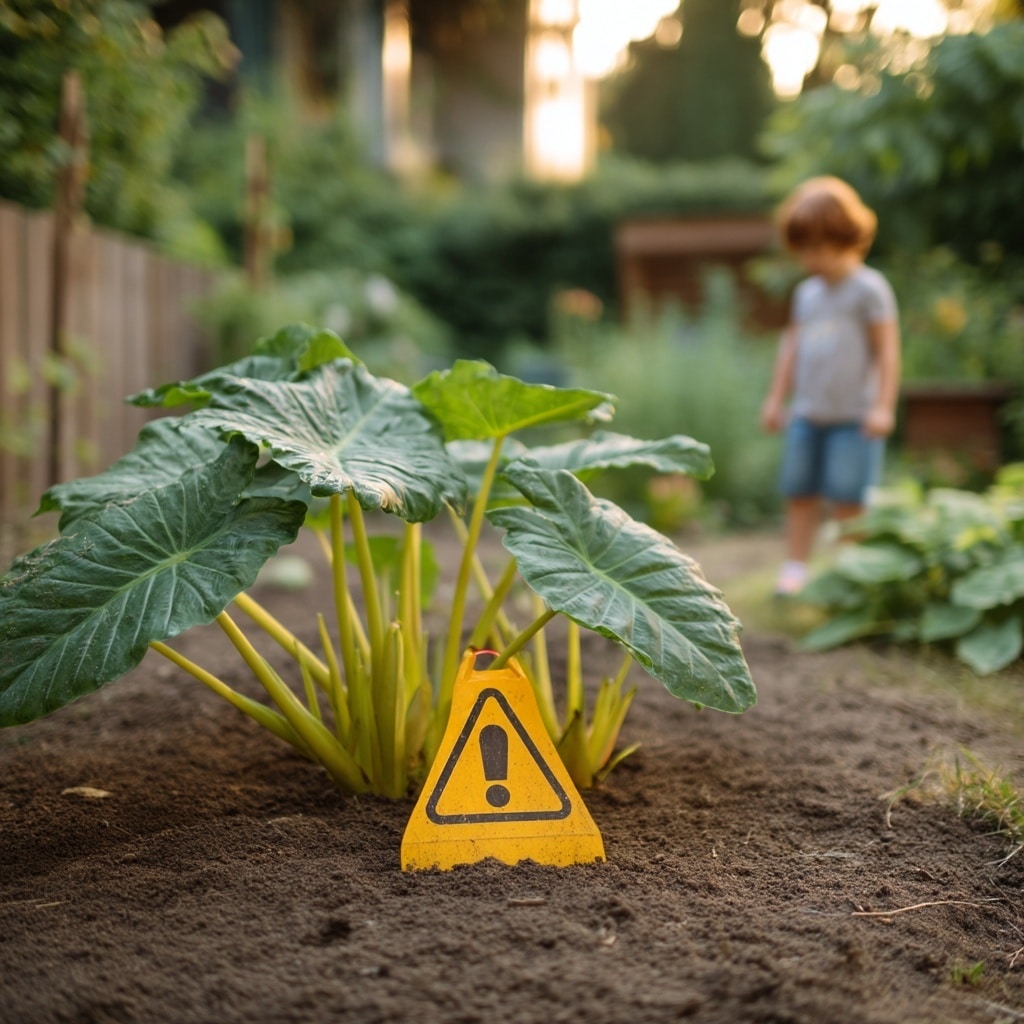
While stunning in appearance, elephant ears plants can be toxic to both humans and pets if ingested. They contain insoluble calcium oxalates, which can cause irritation and swelling in the mouth and throat.
🚫 What to Watch For:
- In humans (especially children): Symptoms may include burning sensations, mouth swelling, nausea, or drooling.
- In pets (cats and dogs): Signs of poisoning include pawing at the mouth, vomiting, or lack of appetite.
Even the sap from broken stems can cause skin irritation, so wear gloves when handling the plant—especially during pruning or repotting.
🏡 Safety Tips:
- Keep elephant ears plants out of reach of kids and animals.
- Avoid planting near pet-frequented areas or children’s play zones.
- Wash hands after handling tubers, leaves, or soil from containers.
With the right precautions, you can enjoy the beauty of elephant ears plants without the risk.
Common Problems with Elephant Ears Plants

While generally low-maintenance, elephant ears plants can face a few challenges—most of which are easy to fix with early detection and care.
🐞 1. Pests: Spider Mites
Spider mites are the most common pest for both indoor and outdoor elephant ears plants. These tiny bugs thrive in hot, dry environments and can cause:
- Yellow speckling or stippling on leaves
- Fine webbing on the undersides
- Overall leaf discoloration
✅ Solution:
- Increase humidity—spider mites hate moisture.
- Mist the leaves or use overhead watering.
- Rinse leaves with water or use an insecticidal soap if infestations persist.
2. Leaf Yellowing or Drooping
This is often caused by:
- Underwatering (dry soil)
- Too much direct sunlight, especially if moving an indoor plant outside too quickly
- Low humidity, especially indoors
✅ Solution:
- Keep soil evenly moist, never soggy or bone-dry.
- Acclimate indoor plants slowly to outdoor sun by starting in the shade for 1–2 weeks.
- Use a humidifier or pebble tray indoors to boost moisture.
By spotting signs early and adjusting care, you can keep elephant ears plants looking lush and vibrant all season long.
Conclusion
With their giant, tropical leaves and fast growth, elephant ears plants are a bold, rewarding choice for both gardens and indoor spaces. By giving them the right balance of sunlight, moisture, and warmth—and knowing how to propagate, prune, and protect them—you’ll enjoy their stunning foliage year after year.
Whether you grow them in containers or the ground, elephant ears plants bring instant impact with surprisingly low effort.

