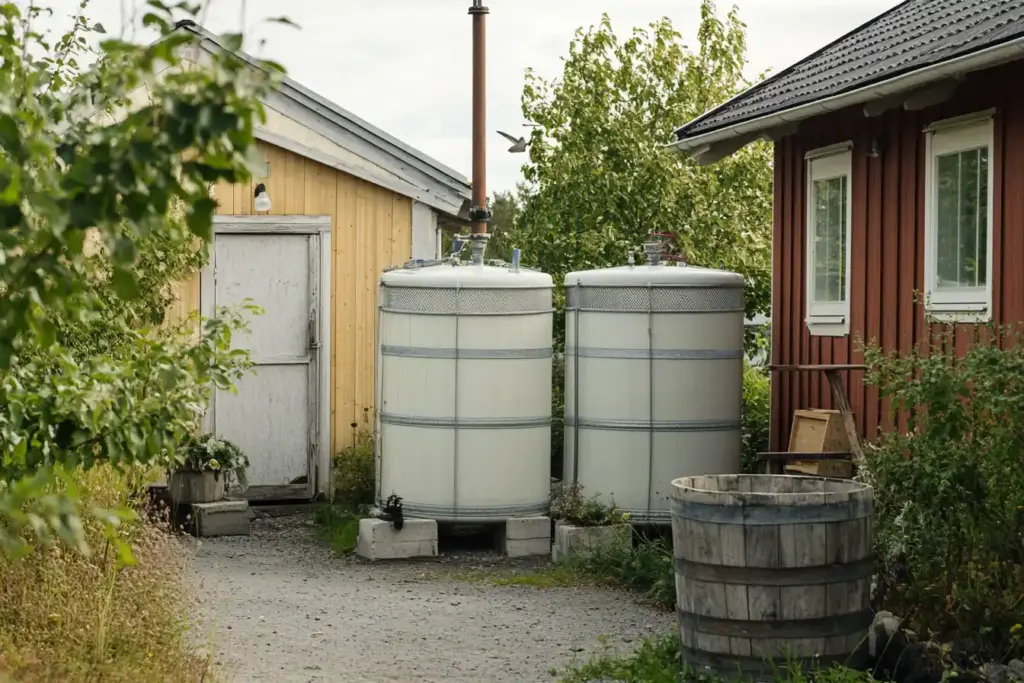
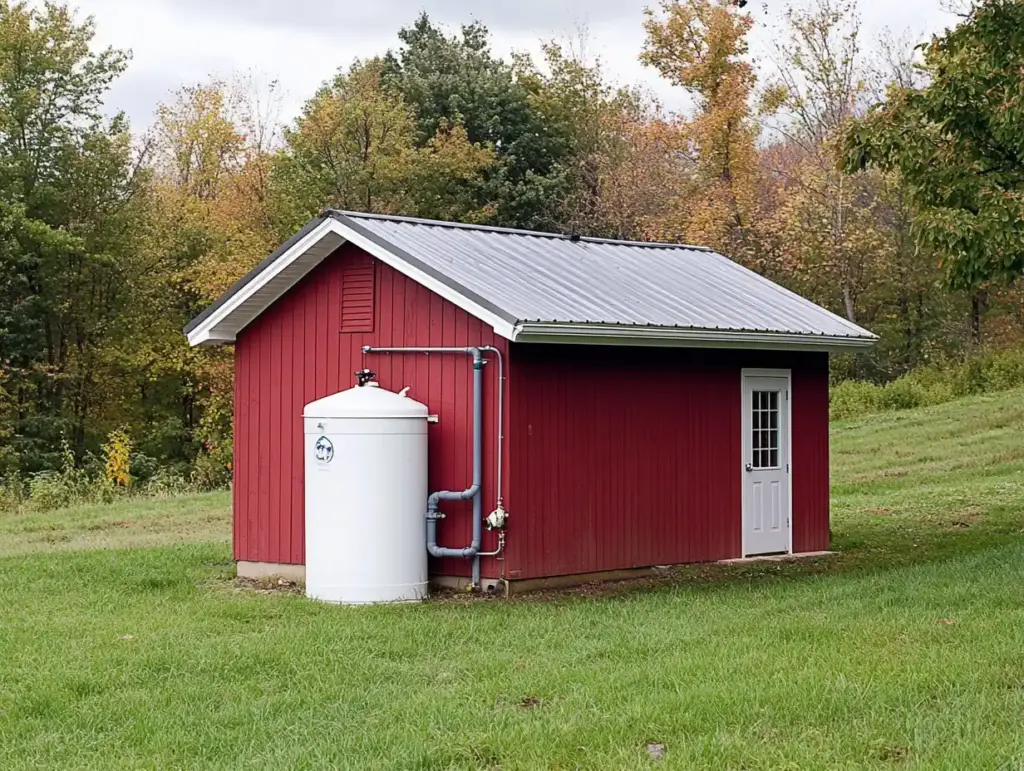
Looking for a smarter, more sustainable way to manage water use around your home or garden? Installing a rainwater collection system could be the perfect solution to reduce water waste, increase self-sufficiency, and support your garden naturally. A thoughtfully designed rainwater collection system allows you to capture and store rainwater from your roof, which can then be used to irrigate your garden, wash outdoor tools, or supplement household water use—especially during dry spells.
By reducing your reliance on municipal water, a rainwater collection system can also help lower monthly utility bills and minimize your environmental footprint. It’s one of the most effective ways to make your outdoor space more eco-friendly, especially when paired with drought-tolerant landscaping or a raised bed garden that thrives on efficient watering techniques.
This complete guide walks you through every aspect of building a DIY rainwater collection system using simple, cost-effective components like food-safe IBC totes, modified downspouts, gutter filters, and PVC piping. Whether you’re preparing for water shortages, enhancing your irrigation setup for vegetable gardening, or moving toward a more off-grid lifestyle, your system can be customized to suit your local climate and space.
So let’s get started! In the sections ahead, we’ll explore how to choose the right equipment, estimate water collection potential, prepare your site, and maintain your rainwater collection system seasonally. If you’re also interested in creating a sustainable homestead, this project fits right into your goals of eco-conscious living.
Table of Contents
💧 Main Components and Steps in the System
Water Collection Calculation
Before you start cutting pipe or hauling totes, it’s essential to understand how much water your rainwater collection system can realistically gather. There’s a simple formula used by gardeners and homesteaders alike:
Roof Square Footage × Rainfall (inches) × 0.623 = Gallons Collected
For example, if your garage roof is 1,224 square feet and you get 0.75 inches of rain, here’s what your collection looks like:
1,224 × 0.75 × 0.623 = 571.9 gallons
That’s over 570 gallons from a single modest rainfall—enough to water a large garden for days. Be sure to calculate your own roof area and average rainfall to size your storage appropriately.
Downspout Modification
Most homes are already equipped with gutters, but they don’t always drain where you want them to. To route rainwater to your storage tank, you may need to relocate or modify downspouts. In some cases, this means swapping the gutters from one side of your structure to another so the downspouts align with your collection zone—usually a discreet, shaded area near your garden or shed.
Once rerouted, the downspouts can be connected to diverters and filters that guide water safely into your storage tote.
Choosing the Right IBC Tote
The backbone of many DIY rainwater collection systems is the IBC tote—a rugged, reusable container commonly used for liquid storage. You’ll often find these on resale sites like Craigslist or Facebook Marketplace. But here’s the golden rule:
🔍 Always choose a food-grade tote.
Avoid containers that previously stored chemicals, herbicides, or non-food substances. Even a trace of toxic residue can ruin your garden or contaminate water used for animals.
Sizes to consider:
- 275 gallons
- 300 gallons (popular for transportability)
- 330 gallons
Also, pay attention to the valve thread type on your tote:
- NPS (fine thread) – compatible with standard PVC fittings
- S60X6 (coarse thread) – requires specific adapters
Preparing the Base
A full IBC tote can weigh over 2,000 pounds, so your base needs to be level and solid. Here’s how to build a sturdy foundation:
- Level the ground where the tote will sit.
- Add weed cloth to suppress vegetation.
- Lay cinder blocks in a rectangle that supports all four corners of the tote.
- Surround the area with mulch to keep weeds out and improve aesthetics.
This setup not only protects your system from rot and shifting but also improves access when performing maintenance.
Seasonal Adaptation: Downspout Diverter
In climates where temperatures dip below freezing, protecting your system from ice damage is crucial. One simple yet effective solution is installing a downspout diverter, such as a Y-connector.
This diverter allows you to switch between:
- Summer Mode – Channels water into your rainwater collection system.
- Winter Mode – Redirects water safely away from the system to prevent freezing and potential rupture.
Before winter hits, always drain your tote and pipes completely if you’re in a cold-weather region. Southern gardeners may skip this step, but for those up north, it’s a must-have.
💡 Pro Tip: Diverters come in different sizes and colors—match it to your downspout for a seamless look.
Debris Management: Filtering the Flow
Without filtration, leaves, bugs, and roof grit will clog your system over time. To keep your rainwater clean and your pipes flowing smoothly, a multi-stage filtration setup is best.
🌀 Stage 1: Gutter Strainer
Install a simple mesh strainer at the top of the downspout. It stops large debris like twigs and leaves before they enter the pipes.
🌀 Stage 2: Leaf Eater Filter
Next, install a leaf eater—a mesh-screened box that captures medium debris. Water flows into the top and exits the bottom through a connected PVC pipe. Leaves and gunk roll off the screen and fall harmlessly to the ground.
🌀 Stage 3: First Flush Diverter
This is your secret weapon for water quality.
When rain begins, it washes off dust, bird droppings, pollen, and pollutants from your roof. A first flush diverter captures that dirty initial runoff in a sealed vertical pipe. As it fills, a floating ball seals off the chamber. Once full, cleaner water bypasses the diverter and flows into your IBC tote.
This dramatically improves water quality, especially if you use the water on edibles or in hydroponic systems.
Filtration Enhancements: Making It Smarter
To make the first flush system more reliable and low-maintenance, consider adding:
- Stainless Steel Filter – Prevents blockages in the slow-release valve.
- Slow-Release Valve – Gradually drains the first flush chamber, resetting it for the next storm.
These upgrades make your system automatic and less prone to failure—ideal for busy homeowners or large setups.
Water Usage Setup: From Tank to Tap
Once your IBC tote is full, you’ll want an efficient way to access the stored water. Whether you’re gravity-feeding or using a pump, here’s a reliable setup:
- Install a hose spigot
- Use a 2” PVC adapter with a threaded bushing and a ¾” garden spigot.
- Apply plumber’s tape to all threads to prevent leaks.
- Connect the spigot to the bottom of your tote’s valve.
- Optional: Add a pump
- For uphill delivery or to increase pressure, install a ½ HP water pump.
- Ensure the pump has standard garden hose fittings for easy hookup.
- Choose based on your vertical lift height and desired GPH (gallons per hour).
With this setup, you can water raised beds, wash tools, or even top off a pond—all using free, naturally collected rainwater.
System Customization: Tailored to Your Roof and Region

Your rainwater collection system should be as unique as your property. To optimize performance:
- Match pipe and filter sizes to your roof’s square footage.
- Use longer first flush pipes for larger roof areas (to hold more debris-heavy water).
- Adjust PVC pipe diameters to handle high-flow areas, especially during heavy storms.
- In dry climates, consider adding a second or third IBC tote to increase storage capacity.
Customization ensures you’re not just collecting rain—but collecting it efficiently.
Shopping List & Trusted Resources
Here’s a summary of key components you’ll need to assemble your system:
🧰 Core Supplies:
- Food-grade IBC tote (Craigslist or local surplus)
- Gutter strainer (mesh type)
- Leaf eater filter
- First flush diverter kit
- PVC pipes and connectors (3” recommended)
- Hose spigot + adapters
- Optional: Stainless steel filter
- Optional: ½ HP water pump
🛒 Where to Buy:
- Local classifieds (Craigslist, Facebook Marketplace)
- Amazon – Wide range of rainwater harvesting kits, pumps, and filters
- Specialty retailers – Look for vendors focused on sustainable gardening or homesteading
🛍 Tip: Many kits offer bundles that include diverters, filters, and fittings. These can save you time and money if you’re just getting started.
🌧 Frequently Asked Questions About Rainwater Collection Systems
1. Is it legal to collect rainwater in my area?
Rainwater harvesting laws vary by state and country. In many regions, it’s completely legal and even encouraged. However, some local municipalities may require permits or have specific guidelines. Always check your local regulations before installing a system.
2. How safe is the water from a rainwater collection system?
Rainwater is generally clean when it falls, but it can pick up contaminants from your roof. That’s why filters—especially a first flush diverter—are essential. For irrigation or non-potable uses, the water is typically safe. For drinking, it must be treated and tested.
3. How do I keep mosquitoes out of my water storage?
Make sure your tote is sealed and use fine mesh screens on all openings. Adding a layer of vegetable oil to the surface or mosquito dunks (safe for plants) can also help control larvae.
4. Can I use the system in winter?
Yes, but in cold climates, you’ll need to winterize your system. Use a downspout diverter to bypass the collection tank and completely drain all water to avoid freezing damage. In warm regions, the system can function year-round.
5. How much does a DIY rainwater collection system cost?
Costs vary based on materials and system size. A basic setup with one tote, filters, and plumbing can run between $100 to $300 USD. Recycled materials or local deals (e.g., Craigslist for totes) can significantly lower the cost.
6. How long can I store collected rainwater?
If properly filtered and stored in a dark, cool location, rainwater can last for weeks to months. However, it’s best used regularly to avoid stagnation. Adding a simple filter before use is good practice.
7. What size IBC tote should I get?
Totes come in various sizes: 275, 300, and 330 gallons are common. Choose based on your available space and expected rainfall. Use the formula mentioned above to estimate how much water your roof can collect during a typical rain event.
Conclusion
Building your own rainwater collection system is more than just a satisfying DIY weekend project—it’s a smart, future-forward investment in sustainability, long-term water security, and greater independence from municipal resources. With the right tools, materials, and a bit of planning, your rainwater collection system can harvest hundreds—even thousands—of gallons of clean, usable water every time it rains. Imagine watering your flower garden or vegetable beds using water that costs you nothing and reduces your environmental footprint.
This guide equips you with everything you need to calculate your potential water yield, select components suited for your climate, and filter your collected rainwater for practical use. Whether you’re gardening in raised beds, maintaining a drought-resistant landscape, or simply looking to cut back on utility costs, a custom-built rainwater collection system offers efficiency, flexibility, and long-term value.
The beauty of this system lies in its simplicity and scalability. Most components—like food-grade IBC totes, downspout diverters, and basic PVC plumbing—are affordable, reusable, and easy to source at local hardware stores or online. You can build a system that serves a single garden zone or expand it into a full-yard solution over time. And if you’re combining it with other sustainable practices like no-dig gardening, you’ll create a truly low-maintenance, high-yield garden space.
So whether you’re a first-time gardener, experienced homesteader, or simply an eco-conscious homeowner, don’t let valuable rainwater go to waste. Start building your rainwater collection system today, and transform every storm into a sustainable opportunity.


