Looking to give your climbing roses the support they deserve without spending a fortune or your entire weekend? You’re in the right place. In this guide, we’ll walk through how to create an affordable trellis for climbing roses that takes less than five minutes to set up—and it’s beginner-friendly too!
Whether you’re starting your first rose garden or looking for a quick fix until your forever trellis arrives, this budget solution is sturdy, effective, and surprisingly easy to build. If you’re interested in adding structure to more of your garden, check out our tips on DIY vertical gardening ideas. Let’s turn those unruly canes into a stunning vertical display—without breaking the bank or your back.
🌿 Love gardening inspiration? Follow me on Pinterest for bold plant ideas, tips, and seasonal color!
Table of Contents
🌿 Why Climbing Roses Need Support (and How It Helps Them Thrive)
Climbing roses are some of the most eye-catching plants you can grow, especially when trained vertically. But to unlock their full potential, they need proper support—and not just for looks. A well-designed trellis helps climbing roses grow healthier, bloom more abundantly, and stay manageable in your garden.
🌟 Benefits of Growing Climbing Roses
- Saves space: Unlike shrub roses, climbers grow upward rather than outward—perfect for small gardens, patios, or fences.
- Adds vertical interest: A climbing rose trained up a wall or trellis instantly adds structure and romance to any space.
- Customizable shape: With the right support, you can train climbing roses into arches, fans, or cascades that suit your design vision.
🌱 How Climbing Roses Grow
One of the key things to understand about climbing roses is that they bloom on lateral shoots, not the long vertical canes themselves. These lateral canes grow out when the main cane is bent or trained at about a 45-degree angle. This little trick encourages the plant to send out more flowering stems—and that means more blooms for you to enjoy!
Think of it like this: a straight cane is all about growth, but a bent cane says, “Time to flower!” Supporting and gently shaping your rose with a trellis helps it reach its blooming best.
🪴 Choosing the Right Support for Your Climbing Roses
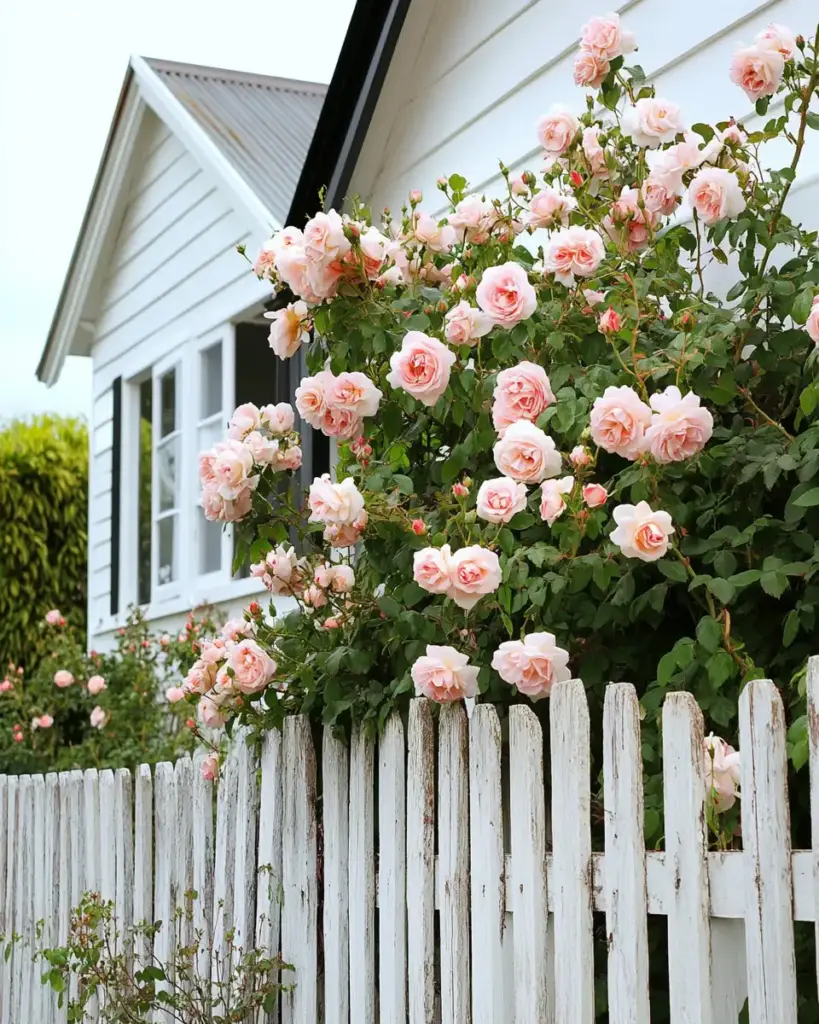
When it comes to training your climbing roses, there’s no shortage of beautiful and functional support options. The key is to choose something that fits your garden’s aesthetic, matches the rose’s growth habits, and—let’s be real—doesn’t drain your wallet.
🌐 Common Trellis Options for Climbing Roses:
- Traditional wood or metal trellises – Elegant but often pricey
- Arches and gazebos – Perfect for a dramatic effect, though they require more time and space
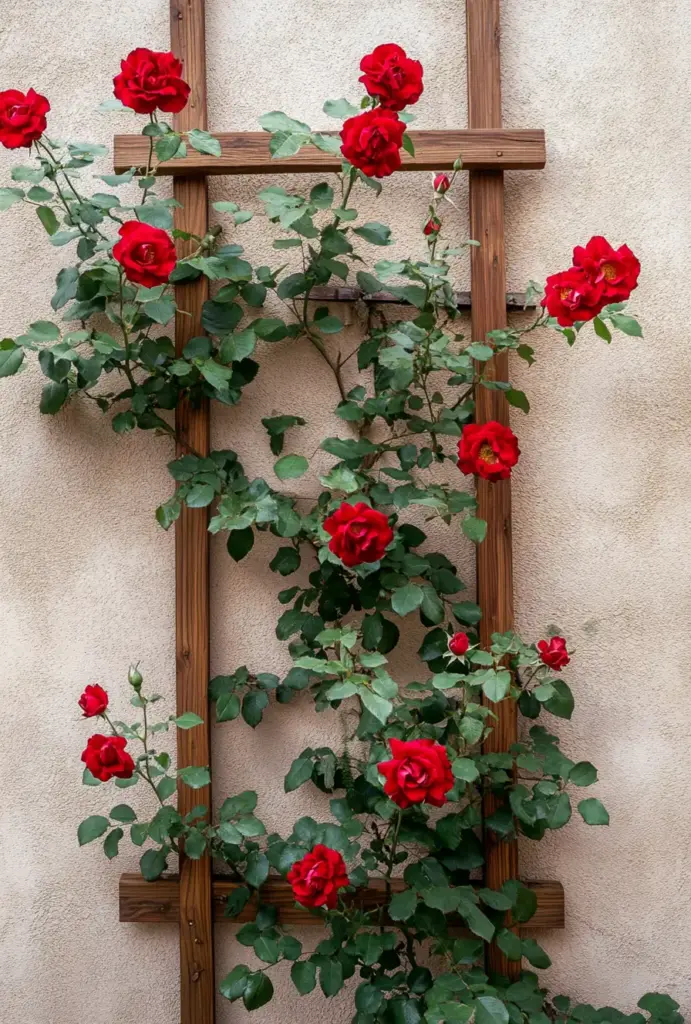
- Lattice panels – Great for walls and fences
- Tomato cages – A clever, compact hack for small roses
- Bamboo sticks – The affordable and quick solution we’ll be focusing on
💡 Why Bamboo Sticks Are a Great Temporary Trellis
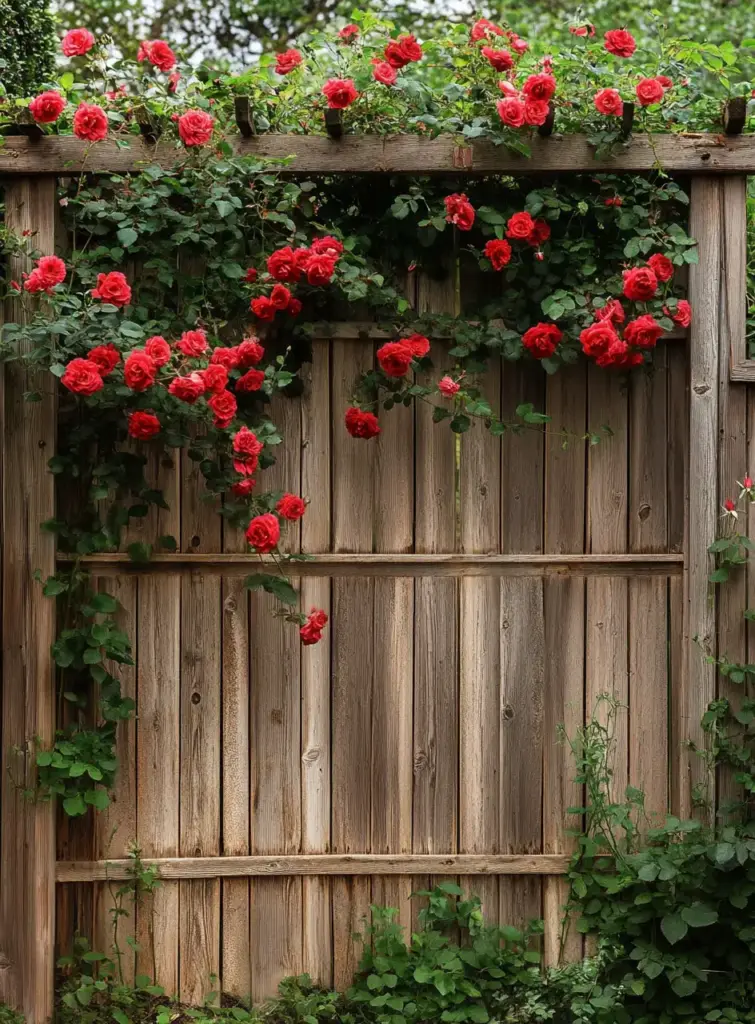
If you’re growing young climbing roses, especially in their first 1–3 years, bamboo sticks are a budget-friendly and effective choice. Not only are they lightweight and easy to work with, but they’re also available at most garden centers or even dollar stores.
Here’s why they work well for beginners and DIYers:
- Easy to install in minutes
- Naturally blends into your garden
- Cheap and replaceable
- Perfect for shaping new canes early on
Now, keep in mind: bamboo is biodegradable and won’t last forever. But that’s okay! This setup gives your rose a strong start while you plan for a more permanent structure down the line.
🧰 What You’ll Need: Materials for a DIY Bamboo Trellis
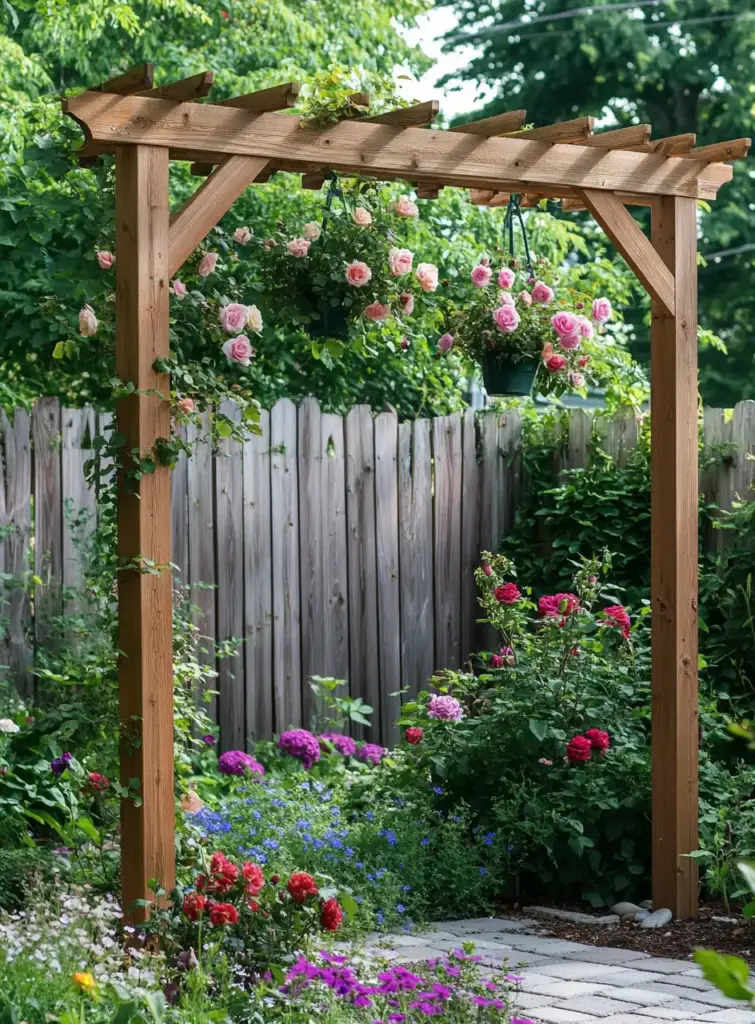
Creating a sturdy, rose-friendly trellis doesn’t require a workshop full of tools. In fact, you only need a few simple materials that you probably already have at home—or can grab for just a few bucks.
✅ Materials List:
- 2 to 3 long bamboo sticks per rose
(Aim for sticks that are at least 4 to 5 feet tall, depending on your rose’s size.) - Garden twine or jute string
(Avoid anything too thin or sharp that might cut into the canes.) - A good pair of garden scissors or shears
Optional:
- Garden gloves (to protect your hands when handling thorny canes)
- Hammer or mallet (if the ground is hard and you need to tap in the bamboo)
🛠️ Step-by-Step: How to Build a Quick Trellis for Your Climbing Roses
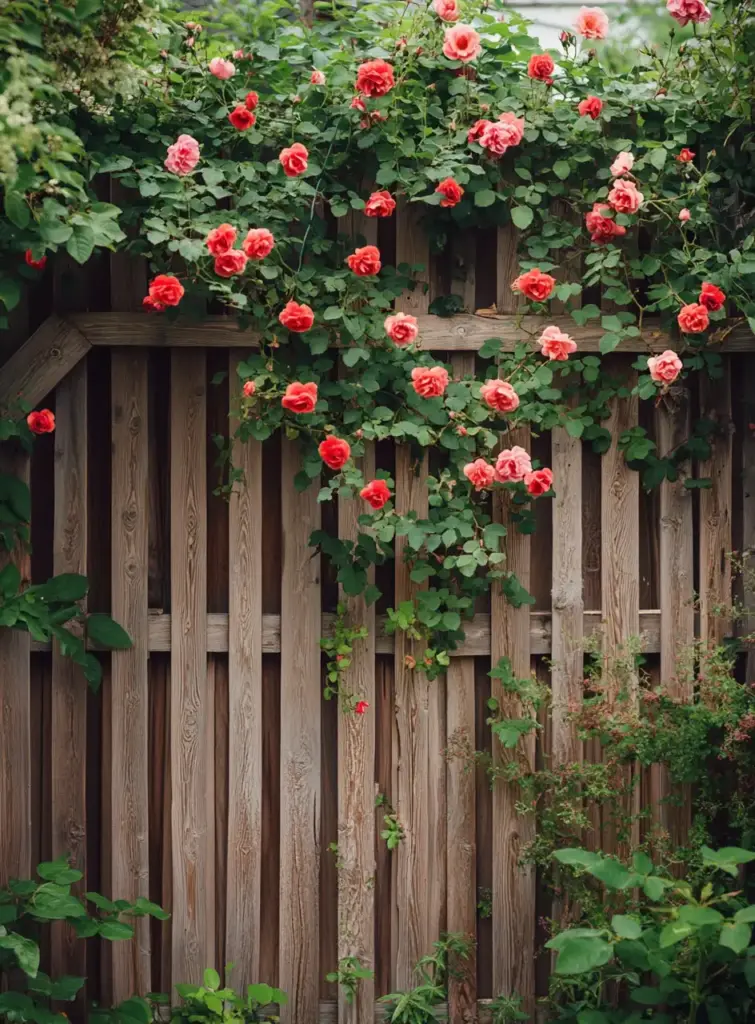
You’ll be amazed how easy this is. In less than five minutes, your roses will have a new support system—and you’ll be one step closer to a lush, blooming wall of color.
1. Place the Bamboo Sticks
Stick 2 or 3 bamboo poles into the ground, forming a loose teepee or triangle shape around the base of your rose plant. Make sure they’re deep enough to be stable—around 4 to 6 inches into the soil.
2. Tie the Tops Together
Gather the tops of the bamboo sticks and tie them tightly with your garden twine. This gives your trellis its strength and creates a natural shape for training your rose canes.
Tip: For extra support, wrap the twine several times and knot it securely.
3. Train the Rose Canes
Now the fun part—gently begin guiding your rose canes toward the bamboo frame.
- Choose canes that are thicker than a pencil—these are mature enough to train.
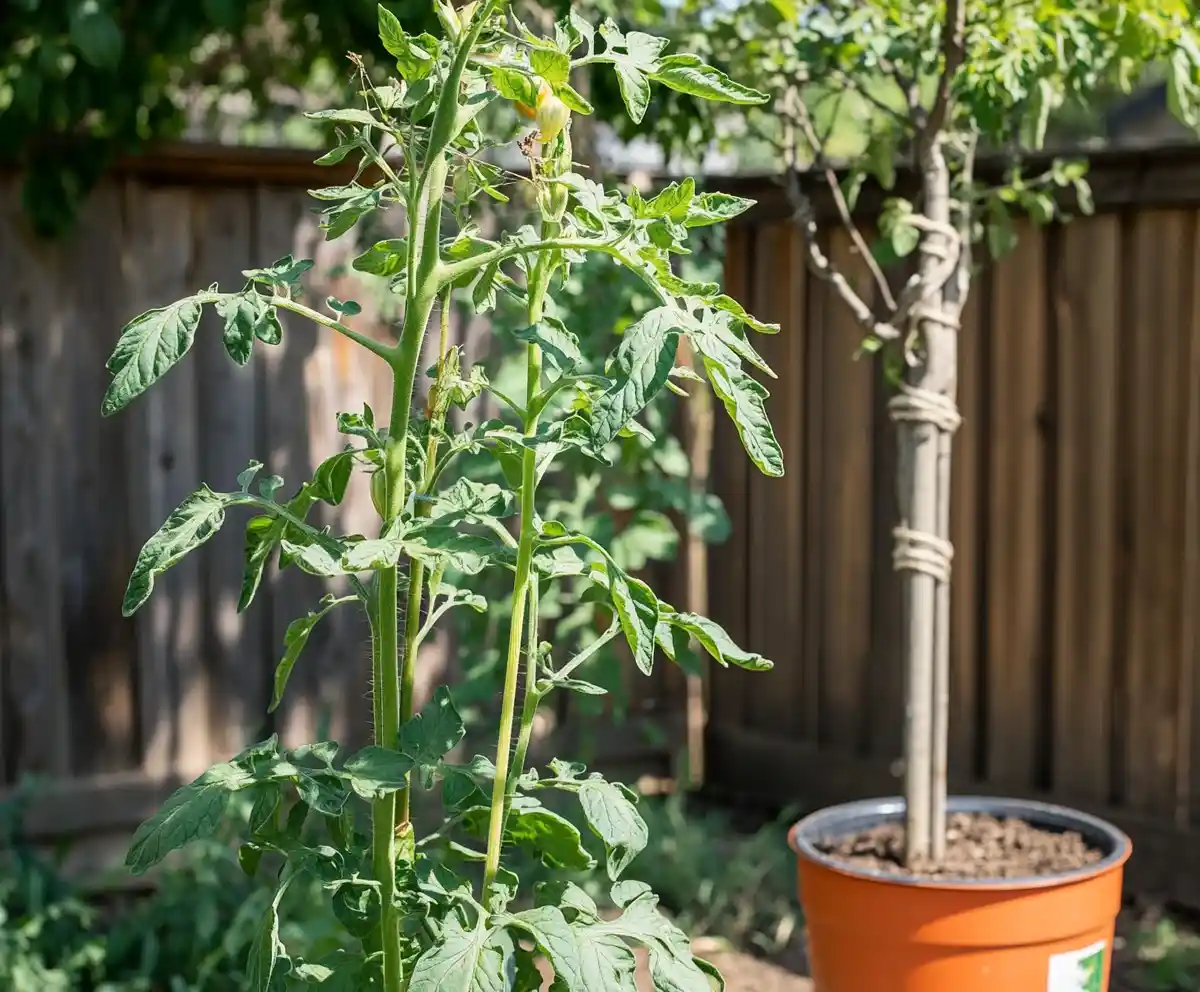
- Bend each cane at about a 45° angle, encouraging lateral shoots to grow.
- Secure each cane to the bamboo using twine, tying loosely to avoid damaging the stem.
- If a cane is too short to reach the structure, use a longer piece of twine to extend and guide it.
🌸 Pro Tip: Some rose canes are flexible and can even be gently wrapped around the trellis. Others may be stiff—take your time and be gentle to avoid breakage.
🌸 Bonus Tips for Training and Maintaining Climbing Roses on a DIY Trellis
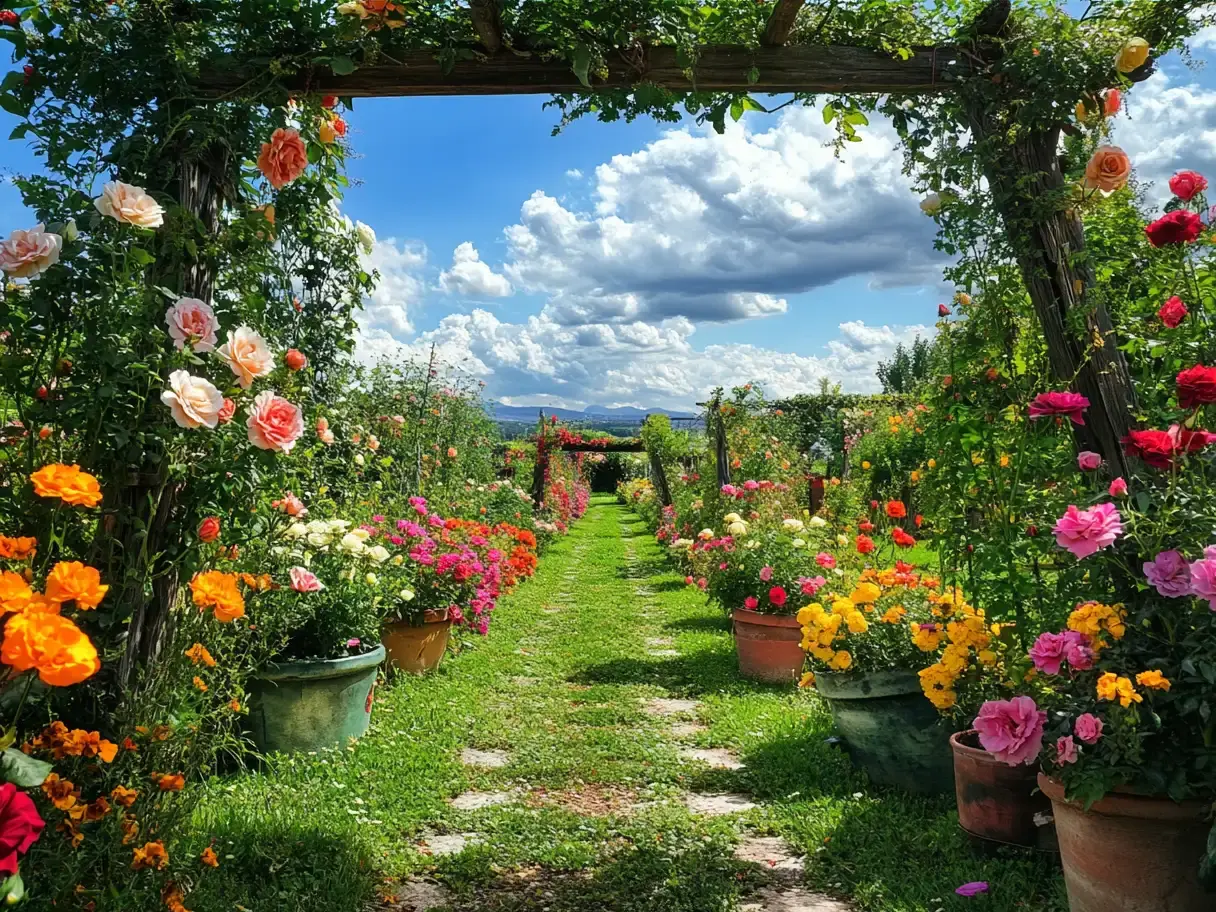
Once your trellis is up and your rose is gently tied, it’s not a set-it-and-forget-it situation. Climbing roses grow quickly, especially during the warmer months, so a little attention goes a long way in keeping your setup neat, healthy, and blooming beautifully.
🧼 1. Regularly Check Ties
As the rose grows, loosen or adjust the twine so it doesn’t cut into the stems. What fit well in spring might be too tight by summer.
🌿 2. Prune with Purpose
Each season, prune:
- Dead or diseased canes
- Canes that grow away from your desired shape
- Spent blooms (deadheading encourages repeat flowering)
Also, don’t be afraid to retrain new canes that pop up—guiding them early makes shaping easier later.
💪 3. Reinforce as Needed
Bamboo is strong, but not indestructible. If your garden faces high winds or heavy rains, check your trellis occasionally for stability. Reinforce with extra twine or swap in fresh sticks as needed.
✅ Seasonal Tip: Bamboo trellises often last 1 to 3 years, making them a perfect temporary solution until your rose reaches full size or you’re ready for a permanent structure.
💐 4. Encourage Lateral Growth
Remember, blooms come from lateral shoots—those little side branches that grow when the main cane is bent. Keep training new long canes at a 45-degree angle to keep flowers coming.
🌟 Final Thoughts: A Beautiful Garden Doesn’t Have to Break the Bank
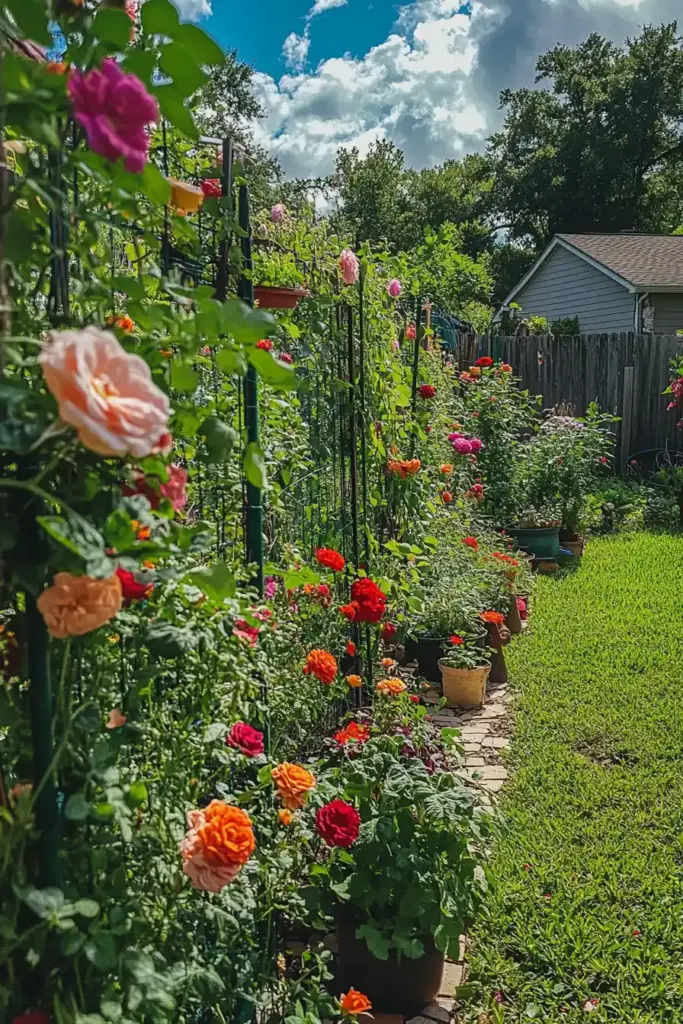
Creating an affordable trellis for climbing roses doesn’t have to involve a big budget or complicated tools. With just a few bamboo sticks, some twine, and a bit of care, you can set your roses up for success—fast.
This simple structure supports healthy growth, encourages more blooms, and helps shape your climbing roses into the stunning centerpiece they’re meant to be. For more quick garden upgrades, check out our tips on budget-friendly hillside landscaping or explore the benefits of low-maintenance ground cover plants.
Whether you’re a beginner or just looking for a quick fix, this easy DIY trellis is a game-changer in the garden. So go ahead—grab those bamboo sticks and give your roses the support they deserve. Your garden (and your wallet) will thank you.
🌹 Frequently Asked Questions About Climbing Roses & Trellises
What kind of trellis do climbing roses need?
Climbing roses thrive on a sturdy yet flexible structure that allows their canes to be gently tied and trained. A fan-shaped or teepee-style bamboo trellis works great for young plants, while mature climbers may need a reinforced wood or metal frame for long-term support. Be sure the trellis is tall enough and anchored securely into the ground.
When should I plant climbing rose seeds?
The best time to plant climbing rose seeds is in late winter or early spring, after stratifying the seeds. For better results, many gardeners prefer to start with young rose plants instead. If you’re just starting your rose garden journey, explore our post on continuous-bloom clematis trellises for complementary climbers to pair with your roses.
How do I choose the right trellis for my garden?
When selecting a trellis, consider your rose’s growth stage, the space available, and your garden’s overall style. A bamboo structure offers a minimalist and cost-effective solution, while a wooden lattice or arched trellis can add height and elegance. Not sure what fits your space? Our guide on hillside garden structures has ideas that work beautifully with climbing plants.
How do you secure climbing roses to a trellis?
Use soft garden ties, cloth strips, or twine to loosely attach the canes to the trellis without damaging the stems. Begin by training the canes horizontally or at a 45° angle to encourage side shoots and more blooms. Learn more about shaping roses in our step-by-step DIY trellis guide.

