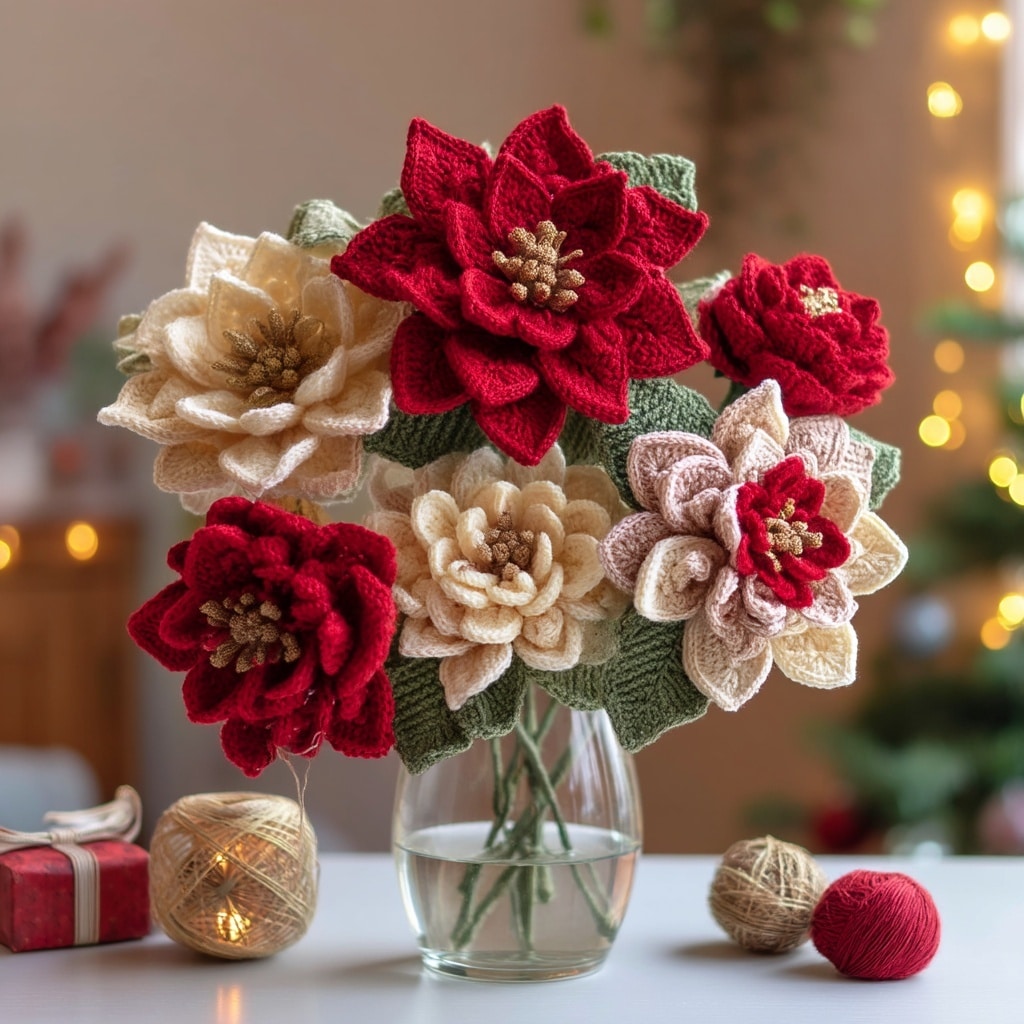
Poinsettia flower crafts bring the beauty of Christmas blooms into your home without ever wilting. With this crochet bendable poinsettia pattern, you can create a realistic, flexible flower that stays bright and elegant all season long. The bendable wire design allows you to shape the petals and leaves for a natural, lifelike appearance—perfect for holiday centerpieces, wreaths, or handmade gifts.
Crocheting a poinsettia flower isn’t just festive—it’s an enjoyable project for beginners and seasoned crafters alike. Using simple stitches and a few basic materials, you’ll learn how to crochet each petal, leaf, and the flower’s signature golden center. Once complete, this bendable poinsettia will add warmth and charm to your winter décor year after year.
Table of Contents
Materials Needed
To create your crochet poinsettia flower, gather a few simple supplies. These materials will help ensure your finished bloom is both flexible and realistic:
- Yarn: Red, green, and yellow (cotton or acrylic, medium weight)
- Crochet Hook: Size 2.5 mm–3 mm, depending on yarn thickness
- Floral Wire: Thin and flexible, for shaping petals and leaves
- Tapestry Needle: For weaving in ends and assembling pieces
- Wire Cutters & Scissors
- Glue (optional): To secure the wire tips or center beads
- Beads or Yellow Yarn: For the flower’s signature yellow center
💡 Tip: If you want your poinsettia to have extra shimmer, use metallic yarn for the red petals—it gives a festive glow that looks amazing under holiday lights.
Crocheting the Leaves
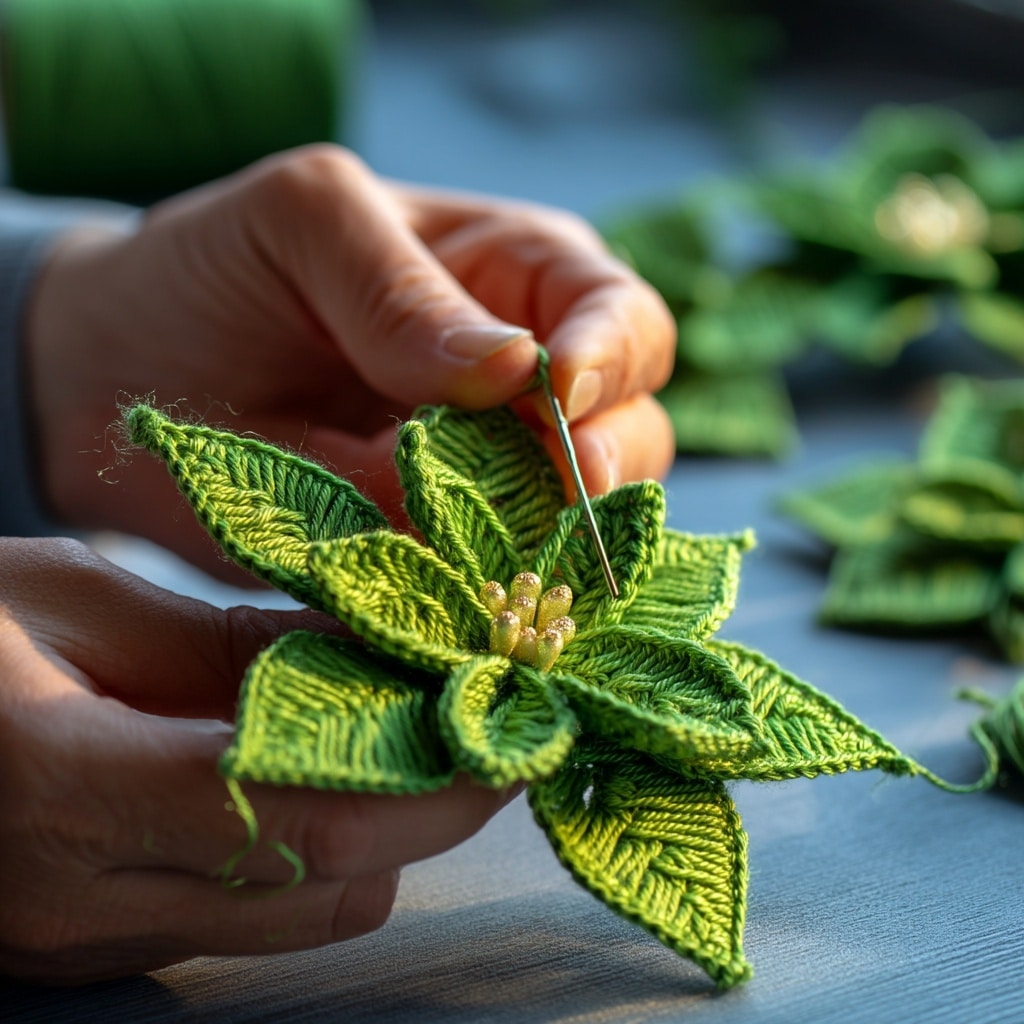
The deep green leaves are what make a poinsettia flower look lush and full. These leaves provide the perfect contrast to the bright red petals, creating that classic holiday look.
Steps:
- Start with a magic ring and chain 10.
- Work single crochets along the chain to form the leaf base.
- On your way back, use half-double crochets and double crochets to widen the leaf.
- Once both sides are complete, slip stitch into the first chain to close.
- Insert a short piece of floral wire along the center vein before fastening off—this makes the leaf bendable and helps you shape it naturally later.
Pro Tip: Make at least 4–6 leaves in varying sizes to give your crochet poinsettia a more realistic and layered appearance.
Small Petal Construction
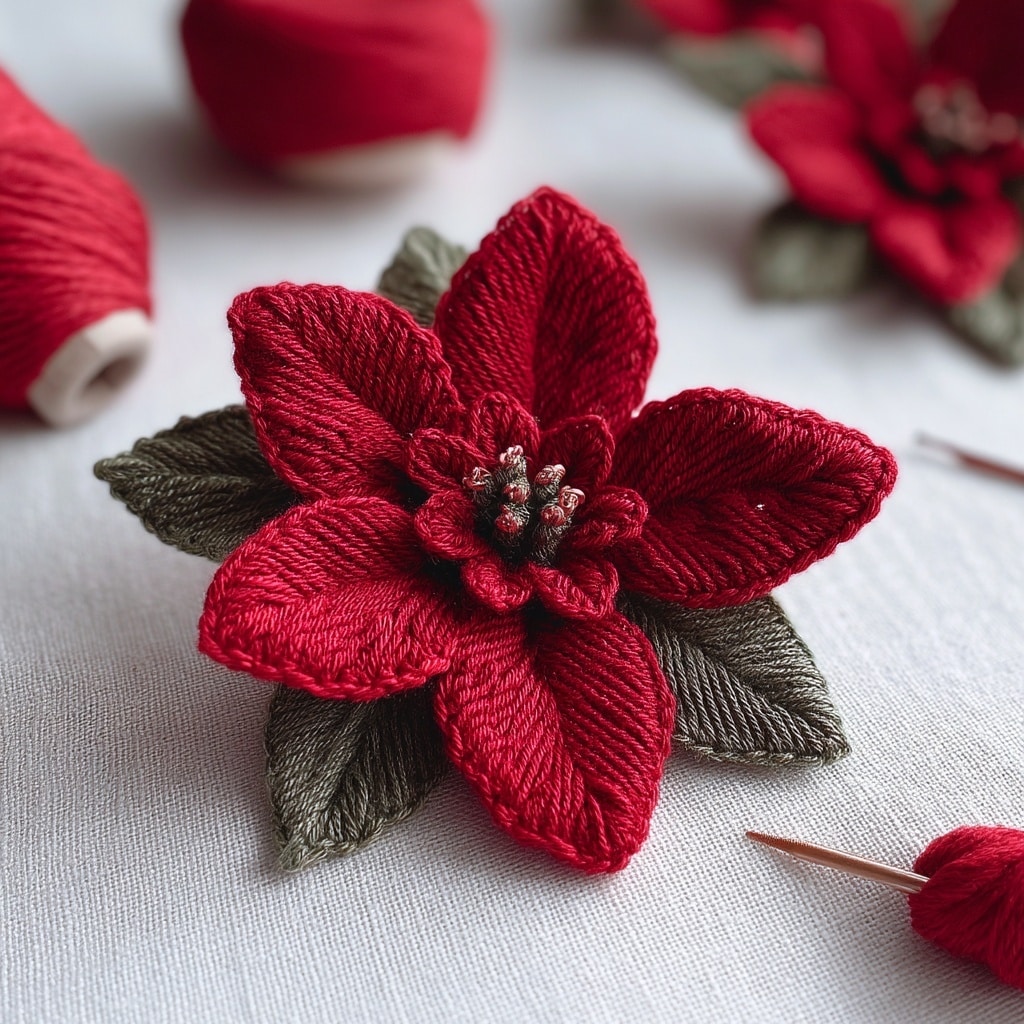
The bold red petals are the heart of the poinsettia flower, giving it its striking festive look. These smaller petals form the inner layer of the bloom, adding depth and dimension.
Steps:
- Begin with a magic ring and chain 8.
- Crochet single and half-double stitches to build the petal’s base.
- Work double crochets toward the tip to give the petal its pointed shape.
- Mirror the same stitch pattern on the opposite side of the chain and slip stitch to close.
- Before fastening off, insert a thin wire through the middle and twist both ends to secure it in place.
Make about 5–6 small petals. The bendable wire lets you gently curve each one for a more natural, layered flower look.
Large Petal Construction
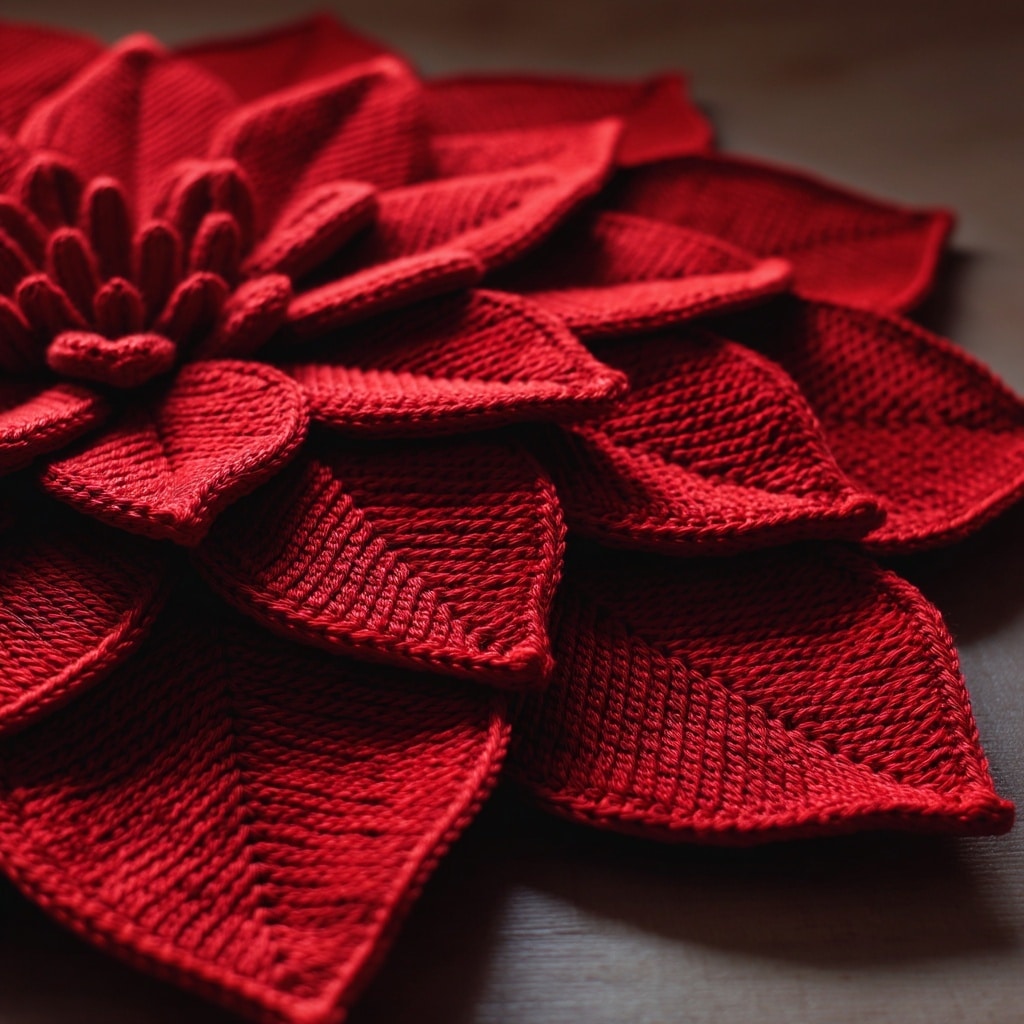
The large outer petals give the poinsettia flower its signature full and dramatic appearance. These petals frame the smaller ones and bring the whole flower to life with vibrant depth.
Steps:
- Chain 10–12 stitches to begin the petal base.
- Work single crochets for the first two stitches, then switch to half-double and double crochets toward the center to build height.
- Continue using treble crochets near the tip for a longer, pointed end.
- Mirror the stitches along the opposite side of the chain to complete the shape.
- Insert a longer piece of floral wire down the center before fastening off, ensuring it extends slightly from the bottom to attach later.
Create 5 large petals in total. Once shaped, bend each slightly backward—this gives the poinsettia its realistic layered bloom.
Making the Flower Center
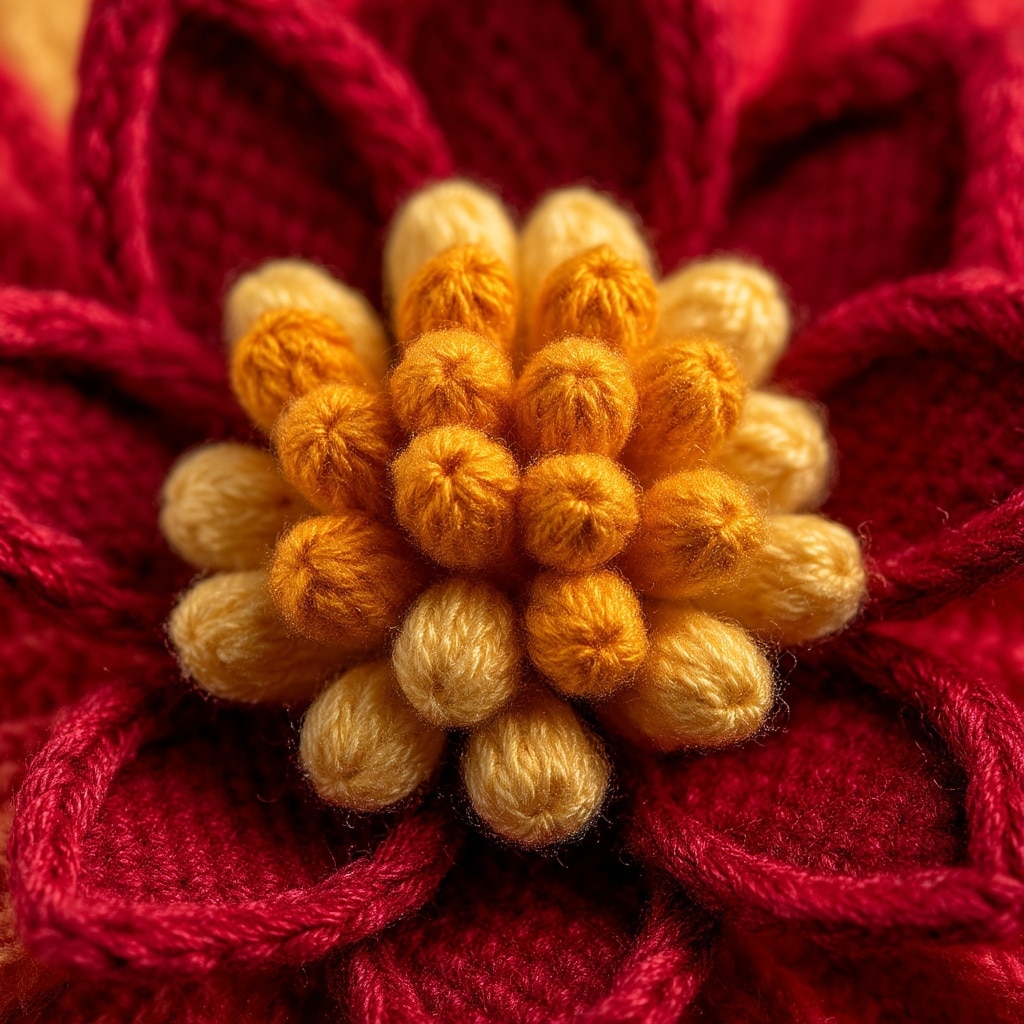
The center of the poinsettia flower adds a beautiful finishing touch that mimics the real plant’s tiny yellow buds. You can choose between a simple crocheted design or small beads for a more elegant effect.
Option 1: Crochet Center
- Use yellow yarn and make a magic ring.
- Crochet 6 single crochets into the ring and pull tight.
- Slip stitch to close and leave a long tail for sewing.
- Make 3–4 small circles and attach them closely together to form a cluster.
Option 2: Beaded Center
- Thread 3–5 yellow beads onto floral wire.
- Twist the ends together, leaving a small stem.
- Use a bit of glue or yarn wrapping to secure the base.
This golden centerpiece creates a realistic contrast against the red petals and adds festive brightness to your crochet poinsettia.
Assembly Instructions
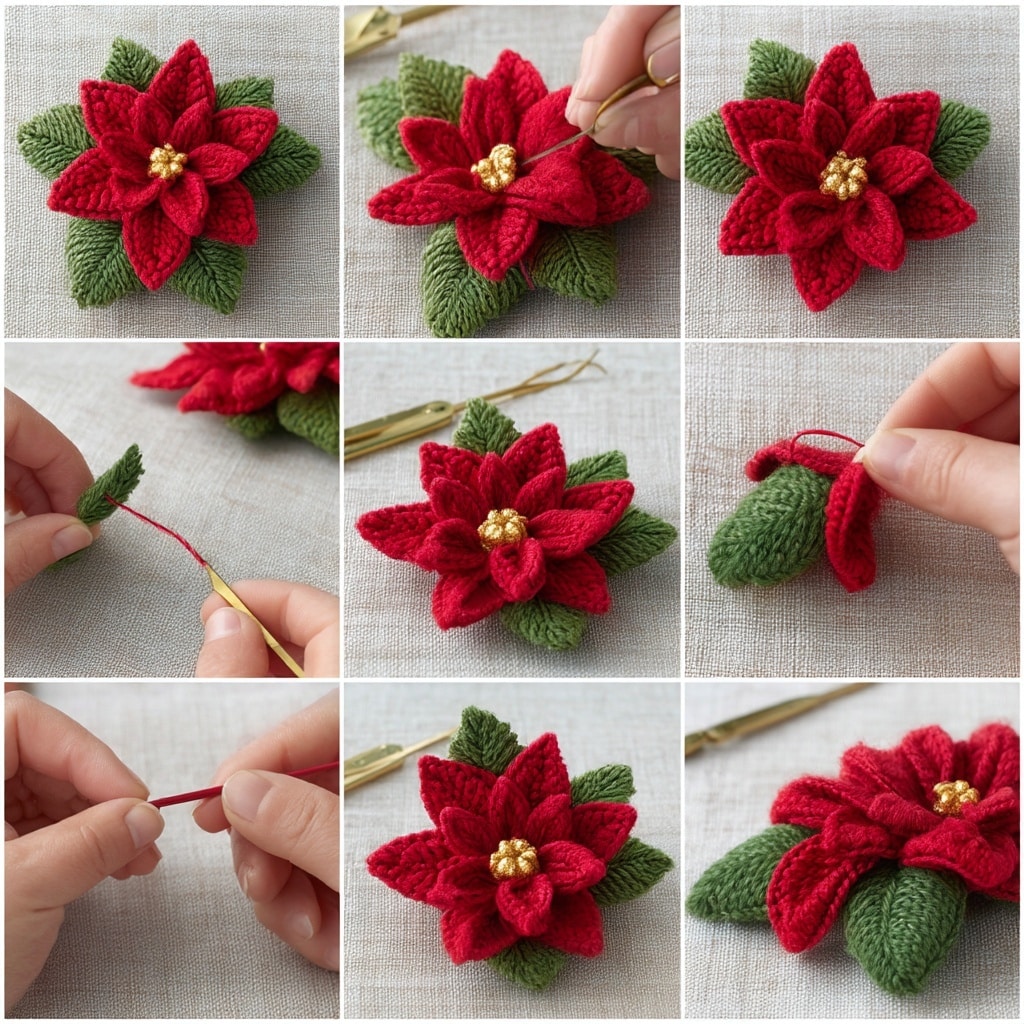
Now that you have all the parts ready, it’s time to bring your poinsettia flower to life. The assembly process is simple but crucial for achieving that realistic, layered effect.
Steps:
- Start by arranging the large petals in a circular pattern. Overlap them slightly for fullness and secure the bases together by twisting the floral wires.
- Add the small petals on top of the large ones, spacing them evenly to create a natural layered look.
- Next, attach the leaves beneath the petals, adjusting their angles so they peek through the flower’s edges.
- Place the center cluster (crocheted or beaded) right in the middle, sewing or gluing it securely in place.
- Twist all the wire ends together to form a sturdy stem, then wrap it with green floral tape or yarn to finish neatly.
💡 Tip: Gently bend the petals and leaves until you achieve the perfect lifelike shape.
Final Touches & Finishing Tips
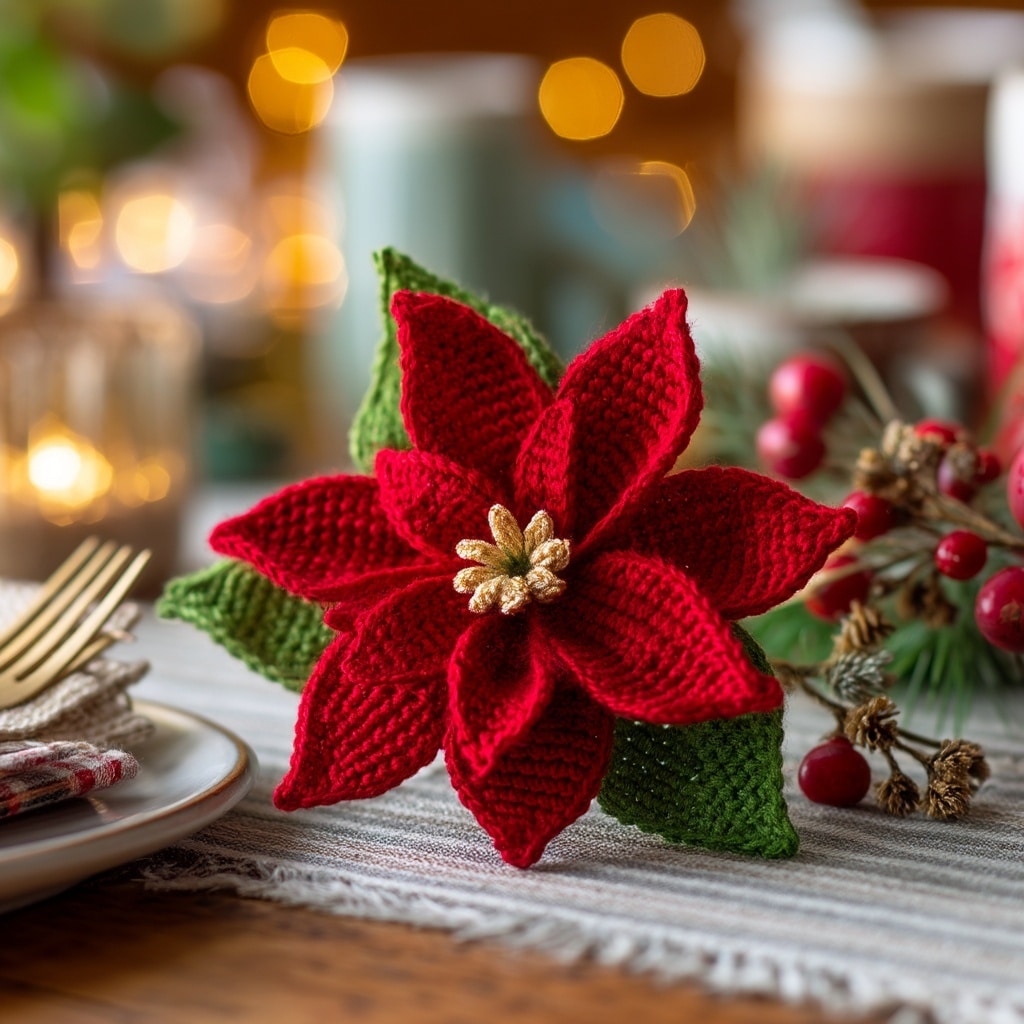
Once your poinsettia flower is assembled, it’s time to add those little details that make it look truly lifelike and professional.
Finishing Ideas:
- Shape & Adjust: Gently bend each petal and leaf using the floral wire until the flower looks balanced and natural.
- Add Gloss: For a festive finish, lightly brush the petals with clear craft glue and sprinkle a fine shimmer or glitter for a holiday sparkle.
- Stem Enhancement: Wrap the entire stem with green floral tape for a smooth, realistic texture.
- Display Options: Arrange several poinsettias together in a vase, attach them to a wreath, or use them as decorative toppers for Christmas gifts.
✨ Tip: A mix of red and cream-colored poinsettias adds beautiful contrast when displayed together, giving your décor a stunning handmade charm.
Conclusion

Creating your own poinsettia flower through crochet is a joyful and festive way to add handmade warmth to your holiday decorations. With its bendable petals, realistic design, and vibrant color, this project beautifully captures the charm of the traditional Christmas bloom. Whether you make one as a centerpiece or several for a winter bouquet, each poinsettia will bring lasting cheer to your home—year after year.
For more creative holiday projects, you can also check out articles like Crochet Snowflake Ornaments and DIY Yarn Christmas Wreaths on your site to keep the seasonal inspiration flowing.

