If you’ve ever stared at your climbing rose, wondering how to support those beautiful, lanky canes without spending a small fortune — you’re in the right place. Whether you’re a beginner gardener or a seasoned rose enthusiast, creating an affordable trellis for climbing rose plants doesn’t have to be time-consuming or costly. In fact, you can set one up in less than five minutes using just a few simple tools you might already have on hand.
This quick DIY guide will walk you through an easy, budget-friendly trellis solution that not only supports your roses but also encourages them to bloom more abundantly. With just bamboo sticks, twine, and a pair of scissors, you’ll be amazed at how effective — and surprisingly sturdy — this simple structure can be.
Why Climbing Roses Need Support
Climbing roses are a stunning addition to any garden — offering height, drama, and an almost magical feel as they stretch upward across walls, fences, or archways. But unlike true vines, climbing roses don’t cling or wrap on their own. That means they need guidance and support to grow in the direction you want.
One of the key tricks to getting your climbing roses to bloom more profusely is how you train their canes. While it may sound technical, it’s really just about angle. When you bend a rose cane to about a 45-degree angle, the plant is triggered to send out lateral shoots — and those are the parts that actually flower.
Here’s a quick breakdown:
- Vertical canes = fewer blooms
- Angled or horizontal canes = more lateral shoots → more blooms
So not only does a trellis give your roses structure, but it also plays a vital role in increasing flower production. That’s why even a temporary, low-cost setup can make a big impact in your garden.
Affordable Trellis Options for Climbing Roses

When it comes to supporting your climbing roses, you don’t need to splurge on expensive garden structures. There are plenty of budget-friendly trellis options that get the job done — especially in the early years of your rose’s growth.
Here are a few affordable (and clever!) solutions:
🌿 Bamboo Sticks
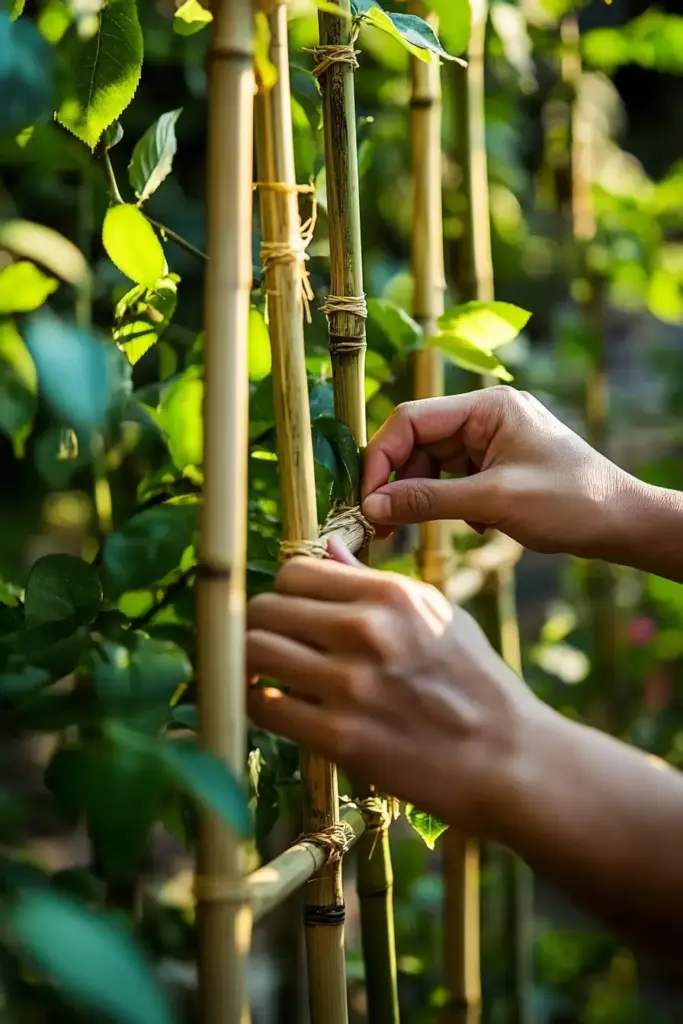
Lightweight, inexpensive, and easy to find at garden centers or even dollar stores. They work wonderfully for the first 1–3 years of a rose’s life. Over time, bamboo may weather and break down, but it’s perfect for establishing shape early on.
🍅 Tomato Cages
These round cages aren’t just for vegetables. Turn them into makeshift trellises by weaving your rose canes through the rings or tying them with twine. They’re especially helpful in smaller garden spaces.
🪵 Other Low-Cost Materials
You can also get creative with:
- Wooden garden stakes
- Reclaimed wood lattice panels
- Plastic trellis kits
💡 Tip: These DIY options work best as temporary structures. As your climbing rose matures and grows taller, consider upgrading to a more permanent arch, fence, or metal trellis.
By using these affordable tools early on, you’ll give your roses the head start they need to grow strong — while keeping your gardening budget in check.
Step-by-Step Guide to Building an Affordable Rose Trellis

Ready to build your own climbing rose trellis in just minutes? Here’s exactly how to do it using simple materials — no fancy tools, no stress.
🧰 What You’ll Need:
- 2–3 long bamboo sticks per rose plant
- Garden twine or soft plant ties
- A pair of scissors
🛒 Pro tip: You can often find these items at garden centers, dollar stores, or online for under $10 total.
🛠️ Instructions:
1. Place the Bamboo Sticks
Insert two or three bamboo sticks firmly into the ground, forming a loose triangle or teepee shape around the base of your rose. Angle them slightly outward to give the plant space to grow.
2. Tie the Tops Together
Using twine, tie the tops of the bamboo sticks together securely. This creates the framework for your rose to climb and adds stability.
3. Train the Canes
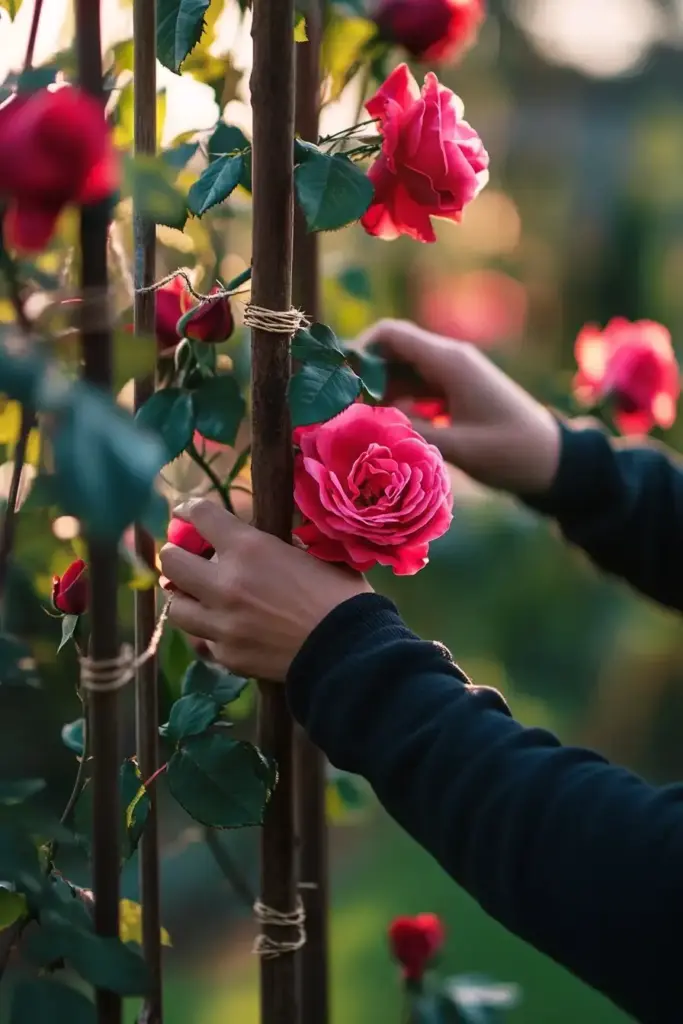
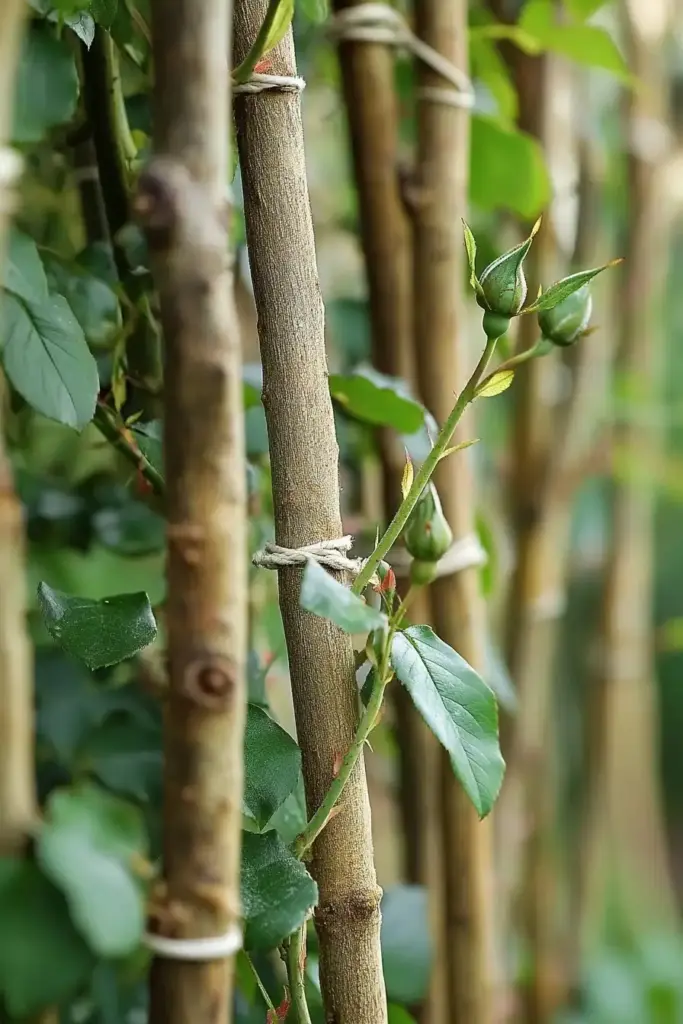
Gently select rose canes that are thicker than a pencil — these are usually the strongest growers. Begin to bend them at a 45-degree angle, and tie them to the bamboo using twine.
4. Be Gentle
Some rose canes are very flexible and can be wrapped or gently twisted around the frame. Others might be stiff — don’t force them! Use longer lengths of twine to guide them into place without breaking or damaging the plant.
5. Step Back and Adjust
Once all the canes are supported, take a step back and adjust as needed. You want the rose to look natural, with room to breathe and space to grow new shoots.
This entire setup takes less than 5 minutes and gives your climbing rose immediate structure and bloom potential. Plus, it’s totally beginner-friendly and doesn’t require any drilling, hammering, or fancy hardware.
Final Tips for Training Your Climbing Rose

Before you wrap up your DIY trellis project, here are a few important things to keep in mind:
- Take your time. Training rose canes isn’t a race. Go slow, especially with stiff canes that can snap easily.
- Safety first. Wear gloves and use caution — thorns can sneak up on you!
- Be flexible. Some canes won’t be long enough to bend perfectly yet. Use longer twine to gently guide them until they grow more.
- Check regularly. As your rose grows, continue adjusting the ties and supports to encourage more lateral shoots and prevent damage.
If you’re more of a visual learner, it can really help to watch a demonstration. Consider checking out video tutorials online or follow gardening creators on social media who show the process in real-time.
With this low-cost setup, your climbing roses will be well on their way to becoming a vertical showstopper — all without breaking the bank.
🌸 Conclusion
Supporting your roses doesn’t have to be complicated or expensive. With this quick and affordable method, you’ve given your climbing rose the structure it needs to thrive, bloom, and beautify your garden — in under five minutes! Whether you’re just starting your rose journey or looking for a temporary fix, this DIY trellis is a smart, simple solution that works.


