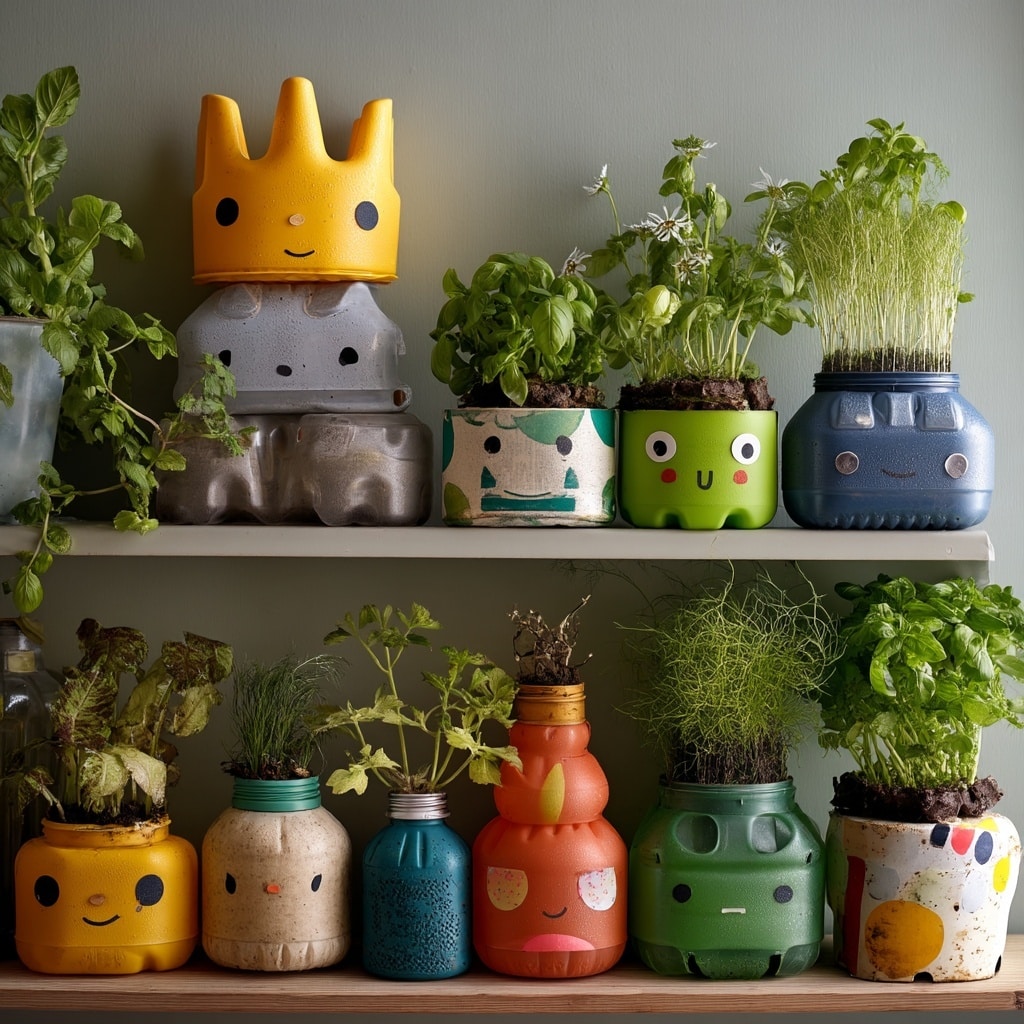
DIY planters are more than just a budget-friendly gardening idea—they’re a creative way to reduce waste and breathe new life into everyday items. With a little imagination and a few supplies you probably already have at home, you can turn empty plastic bottles, cans, or jars into beautiful homes for your plants. This project isn’t just practical—it’s a hands-on activity that’s perfect for getting kids involved in sustainable gardening, especially around Earth Day or any time you want to give back to the planet. Plus, it’s a fantastic way to brighten up your garden, patio, or windowsill with something uniquely yours.
Table of Contents
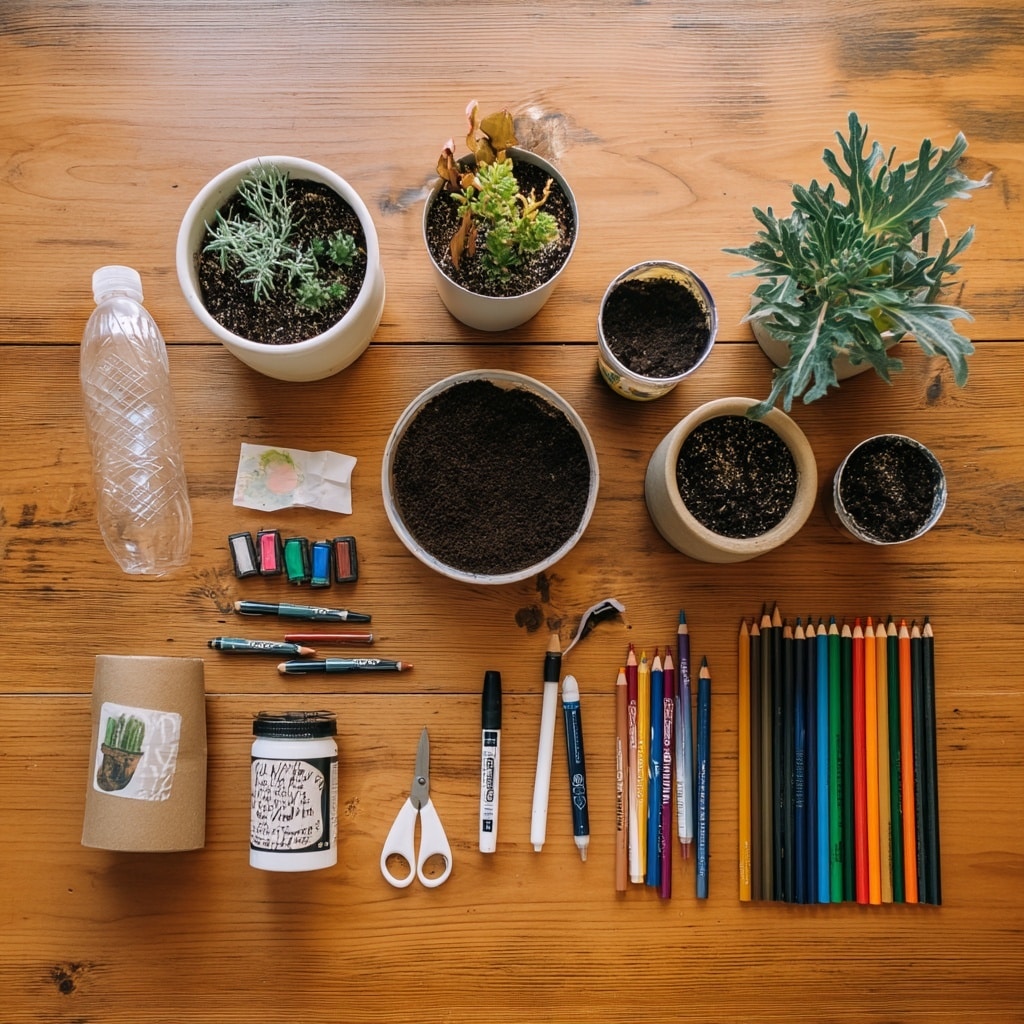
What You’ll Need for DIY Planters
One of the best things about making DIY planters is how accessible it is. You don’t need fancy tools or expensive supplies—just a few household items and a little time. Here’s everything you’ll need to get started:
🔧 Materials:
- 1 empty plastic soda bottle (1-liter or 2-liter size works best), cleaned and dried
- Sharp scissors or a craft knife
- White opaque paint (matte finish recommended)
- Paintbrush
- Permanent black marker (like a Sharpie)
- Colored markers, pencils, or paint pens for decorating
- Potting soil
- Seeds or a small potted plant (herbs, succulents, or flowers work great)
♻️ Tip: You can substitute plastic bottles with tin cans, yogurt containers, or even broken mugs for other DIY planter variations.
Preparation Before Planting
Before you begin assembling your DIY planters, it’s important to get your workspace and materials ready:
- Rinse and dry your container. Make sure there’s no residue left that could harm your plant.
- Cut your planter shape. Carefully cut off the top of the bottle, then shape the edges however you like. Think animal ears, crown tips, or simple round pots.
- Sketch your design. Use a black marker to outline any design you want to cut or paint.
- Paint your base. Apply a white base coat for a clean background. Two coats work best, with a few hours of drying time in between.
Let the final coat dry completely—ideally overnight—before moving on to decorating.
How to Make and Decorate Your DIY Planters
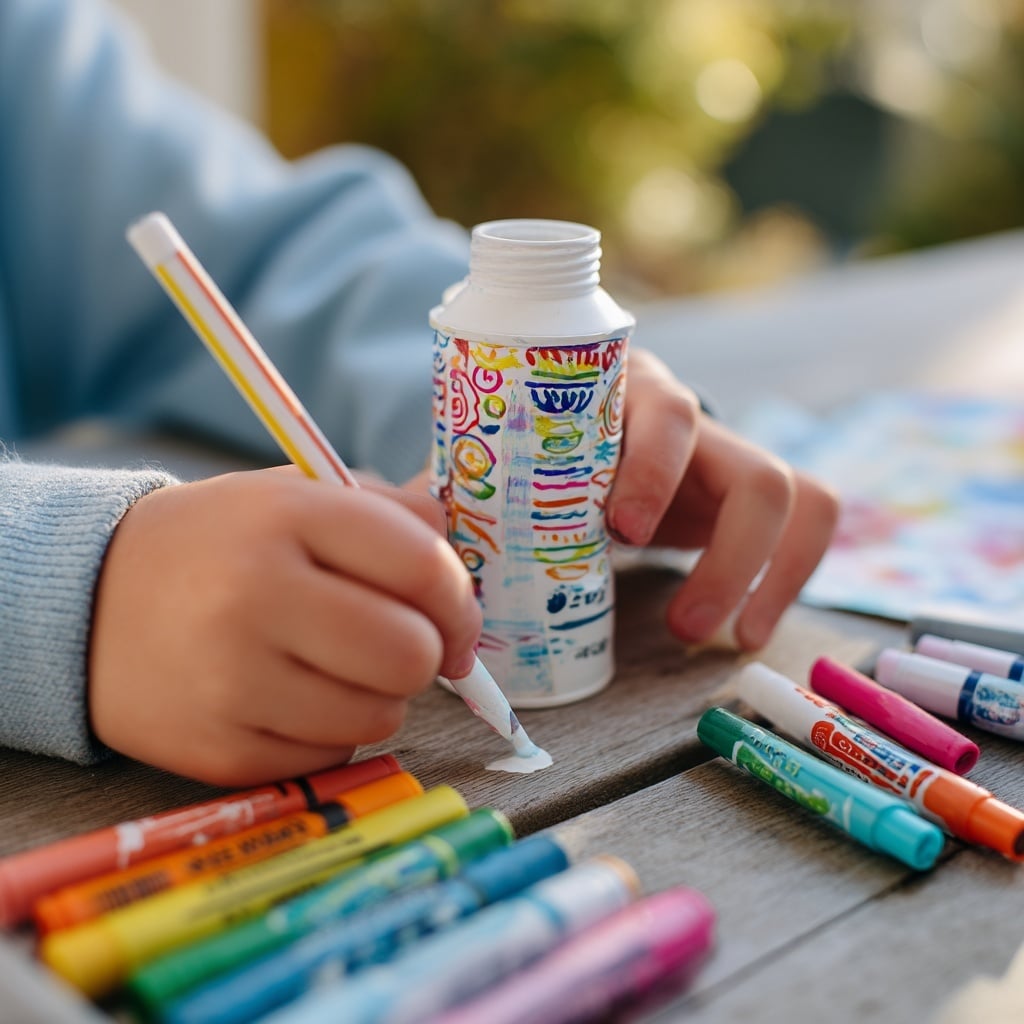
Now that your materials are prepped and your container is ready, it’s time to turn it into a beautiful, one-of-a-kind DIY planter. Whether you’re making this solo or with kids, the steps below are easy to follow and leave plenty of room for creativity.
🪚 Step 1: Shape Your Planter
- Use scissors or a craft knife to cut your bottle or container into your desired shape.
- Some fun ideas:
- Animal-themed: Cut ears to make a cat, bunny, or bear.
- Royal flair: Create a crown design with pointed edges.
- Classic pot: Keep it simple with a clean, rounded edge.
Be careful during this step—cutting plastic can be tricky. If kids are helping, assist them with this part.
🎨 Step 2: Paint the Base
- Apply your first coat of white paint using a small brush.
- Let it dry for at least 3 hours.
- Add a second coat for solid coverage, then allow the planter to dry completely overnight.
This white base gives your DIY planter a clean surface to decorate and helps bright colors pop.
✏️ Step 3: Decorate with Color
- Use markers, colored pencils, or paint pens to bring your design to life.
- Try facial features, patterns, or abstract designs—it’s totally up to you.
- For a softer, more hand-drawn look, colored pencils work beautifully. For bold, vibrant styles, use markers.
Encourage kids to add their names, plant labels, or fun themes to personalize their DIY planters.
🪴 Step 4: Plant Something Green
- Fill your planter with fresh potting soil.
- Add a small potted plant or sow seeds for herbs, flowers, or leafy greens.
- Water gently and place your planter somewhere with appropriate sunlight.
Creative Ideas & Fun Uses for Your DIY Planters
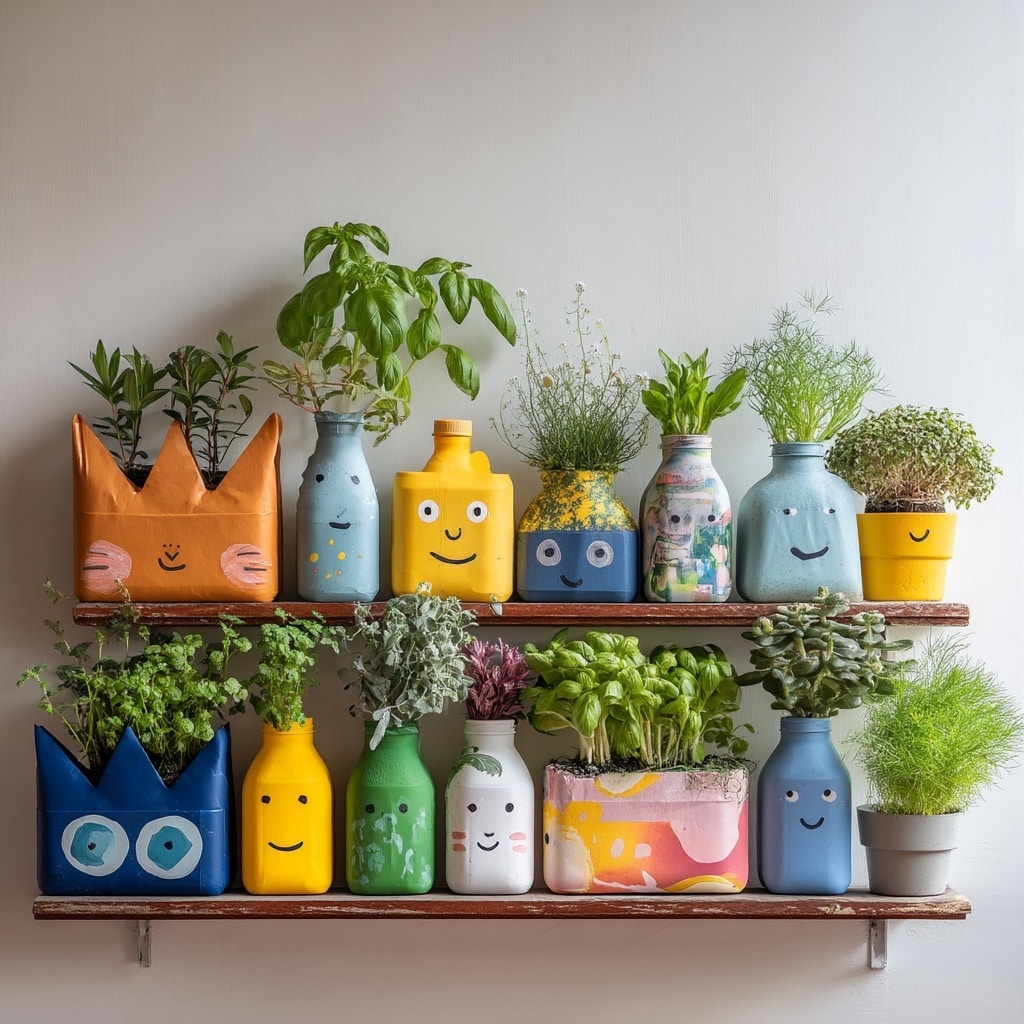
One of the best things about DIY planters is how endlessly customizable they are. Whether you’re crafting with kids, decorating your patio, or just trying to cut back on waste, there’s no wrong way to make and use these little garden gems.
🌟 Fun Shape Ideas
- Animal Friends: Add ears, noses, and whiskers to make cats, bunnies, bears, or even foxes.
- Royal Planters: Cut zigzag tops to mimic a crown and decorate with glittery “jewels.”
- Monster Pots: Use bold colors and googly eyes for a silly, Halloween-style twist.
- Geometric & Minimalist: Go modern with clean lines, triangles, or color-blocked paint.
🎉 Seasonal Themes
- Spring: Use pastel colors and flower decals.
- Summer: Bright tropical hues and painted fruit designs (watermelons, lemons).
- Autumn: Earth tones with leaf stencils.
- Winter: Snowman faces or snowy village scenes using white paint and markers.
🏠 Alternative Uses (Beyond Just Plants)
DIY planters aren’t just for gardening—they also make great eco-friendly organizers or décor pieces. Try using them for:
- Pencil holders on a desk
- Party favor containers for kids’ birthdays
- Toothbrush caddies in the bathroom
- Mini vases for cut flowers on your windowsill
Wherever you place them, your DIY planters will bring charm, color, and a personal touch.
Final Thoughts on DIY Planters
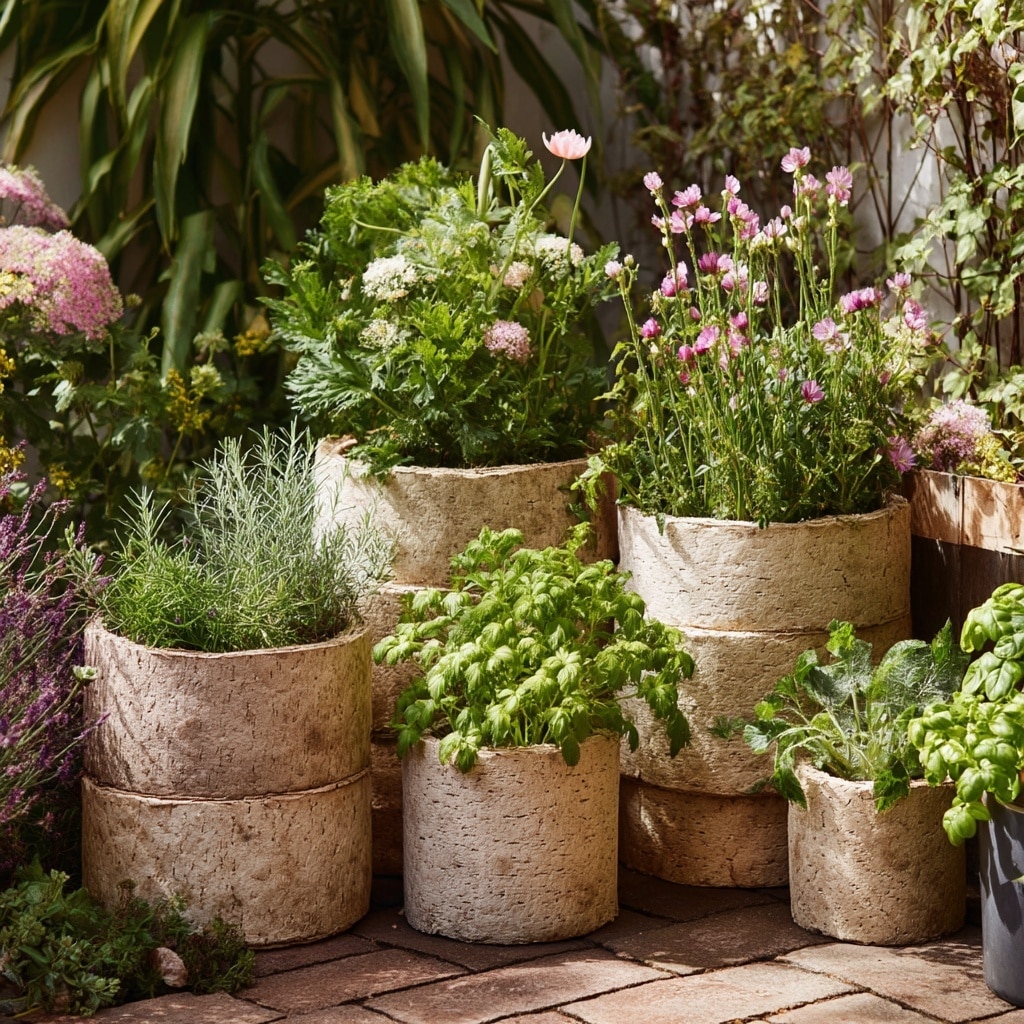
Creating DIY planters is more than a fun weekend project—it’s a small step toward a greener lifestyle. By reusing everyday items, you not only reduce waste but also create something beautiful, functional, and entirely your own. Whether you’re teaching kids about sustainability or simply adding a touch of charm to your garden, these handmade planters are a satisfying way to make gardening more personal. So grab those empty bottles and get planting—your next favorite planter might be sitting in the recycling bin.

