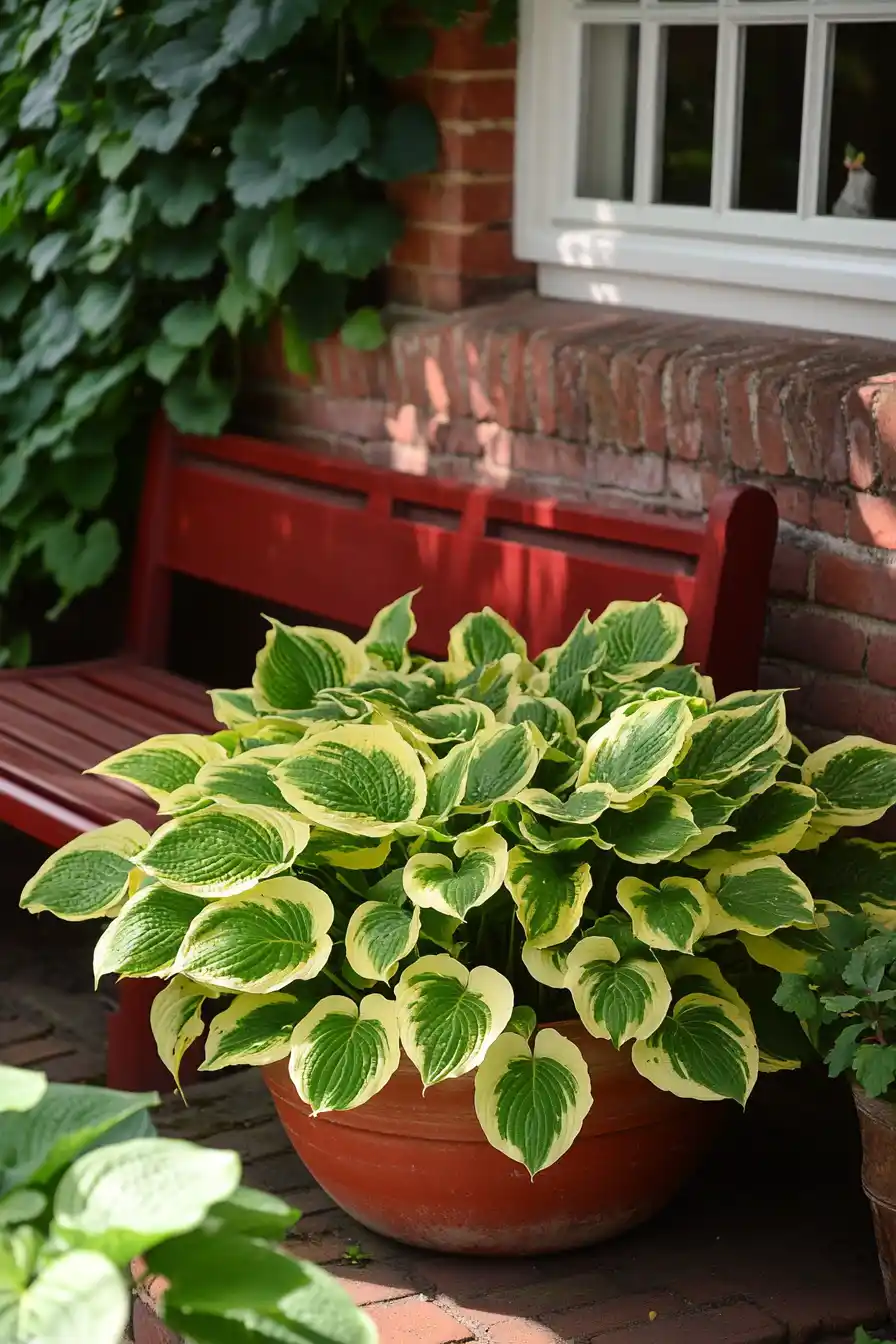
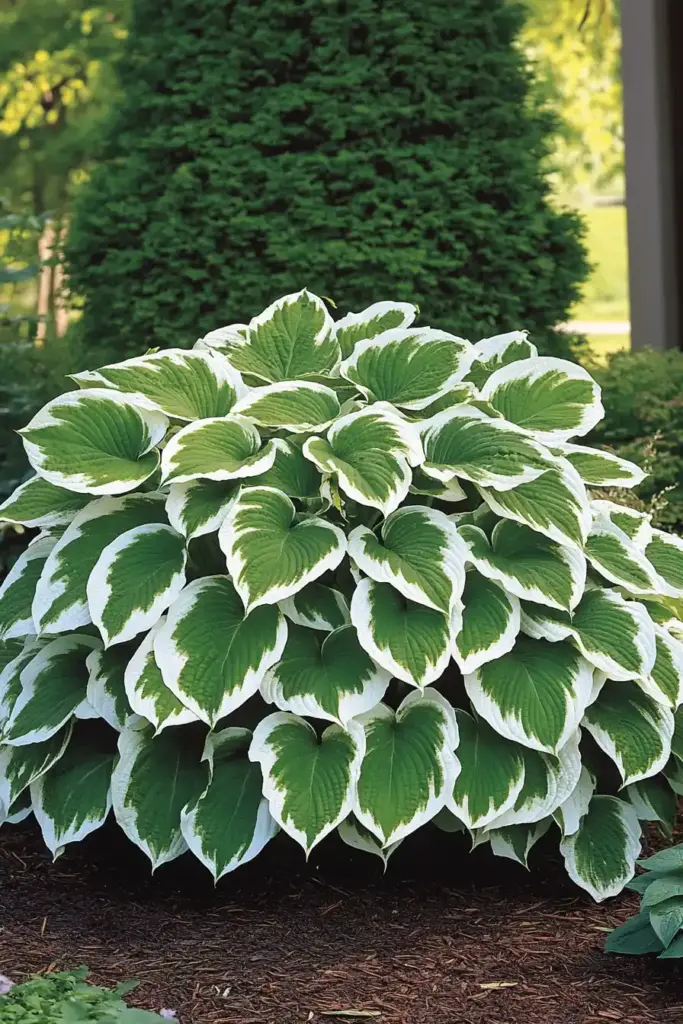
Hostas have earned a devoted fanbase — and for good reason. Named Perennial of the Year by the National Garden Bureau, these lush, leafy plants bring effortless elegance to shady corners of your yard. Whether you’re designing cozy hosta gardens or exploring practical landscaping ideas for property lines, these hardy perennials are among the easiest — and most satisfying — plants to grow.
In this guide, you’ll learn how to landscape with hostas in a way that highlights their beauty, maximizes their health, and transforms your space into a serene, layered retreat. From light preferences to container planting, we’ll walk you through the essential tips every hosta gardener should know — even if you’re working with small garden spaces or shady corners.
Table of Contents
☀️ 1. You Can Plant Hostas in Spring or Fall
When it comes to planting hostas, timing matters — but flexibility is one of their strengths. The two best seasons for planting are spring, as the soil begins to warm, and early fall, when roots have time to establish before winter.
Spring planting allows hostas to settle in and start their growing journey strong. Just be sure the soil is no longer soggy or frozen before planting. Fall planting, ideally 4–6 weeks before the first frost, gives roots enough time to anchor securely before the cold arrives.
Wondering about summer planting? It’s possible — but proceed with care:
- Only use live plants, not dormant or bare-root hostas.
- Keep soil consistently moist to avoid drought stress.
- Choose a shady, cool location, and mulch well to retain moisture.
Pro tip: Hostas typically take 3 to 5 years to reach full size. Be patient with first-year growth — it’s just the beginning of a long, beautiful relationship.
🌤️ 2. Different Hostas Have Different Light Preferences
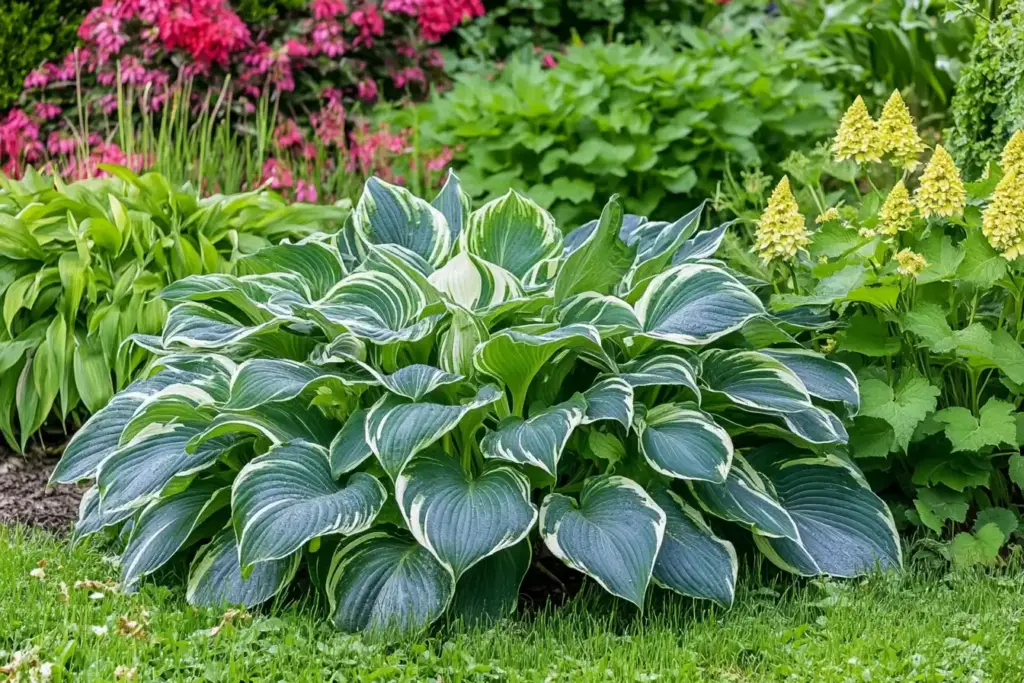
One of the biggest advantages of learning how to landscape with hostas is their adaptability to shade. That said, not all hostas have the same tolerance for light — and understanding these differences is key to planting a healthy, balanced garden.
Here’s how light levels impact hosta performance:
🟦 Blue-leaf hostas
These types — known for their cool, glaucous foliage — prefer deeper shade. Too much sunlight can cause their signature blue coating to fade or scorch. Plant them under tree canopies, along shaded paths, or near north-facing walls.
💛 Gold-leaf and variegated hostas
These lighter-toned varieties can handle more sun, particularly in the morning hours when light is gentler. Their vibrant color often intensifies with a few hours of indirect or filtered sun, making them ideal for spots with dappled light or eastern exposure.
🌸 Fragrant hostas
Often overlooked, hostas with scented blooms — such as Hosta plantaginea — actually perform best in partial sun. They need a few hours of direct sunlight to produce their signature floral scent. Plant these near walkways, porches, or patios where you can enjoy their perfume.
🌑 Full shade? Proceed with caution.
Hostas will survive in full shade, but they may grow more slowly and flower less frequently. If your garden is densely shaded, consider mixing in some shade-loving companion plants to add diversity and interest.
Quick tip: When planning hostas landscaping, group varieties with similar light needs together. This keeps maintenance simple and ensures every plant thrives in its spot.
🌱 3. Hostas Thrive in Rich, Moist Soil
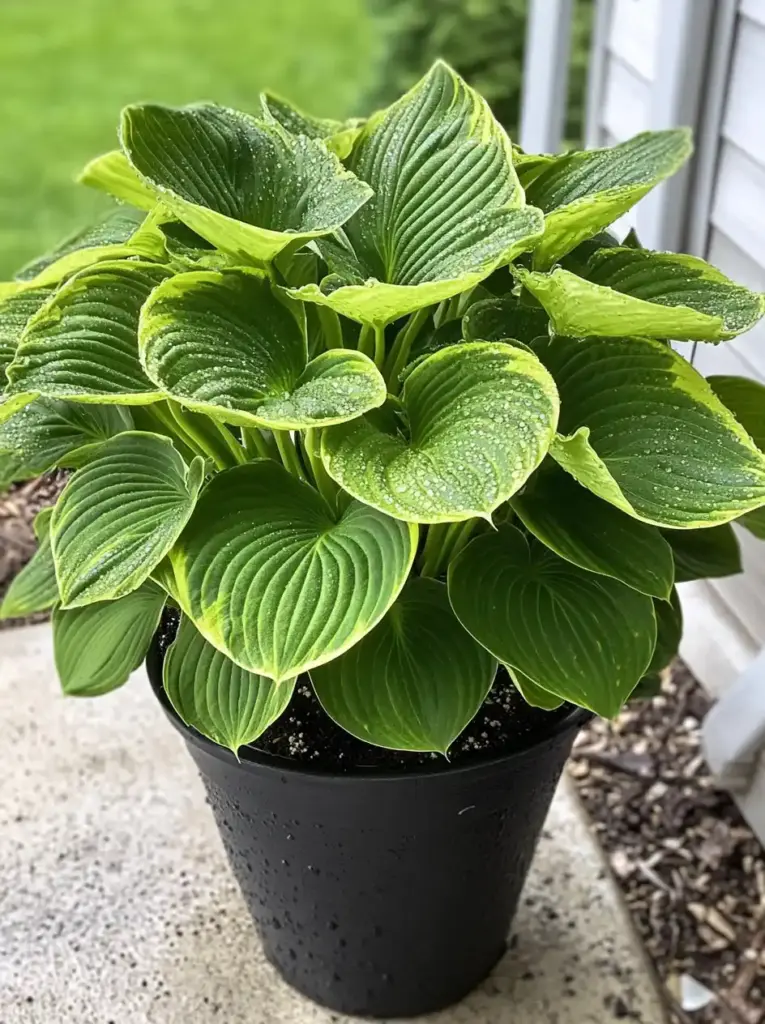
Soil quality is one of the most overlooked yet essential elements when planning how to landscape with hostas. These foliage superstars love a moisture-retentive, fertile base — the kind that mimics the forest floor they evolved in. If your soil is too sandy or heavy with clay, your hostas may survive, but they won’t reach their full potential.
🧱 Problem soils: Sandy or clay-heavy
- Sandy soil drains too quickly, depriving hostas of consistent moisture.
- Clay soil can become compacted, leading to root rot or stunted growth.
🌿 The solution: Organic matter
To give your hostas a strong start:
- Amend your soil with compost, well-rotted manure, or leaf mold before planting.
- Work in organic matter at least 12 inches deep for best results.
- For new beds, consider raised planting areas with enriched topsoil for better drainage and airflow.
🍂 Mulching matters
Hostas benefit enormously from annual mulching. It helps:
- Retain soil moisture
- Suppress weeds
- Improve soil structure over time
Choose mulch materials wisely:
- Do use: compost, aged bark, shredded leaves, leaf mold
- Avoid: fresh bark or wood chips, which can acidify the soil and tie up nitrogen
And remember: Keep mulch a few inches away from the base of the plant to prevent rot.
Expert tip: Moisture consistency is key — not too wet, not too dry. Use soaker hoses or drip irrigation for low-effort, root-deep watering in hosta-heavy beds.
🌸 4. Interplant Hostas With Other Moisture-Loving Plants
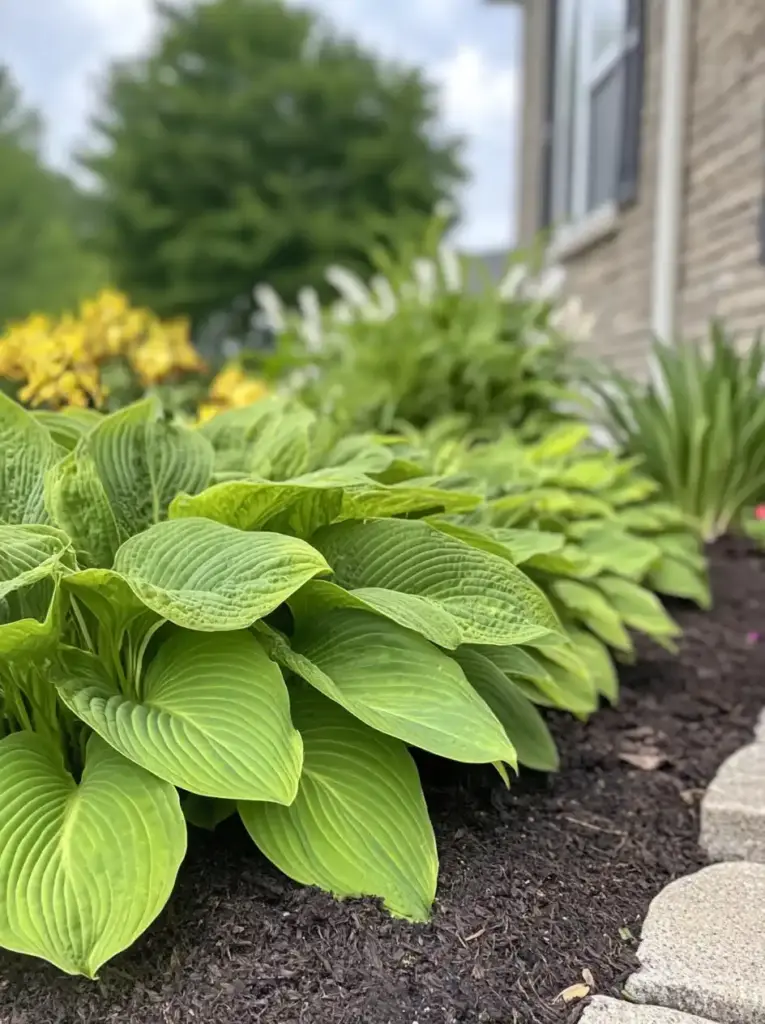
A garden filled only with hostas can be elegant, but if you want to elevate your landscape design, interplanting is the secret. The key to mastering how to landscape with hostas lies in combining them with other plants that share similar needs — especially moisture-loving, shade-tolerant species.
These thoughtful combinations not only support healthy growth but also create visual layers, seasonal variety, and biodiversity in your garden beds.
🌿 Top companion plants for hostas:
Here are some standout plants that thrive alongside hostas and enhance their beauty:
- Irises – Especially flag irises, which love damp soil and add vertical interest.
- Shuttlecock ferns (Matteuccia struthiopteris) – Bring delicate texture and height.
- Heuchera (Coral Bells) – Offers colorful foliage that contrasts beautifully with hosta leaves.
- Pulmonaria (Lungwort) – Speckled leaves and spring flowers attract pollinators.
- Ligularia – Bold, dramatic leaves and bright yellow blooms.
- Camassia – Spikes of blue flowers in spring, perfect for naturalistic borders.
- Candelabra primulas – Add vibrant color early in the season.
- Spirea – A deciduous shrub that offers soft blooms and structure to the hosta bed.
🎨 Design tips:
- Mix solid and variegated hostas to avoid overwhelming the eye.
- Use odd-number groupings (3, 5, or 7) for natural flow.
- Plant taller companions at the back and use mini or small hostas at the front edge of the border.
- Include flowering species to support pollinators and add seasonal variety.
🐝 Bonus benefit:
Interplanting helps break up hosta monocultures, reducing the chance of pest buildup (like slugs) and promoting a healthier mini-ecosystem.
Garden wisdom: Think of hostas as the base layer of a forest-style garden — then build upward and outward with texture, bloom color, and form.
🪴 5. Hostas Can Be Grown in Containers
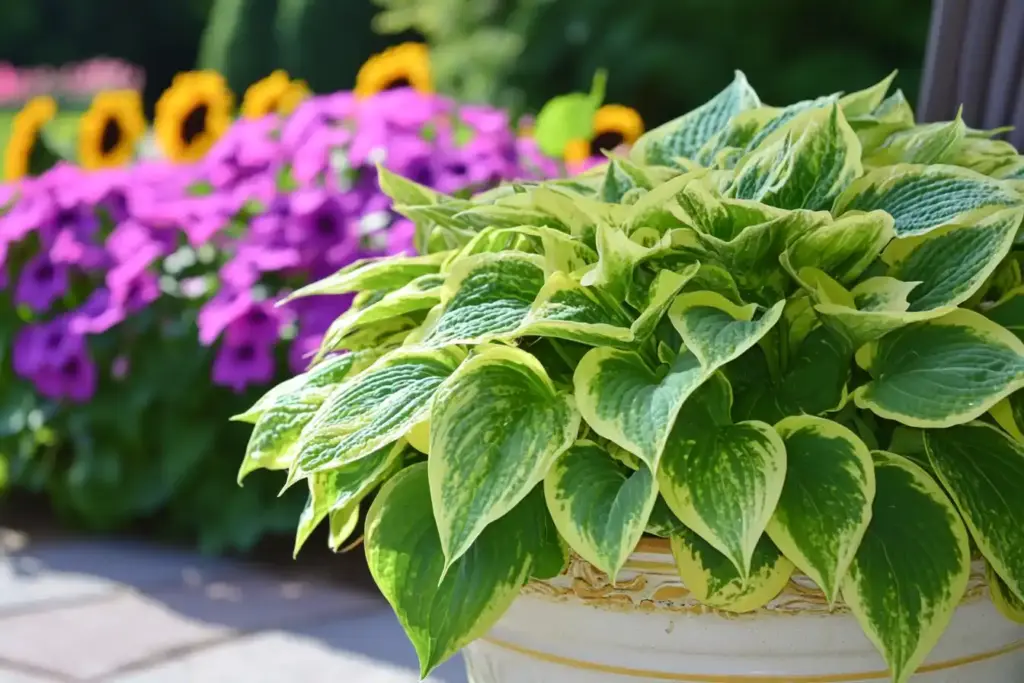
Limited on space? Battling deer? Want to add greenery to a shaded patio? Container gardening with hostas is a flexible, stylish solution — and a smart strategy if you’re exploring how to landscape with hostas beyond traditional beds.
Because of their compact root systems and lush foliage, hostas thrive in pots, planters, and even decorative urns, provided you meet their basic needs.
✅ Benefits of growing hostas in containers:
- Control over soil quality and moisture
- Easier protection from pests, like slugs and deer
- Portable design options for patios, decks, or shaded porches
- A way to enjoy hostas even in urban or balcony gardens
🪴 Best hosta varieties for pots:
For containers, choose hostas that won’t outgrow their space. Look for terms like “mini,” “dwarf,” “little,” or “mouse” in cultivar names.
Top mini/small hostas for containers:
- Blue Mouse Ears
- Church Mouse
- Little Missie
- Mini Skirt
- Cat and Mouse
Larger containers can also accommodate medium hostas, especially when grouped with companion plants.
🌿 Container planting tips:
- Use pots with drainage holes to prevent root rot.
- Choose a rich, moisture-retentive potting mix.
- Place containers in dappled shade — too much sun can scorch leaves.
- Water consistently — containers dry out faster than garden beds.
Design tip: Use container hostas to soften the edges of hardscapes, line shaded entryways, or create layered arrangements with trailing ferns and upright flowering plants.
❓ Frequently Asked Questions: How to Landscape With Hostas
1. Do hostas need a lot of water?
Yes, hostas prefer consistently moist soil. While they’re relatively drought-tolerant once established, dry conditions can lead to stunted growth and faded foliage. Mulching and deep watering help maintain the right moisture level.
2. Can hostas grow in full sun?
Some varieties, like gold-leaf or variegated hostas, tolerate partial sun — especially in the morning. However, most hostas will suffer in full midday sun. Blue-leaf hostas, in particular, should be planted in deep shade to prevent sunburn.
3. What’s the best soil type for hostas?
Hostas thrive in rich, well-drained soil that retains moisture. Amend sandy or clay-heavy soils with compost or organic matter. Avoid overly acidic mulches like fresh bark.
4. Which hostas are best for container gardening?
Mini and small varieties are ideal for pots. Top picks include ‘Blue Mouse Ears’, ‘Church Mouse’, and ‘Little Missie’. Use a large container with drainage and keep the soil consistently moist.
5. Are hostas deer-resistant?
Unfortunately, no. Hostas are a favorite snack for deer. If you have deer issues, grow hostas in containers near your home or consider using repellents and fencing to protect garden beds.
6. Can I plant hostas in the summer?
Yes — but only if you’re planting live, green hostas (not bare-root or dormant ones). Water thoroughly and plant in shaded spots to reduce transplant shock during hot weather.
🌿 Conclusion: Landscape Smart With Hostas
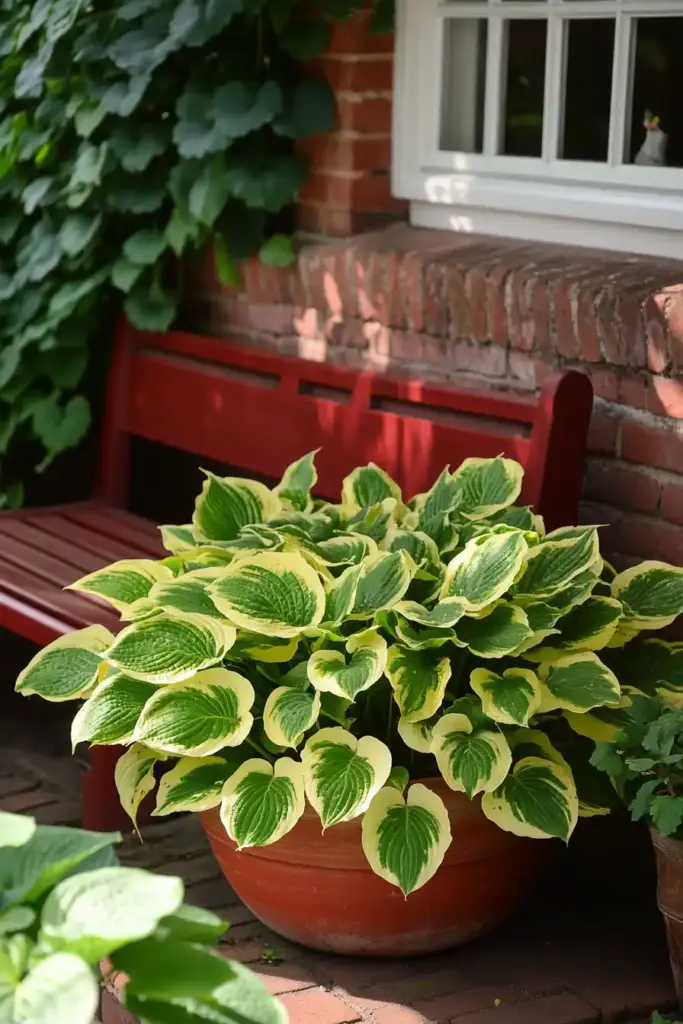
Whether you’re designing a peaceful woodland corner or breathing new life into a shaded patio, hostas offer an unbeatable mix of beauty, resilience, and versatility. Once established, they demand little upkeep but deliver stunning visual impact — especially when planted in rich, moisture-retentive soil and paired with complementary textures like ferns or shade-tolerant companions.
Mastering how to landscape with hostas — from seasonal planting to choosing the right container-friendly varieties, understanding their light preferences, and interplanting with compatible perennials — allows you to design a garden that feels lush, layered, and effortlessly elegant for seasons to come.

