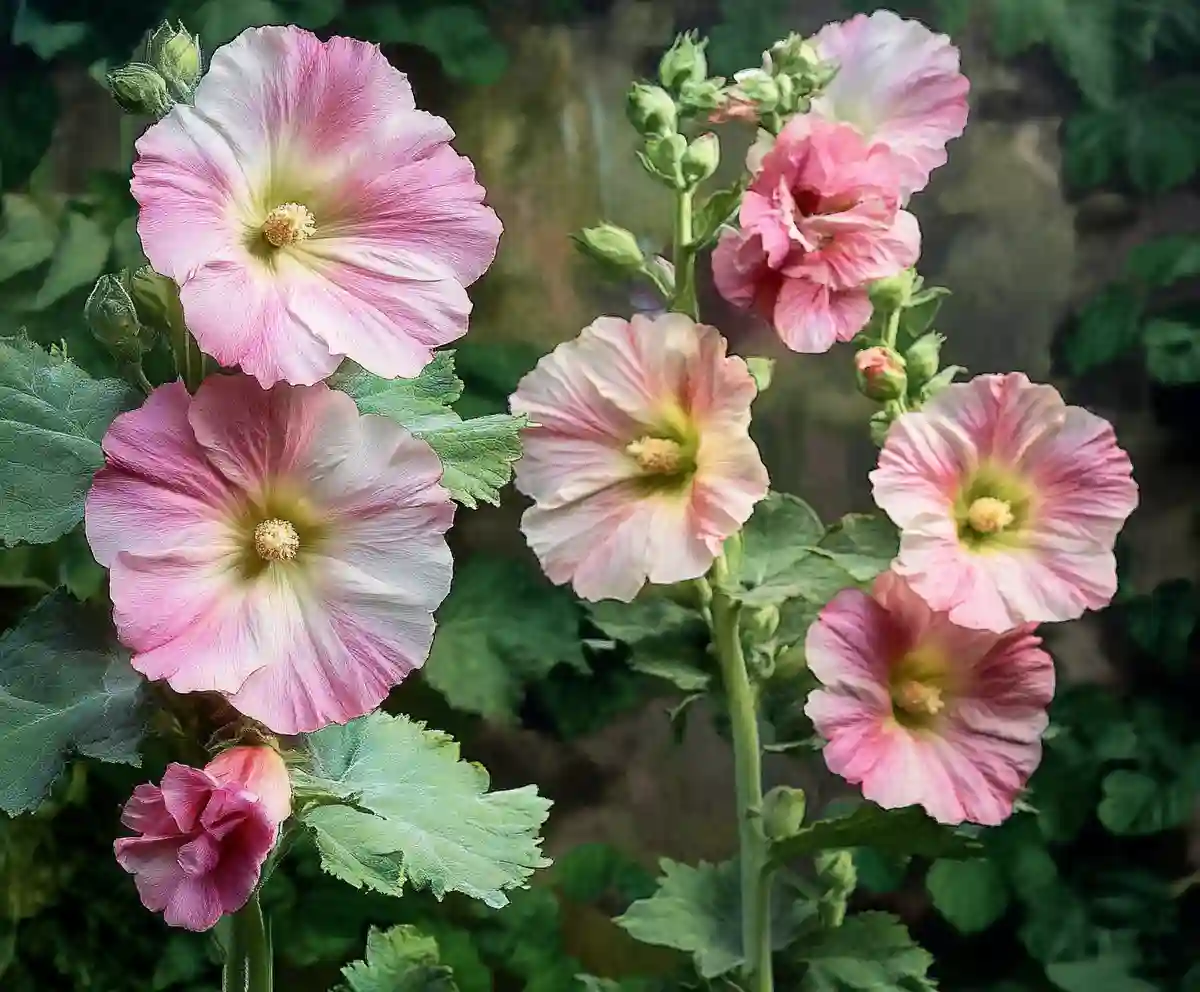
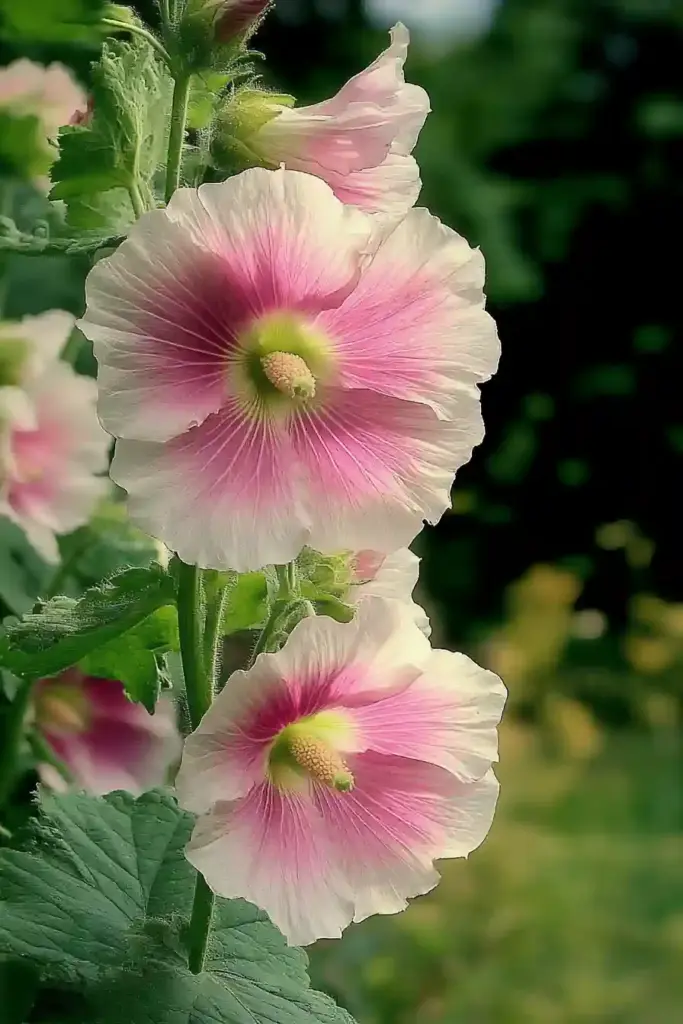
Few flowers bring the whimsical charm of an English cottage garden quite like hollyhocks. With their tall spires of colorful, showy blooms and an ability to attract bees, butterflies, and hummingbirds, hollyhocks add instant vertical interest and vintage elegance to any landscape. But if you’ve ever wondered how to grow hollyhocks successfully, you’re not alone. These beauties are hardy, yet they come with a few quirks that can stump even seasoned gardeners.
In this guide, you’ll learn how to grow hollyhocks that thrive season after season — from understanding their unique life cycle to care tips and troubleshooting growth hiccups. Whether you’re starting from seed or planting a patch passed down through generations, this article will help you grow hollyhocks that are truly happy and healthy.
For those looking to enhance their garden’s traditional charm even further, be sure to check out Create an English Garden with These 14 Classic Flowers. This companion guide offers creative inspiration and practical advice to blend your hollyhocks with other timeless blooms, helping you design a mesmerizing outdoor retreat that captures the essence of an English cottage garden.
🌿 Understanding the Biennial Life Cycle of Hollyhocks
When planning your garden, it’s important to know that hollyhocks don’t behave like your typical annuals or perennials — they’re biennials, which means their life cycle spans two years.
Year One: Laying the Foundation
In their first growing season, hollyhocks focus entirely on leafy growth and root development. You’ll see lush foliage forming at the base, but no flowers just yet. Underneath the soil, the plant is busy building a strong taproot and storing energy for the next stage of its life.
Winter Dormancy
As temperatures drop, the leafy growth dies back and the root system enters a vernalization period, which is a necessary cold dormancy phase that prepares the plant to bloom the following year.
Year Two: Bloom and Reproduction
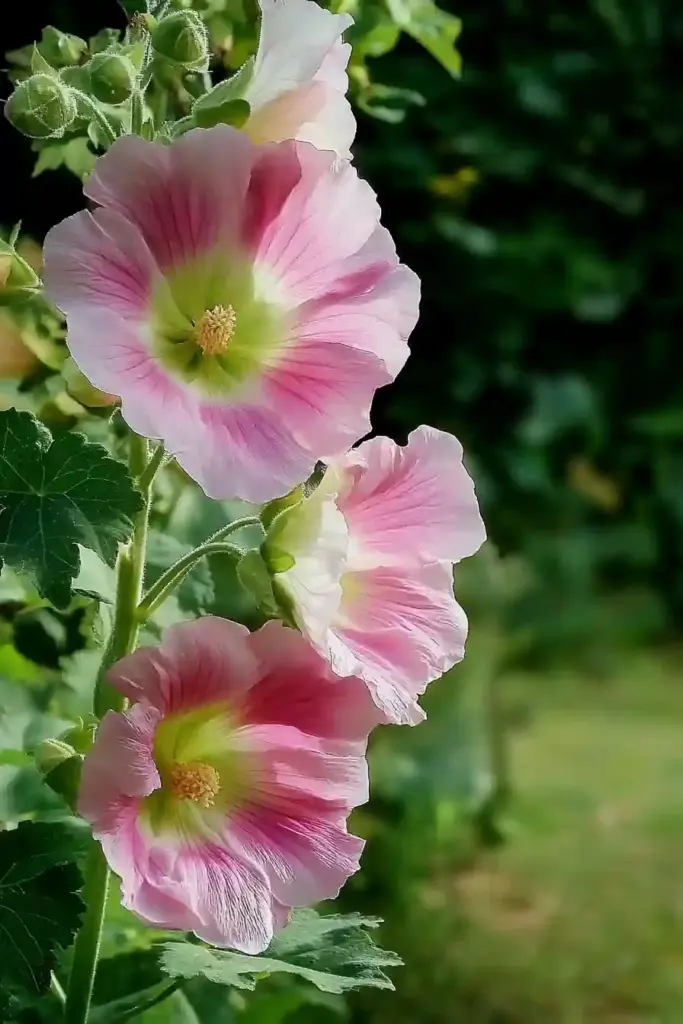
Come spring, hollyhocks awaken with fresh growth. This is when the magic happens! The plant shoots up tall flower stalks and produces its signature blooms — from soft pinks and yellows to deep reds and purples. After flowering, hollyhocks set seed and complete their life cycle.
🌸 Tip: While the original plant dies after blooming, the seeds it drops can germinate the following season — keeping your hollyhock patch going if conditions are right.
Understanding this cycle is key to planning for consistent blooms, which we’ll cover next.
🌼 How to Ensure Hollyhocks Bloom Every Year
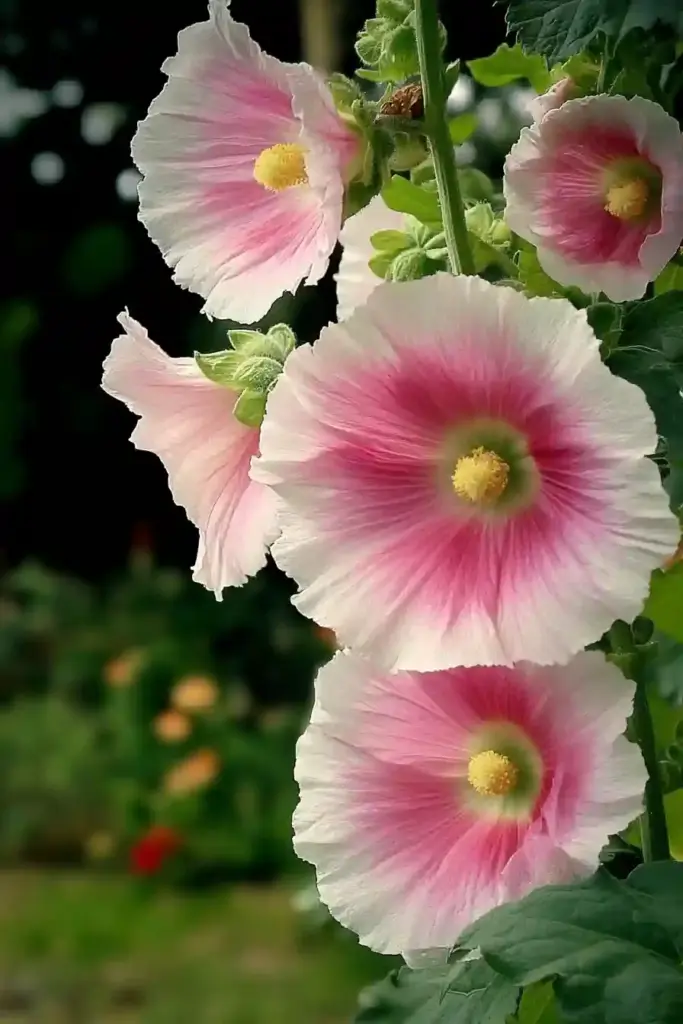
Because hollyhocks follow a biennial cycle, they naturally bloom only in their second year. This can lead to a disappointing gap in color if you’re not prepared. But don’t worry — there’s a simple trick to keep your garden blooming every single summer.
🌱 Staggered Planting for Continuous Blooms
To enjoy yearly flowers, plant hollyhocks two years in a row:
- Year One: Sow your first batch of hollyhock seeds or transplants. These will grow foliage only.
- Year Two: The first batch will bloom, and at the same time, plant a new batch of seeds or seedlings.
- Year Three and beyond: Continue this pattern! The second batch now blooms, and a fresh first-year crop is planted.
By overlapping the growth cycles, you ensure that one group is always flowering while another is in its vegetative stage.
Bonus Tip: Let Nature Lend a Hand
Mature hollyhocks drop seeds naturally. If you leave them in place and conditions are right, they’ll self-seed, giving you a rotating bloom cycle without much effort.
🌼 Pro Tip: Mark where you plant or where self-seeding occurs — hollyhock seedlings can be mistaken for weeds early on!
🌿 Caring for Hollyhocks: Sun, Soil, Water & More
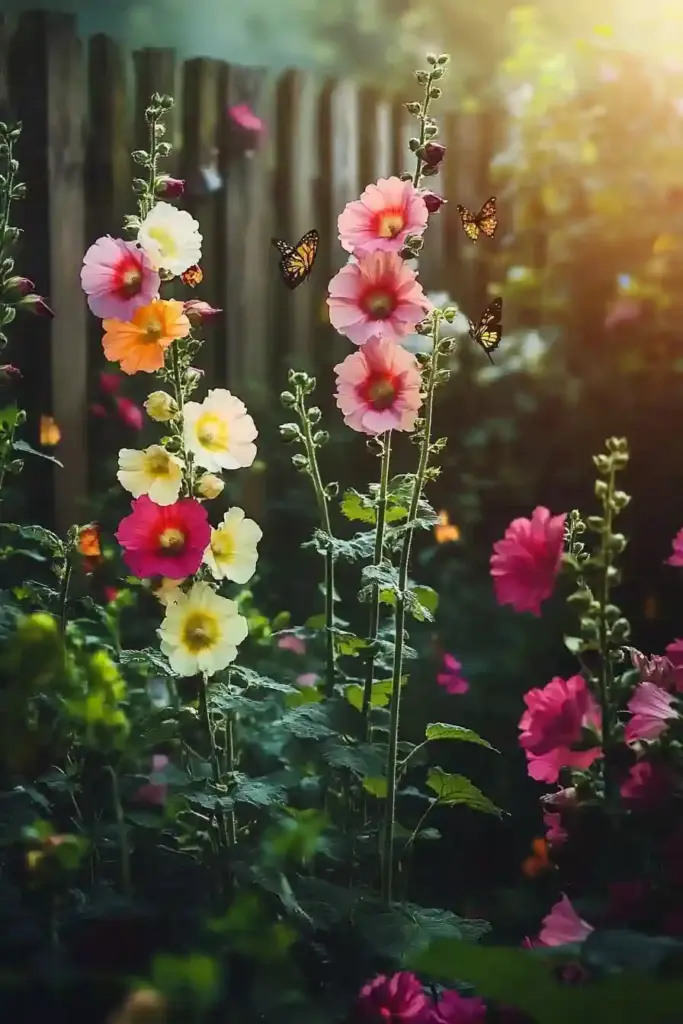
Growing healthy hollyhocks isn’t difficult, but they do have a few preferences that make all the difference. With the right conditions, these majestic bloomers can flourish in your garden for years.
☀️ Sunlight Requirements
Hollyhocks love the sun. For best results, plant them in locations that receive at least 6 hours of direct sunlight per day. Ideal spots include:
- South- or west-facing fences
- Along sunny walls or borders
- Open garden beds with minimal shade
Too much shade can result in floppy plants with fewer blooms.
🌱 Soil Preferences
Hollyhocks develop deep taproots, so they thrive in rich, loamy, well-draining soil. Prep the planting area by mixing in compost or aged manure to boost nutrients and improve soil structure.
- Avoid compacted or clay-heavy soils, which restrict root growth
- Raised beds or amended borders work beautifully
💧 Watering & Fertilizing
Once established, hollyhocks are quite drought-tolerant thanks to their deep roots. But new seedlings need consistent moisture to thrive.
Watering tips:
- Keep soil evenly moist during the first growing season
- Deep water during dry spells, especially in fall before dormancy
Fertilizing tips:
- Use a balanced, all-purpose fertilizer every 2–3 weeks during the first year
- Mature plants generally don’t need much feeding unless soil is poor
🌾 Mulching for Moisture & Health
A 3–4 inch (7.5–10 cm) layer of mulch around the base helps regulate soil temperature, retain moisture, and suppress weeds.
🪵 Organic mulches like shredded bark, straw, or compost are great options — they break down and improve soil health over time.
🪴 Staking Tall Varieties
Hollyhocks can grow 6 to 10 feet tall, and their height makes them vulnerable to wind damage. To prevent toppling:
- Stake with sturdy tomato cages or bamboo poles early in the season
- Place supports behind the plant to stay hidden by foliage
- Tie stalks loosely with soft twine as they grow
Some dwarf varieties don’t require support, but always check the mature height before planting.
🌱 Troubleshooting Hollyhocks: Why They Might Struggle in Spring
Even with the right care, hollyhocks can sometimes fail to reappear after winter. If your patch is struggling to bounce back, here are the most common reasons — and what to do about them.
1. ❄️ Variety Is Too Tender for Your Growing Zone
Hollyhocks are typically hardy in USDA Zones 3–9, but not all varieties are equally resilient.
- Single-flowered, trumpet-style types tend to be more cold-tolerant than fluffy, double-flowered varieties.
- In colder zones (like Zone 3–4), stick with proven hardy types such as:
- Happy Lights Mix
- Las Vegas Mix
- Chater’s Mix (for doubles)
🛡️ Tip: Apply a 6-inch layer of mulch in late fall to insulate roots and protect them through harsh winters.
2. 🔁 Hollyhock Patch Is Out of Cycle
Since hollyhocks are biennials, if you only have one group growing, you’ll naturally see blooms every other year.
Fix it: Add a new batch of hollyhocks each spring to create overlapping life cycles, so one set is always in bloom while the other is growing.
3. 🌱 Seeds Aren’t Germinating
If you’re growing from seed and not seeing success, check for these common seed-starting problems:
- Old or improperly stored seeds (loss of viability)
- Lack of cold vernalization (seeds need a chill period to germinate)
- Exposure to light or moisture during storage
Solutions:
- Let garden-grown seeds overwinter outdoors naturally
- If using packaged seeds, store them in a cool, dark place or freezer
- Use fresh seed each season for best results
4. 💧 Dry Roots Heading into Winter
Hollyhocks need to go into dormancy well-hydrated to survive the cold. If fall is particularly dry, the roots may not have the moisture reserves needed to make it through winter.
Tip: In autumn, check soil moisture regularly and water deeply when dry — especially before the ground freezes.
🌼 Final Thoughts: Give Hollyhocks a Spot in Your Garden
Learning how to grow hollyhocks is all about understanding their rhythm. Once you get the hang of their biennial cycle and give them a sunny, well-prepared space, these towering beauties will reward you with years of cottage garden charm.
Their cheerful blossoms not only brighten your garden — they also feed pollinators, create natural privacy, and add a vertical wow factor that few other plants can match. And while they may take a little patience at first, hollyhocks often become a favorite among gardeners who appreciate both beauty and resilience.
So whether you’re starting a new patch or reviving an old one, give hollyhocks a try — and let them become a legacy plant in your outdoor space. 🌿

