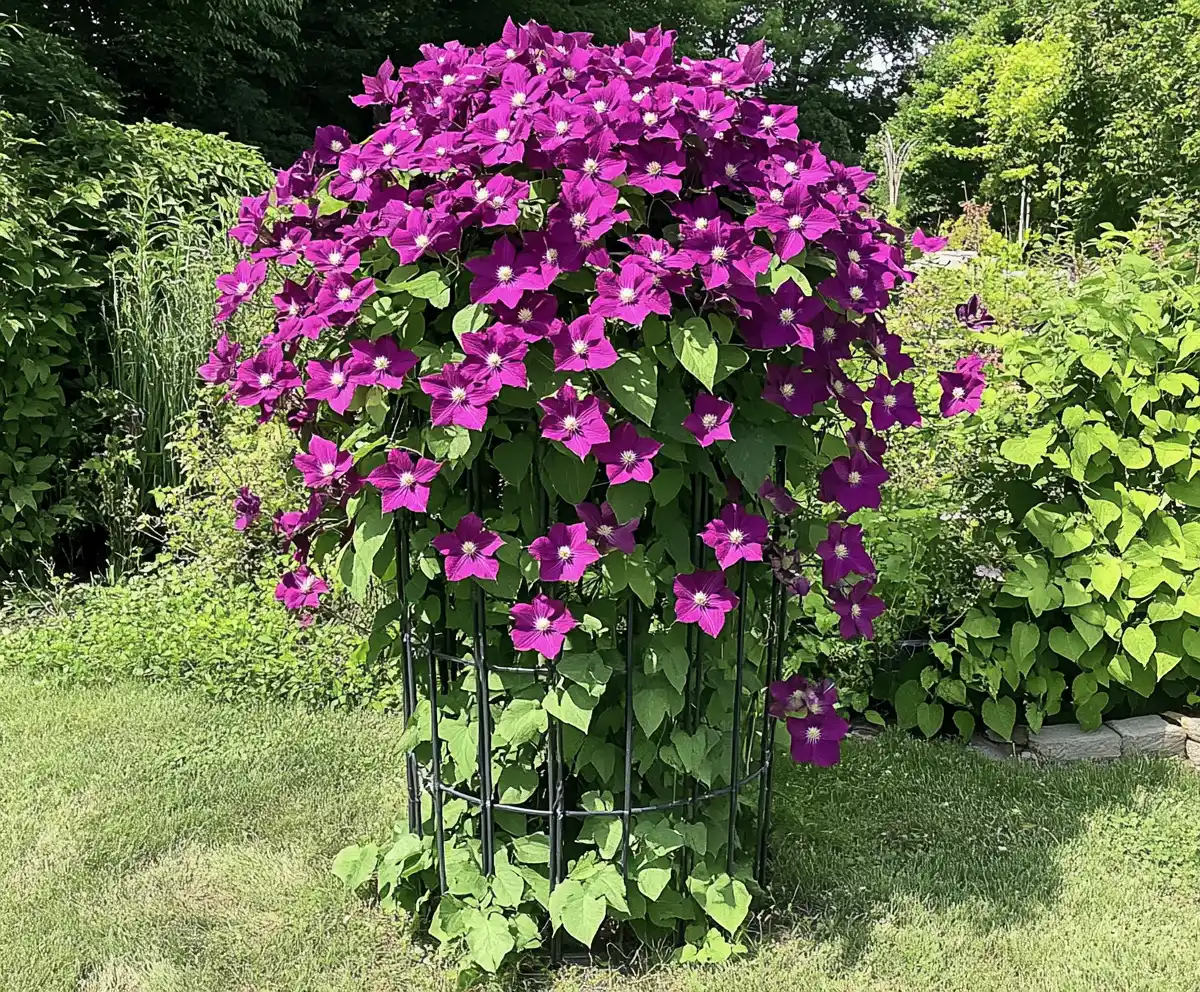
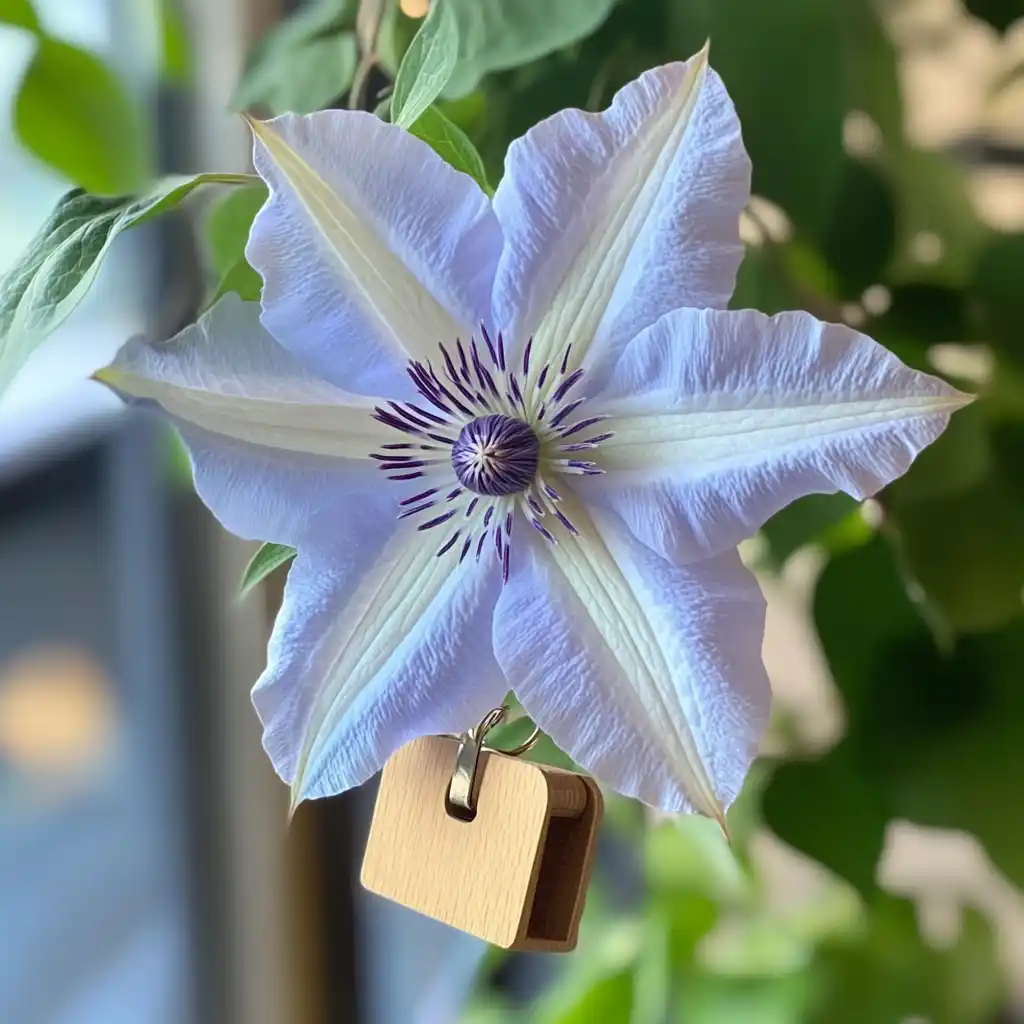
If you’ve ever admired vibrant, colorful blooms twining elegantly over a garden trellis, chances are you were looking at clematis. This stunning flowering vine is a standout in the garden world—not only because of its breathtaking blooms and countless varieties, but also because it’s surprisingly easy to grow in many different conditions. Learning how to grow clematis successfully begins with a bit of planning, and the right steps early on will ensure your clematis thrives for seasons to come.
Whether you’re starting your first garden or refining a lush landscape, knowing how to grow clematis is a valuable skill. In this complete guide, we’ll walk you through how to choose the best clematis varieties, where and how to plant them, and exactly how to prune them for long-lasting beauty. For more ideas on supporting vines in style, check out our clematis trellis ideas for climbing vines and our expert guide on growing clematis vines. You can even explore how to grow clematis in containers if you’re short on space but still want bold vertical color. Let’s get started and make how to grow clematis the highlight of your garden adventure!
Table of Contents
🌸 1. Choosing the Best Clematis for Your Space
Before you plant a clematis, it’s essential to match the right variety to your garden’s layout and purpose. Clematis isn’t a one-size-fits-all plant—there are dozens of types, each with unique growing habits, bloom times, and visual appeal. Understanding these differences is the first step in mastering how to grow clematis in a way that fits your garden perfectly.
🌿 Types of Clematis to Consider:
- Tall, Climbing Vines: These classic varieties are ideal for trellises, fences, or arbors. They can grow upwards of 10 feet and make an eye-catching vertical display.
- Compact Varieties: Some clematis are bred for containers or smaller garden spaces. These typically grow 3–5 feet tall and are perfect for patios, balconies, or tight borders.
- Bush or Upright Types: These act more like shrubs than vines. Though they benefit from a bit of support, they can be grown freestanding or allowed to mingle with other perennials.
- Groundcover or Naturalizers: Some sprawling types can be grown horizontally to cover the ground or woven through shrubs and small trees for a whimsical, layered effect.
🪴 Consider Your Garden’s Needs:
Ask yourself:
- Do you need a showy climber for a pergola?
- Are you trying to brighten up a container display?
- Do you want a low-maintenance option that can fill gaps between shrubs?
Once you determine the space and purpose, you’ll be able to choose the right clematis cultivar to thrive in that spot.
💡 Expert Tip: Select varieties with overlapping bloom times to enjoy color for longer stretches throughout the season.
📦 2. What to Do When Your Clematis Arrives
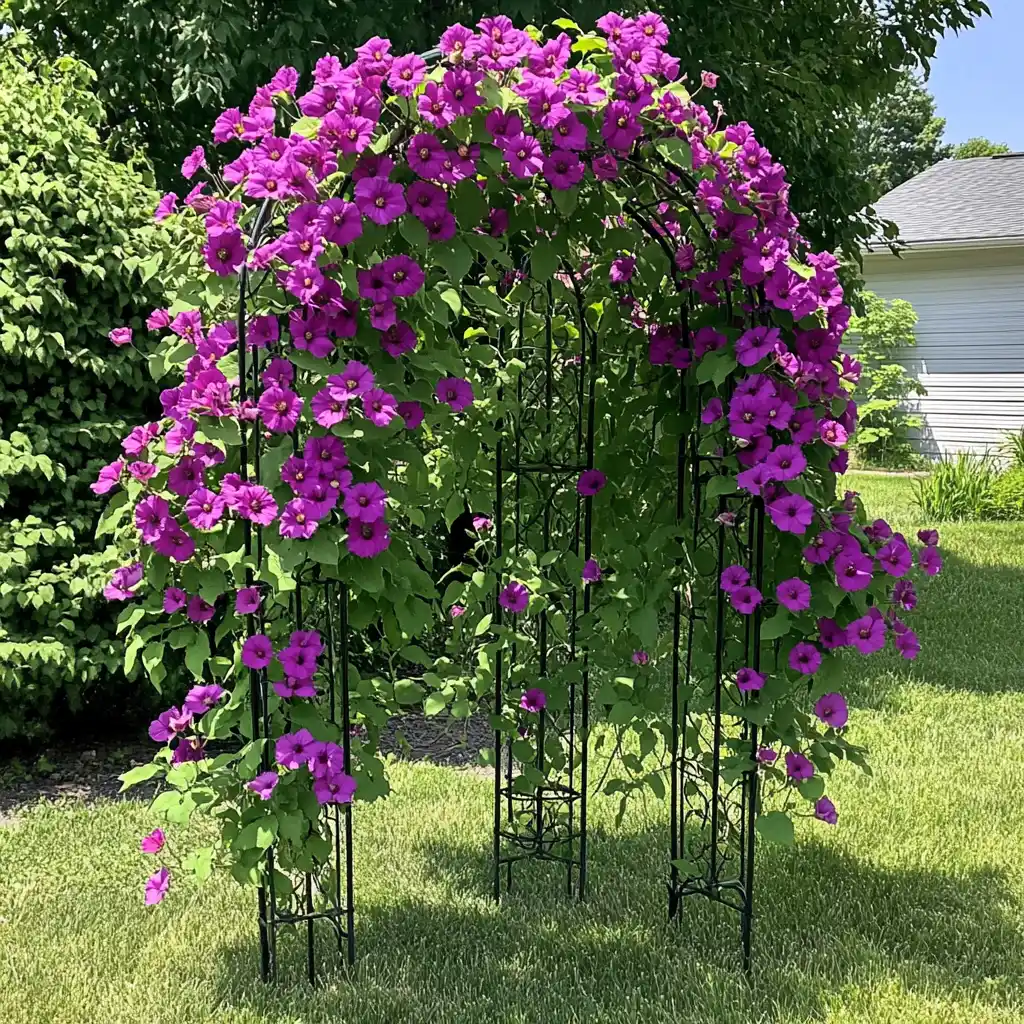
Ordering clematis online or purchasing from a local nursery is exciting—but knowing what to do next is key to setting your plant up for success. Many gardeners unknowingly cause stress to new plants by delaying care or planting incorrectly. To truly master how to grow clematis, you’ll want to follow these steps as soon as it arrives.
🛬 Step-by-Step: Unpack and Acclimate
- Unbox Immediately
As soon as your clematis arrives, open the packaging carefully. These plants don’t enjoy being confined, and prompt attention helps reduce transplant shock. - Let It Breathe
Place your clematis in a shaded, sheltered spot outdoors—somewhere with bright indirect light but no harsh sun or wind. This allows it to gently adjust to outdoor conditions, especially if it was grown in a greenhouse. - Hydrate If Needed
Check the soil. If it feels dry, give it a thorough drink of water and let any excess drain away. - Plant Within a Few Days
Don’t delay planting. Aim to get your clematis in the ground within 3–5 days. This minimizes stress and ensures it adapts to your garden environment quickly.
🌡️ Temperature Tip: Only acclimate or plant clematis when nighttime temperatures are consistently above 50°F (10°C). Below this, keep it indoors in a bright, cool room.
🌞 3. Where to Plant Clematis
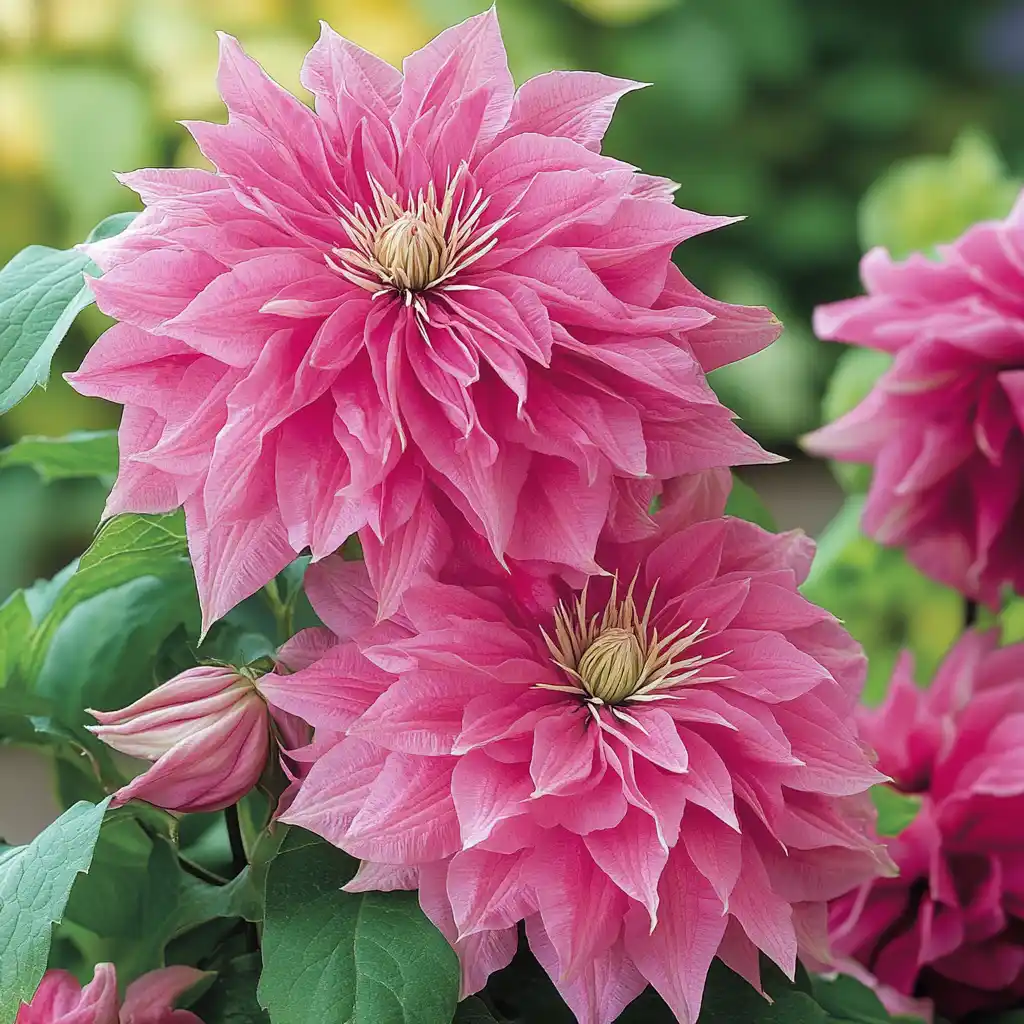
Choosing the right spot is one of the most important factors in learning how to grow clematis successfully. While clematis is adaptable, its long-term performance depends heavily on light, support, and soil conditions. Think of clematis as a plant with two personalities: it loves sun on its blooms and shade on its roots.
🌤️ Light: Sun on Top, Shade at the Bottom
Clematis blooms best in full sun, which means at least 6 hours of direct sunlight per day. This is especially critical for double-flowered varieties, which need extra energy to form their intricate blooms.
But here’s the twist: clematis roots are shallow and sensitive. Hot, dry soil can stress them and impact flowering. That’s why you’ll often hear the phrase:
“Clematis likes its head in the sun and its feet in the shade.”
To protect the roots:
- Plant low-growing perennials or groundcovers in front of clematis.
- Use mulch to help regulate soil temperature (we’ll cover this more in Section 5).
🪜 Support: What Clematis Climbs Best
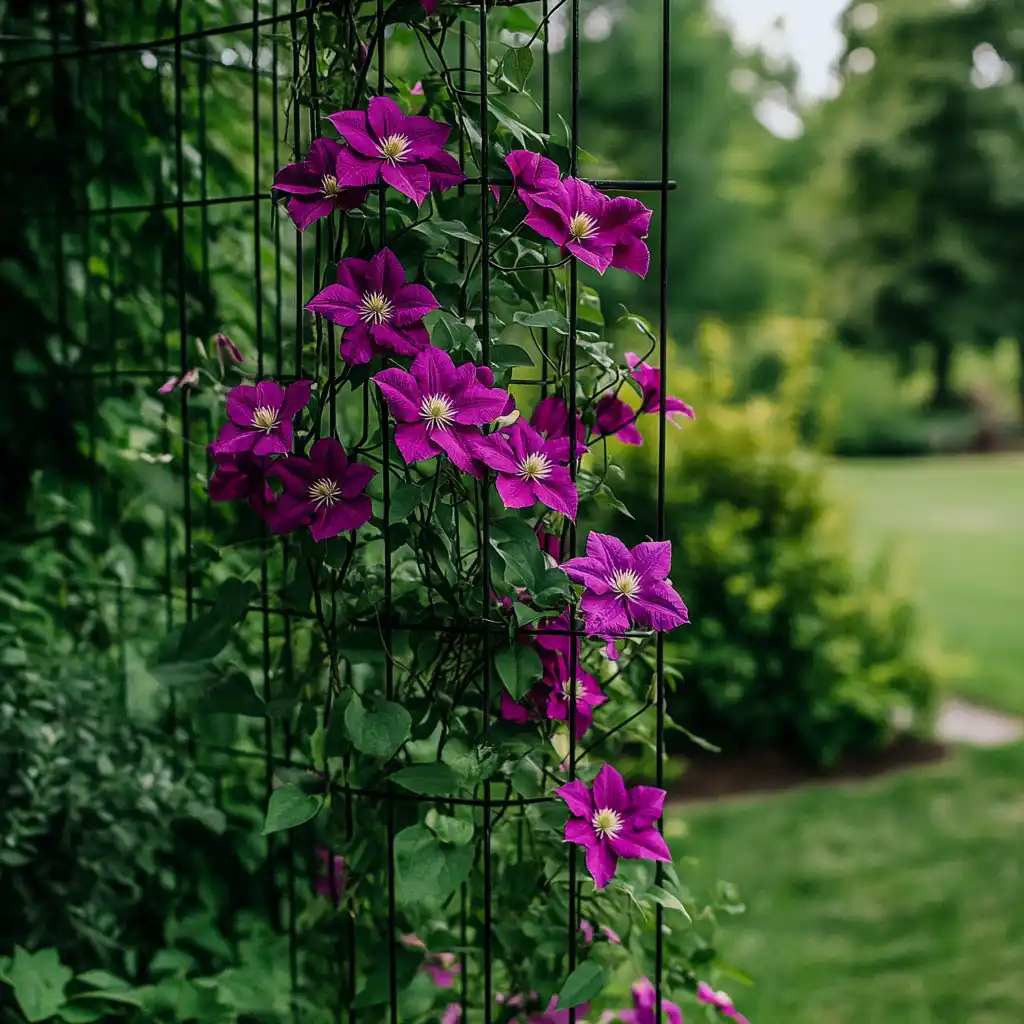
Clematis climbs using slender leaf stems, so it needs something to grasp. Avoid large, flat trellises or posts—these are often too thick. Instead, use supports that are no thicker than a pencil.
Support ideas include:
- Wire mesh
- String trellises
- Obelisks
- Bamboo teepees
- Chain link fences
For compact or bushy types, use small obelisks or let them lean naturally on nearby shrubs or structures.
🎯 Pro Tip: Make sure your support is in place before you plant. Moving clematis later can damage its delicate stems.
🪴 4. How to Plant Clematis
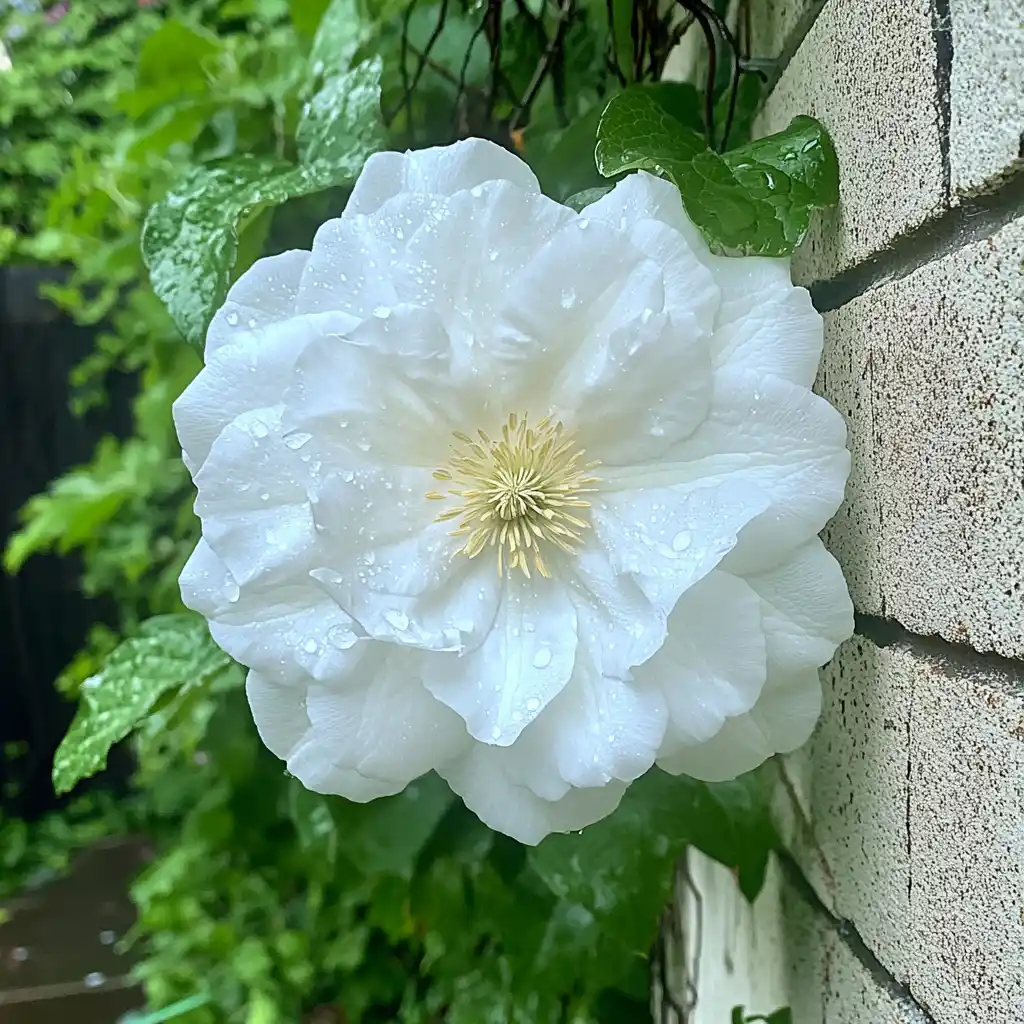
Now that you’ve chosen the perfect spot, it’s time to get your clematis in the ground. Proper planting is more than just digging a hole—it’s about giving your plant a strong, healthy start that encourages blooms for years to come.
🧱 Soil Preparation
Clematis thrives in:
- Well-draining soil
- Rich in organic matter like compost or humus
- Neutral to slightly alkaline pH (around 6.5–7.5)
If your soil is clay-heavy or acidic, improve it by:
- Mixing in compost or aged manure
- Adding garden lime to raise the pH (follow package instructions)
🪴 Container gardening? Use a high-quality potting mix and ensure the container has excellent drainage. Clematis prefers not to have “wet feet.”
🔨 Dig the Right Hole
- Make the planting hole 2–3 times wider and twice as deep as the root ball.
- Mix the native soil with compost at a 50/50 ratio and add lime if needed.
- Create a small mound of this enriched soil at the bottom of the hole to support the root ball.
📏 Planting Depth Matters
Unlike most perennials, clematis should be planted deeper than its original container level.
- Set the crown of the plant 2 inches below the soil surface
- This reduces the risk of clematis wilt and protects roots in winter
If your clematis arrived on a mini trellis, do not remove it. Instead:
- Carefully detach the trellis from the container
- Loosen any tightly wound roots at the bottom
- Place the plant and trellis together in the hole
💧 Water and Finish
- Backfill the hole gently, pressing soil around the root ball to remove air pockets
- Water deeply to settle the soil
- Add more soil if needed to maintain the correct depth
🏷️ Label Tip: Keep the plant tag or variety name handy—it’s crucial for knowing how to prune correctly later.
🍂 5. Why Mulch Is Important
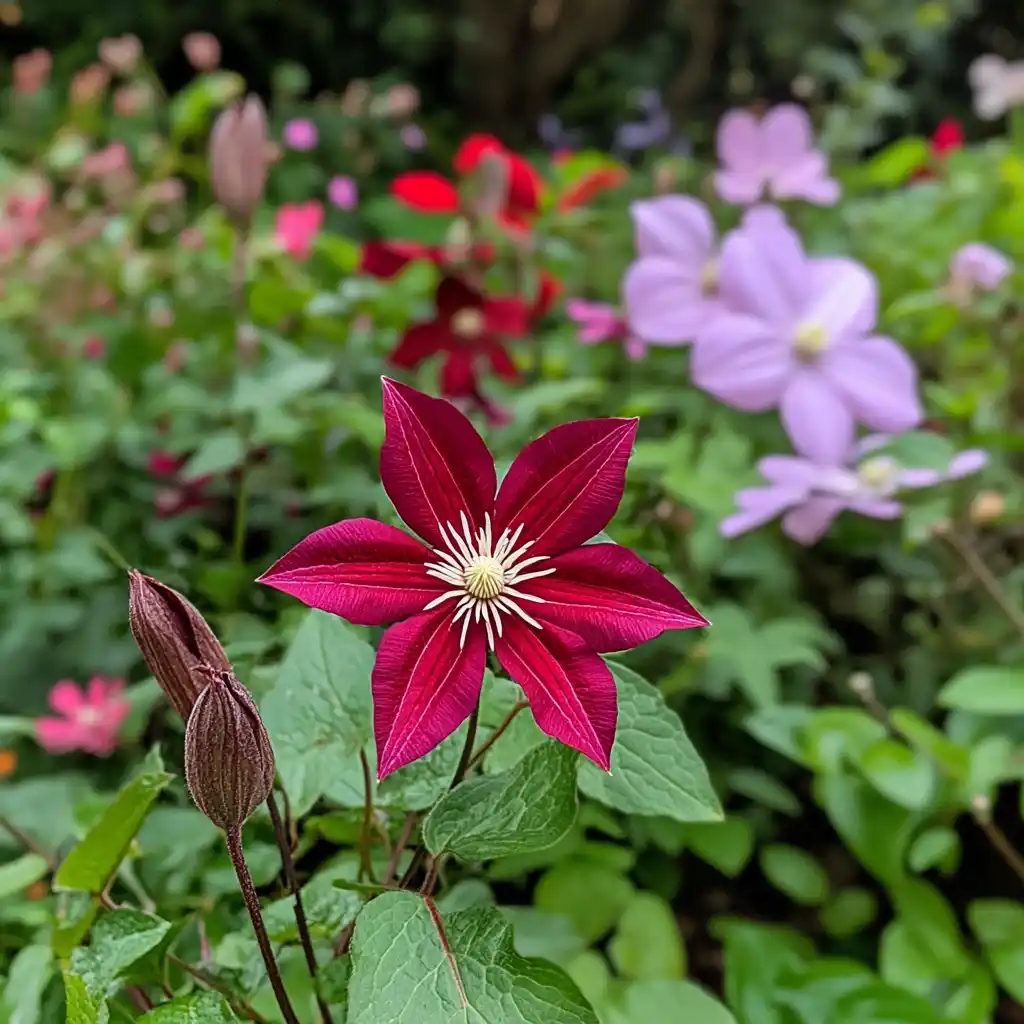
Mulch might seem like an afterthought, but for clematis, it’s a game-changer. Because clematis has shallow, delicate roots, mulch acts as both a temperature regulator and a moisture preserver—key ingredients for healthy growth and vibrant blooms.
🌱 Benefits of Mulching Clematis
Apply a 2–3 inch layer of mulch around the base of the plant, keeping it a few inches away from the stems to prevent rot.
Here’s what mulch does for clematis:
- Keeps soil cool – especially important in hot climates
- Retains moisture – prevents the roots from drying out during dry spells
- Reduces stress – consistent soil temperature means less shock and better growth
- Protects roots – insulates from temperature swings in early spring or late fall
- Suppresses weeds – less competition for water and nutrients
🧺 Best Mulch Materials
Choose organic materials that break down over time to improve soil health:
- Shredded bark or hardwood mulch
- Compost or leaf mold
- Shredded leaves or straw (keep dry)
🌤️ Bonus Tip: In addition to mulch, plant low-growing companions like hostas or geraniums at the base of your clematis. These not only add beauty but help shade the soil even more.
🧼 6. Ongoing Maintenance
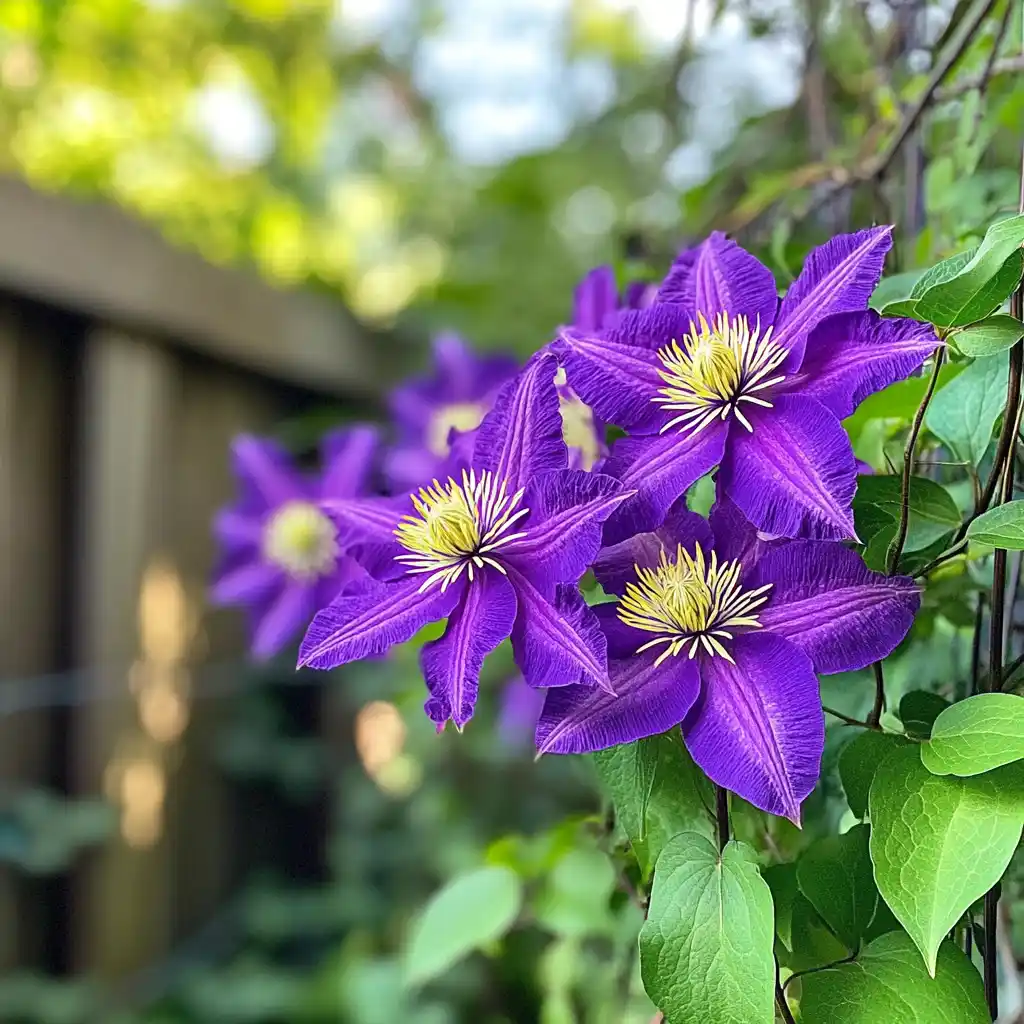
Once your clematis is planted and mulched, most of the heavy lifting is done—but a little regular care goes a long way. Knowing how to grow clematis includes understanding how to maintain the right balance of water, nutrients, and gentle attention through the seasons.
💧 Watering
Clematis prefers moist but well-drained soil. It doesn’t like to be soggy, but it also shouldn’t dry out completely—especially during the first growing season.
- Water deeply once or twice a week in the absence of rain
- During hot or windy weather, increase watering frequency
- Be consistent—avoid letting the soil go from soaked to bone-dry
🌿 Pro Tip: Use a drip irrigation system or soaker hose to water the roots directly without wetting the foliage. This helps prevent fungal issues.
🌱 Fertilizing
Too much fertilizer can lead to lush leaves and few flowers. Clematis isn’t a heavy feeder, so keep things simple:
- In early spring, top-dress with compost or aged manure
- Or apply a slow-release fertilizer like Rose-Tone® when new growth begins
- Avoid high-nitrogen fertilizers—they promote foliage at the expense of blooms
🧽 Other Maintenance Tips
- Remove dead or damaged stems anytime
- Reapply mulch each spring as it decomposes
- Train new vines early to encourage tidy growth on their support structure
- Keep the base shaded and well-mulched to reduce stress
✂️ 7. How to Prune Clematis
Pruning clematis isn’t a one-size-fits-all process. The right technique depends on which group your clematis belongs to, based on when and how it blooms. Don’t worry—it’s easy to manage once you know your plant’s name and pruning group.
🏷️ Pro Tip: Save the plant tag when you buy clematis. It usually tells you the pruning group and bloom type.
🌼 Group 1: Blooms on Old Wood (Early Spring)
These clematis varieties form flower buds on the previous year’s growth. That means if you prune too early or too late, you’ll cut off next spring’s flowers.
How to prune:
- Prune only after flowering, in late spring or early summer
- Trim lightly to shape or remove dead/damaged stems
- Don’t cut back hard—preserve as much old wood as possible
Examples: Clematis montana, Clematis armandii
🌸 Group 2: Blooms on Old + New Wood (Spring and Summer)
This group often blooms twice—once in spring (on old wood) and again later in summer (on new wood). Timing is everything.
How to prune:
- In early spring, cut back the top 12 inches of growth just above strong buds
- Remove dead or weak stems at the base
- Light shaping is fine, but don’t cut drastically
Examples: ‘Nelly Moser’, ‘The President’
🌺 Group 3: Blooms on New Wood (Summer to Fall)
These clematis varieties bloom only on new growth—which makes pruning super easy and forgiving.
How to prune:
- In early spring, cut stems back to 12–18 inches from the ground
- Leave at least one or two sets of strong buds on each stem
- This rejuvenates the plant and encourages strong summer blooms
Examples: ‘Jackmanii’, ‘Sweet Autumn Clematis’
🌱 First-Year Pruning
No matter the group, all new clematis plants should be cut back to about 12 inches tall after their first season. This promotes deep root growth and a fuller plant in future years—even if you have to sacrifice a few blooms early on.
🪓 Renovation Pruning (Overgrown Clematis)
If your clematis is wild, tangled, or underperforming:
- Prune it hard in early spring every 3–5 years
- Cut all stems back to a few strong buds near the base
- You’ll likely miss a season of blooms, but long-term health will improve
🌿 After renovation, feed with a balanced fertilizer and keep soil moist and mulched.
✅ Conclusion: Growing Clematis with Confidence
Clematis is easily one of the most rewarding additions you can make to your garden. With its dazzling array of colors, bloom shapes, and flowering times, it creates a visual spectacle whether it’s climbing a trellis, tumbling over containers, or threading gracefully through shrubs. Understanding how to grow clematis the right way—from choosing the correct variety and planting it deeply to proper mulching, feeding, and pruning—sets you up for long-lasting success. Once you master how to grow clematis, you’ll enjoy season after season of vigorous growth and abundant blooms.
There’s no need to feel overwhelmed. With a bit of planning and some ongoing care, your clematis will thrive—not just survive—and earn its place as one of the crown jewels of your landscape. Want to complement your vine with other beautiful blooms? Explore our guide on how to create the perfect rose garden or check out our top picks for shade-loving perennials that pair beautifully with clematis.
❓ FAQ: How to Grow Clematis
1. What is the best time of year to plant clematis?
The best time to plant clematis is in spring or early fall. These seasons provide moderate temperatures and allow the roots to establish before the stress of summer heat or winter cold.
2. Can clematis grow in shade?
Clematis prefers full sun (6+ hours daily), especially for optimal flowering. However, it benefits from shaded roots, so plant something low in front to keep the base cool. Some varieties tolerate partial shade but may produce fewer blooms.
3. How long does it take clematis to bloom after planting?
Clematis can bloom in its first or second year, depending on the variety and growing conditions. First-year blooms may be limited as the plant focuses on root development, especially if pruned back to encourage growth.
4. Why isn’t my clematis blooming?
Several factors can cause poor blooming:
- Too much shade
- Improper pruning (cutting off old wood for Group 1 or 2 varieties)
- Too much nitrogen fertilizer
- Plant still establishing roots (especially in year one)
5. Does clematis need to be pruned every year?
Yes, but how you prune depends on its bloom group:
- Group 1: Light pruning after flowering
- Group 2: Light pruning in early spring
- Group 3: Hard prune in early spring
First-year plants should always be pruned to 12″ to build strong root systems.
6. Can I grow clematis in containers?
Absolutely! Choose compact varieties and use a large, deep pot with good drainage. Provide a support structure and water regularly, as containers dry out faster.
7. Is clematis deer-resistant?
Clematis is not reliably deer-resistant. In areas with heavy deer pressure, consider using repellents or planting it where deer can’t easily access it.

