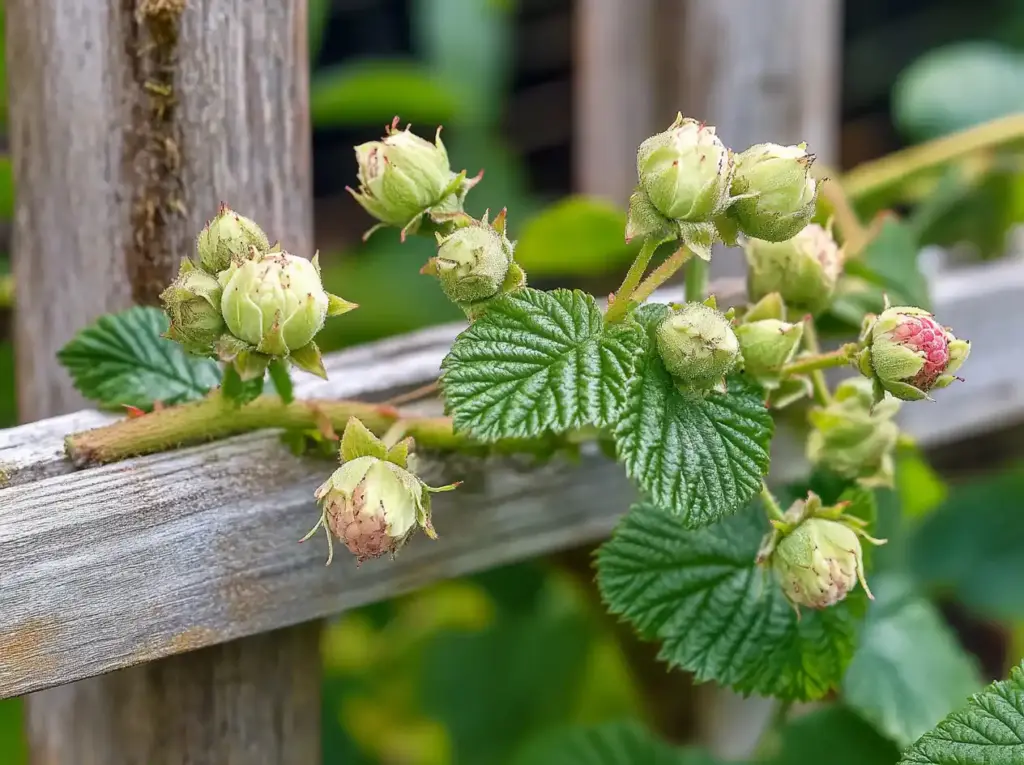
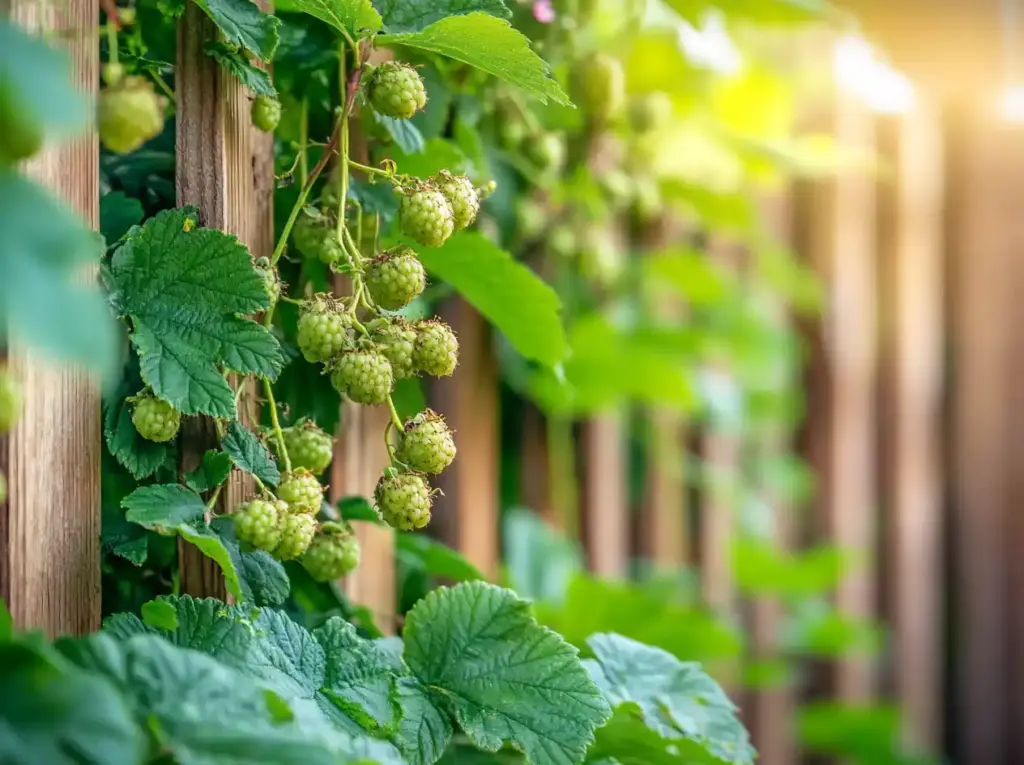
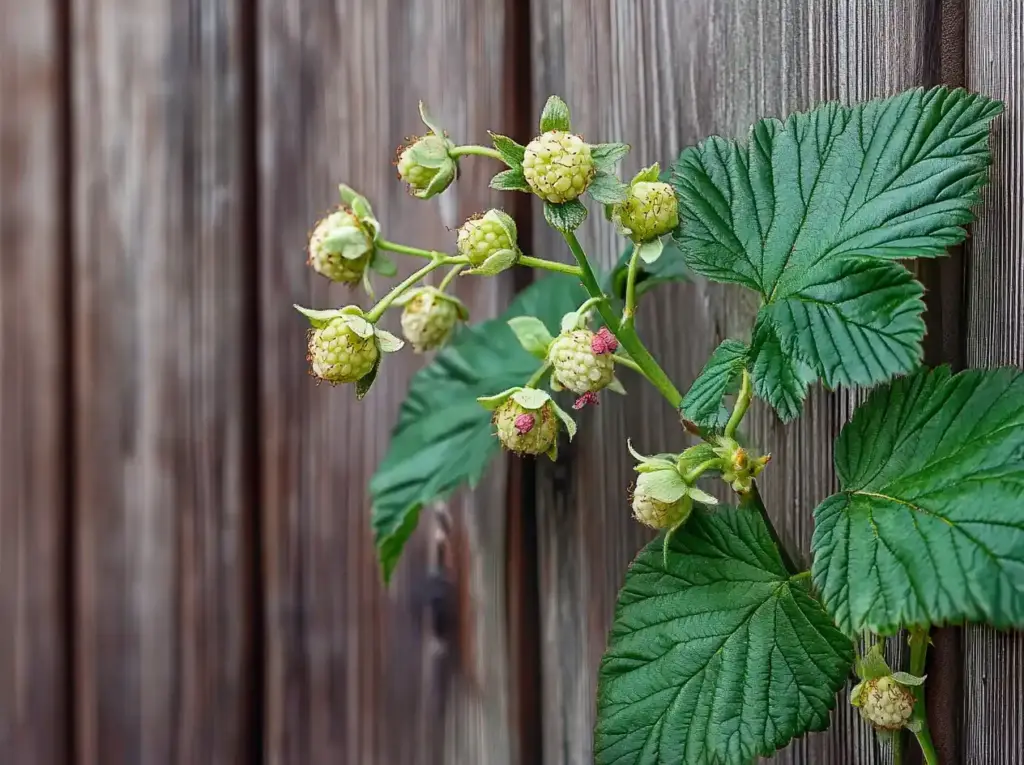
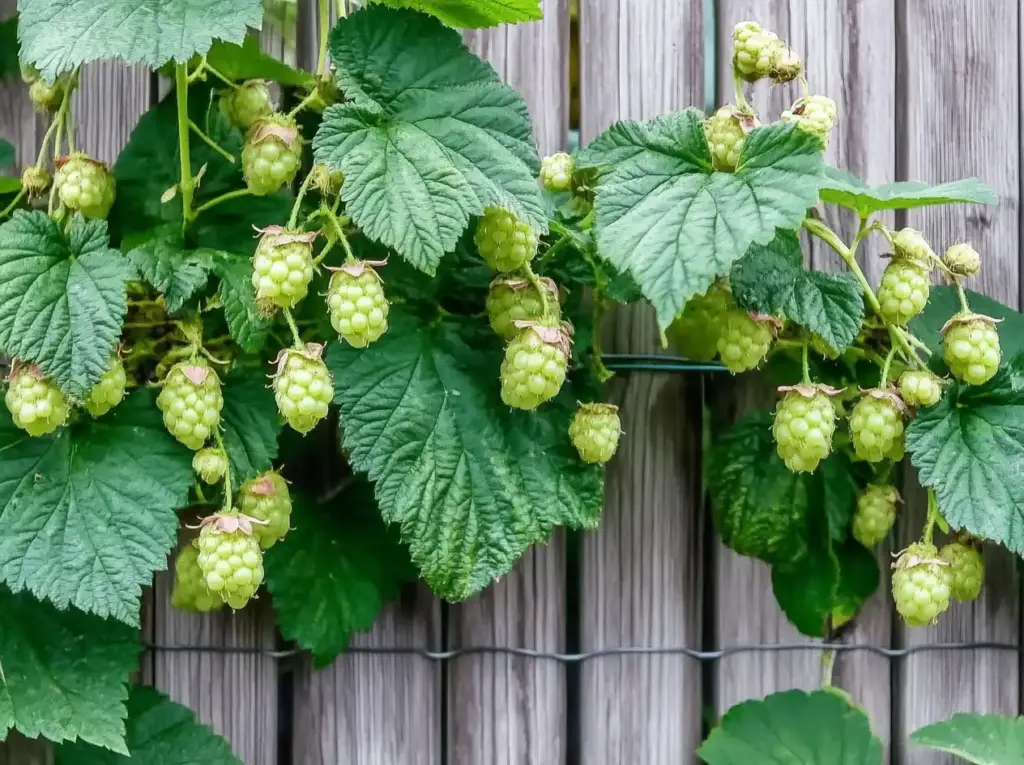
Raspberries are a delicious reward for home gardeners, but without proper support, their vigorous canes can quickly spiral into a tangled mess. That’s where these raspberry trellis tips come in. With the right structure and a few simple adjustments, you can improve airflow, boost berry production, and make harvesting much less of a prickly chore.
Whether you’re planning a fresh planting or want to tidy up an existing patch, these trellising strategies will help you grow raspberries that are healthier, more manageable, and more productive—all while saving space in your garden.
Table of Contents
1. Consider Sunlight Before Installation
When setting up your raspberry trellis, sunlight is one of the most important factors to get right. A poorly placed structure can unintentionally block light from other sun-loving plants, which could stunt their growth or limit your overall garden productivity.
Since raspberries thrive in full sun—ideally six to eight hours of direct sunlight per day—your trellis should be positioned to take full advantage of available light. A good rule of thumb is to install your raspberry trellis along the north or rear edge of your garden, especially if you’re growing shorter plants nearby. This ensures your berry brambles don’t cast unwanted shadows across your beds.
Another clever use of a raspberry trellis is as a living edible hedge or a vertical garden backdrop. Not only does this add structure and visual appeal to your space, but it also makes harvesting more accessible and prevents canes from flopping into walkways or neighboring crops.
Quick Tip: Track the sun’s movement across your garden for a day to find the brightest, least obstructed zone before installing your trellis.
2. Prepare the Soil Ahead of Time
Healthy soil is the foundation of any thriving raspberry patch—and prepping it well before you install your trellis ensures your canes get off to a vigorous start. Whether you’re planting new raspberries or retrofitting a trellis around established ones, good soil prep is essential.
For new plantings, begin by removing grass, weeds, and any debris from the area. If weeds are especially persistent, consider sheet mulching with cardboard for a few weeks to smother them naturally. Then, till the soil to a depth of 8–12 inches and enrich it with compost or well-aged manure. This improves drainage, boosts fertility, and creates the loose structure raspberries love.
If you’re working with existing raspberry plants, skip the tilling to avoid damaging roots. Instead, gently cultivate the top few inches of soil by hand, pulling weeds and incorporating compost as best you can around the base of the plants.
Aim to prepare a bed that’s about 2 feet wide and slightly longer than the planned trellis row. This gives the roots ample room to spread and supports the structural setup that follows.
Soil Tip: Raspberries prefer slightly acidic soil with a pH between 5.5 and 6.5. If unsure, use a basic soil test kit to guide amendments.
3. Space Raspberry Plants Properly

Proper spacing is one of the most overlooked—but most important—raspberry trellis tips. Giving your plants enough room ensures healthy airflow, which helps prevent diseases like powdery mildew and cane blight. It also makes pruning and harvesting far more manageable as the plants mature.
Here’s the ideal spacing setup:
- Individual canes should be planted about 2 feet apart within each row.
- Rows should be spaced at least 4 feet apart to allow access for maintenance and harvesting from both sides.
This spacing keeps plants from becoming overcrowded, which can lead to tangled canes and hidden pests. For best results, start with bare-root raspberries, soaking them in water for a few hours before planting to rehydrate and encourage early root growth.
After planting, apply a 1–3 inch layer of mulch (such as straw, shredded leaves, or wood chips) around the base of your plants. Mulch helps retain soil moisture, suppress weeds, and regulate temperature, all of which contribute to stronger, healthier growth.
Spacing Tip: Resist the urge to pack in more plants than recommended—overcrowding often leads to lower yields and more maintenance in the long run.
4. Choose the Right Trellising System
Choosing the best trellis design is a key step in setting up a functional, long-lasting support system for your raspberry canes. There’s no one-size-fits-all solution—the right choice depends on your garden size, budget, and how many plants you’re growing.
Here are the most common raspberry trellis options:
- T-Shape Trellis: Great for single rows, this design uses horizontal crossbars on vertical posts, allowing canes to be tied to wires on both sides. It provides strong lateral support and works well for heavier fruiting varieties.
- V-Shape Trellis: Canes are trained outward in a “V” formation, improving airflow and sunlight exposure inside the row. This system is ideal for maximizing yield and reducing disease risk.
- Post-and-Wire System: A budget-friendly and straightforward option. Metal T-posts or rot-resistant wood posts (like cedar) are set at intervals, with several rows of wire strung between them. This style is perfect for most home gardeners and easy to scale as your patch grows.
No matter the design, ensure your materials are durable and weather-resistant. For wires, 12.5-gauge high-tensile galvanized wire is a popular and long-lasting choice.
Expert Tip: When in doubt, start with a basic post-and-wire setup. You can always upgrade or customize it later as your raspberry plants grow and your needs evolve.
5. Install Sturdy Support Posts
Your raspberry trellis is only as strong as its support posts, so don’t cut corners here. Sturdy, well-anchored posts will keep wires taut, prevent sagging, and stand up to wind, weight, and weather over the years.
Start by selecting the right materials:
- Metal T-posts are easy to install and widely available.
- Rot-resistant wood posts—such as cedar or pressure-treated lumber—offer a more natural look and are ideal for raised beds or aesthetic gardens.
Here’s how to set them up:
- Place your end posts about 15 to 20 feet apart, positioned 1 to 2 feet away from the raspberry row to allow for growth space.
- Sink each post at least 1 to 2 feet deep into the ground for stability, leaving 3 to 4 feet of post above soil level.
- Use a post driver for metal posts or dig holes with a manual auger or post-hole digger for wood posts.
- If using raised beds, you can anchor wood posts directly to the bed’s exterior using long exterior-grade screws for a solid hold.
Make sure your posts are level and aligned before moving on to the wiring phase. Crooked or uneven supports can compromise the entire trellis structure.
Pro Tip: For extra durability, reinforce corner posts with diagonal bracing or install earth anchors, which we’ll cover in the next section.
6. Add Earth Anchors (Optional but Useful)

While not strictly required, earth anchors are a smart addition to any raspberry trellis setup—especially if you’re using wire, which creates tension that can pull posts inward over time. Anchors add long-term stability and help your trellis resist weather, fruit weight, and seasonal stress.
Here’s how to install them effectively:
- Position your anchor about 2 to 3 feet away from the outside of each end post.
- Screw it deep into the ground until the loop at the top is just above soil level.
- Once in place, loop a short length of wire from the top of the end post to the anchor’s loop.
- Use gripples, turnbuckles, or wire tighteners to secure the connection and apply tension.
This extra reinforcement is especially valuable if your raspberry patch is located in a windy area, has heavy clay soil, or features a longer row of canes.
Helpful Tip: Earth anchors aren’t just for large setups—they’re useful even in small gardens where long-term durability and neatness are a priority.
7. Secure Multiple Lines of Support Wire or Twine
Now that your posts and anchors are in place, it’s time to run the support wires that will hold your raspberry canes upright. These lines are the backbone of the trellis—literally—and spacing them properly ensures your canes stay neatly contained as they grow.
Wire is highly recommended over twine due to its durability and ability to handle the weight of mature canes and fruit. Choose 12.5-gauge galvanized high-tensile wire for longevity.
Here’s how to set it up:
- Run three or four horizontal lines of wire between your posts at the following heights:
- 2 feet above ground
- 3 feet
- 4 feet (optional for taller varieties or vigorous growth)
- For metal T-posts, thread the wire through the built-in holes.
- For wooden posts, use eye hooks or screw-in anchors to guide the wire.
- Use gripples, turnbuckles, or wire strainers to tighten the wire and keep it taut over time.
Always wear safety gloves and eye protection when handling wire to avoid injury. Once installed, these support lines give your raspberry patch a tidy, efficient structure and make the next step—tying up canes—much easier.
Quick Fix: If your wires sag over time, simply tighten them using a wire tensioner. Keeping wires taut is key to avoiding messy, drooping plants.
8. Loosely Attach Canes to Support Wires
With your support wires in place, it’s time to train your raspberry canes to grow vertically. This not only keeps the patch looking tidy, but it also improves airflow, makes harvesting easier, and prevents the canes from flopping over or tangling.
Here’s how to do it right:
- Wait until the raspberry canes are tall enough to reach the first wire (about 2 feet high).
- Use plant ties, soft twine, or plant clips to gently secure the canes to the wire.
- Attach canes every 4 inches or so to keep them upright and evenly spaced.
- Avoid tying too tightly—leave a little slack to allow for growth and prevent damage.
- As the canes grow taller, repeat the process on the higher support wires.
If you notice canes growing too close together or crowding each other, prune out the extras to maintain good spacing. A dense tangle of canes invites disease and makes berry picking more difficult.
Pro Tip: Label or color-code ties if you’re growing multiple raspberry varieties in the same row. It’ll help with organization and pruning later on.
9. Prune Dead Canes Annually

Pruning is one of the most important raspberry trellis tips for maintaining healthy, productive plants. Left untrimmed, old canes crowd new growth, reduce airflow, and make harvesting a thorny mess. Annual pruning clears out dead wood, directs energy to fruiting canes, and keeps your trellis system neat and manageable.
The way you prune depends on whether you’re growing summer-bearing or fall-bearing raspberries:
🌞 Summer-Bearing Raspberries:
- These produce fruit on second-year canes (called floricanes).
- After harvest, prune out the woody, brown canes that just fruited.
- Leave the green, first-year canes (primocanes), which will bear fruit the following summer.
- Tie the remaining canes back to your trellis to keep them spaced and upright.
🍂 Fall-Bearing Raspberries (a.k.a. Ever-bearing):
- These varieties produce fruit on first-year canes in late summer to fall.
- In late winter, cut all canes to the ground for a single large fall harvest.
- For a dual crop, leave a few sturdy canes standing. These will fruit early the following summer before being pruned.
Prune in late winter or early spring, before new growth starts. Always use sharp, clean pruners to prevent disease spread, and dispose of or compost the cuttings responsibly.
Maintenance Tip: Add a yearly pruning reminder to your garden calendar—it’s easy to forget, but essential for continued berry production.
10. Remove Suckers to Focus Growth
Raspberries naturally spread by sending up suckers—new shoots that emerge from the root system, often popping up several inches (or feet) away from the main row. While they might look like bonus plants, these suckers can quickly take over your garden space and steal energy from the productive canes on your trellis.
To keep your raspberry patch in check:
- Regularly inspect the area around your trellis for rogue canes.
- Use sharp pruners or a spade to cut or dig out suckers at the base.
- For particularly persistent suckers, cut just below the soil surface to discourage regrowth.
- If you’d like to expand your patch, replant healthy suckers near the trellis line, where they can grow in a managed, supported way.
Keeping suckers under control focuses the plant’s energy on the main fruiting canes, ensuring larger berries, better airflow, and a cleaner garden aesthetic.
Garden Bonus: Healthy suckers make great gifts for fellow gardeners or can be transplanted to start a new raspberry row elsewhere in your yard.
Frequently Asked Questions (FAQ)
❓ Do raspberries really need a trellis?
While raspberries can technically grow without a trellis, using one provides major benefits—like improved airflow, easier pruning and harvesting, better sun exposure, and reduced risk of disease. A trellis also helps keep canes upright and prevents messy overgrowth.
❓ What is the best trellis system for raspberries?
The post-and-wire system is one of the easiest and most effective trellis setups for raspberries. It’s affordable, scalable, and provides excellent support. For more advanced gardeners, T-shaped or V-shaped trellises can offer better airflow and fruit access.
❓ How tall should a raspberry trellis be?
A good raspberry trellis should be about 5 to 6 feet tall, with support wires at 2, 3, and 4 feet above ground. This height supports most raspberry varieties while making pruning and harvesting manageable.
❓ Can I add a trellis to established raspberry plants?
Yes! You can install a trellis around existing raspberry canes. Just be careful when digging near roots, and secure the canes gently to avoid breakage. Improving the soil and spacing out crowded canes will also help rejuvenate older patches.
❓ How often should I prune raspberries?
Prune annually in late winter or early spring, depending on the type of raspberry. Summer-bearing types need old canes removed after fruiting, while fall-bearing raspberries can be cut to the ground each winter for a fall-only harvest.
❓ What causes raspberry plants to spread?
Raspberries spread through underground suckers, which are new shoots from the root system. While this is natural, it can get out of hand. Regularly remove suckers or transplant them closer to your trellis to control the spread.
Conclusion
Trellising your raspberries isn’t just about neatness—it’s a transformative step toward healthier plants, easier harvests, and bigger berry yields. These raspberry trellis tips guide you through everything from spacing and soil prep to pruning and structural support, turning a wild bramble into a low-maintenance, high-performing berry patch.
If you’re installing a trellis around an existing row or planning a new one, this approach pairs perfectly with techniques used in DIY wooden trellising and other vertical growing systems. With the right setup, you’ll enjoy sun-ripened raspberries season after season, all while saving garden space and reducing disease pressure.


Thank you for this pretty comprehensive guide! Our raspberry patch is out of control and needs trellising big time! I want to start with pruning our patch this winter and setting up trellis’ spring 2026.
I would love to see examples of the 2 types of trellis’ you recommend. The visual would be helpful.
Thanks!