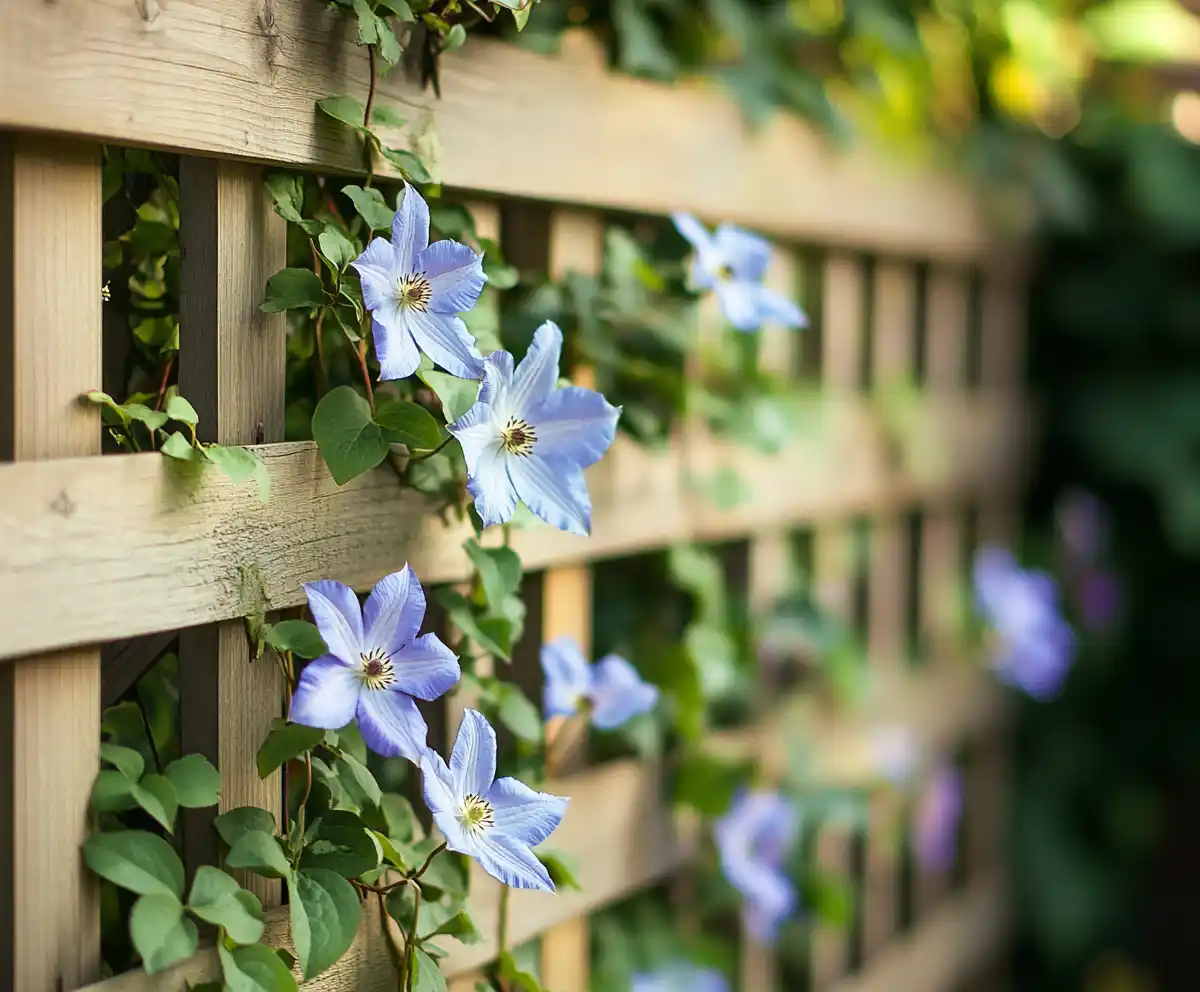
If you’ve ever imagined turning your backyard into a lush, serene sanctuary, starting with a thoughtfully built DIY trellis and other living garden structures is the perfect way to begin. These hands-on, natural projects not only add structure and beauty to your space but also let your creativity bloom. Whether you’re working with a compact patio or a full-sized landscape, designing your own DIY trellis brings a deeply personal and rewarding touch to your garden.
From clematis trellis designs to cucumber trellis ideas, these vertical features serve multiple purposes: they attract pollinators, improve airflow, and make your garden more efficient and eye-catching. Even better, creating a diy trellis is budget-friendly, sustainable, and suitable for beginners and experienced gardeners alike.
In this guide, you’ll discover six inspiring ways to elevate your space using living décor—with a special spotlight on building a diy trellis that brings height, character, and plant support to any outdoor area. Ready to grow something beautiful? Let’s get started!
Table of Contents
1. Create a Stunning Vertical Garden Wall
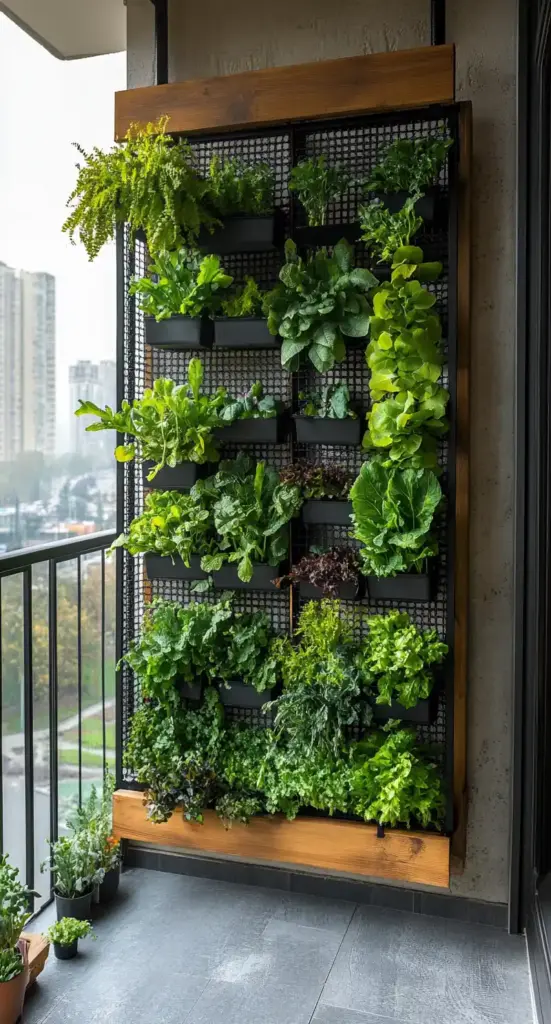
One of the most eye-catching and space-saving ways to green up your outdoor area is by building a vertical garden wall. This DIY project is ideal for gardeners who want to maximize greenery in small spaces or add an artistic, living focal point to a blank exterior wall. With a bit of planning and creativity, you can turn a bare surface into a lush tapestry of life.
Why Go Vertical?
Vertical garden walls are more than just pretty—they improve air quality, provide insulation, and bring natural beauty to eye level. Whether you’re growing herbs, flowers, or ornamental foliage, these living walls create a dynamic, eco-friendly statement.
Steps to Build Your Vertical Garden Wall
- Pick the Right Spot
Choose a location that gets plenty of sunlight and is easily accessible for watering and pruning. South- or west-facing walls usually work best for sun-loving plants. - Use Sturdy, Weather-Resistant Materials
Invest in a strong frame, such as a wooden pallet, metal grid, or recycled plastic planter wall. Make sure to include a waterproof backing to protect your home’s siding or fence. - Choose Compatible Plants
Select a combination of plants that have similar light, water, and soil needs. Popular options include trailing ivy, ferns, herbs like thyme and oregano, or flowering plants like petunias and nasturtiums. - Plan for Watering
A drip irrigation system or self-watering planter setup can help you maintain moisture levels without overwatering. If that’s not an option, establish a consistent hand-watering routine.
Bonus Tip:
For an extra touch of style, frame your vertical garden with reclaimed wood or install string lights around it for a soft evening glow.
A well-executed vertical garden wall adds depth, interest, and a natural element to your space—perfectly complementing your larger garden layout and making an excellent pairing with a DIY trellis nearby.
2. Craft a Charming DIY Trellis for Climbing Plants
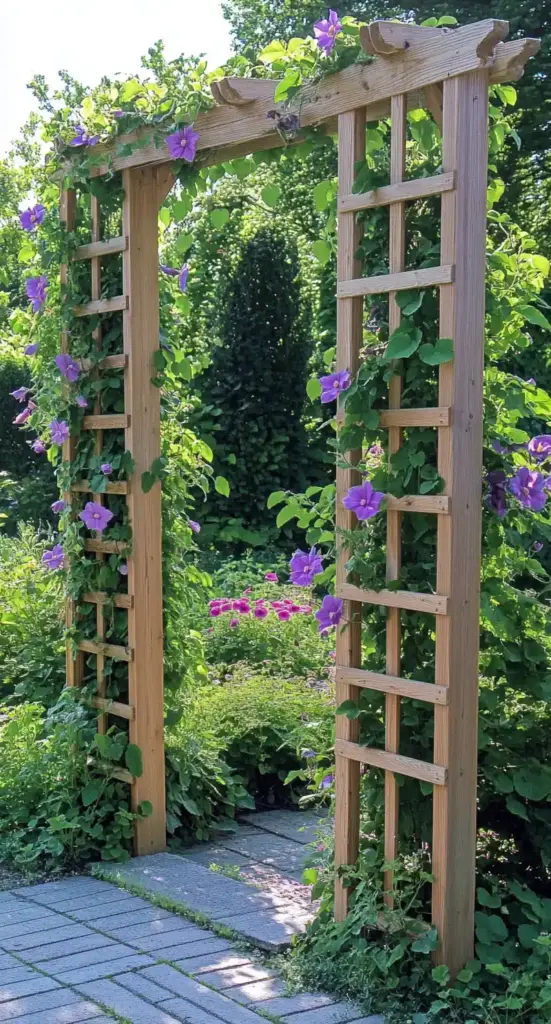
A thoughtfully built DIY trellis is more than a plant support—it’s a vertical design element that brings structure, height, and elegance to any garden space. Whether you’re training sweet peas, clematis, cucumbers, or morning glories, a trellis guides their growth while transforming your garden into a living piece of art.
Why Build Your Own Trellis?
Making your own DIY trellis allows you to customize the size, shape, and style to fit your garden perfectly. It’s an affordable, rewarding project that adds visual interest and makes the most of vertical growing space—ideal for both ornamental and edible plants.
How to Build a DIY Trellis
- Choose Durable Materials
Opt for weather-resistant options like cedar wood, galvanized metal, or bamboo. These materials can withstand outdoor conditions and hold the weight of maturing plants. Reclaimed wood is another eco-friendly choice that adds rustic charm. - Match the Design to Your Garden
Consider what you’re growing and where. For vegetable gardens, an A-frame or arch trellis works well for squash and beans. For decorative purposes, a flat wall-mounted trellis may suit clematis or roses. - Ensure Stability
A common DIY trellis mistake is poor anchoring. Use ground stakes, cemented posts, or attach your structure securely to a wall or raised bed. This prevents tipping over in wind or under heavy plant loads. - Add a Touch of Personality
Paint your trellis to match your garden’s color scheme or include lattice patterns, geometric shapes, or even vintage garden tools for flair. These artistic touches elevate the design and make your space feel more intentional. - Maintain the Structure
As your climbing plants grow, gently guide their vines onto the trellis using soft ties or clips. Regular pruning encourages healthy growth and keeps the structure tidy.
Plants That Love a Trellis
- Clematis
- Jasmine
- Sweet peas
- Pole beans
- Morning glories
- Tomatoes (with support)
A beautiful DIY trellis not only enhances your plant health but also serves as a striking visual anchor in the garden. Its blend of function and beauty makes it a must-have feature in any outdoor design—especially when paired with other vertical or living structures.
3. Design an Eye-Catching Living Garden Arch
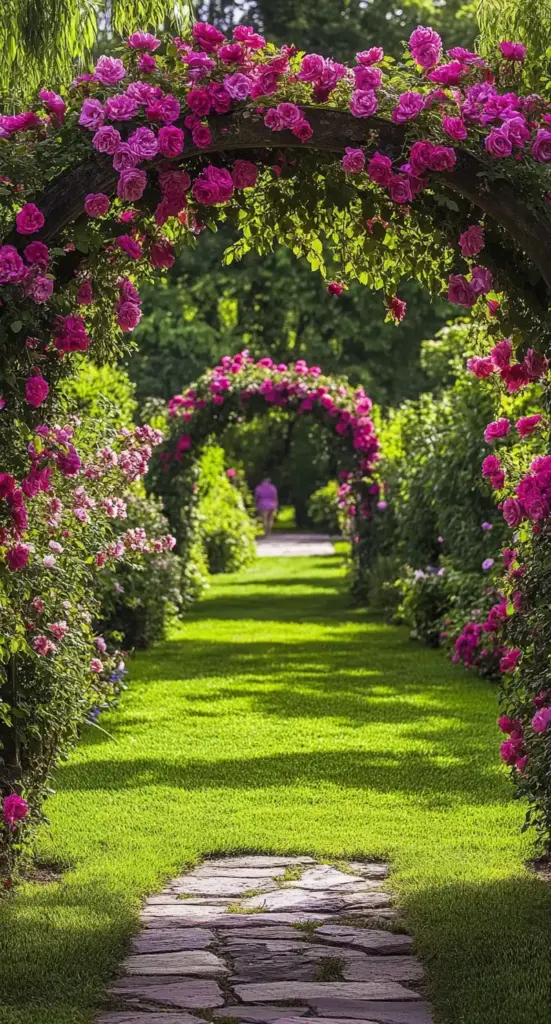
There’s something undeniably enchanting about walking through a blooming archway—it’s like entering a secret garden. A living garden arch offers more than visual beauty; it creates a sense of entry, invites exploration, and adds vertical drama to your landscape.
Benefits of a Garden Arch
A well-placed arch becomes a natural focal point, perfect for framing views, guiding foot traffic, or separating different areas of your garden. When adorned with climbing plants, it brings movement, color, and fragrance to the vertical plane—creating a dynamic, multi-season experience.
How to Design a Living Garden Arch
- Pick the Right Materials
Use strong, weather-resistant materials like wrought iron, pressure-treated wood, or powder-coated steel. Durability is key—your arch should support growing vines year after year. - Choose Your Climbing Plants Wisely
Look for vigorous climbers that suit your climate and lighting conditions. Flowering varieties like roses, honeysuckle, and bougainvillea add color and scent, while foliage-rich options like ivy or grapevines offer lush greenery. - Plan for Seasonal Appeal
Mix perennials and annuals to keep your arch interesting throughout the year. For example, combine spring-blooming clematis with summer-flowering jasmine and fall foliage plants. - Incorporate Lighting for Nighttime Charm
Wrap your arch in solar fairy lights or hang lanterns from its frame. This creates a cozy glow after dusk and makes the arch a welcoming pathway marker. - Secure Installation
Ensure the arch is well-anchored in the ground or attached to raised beds, garden gates, or walkways. You want it to remain stable through wind and weather, especially as your plants mature.
Ideal Locations for a Garden Arch
- Over walkways or gravel paths
- At the entrance of a vegetable or flower garden
- Between patio areas and lawn space
- Flanking a bench or garden swing for a cozy nook
A living arch combines structure, movement, and mood in one elegant feature. Whether it stands alone or complements a nearby DIY trellis, this addition will elevate your garden’s sense of story and design.
4. Build a Rustic Raised Garden Bed
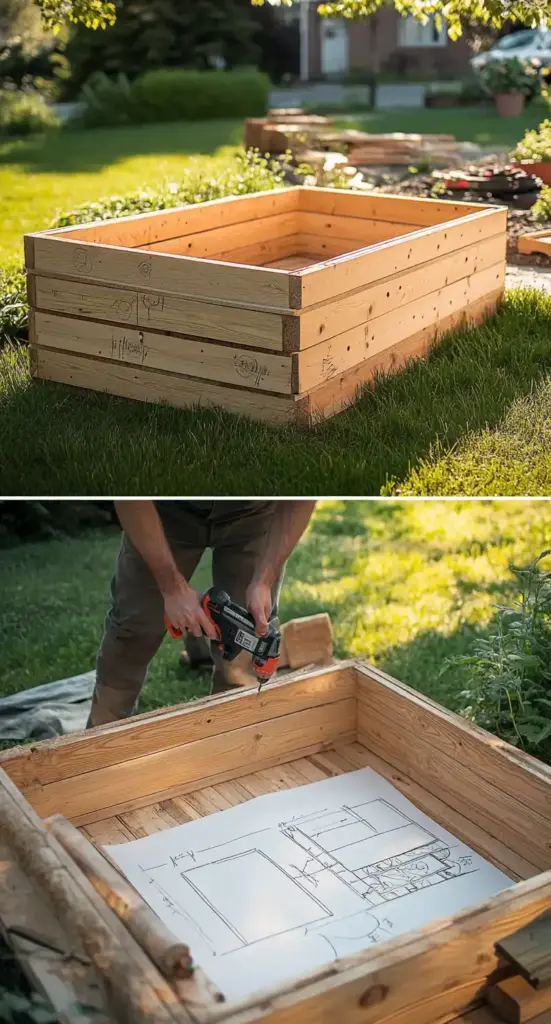
A raised garden bed is one of the most versatile and beginner-friendly additions you can make to any outdoor space. When styled with natural materials and thoughtful design, it becomes both a productive growing zone and a charming rustic focal point in your garden.
Why Choose a Raised Bed?
Raised beds offer numerous benefits: improved drainage, better soil control, fewer weeds, and less strain on your back. They also warm up faster in spring, extending your growing season. Add a rustic touch, and they become an aesthetic feature—especially when paired with structures like a DIY trellis for vertical-growing veggies.
How to Build a Rustic Raised Garden Bed
- Select the Right Location
Look for a sunny spot that receives at least 6 to 8 hours of light daily. This ensures your vegetables, herbs, or flowers thrive. - Use Untreated, Natural Wood
Choose materials like cedar or pine. Cedar is naturally rot-resistant and long-lasting, while pine is budget-friendly and easy to work with. Avoid pressure-treated lumber, as it may leach chemicals into the soil. - Stick to Standard Dimensions for Easy Access
A common and effective size is 4 feet wide by 8 feet long. This allows you to reach the center from either side without stepping on the soil, preserving its structure. - Assemble Securely
Cut your wood to size and screw the corners tightly together to form a sturdy rectangle. Reinforce longer sides with middle braces to prevent bowing over time. - Fill with Quality Soil
Use a mix of compost, topsoil, and organic matter to give your plants a nutrient-rich environment. You can even layer in some kitchen scraps or leaves at the base for added fertility.
Optional Add-Ons
- Line the bottom with landscape fabric to prevent weeds.
- Add corner posts or a built-in DIY trellis for vining crops like tomatoes or cucumbers.
- Use decorative trim or aged wood to enhance the rustic charm.
Whether you’re growing salad greens or creating a floral showcase, a rustic raised garden bed brings structure, productivity, and warmth to your space—all with a handcrafted touch.
5. Construct a Whimsical Fairy Garden Space
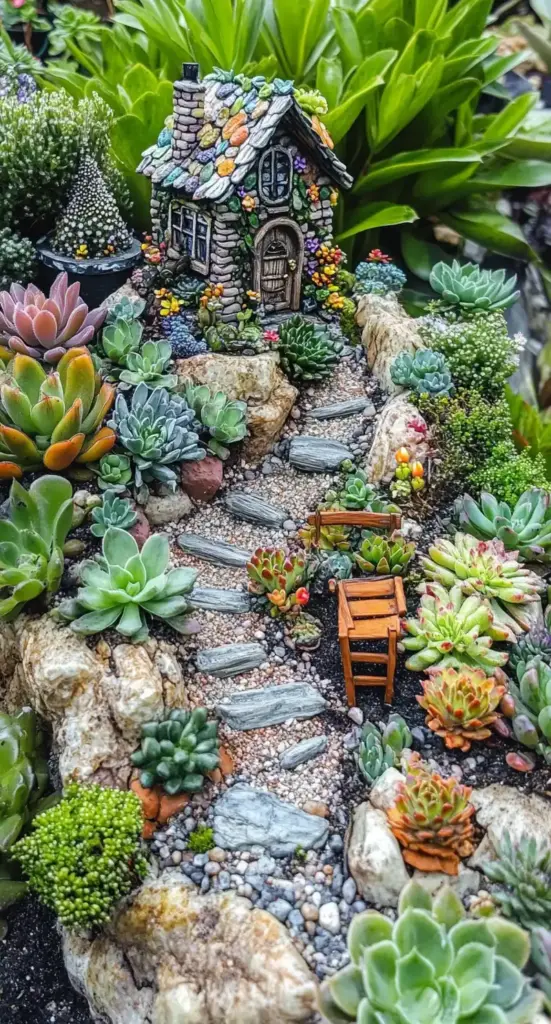
If you’re looking to add a bit of magic and charm to your landscape, a fairy garden offers the perfect mini escape. These playful, themed spaces invite creativity and storytelling into your yard, especially when nestled under trees, inside planters, or alongside a DIY trellis covered in vines.
What Is a Fairy Garden?
A fairy garden is a miniature landscape filled with tiny plants, whimsical décor, and fantasy-inspired elements. It’s like building a small-scale wonderland that delights children and adults alike—perfect for backyards, patios, or even container gardens.
How to Create a Magical Fairy Garden
- Pick a Theme to Guide Your Design
Popular themes include enchanted forest, seaside escape, gnome village, or even a mystical ruin. Let your imagination set the tone for the plants and accessories you’ll include. - Choose Miniature or Ground-Cover Plants
Select plants that stay small and grow slowly. Good options include mosses, dwarf ferns, creeping thyme, baby tears, and small succulents. These create the feel of a lush, fairytale-scale environment. - Add Whimsical Décor
Incorporate tiny fairy houses, bridges, arbors, and pathways using natural materials like bark, twigs, and pebbles. Look for miniature benches, fairy figurines, or acorn furniture to bring it all to life. - Use Soft Lighting
Solar-powered fairy lights or glow-in-the-dark stones add nighttime enchantment. You can also hang tiny lanterns from a nearby branch or DIY trellis to cast a magical glow over your garden scene. - Contain It Creatively
A broken clay pot, shallow wooden crate, or vintage drawer can act as a perfect fairy garden container. Group several together for a layered fairy village.
Tips for Long-Term Enjoyment
- Water gently and prune regularly to maintain the miniature scale.
- Rotate themes seasonally—like adding snow-dusted décor for winter or seashells for summer.
- Let kids help create and care for it—it’s a wonderful way to introduce them to gardening.
A fairy garden blends nature and fantasy into a joyful display that’s as fun to build as it is to admire. Whether tucked beside your raised bed or at the base of a DIY trellis, it’s sure to bring smiles and curiosity to your garden space.
6. Assemble a Unique Succulent Planter Box
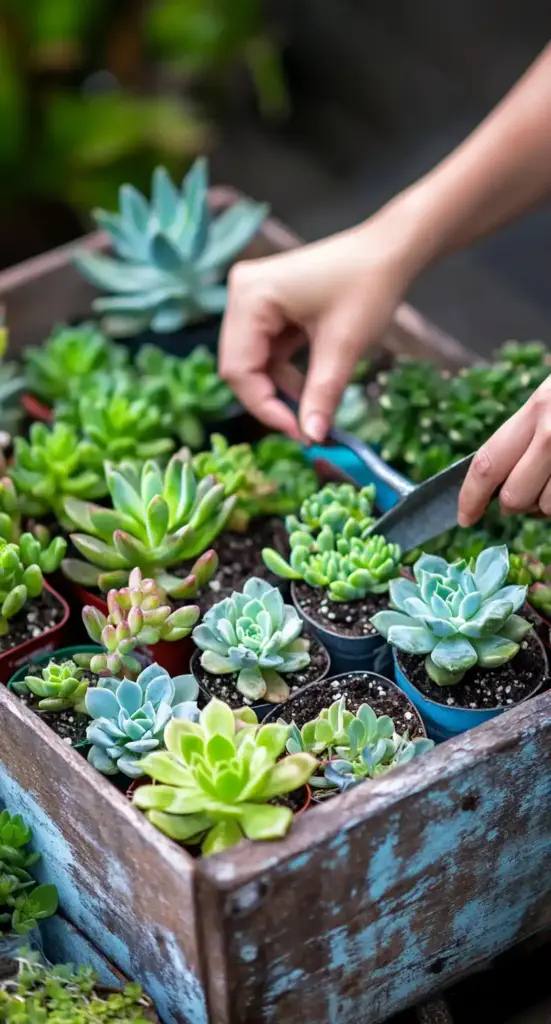
Succulents are beloved for their variety, resilience, and sculptural beauty—and a well-crafted succulent planter box is a fantastic way to showcase them. Whether you’re adding greenery to a patio, balcony, or even a shelf near your garden’s DIY trellis, this project combines low-maintenance gardening with high visual impact.
Why Succulent Planters?
Succulents require little water, thrive in well-draining soil, and come in endless shapes, colors, and sizes. This makes them perfect for DIY projects that balance artistry and sustainability. Plus, they grow slowly, so your arrangement will maintain its design for months with minimal upkeep.
Steps to Build a Succulent Planter Box
- Choose the Right Container
Wood, metal, ceramic, or concrete planters all work—just make sure there’s a drainage hole at the bottom. Shallow boxes work best since most succulents have short root systems. - Use the Proper Soil Mix
Succulents need fast-draining soil to avoid root rot. A cactus/succulent mix is ideal, or you can create your own with equal parts potting soil, coarse sand, and perlite or pumice. - Select and Combine Succulents Thoughtfully
Pick a mix of rosettes, trailing varieties, and upright plants to create height, contrast, and texture. Consider colors too—pale greens, purples, reds, and blues can all play beautifully together. - Design with Intention
Place taller succulents toward the back or center, and trailing ones near edges to spill gracefully over the box. Leave a bit of space between each plant to allow for growth. - Top It Off
Add a decorative top layer using pebbles, crushed glass, or tiny bark pieces. This not only boosts aesthetic appeal but also helps prevent moisture retention on the soil surface.
Placement Ideas
- Line them along walkways
- Mount on fences or walls
- Cluster with other containers for a layered look
- Position near your DIY trellis for a balanced hard-soft visual contrast
Succulent planter boxes are compact, stylish, and incredibly rewarding to create. Their geometric forms and calming palette offer the perfect final touch to any garden—especially when coordinated with the vertical and structural elements you’ve already added.
Frequently Asked Questions (FAQ)
What is the best material for a DIY trellis?
The best materials for a DIY trellis are weather-resistant options like cedar wood, galvanized steel, or bamboo. These materials are durable, attractive, and can support the weight of climbing plants through various seasons.
How tall should a garden trellis be?
The ideal height depends on the type of plant you’re supporting. For vegetables like peas and beans, a trellis around 4–6 feet is sufficient. For flowering vines or heavier climbers like roses, aim for 6–8 feet with solid anchoring.
Can I attach a DIY trellis to a raised garden bed?
Yes! Attaching a DIY trellis to a raised garden bed is a smart way to maximize vertical space and support climbing crops like tomatoes or cucumbers. Just make sure the bed frame is sturdy and secure the trellis firmly to prevent tipping.
What climbing plants work best with a DIY trellis?
Some of the best climbing plants for trellises include clematis, jasmine, sweet peas, morning glories, and pole beans. Choose varieties based on your climate, sun exposure, and desired aesthetic (flowers vs. foliage vs. edible harvest).
How do I maintain my trellis and climbing plants?
Regularly inspect the trellis for damage or loosened joints, especially after storms. Prune plants to encourage healthy growth and prevent overcrowding. Use plant ties or soft twine to help new vines climb in the right direction.
Conclusion
From vertical walls to whimsical fairy spaces, each of these DIY garden projects brings a unique blend of creativity, sustainability, and personal flair to your outdoor space. Whether you’re framing a walkway with a lush arch or building a DIY trellis to support a cascade of sweet peas, these living decorations invite you to see gardening as both a functional and artistic endeavor.
Start small or dive in deep—either way, your garden will thank you. And the best part? These projects aren’t just beautiful; they’re incredibly rewarding to build with your own hands.
So grab your tools, let nature be your palette, and turn your garden into a living, growing masterpiece.

