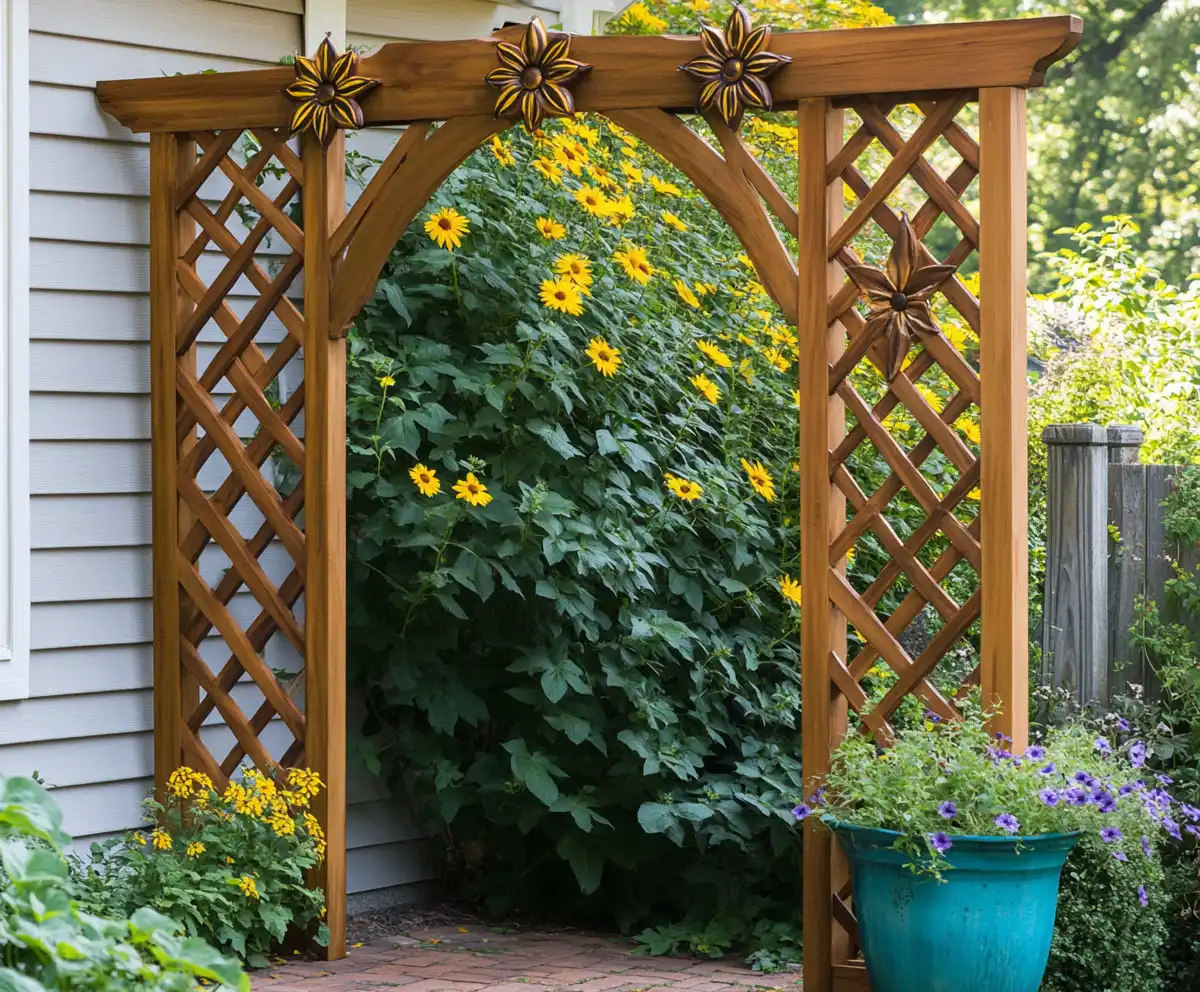
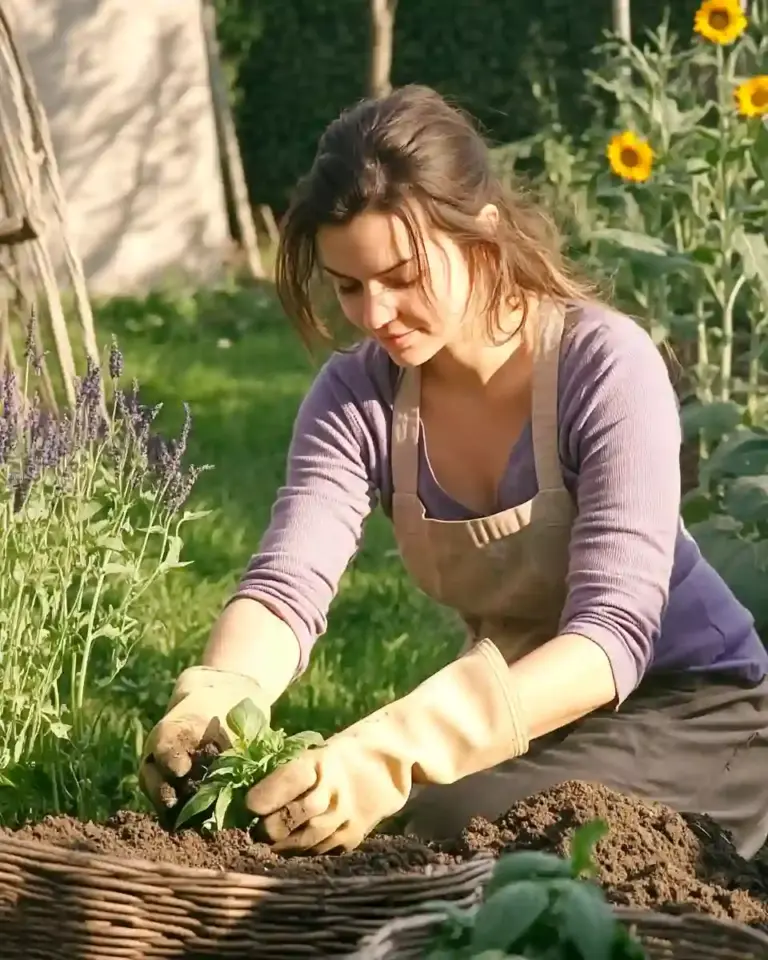
Creating a lush vertical garden doesn’t require a big budget or advanced carpentry skills. With just a few hours and basic tools, you can build a wooden garden trellis that supports flowering vines, adds height and character, and brings pollinators like bees and butterflies into your yard. If you’re working with a small backyard or looking to revitalize a plain wall, a DIY trellis is a rewarding project that enhances your garden’s beauty and functionality.
In this step-by-step guide, you’ll learn how to build a trellis using rot-resistant wood, design it to suit your garden’s style, and install it securely—so it stands tall through every season. For inspiration, check out our 10 garden trellis ideas for vertical gardening and get creative with your own layout!
Table of Contents
🛠️ Project Overview
- Working Time: ~2 hours
- Skill Level: Beginner
- Best For: Supporting climbing plants like sweet peas or morning glories; adding structure and elegance to any garden wall or bed.
This project is perfect for weekend warriors or first-time DIYers. Plus, it’s fully customizable—you can scale it up or down depending on your space and plant needs. And the best part? It’s as functional as it is beautiful.
🧱 Materials & Design Tips for Building a Trellis
Before you begin construction, it’s important to select materials that are both durable and visually appealing. A well-built trellis should last for years and enhance your garden’s style while supporting your favorite climbers. Here’s what to keep in mind:
✅ Choose Rot-Resistant Wood
To ensure your trellis withstands outdoor elements, opt for:
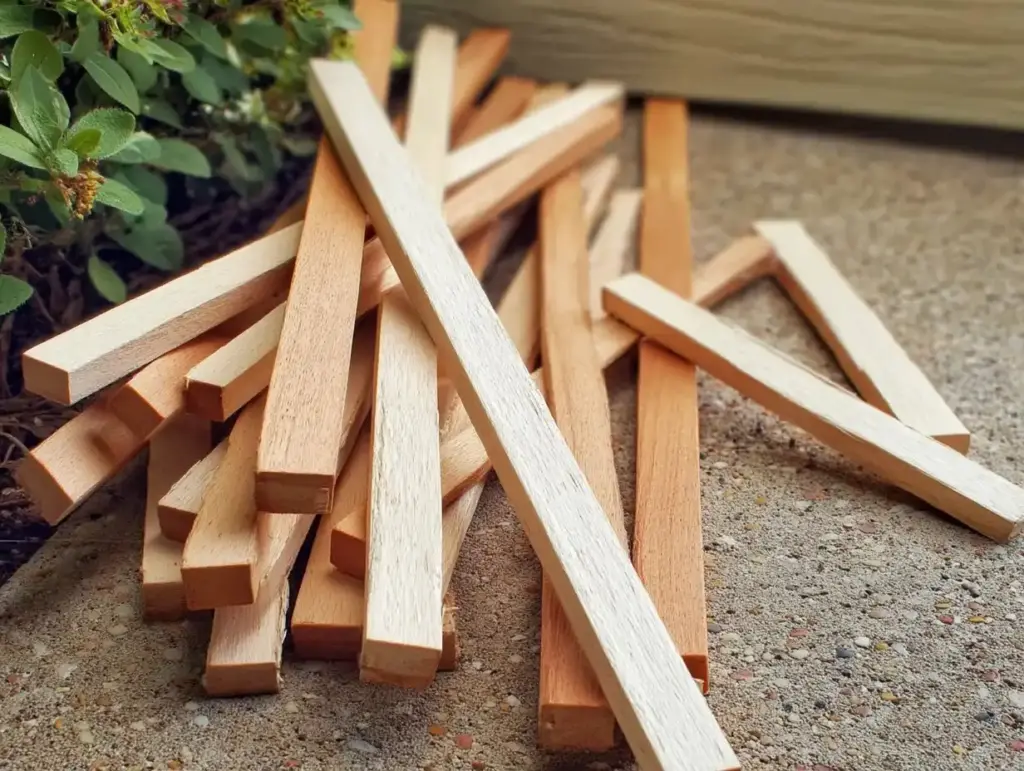
- Cedar – Naturally resistant to rot and insects; ages beautifully to a silvery gray.
- Pressure-treated pine – Budget-friendly and long-lasting (just make sure it’s rated safe for garden use).
🎨 Protect with Stain or Paint
Protect your wood from moisture and UV damage by applying:
- Exterior-grade stain for a natural look
- Primer and outdoor paint for color and added protection
💡 Pro Tip: Staining or painting your wood before assembling the trellis can save time and help you reach tricky corners. Just be prepared to do a few touch-ups after installing screws.
🧩 Customize Your Design
Your trellis doesn’t need to be a perfect grid. Sketch your own pattern or follow a classic layout of 6-inch squares. Whichever you choose:
- Make sure the structure is symmetrical
- Keep intersections aligned for a clean, polished look
- Use galvanized or stainless-steel screws to prevent rust
With your materials and design in place, you’re now ready to start building!
🪚 Step-by-Step Instructions: Build a Trellis with Ease
1. ✂️ Make Your Cuts
Using your sketch or plan, measure and cut all your wooden boards to the desired lengths. A basic rectangular grid typically uses:
- Two long vertical boards (these act as posts)
- Multiple shorter horizontal slats
Be sure to use a sharp saw and double-check your measurements. Consistent lengths make assembly faster and cleaner.
2. 📝 Plan Your Trellis Layout
Sketch out your trellis design on paper, including:
- Total height and width
- Number of cross slats
- Spacing between intersections
Then gather and organize all your pre-cut boards, keeping them sorted by length for easy access during assembly.
3. 🧭 Create a Chalk Guide
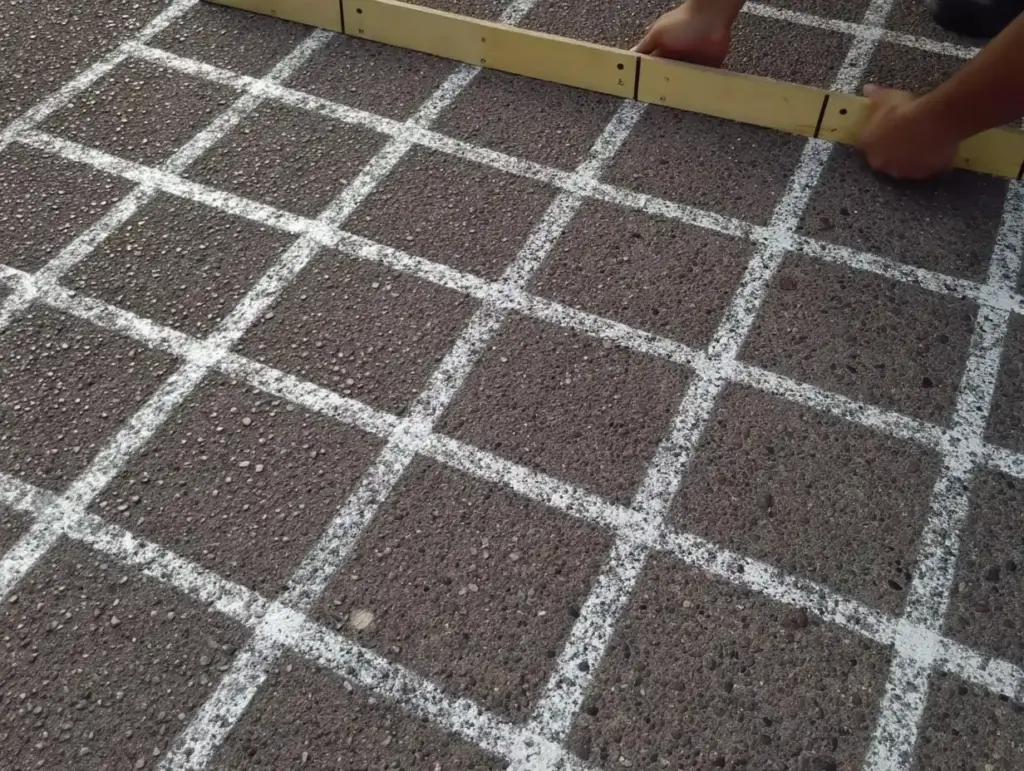
Find a flat surface—like a driveway or patio—and use chalk to draw parallel lines 6 inches apart. These lines will help you:
- Align your boards perfectly
- Maintain even spacing
- Keep the grid square
Tip: Use one of your cedar boards as a straightedge for clean lines.
4. 🔲 Finish the Grid
Next, add perpendicular lines to form a grid of 6-inch squares. This visual guide ensures your trellis pattern stays symmetrical and your angles are true.
5. 🧩 Lay Out the Trellis Pieces
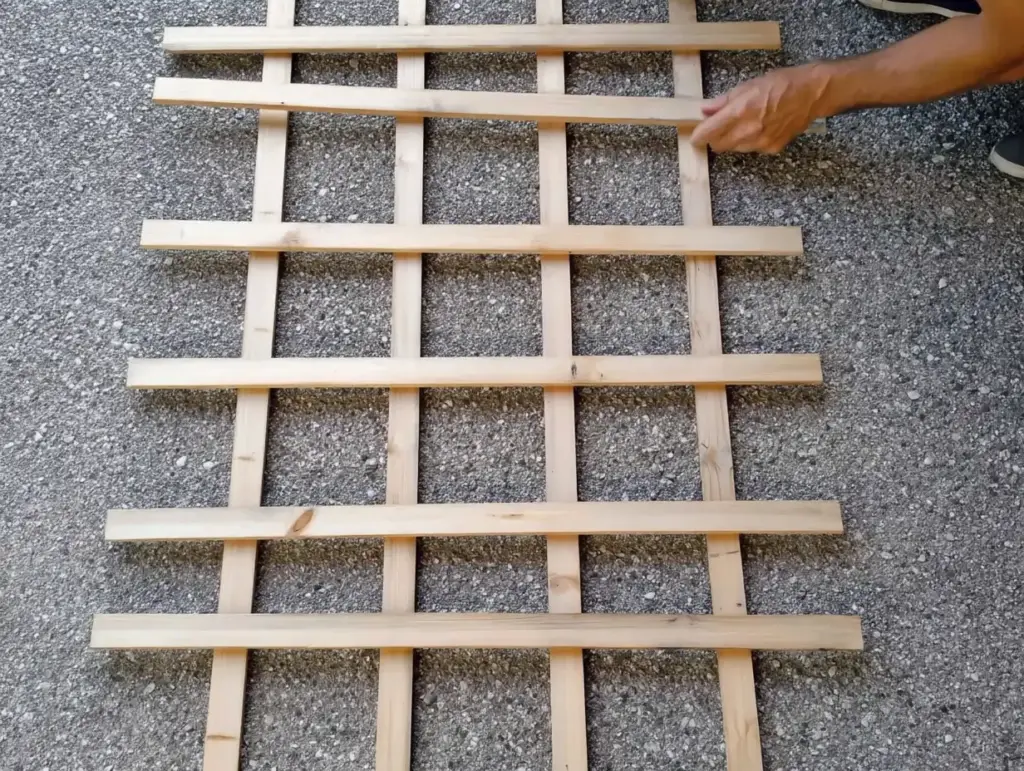
Before you start screwing boards together, lay out the full design on the chalk grid. Try different patterns if you like—some gardeners prefer diagonal or staggered layouts for visual interest.
- Check spacing
- Make minor adjustments
- Step back and view it from a distance for symmetry
6. 🔩 Assemble the Trellis Frame
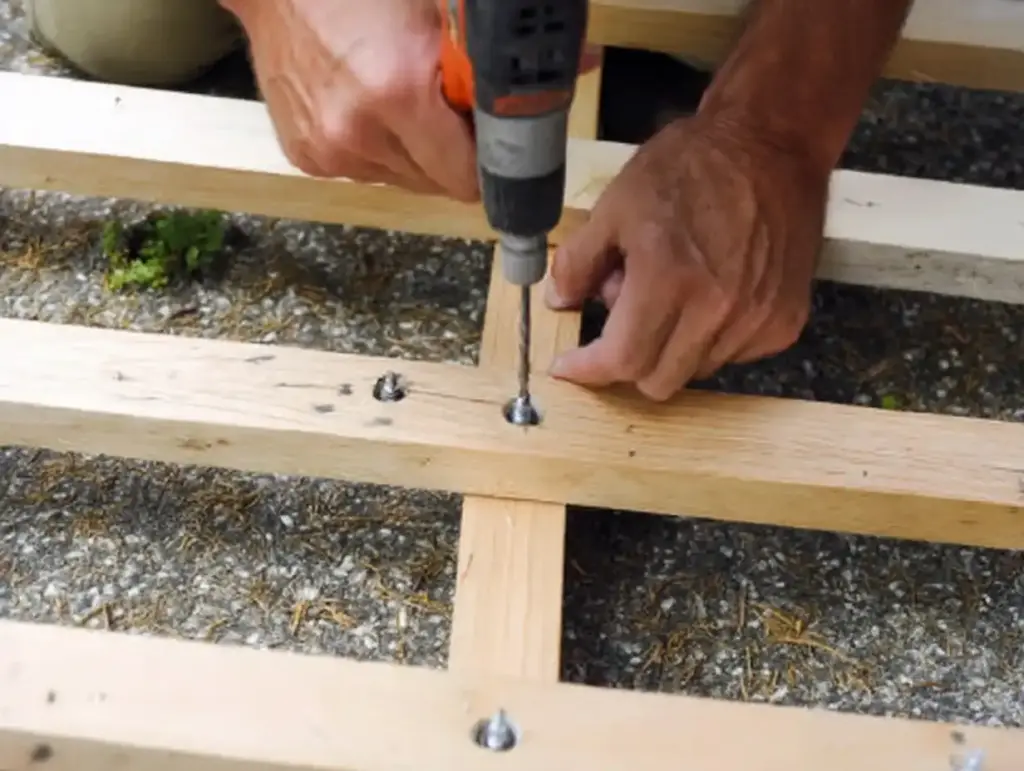
Once you’re happy with the layout, it’s time to secure the pieces:
- Use exterior-grade screws
- Drive screws from the back of the trellis at each intersection
- Add two screws per joint for stability
This back-side screw technique keeps the front visually clean and professional-looking.
7. 🎨 Paint or Stain (Optional)
Now’s the perfect time to finish the surface if you haven’t already:
- Use a weather-resistant stain for a natural look
- Choose bold garden-friendly colors for a pop of personality
Let it dry fully before installation.
8. 🌱 Place the Trellis and Plant Vines
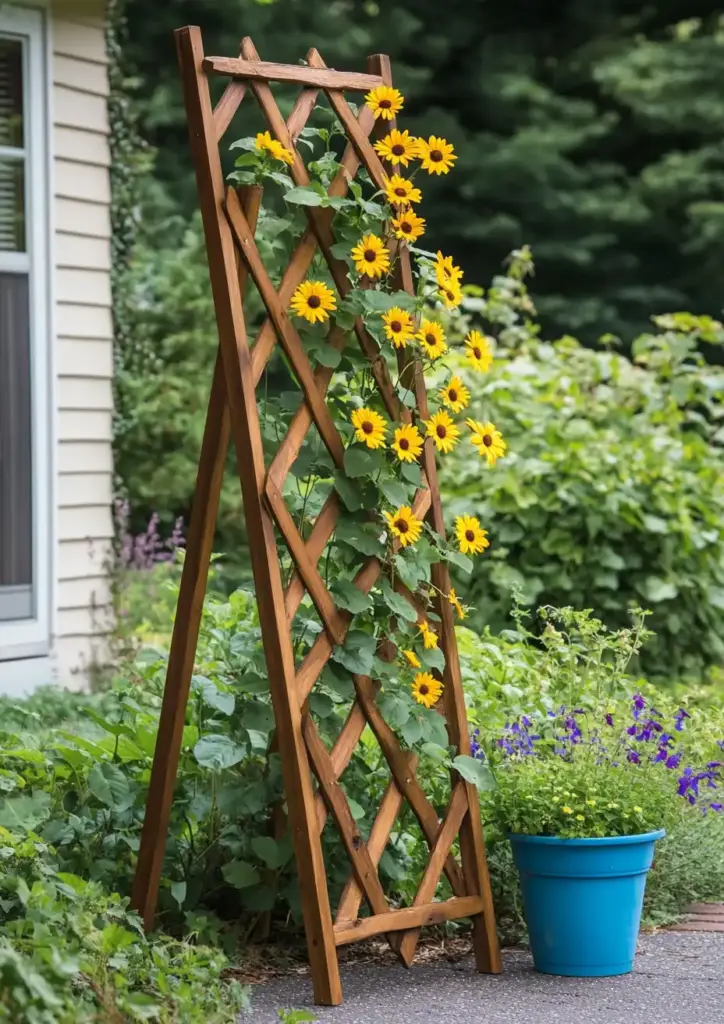
You’re almost done! Now install your new trellis directly into the ground or against a wall.
- Dig post holes at least 10 inches deep
- Add gravel for drainage at the bottom
- Place the posts, check for plumb (vertical alignment)
- Backfill with soil, tamping as you go
Once secured, plant your favorite climbing plants at the base.
Great options:
- Morning glory
- Black-eyed Susan vine
- Sweet peas
These vines will quickly fill out your trellis, creating a wall of vibrant blooms and attracting pollinators like bees and butterflies.
❓ Frequently Asked Questions: Build a Trellis
🔨 Do I need special tools to build a trellis?
No special tools are required. A basic DIY trellis project only needs simple tools like a saw, drill, measuring tape, pencil, and chalk. For larger builds, a power drill and miter saw can make the job easier.
🪵 What type of wood is best to build a trellis?
Cedar is ideal for building a trellis due to its natural resistance to rot and insects. Pressure-treated pine is also a good option for budget-conscious gardeners. Avoid untreated softwoods, which may not hold up in outdoor conditions.
🌧️ Should I paint or stain the trellis before or after assembly?
You can do either, but many gardeners prefer to stain or paint the wood before assembling to get more even coverage—especially on hard-to-reach areas. Be prepared for minor touch-ups after screwing pieces together.
📏 How tall should I build a garden trellis?
It depends on your space and plant type. Most trellises range from 4 to 7 feet tall. Taller trellises are great for climbing plants like morning glories or runner beans, while shorter ones work well for sweet peas or cucumbers.
🌱 What are the best plants to grow on a wooden trellis?
Some of the most popular climbers for a DIY wooden trellis include:
- Morning glory
- Sweet peas
- Black-eyed Susan vine
- Clematis
- Runner beans
These plants not only climb well but also provide color, fragrance, and pollinator appeal.
🧰 Can I build a trellis against a wall or fence?
Yes! You can install your trellis directly into the ground or mount it against a wall or fence using brackets or masonry anchors. Just make sure there’s enough space behind the trellis for air circulation and plant growth.
🌼 Final Thoughts: Build a Trellis and Watch Your Garden Climb
Whether you’re aiming to frame a flower bed, brighten a blank wall, or support climbing plants like clematis or climbing roses, learning to build a trellis is a beginner-friendly project with rewarding results. In just a couple of hours, you can create a sturdy, eye-catching structure that instantly boosts curb appeal and brings vertical beauty to your outdoor space.
But trellises go beyond function—they’re a fun way to show off your creativity. Pair your DIY trellis with pollinator-friendly flowers like sweet peas or vining plants to turn your garden into a blooming showcase. So grab those tools, sketch your layout, and start a project that adds life, texture, and personality to your landscape.
🌿 Love gardening inspiration? Follow me on Pinterest for bold plant ideas, tips, and seasonal color!
More Posts
