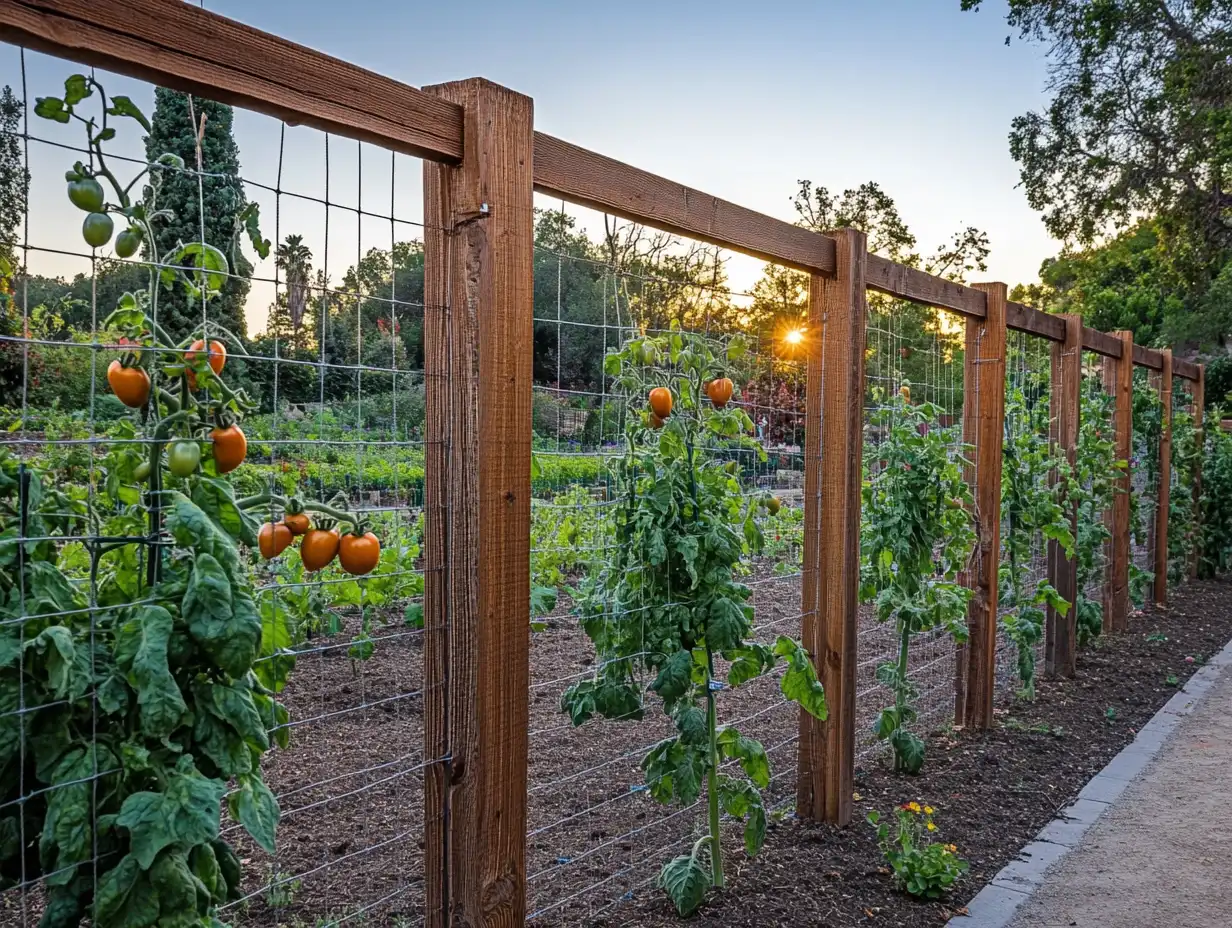
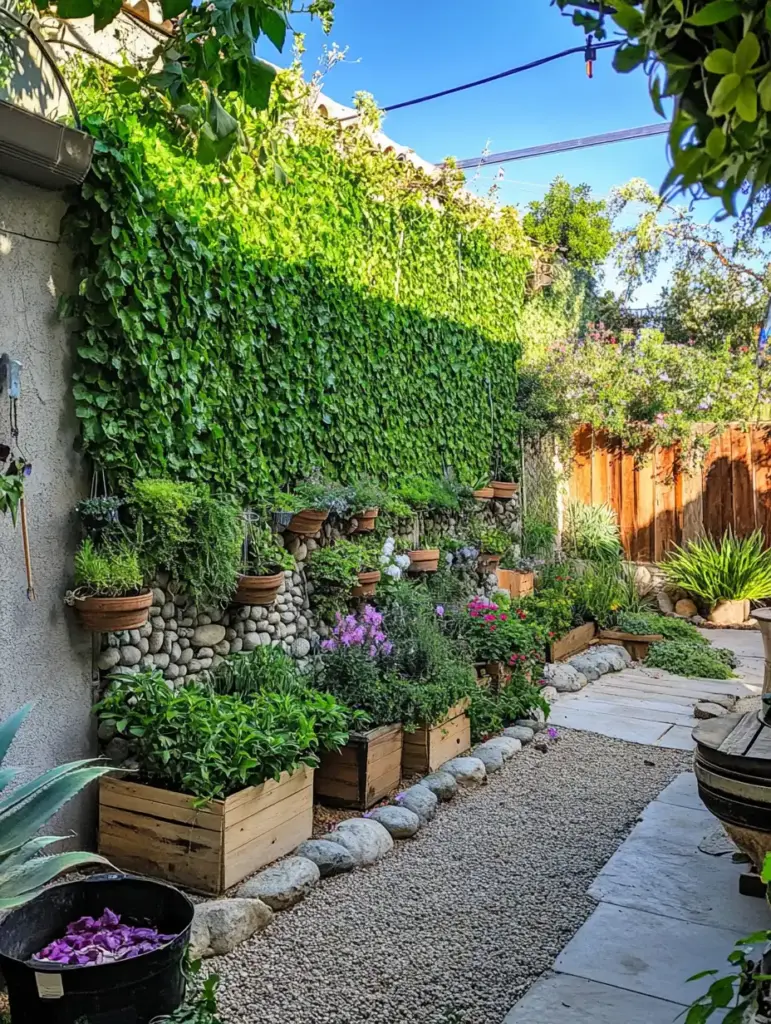
Looking to build an inexpensive trellis that’s both functional and beautiful? You’re in the right place. A DIY trellis is not only a budget-friendly solution, but it’s also one of the easiest ways to elevate your outdoor space — especially when you’re growing vegetables or flowering vines. Whether you’re training clematis like in this helpful guide on how to grow clematis or just adding structure to your garden beds, building your own trellis gives you full control over the design, size, and budget.
While store-bought trellises can cost a fortune — particularly if you need multiple — creating one yourself is simple with the right materials. With this tutorial, we’ll walk you through two easy DIY trellis designs. Plus, you’ll discover creative options like arched trellises and alternative materials that make vertical gardening affordable and fun.
Want to transform your garden into a vertical haven? Let’s dive in — and if you’re also interested in supporting climbers like cucumbers, don’t miss our roundup of DIY cucumber trellis ideas.
Ready to take your garden vertical? Let’s get building.
Table of Contents
🪴 Common Uses for Trellises
Once you build an inexpensive trellis, you’ll find endless ways to put it to good use in your garden. Far beyond aesthetics, trellises provide structure, support, and space-saving solutions for all kinds of plants and garden setups.
✅ Support for Climbing Vegetables
Some plants aren’t just happier on a trellis — they require it. A well-placed structure helps guide upward growth, improves airflow, and makes harvesting easier. Use your trellis to support:
- Pole beans
- Peas (snap, snow, shelling)
- Cucumbers
- Tomatoes (with ties or clips)
- Squash and melons (with added slings under heavy fruits)
Even if certain vegetables aren’t natural climbers, they can be trained to grow vertically with a little help from twine or clips.
🌸 Training Flowering and Ornamental Vines
Trellises are excellent for encouraging flowering vines to flourish while keeping them neatly contained. Popular choices include:
- Clematis
- Jasmine
- Honeysuckle
- Passionflower and passion fruit
- Bougainvillea
- Nasturtium
- Black-eyed Susan vine
These plants quickly cover your trellis in lush greenery and vibrant blooms — perfect for creating privacy screens or living garden walls.
🌿 Functional Structures in the Garden
Trellises aren’t just for plants — they’re hardworking multitaskers in a backyard space. Use them to:
- Create natural garden boundaries
- Fence off areas like patios or chicken runs
- Block unsightly views
- Add vertical height and visual interest to raised beds
- Define outdoor “rooms” or cozy corners
The beauty of learning how to build an inexpensive trellis is that you’re not just supporting plants — you’re designing your outdoor space with intention.
🧰 Wire Material of Choice: Remesh
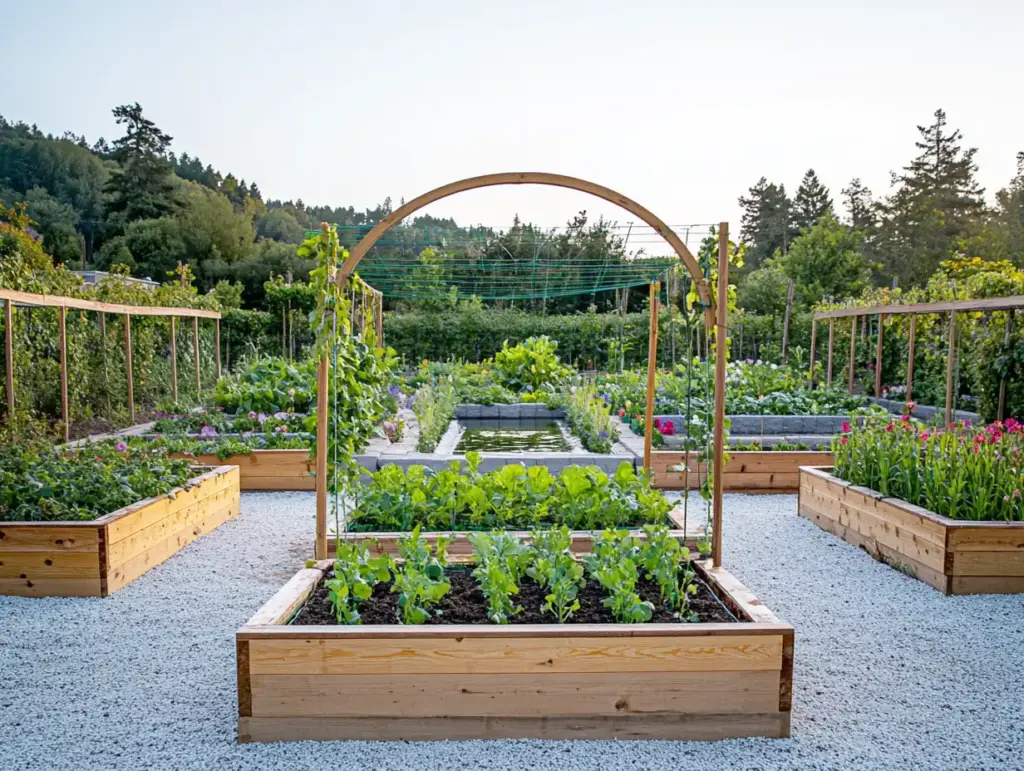
When you’re set on building an inexpensive trellis, choosing the right wire material can make all the difference. One of the best-kept secrets in the DIY garden world? Remesh.
Originally designed as concrete reinforcement, remesh panels are an affordable, sturdy, and surprisingly versatile option for trellis construction.
✅ Why Remesh Works So Well
- Cost-effective: At around $7 per sheet, remesh is far cheaper than cattle or hog panels.
- Easy to find: Most home improvement stores carry it in the concrete section.
- Flexible size: Panels typically measure 7 feet tall by 3.5 feet wide — ideal for most garden spaces.
- Transport-friendly: Unlike heavier wire fencing, remesh can be bent to fit in the back of most vehicles.
- Customizable: Lightweight and easy to cut with bolt cutters for resizing.
- Aesthetic charm: Over time, remesh develops a natural rusted patina — giving it a rustic, organic look that blends into the garden beautifully.
⚠️ A Few Considerations
- Sharp edges: Some remesh panels may have unfinished or jagged ends. Inspect before purchase and use a metal file to smooth rough spots.
- Rust-prone: Remesh is not galvanized, which contributes to its rustic look but may be a concern in very wet climates. For most gardeners, though, this is more a visual perk than a practical problem.
Remesh also serves multiple garden uses beyond trellises. Use leftover panels to:
- Build tomato cages
- Create fencing
- Add privacy screens to patios or beds
Choosing remesh lets you build an inexpensive trellis that’s not only durable and adaptable but also full of creative potential.
🔨 DIY Trellis Designs
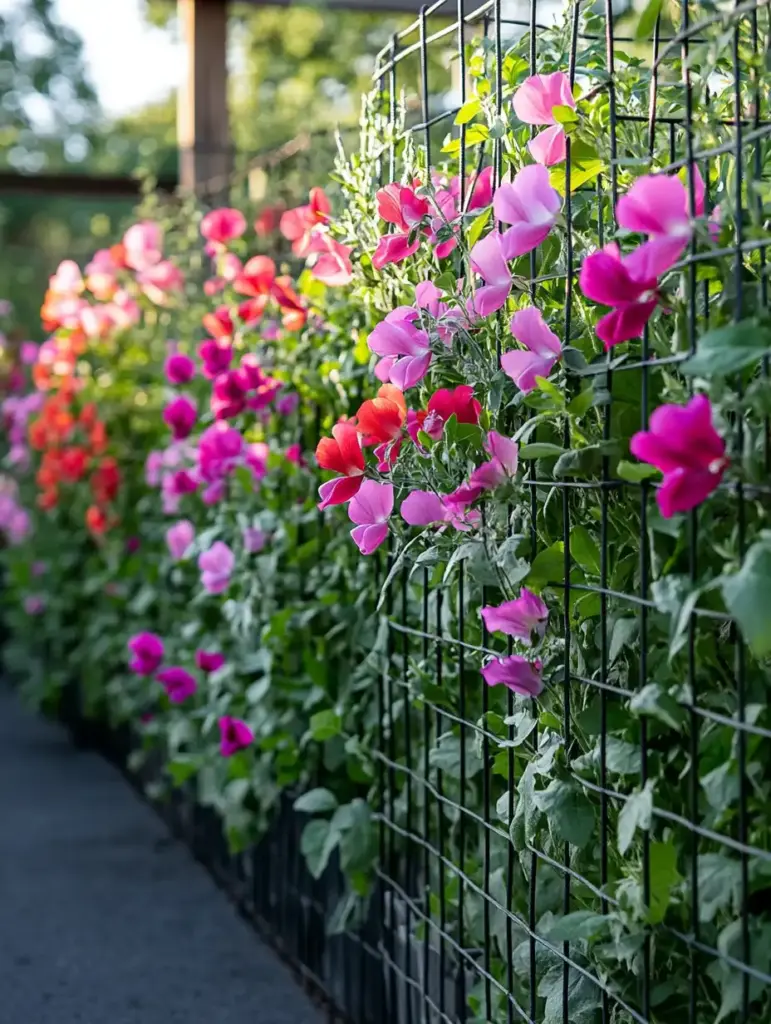
✅ Option 1: Ultra-Simple Remesh Trellis
If you’re just getting started with vertical gardening or want a quick weekend project, this design is perfect. It’s the easiest and most affordable way to build an inexpensive trellis using minimal tools and materials.
🛠 Materials Needed
- One remesh panel (approx. 7′ x 3.5′)
- Two tall stakes (6-ft metal, bamboo, or wooden stakes work great)
- Zip ties or galvanized wire
- Bolt cutters or heavy-duty snips (optional, for resizing)
💰 Estimated cost: Under $20 (even less if you already have stakes on hand)
📏 Planning & Setup Tips
- Choose stakes tall enough to support the full height of your trellis above ground. For example, for a 7-foot trellis, use 8-foot stakes — allowing at least 1 foot to be anchored underground.
- Textured stakes (with grooves or notches) help zip ties hold securely without slipping.
🛠 Step-by-Step Instructions
- Prep your workspace: Lay the remesh panel flat on the ground. Position your two stakes vertically, aligned with the panel’s outer edges or just inside for added stability.
- Position stakes: Leave 1–2 feet of stake extending below the bottom of the remesh — this portion will be buried in the soil.
- Attach remesh: Secure the remesh to the stakes with zip ties or short pieces of wire. Make sure everything is taut and evenly aligned.
- Install: Lift the assembled trellis and press the stakes firmly into the ground. If the soil is hard, use a mallet or pre-dig holes.
- Optional tweaks: Stack two panels for extra height or mount the trellis horizontally for a wider growing space.
This trellis is ideal for lightweight crops like beans, peas, or even trained tomatoes. It’s easy to reposition with the seasons and works beautifully in raised beds or open soil.
Simple, quick, and super effective — this is the go-to method to build an inexpensive trellis without sacrificing strength or function.
✅ Option 2: Wood Frame Trellis (Sturdy & Attractive)
If you’re aiming to build an inexpensive trellis that also adds long-term charm and structure to your garden, this design is a step up. With the addition of a wood frame, you’ll create a trellis that’s not only more visually appealing but also better suited for heavy-duty use — perfect for perennial vines, fencing needs, or living privacy walls.
🛠 Materials Needed
- Four 8-foot 2×2″ boards (cedar or redwood preferred for durability)
- One remesh panel
- Two tall support stakes (fiberglass is ideal)
- Hose clamps (4 clamps, 3″ diameter recommended)
- 1–1.5″ cabinet screws (wide-head)
- 2.5″ decking screws or L-brackets (for frame assembly)
- Bolt cutters or snips (optional, for trimming remesh)
- Power drill and saw
💰 Estimated cost: $40–$60 depending on material source and tools already owned
🧱 Why This Design Works
This framed trellis combines functionality and form. The wooden structure provides rigidity and enhances the look, while the remesh offers strong vertical support. Best of all, this design still stays well within the realm of budget-friendly — a perfect option when you want something durable and attractive.
🪚 Step-by-Step Instructions
- Measure your space: Decide how tall and wide you want your trellis. Adjust board lengths as needed to frame the remesh panel snugly.
- Build the wood frame: Cut your boards and assemble a rectangular frame using screws or L-brackets at each corner. For added strength, install diagonal or horizontal braces inside the frame.
- Attach the remesh panel: Lay the frame flat and secure the remesh to the backside using wide-head screws every 12 inches along the edges and supports. Be sure not to overtighten.
- Install the stakes: Drive the support stakes into the ground, spaced to align with the vertical frame edges.
- Mount the trellis: Stand the trellis in front of the stakes and secure it using hose clamps — one near each corner. Adjust for level and straightness before tightening fully.
🌿 Customize to Fit Your Style
- Add decorative trim or paint to match your garden theme
- Stack two remesh panels for extra height
- Use double-wide wood frames for more growing space
- Attach directly to raised beds or fences for added support
This wood frame version is perfect when you want to build an inexpensive trellis that feels like a permanent garden feature — one that not only holds up but looks great doing it.
🌱 Bonus: Arched Trellis Design
If you’re ready to add some architectural flair to your garden, consider building an arched trellis. These elegant structures invite climbing plants to form natural tunnels or gateways, making your garden feel larger and more immersive.
And yes — you can still build an inexpensive trellis even in this more advanced shape!
🛠 Materials for an Arched Trellis
- One 16-ft cattle panel or hog panel
- T-post stakes or raised garden bed frames (for anchoring)
- Pipe clamps or galvanized pipe straps (for attachment)
💰 Estimated cost: ~$25–$40 depending on panel type and local availability
🌀 Why Arched Trellises Rock
- Maximize space: Grow crops upward and under
- Dual access: Reach both sides of the plant easily
- Aesthetic appeal: Adds vertical elegance and function
- Shade-friendly: Great for shady garden walkways or living pergolas
🛠 How to Build It
- Choose your site: Select an area where the panel can be anchored on both ends — such as between raised beds or within the soil using T-posts.
- Bend the panel into an arch: Carefully flex the cattle or hog panel into a curved shape. Having a second person helps!
- Secure the base: Drive T-posts into the ground or attach the ends directly to garden beds using pipe clamps or metal straps.
- Test the structure: Once attached, gently shake the panel to ensure it’s secure before planting.
This style is ideal for heavier crops like squash, melons, or gourds — especially when paired with strong anchoring and supportive slings for fruit. For added creativity, train flowering vines or climbing roses up each side for a living garden tunnel.
Pro Tip: Remesh panels are too short for full arches but work beautifully in curved or angled lean-to configurations.
🌼 Other Creative Trellis Ideas
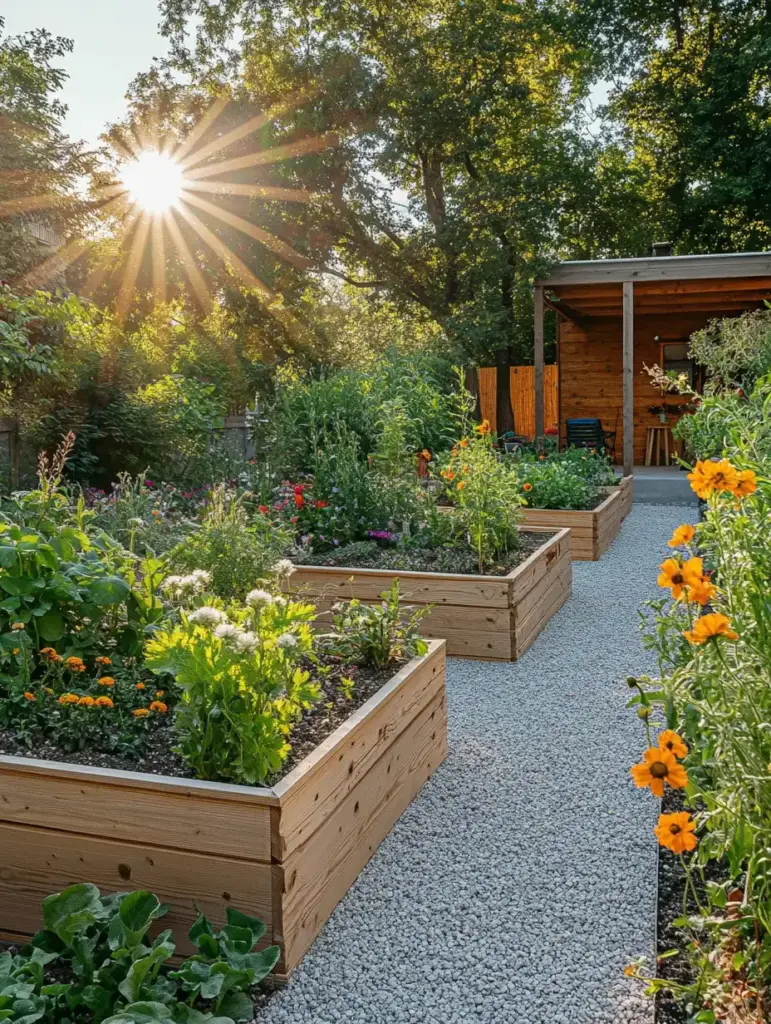
Beyond traditional flat or arched styles, there are countless ways to build an inexpensive trellis that fits your unique garden layout. Don’t be afraid to get creative and modify the basic designs to meet your specific needs — or just to add some flair!
🌟 Double-Wide Frames
- Stack two remesh panels side by side in a wide wood frame
- Great for large beds, privacy screens, or showcasing sprawling vines
- Add a center support beam for extra strength
🌟 Lean-To Trellises
- Install the frame at an angle to form a lean-to structure
- Ideal against fences, walls, or sheds
- Can be free-standing with angled braces and stakes
🌟 Partial Framing
- Use wood only on vertical edges, with remesh across the middle
- Attach to garden beds or containers for semi-permanent support
- A more rustic and minimal look while still stable
🌟 Bed-Mounted or Container Trellises
- Attach trellises directly to the sides of raised beds or large pots
- Secure with pipe clamps, hose clamps, or screws
- Perfect for compact spaces or patio gardening
🌟 Teepee Trellises
- Lean two or more framed trellises toward each other and join at the top
- Creates a central growing tower ideal for peas, beans, or flowering vines
- Adds vertical interest and a whimsical touch
🐔 Functional Fencing with Style
- Combine trellis panels to form fencing for chicken coops or garden zones
- Remesh works well, but consider adding mesh at the base to block small critters
- A smart and stylish way to separate garden spaces
The beauty of learning how to build an inexpensive trellis is that once you master the basics, you can endlessly customize the design. Whether you’re growing food, flowers, or simply adding privacy and structure, there’s a trellis for every purpose — and budget.
❓ Frequently Asked Questions (FAQ)
1. What is the cheapest way to build an inexpensive trellis?
The most affordable and efficient way to build an inexpensive trellis is by using a concrete remesh panel paired with two tall garden stakes. This setup typically costs under $20 and can be assembled in under an hour using basic materials like zip ties or galvanized wire. Not only is it budget-friendly, but it’s also incredibly durable and customizable. For additional inspiration, check out these DIY trellis garden decorations that use similar materials creatively.
2. Can I build an inexpensive trellis without power tools?
Yes, you absolutely can build an inexpensive trellis without using any power tools. The ultra-simple remesh design (Option 1) is perfect for beginners and only requires zip ties and garden stakes — no drilling or sawing needed. This hands-on approach makes it ideal for renters, patio gardeners, or anyone without access to a full tool set. For more no-fuss trellis options, browse these easy DIY cucumber trellis ideas.
3. Where can I buy remesh panels for a DIY trellis?
Remesh panels are available at most big-box home improvement stores, usually in the masonry or concrete section near rebar. When you plan to build an inexpensive trellis, be sure to choose remesh that is lightweight enough to cut if needed, but sturdy enough to support climbing plants. While you’re prepping your materials, you might also enjoy these clever ways to trellis tomatoes — especially if you’re growing vertically to save space.
4. How tall should a trellis be for vegetables like beans or cucumbers?
Most vining vegetables thrive on a trellis that’s 6–8 feet tall. Adjust the height based on plant variety and whether you want to harvest from ground level or overhead.
5. Will remesh trellises rust over time?
Yes — remesh is made of ungalvanized steel and will naturally develop a rusted patina. This rustic look is often considered a visual bonus, though you can seal or paint it to slow the process.
6. Can I build an inexpensive trellis on a balcony or patio?
Absolutely! Remesh panels can be attached to containers or raised beds using clamps, and smaller wood frames can be customized to fit urban spaces.
7. Is it safe to use remesh around kids or pets?
Mostly yes, but be cautious. Some remesh panels may have sharp edges. You can file these down or opt for the framed trellis design, which encloses the wire and minimizes contact.
🌿 Conclusion
As you’ve seen, learning how to build an inexpensive trellis is a rewarding project that blends practicality with creativity. Whether you’re aiming to support vegetables like peas, beans, or tomatoes — or guide stunning flowering vines such as clematis or climbing roses — there’s a trellis style that aligns perfectly with your garden’s purpose and personality.
From ultra-simple remesh setups to charming wood-framed panels and even arched trellis designs, the possibilities are endless. DIY trellises also offer full customization, making them ideal for everything from small-space gardens to more elaborate backyard landscapes.
So go ahead — grab some remesh, a couple of stakes, and a few basic tools. Whether you’re maximizing space in raised beds or adding charm to a cottage-style garden, your vertical garden adventure is just one weekend away!

